Build an Agency Website with HTML & CSS -2
by Nabendu Biswas / July 22nd, 2020
#html #beginners #css
Series: Agency-html
Welcome to part-2 of the series. We will continue building our Agency site and start with the showcase part.
So, head over to the index.html and create a showcase section. It contains of a section with id showcase and again a div with class container. Inside the div, we have a h1 and a p.
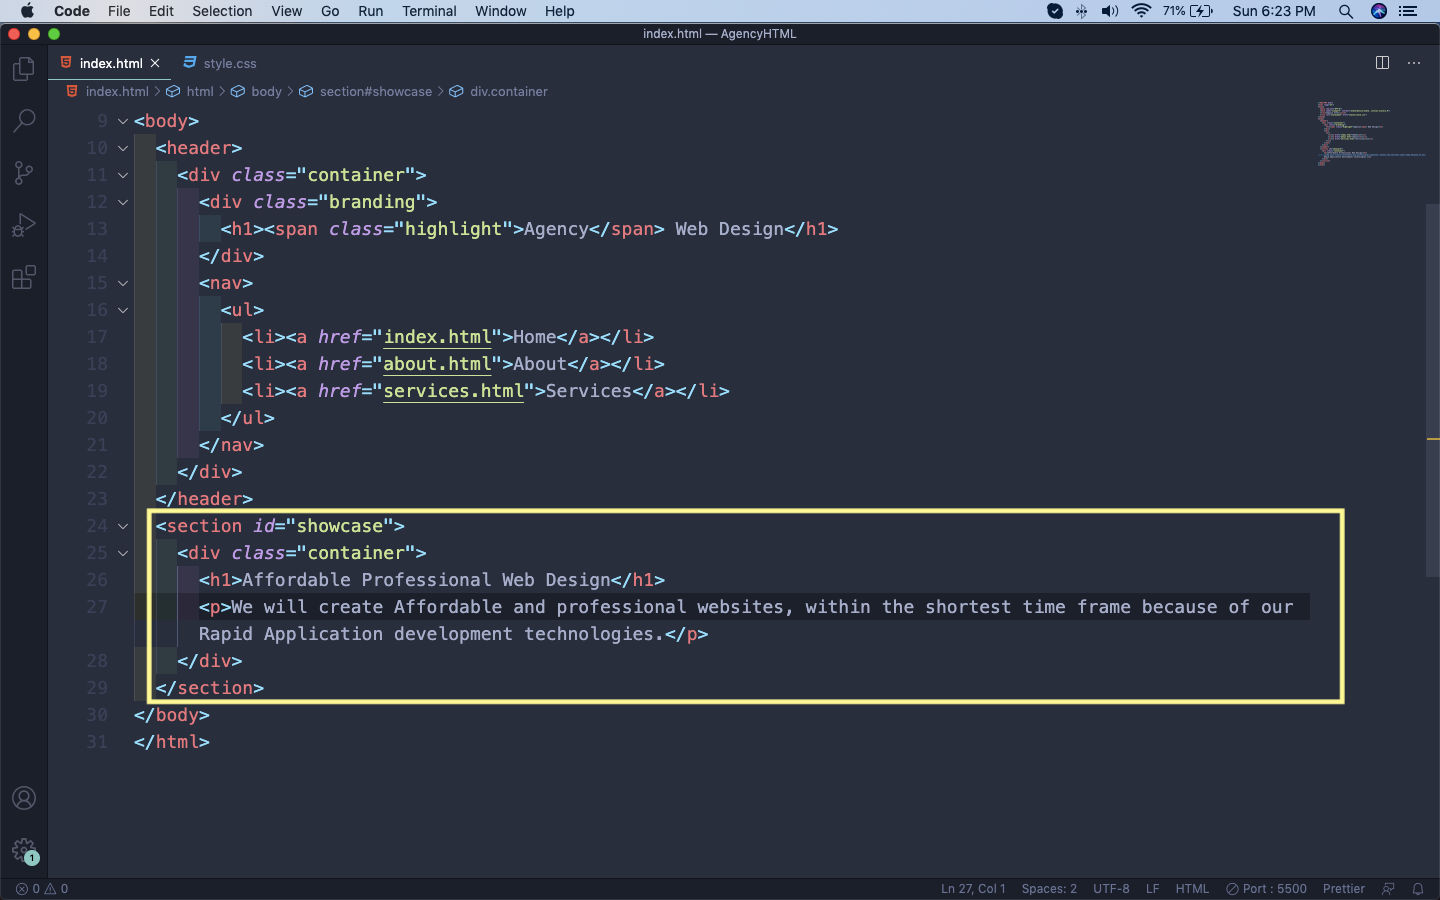 index.html
First add an image showcase.jpg inside the images folder.
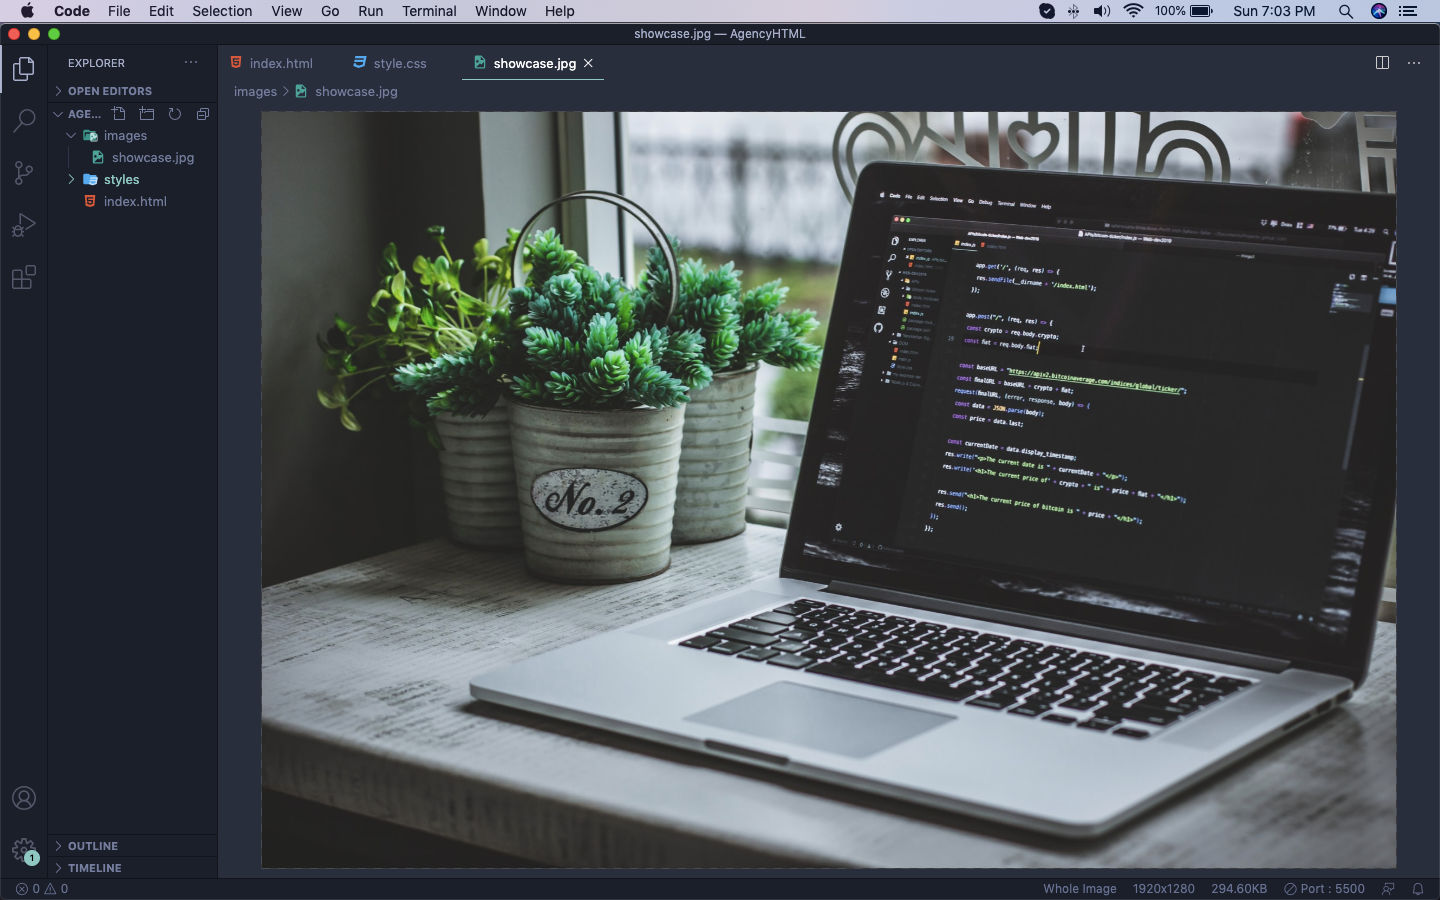 images
Now, we will add the styles for the showcase. So, move to your style.css and add below styles. Here, we are adding a min-height, which are very helpful for responsive sites. Next, we are adding the background image and after that the text-align and color properties for the text.
 style.css
Notice that our top of the image is only been shown.
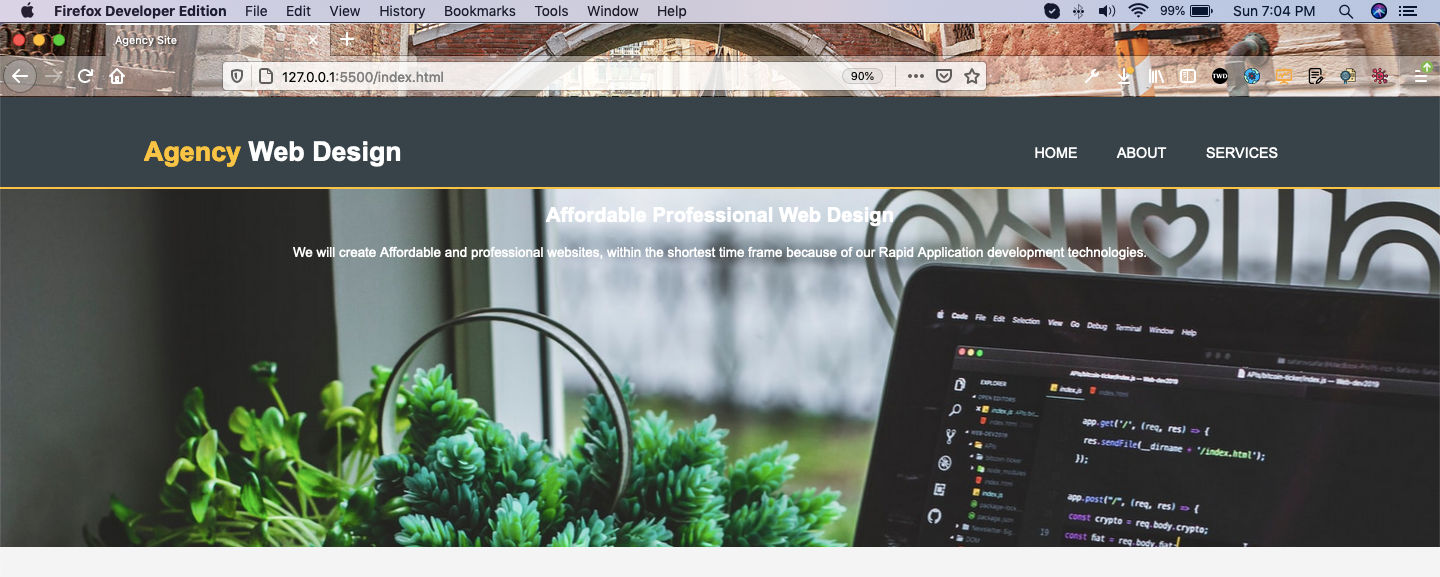 Cut Image
To fix the issue, we will add two more properties to the showcase. One is for background-repeat and the other for background-position.
 background-repeat
Now, the background-position property allow us the move the image and we are moving it to the top.
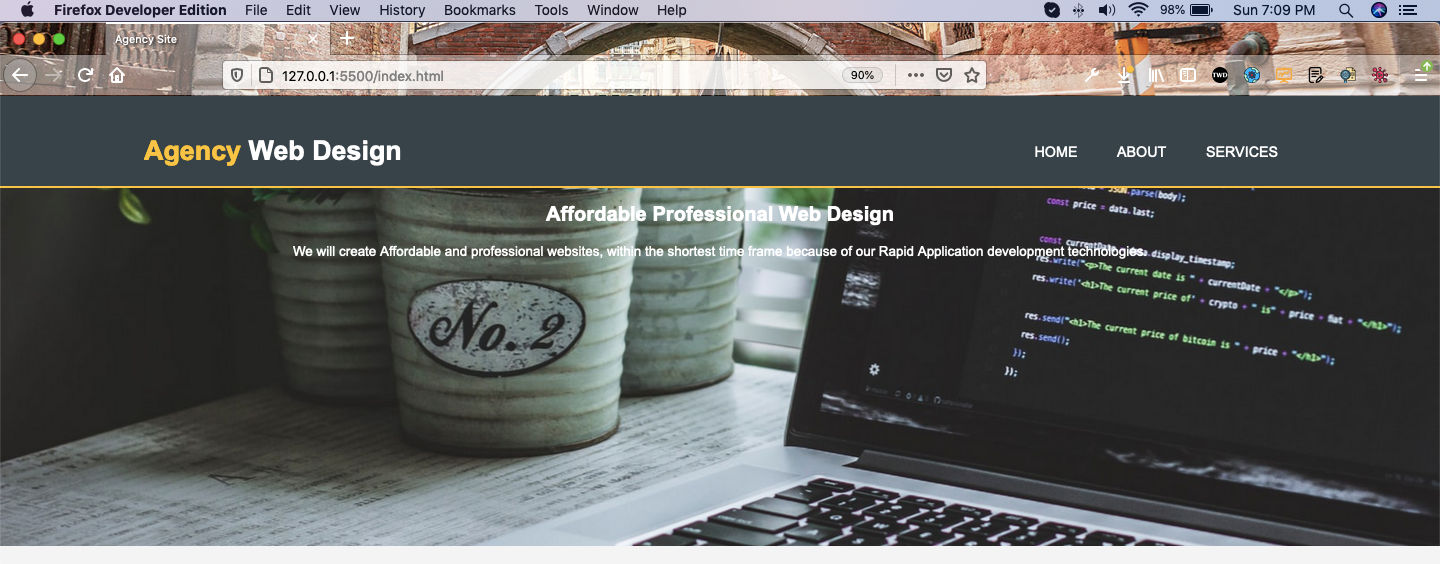 Image up
Next, we will style the h1 and p here. For the h1, we are using margin-top to move it 100px below.
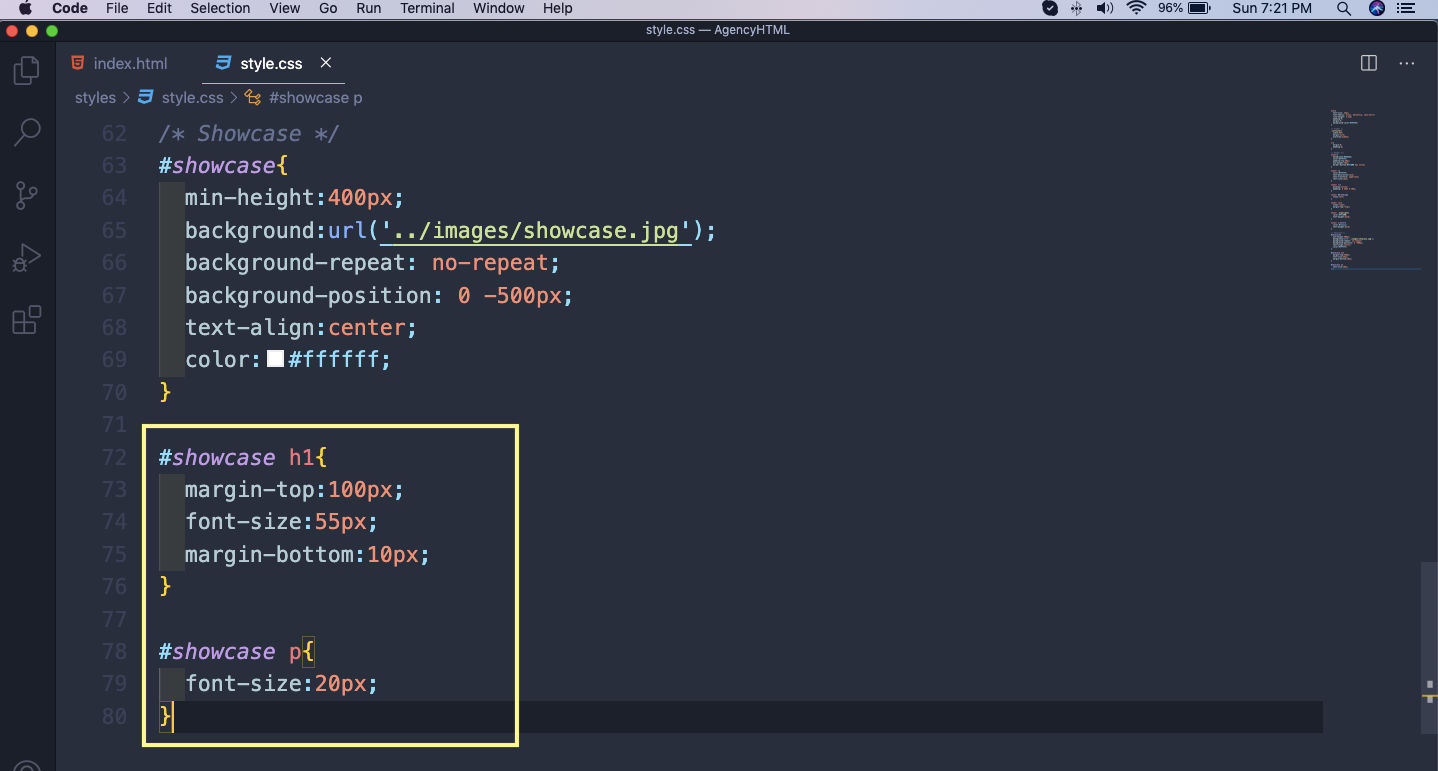 h1 and p
This will show the h1 and p of correct size and at correct place.
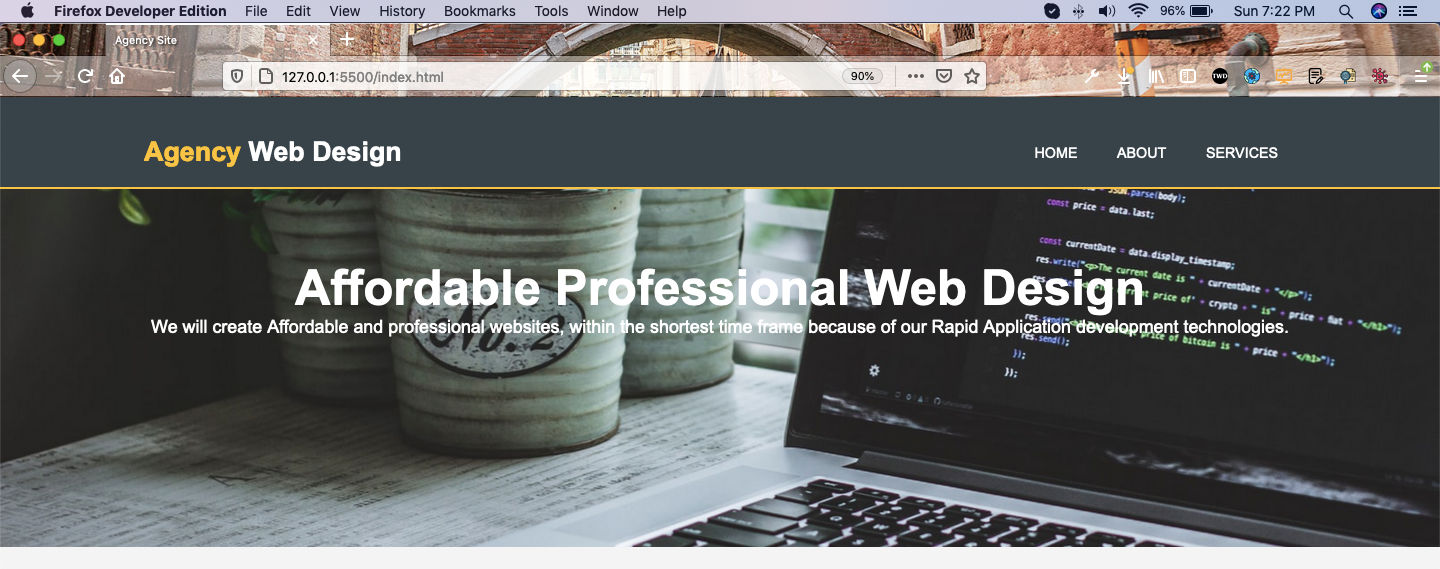 Correct place
After that we will create our boxes section, which will contain three box. Each will contain an image, h1 and a p tag with content. We also need to put three logo images in the images folder. You can find them from the github repo at the end of this part.
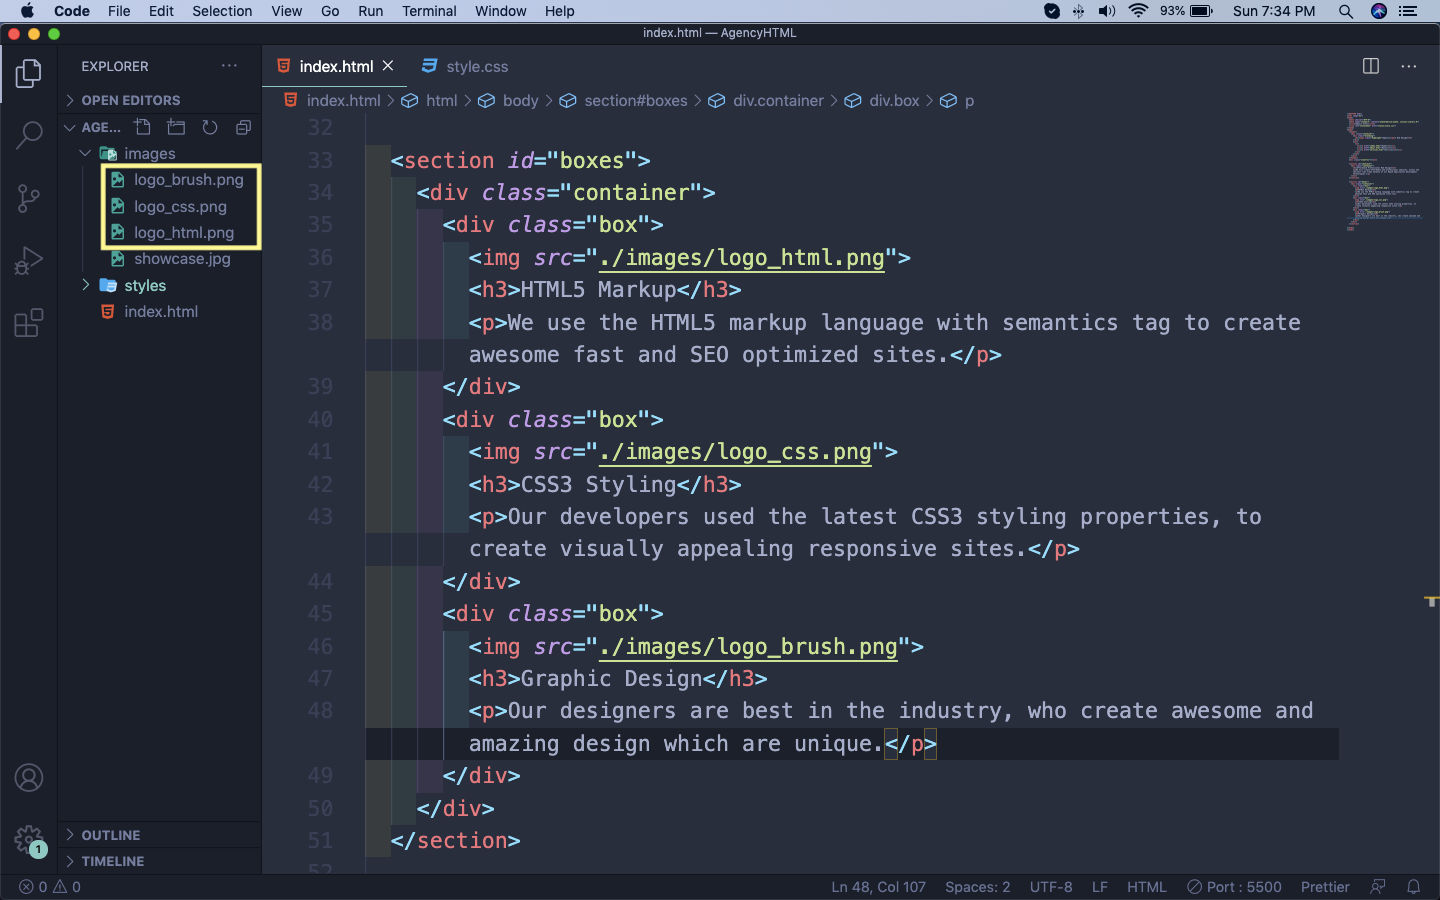 index.html
Now, our web-page have these three boxes with no styling.
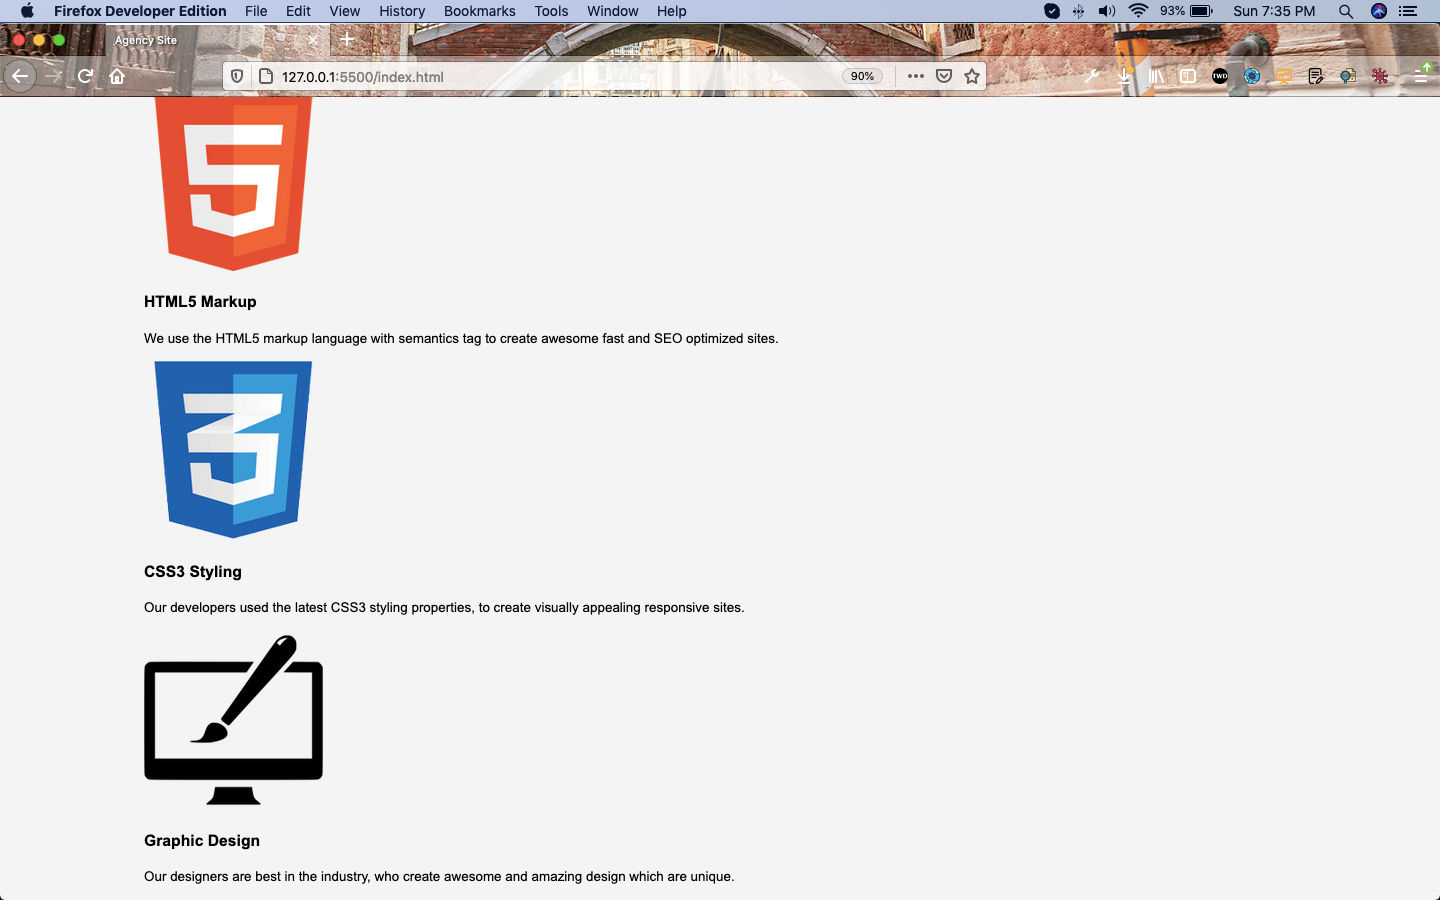 No styling
Next, we will place them at the right place, with the help of floats.
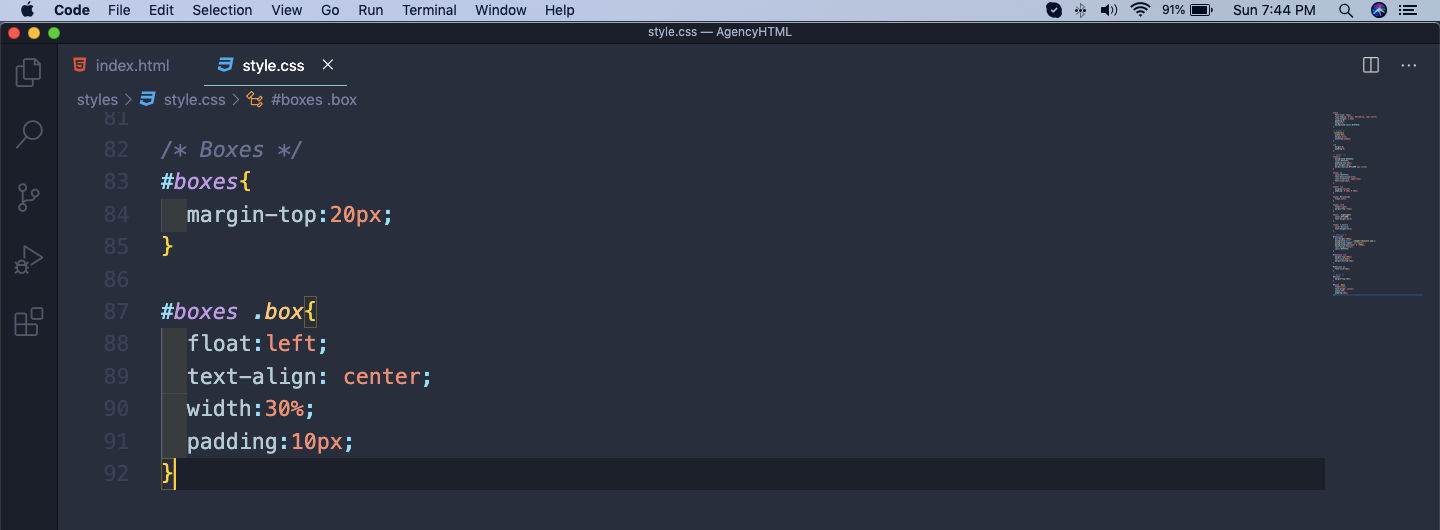 style for boxes
Now, our boxes are almost styled.
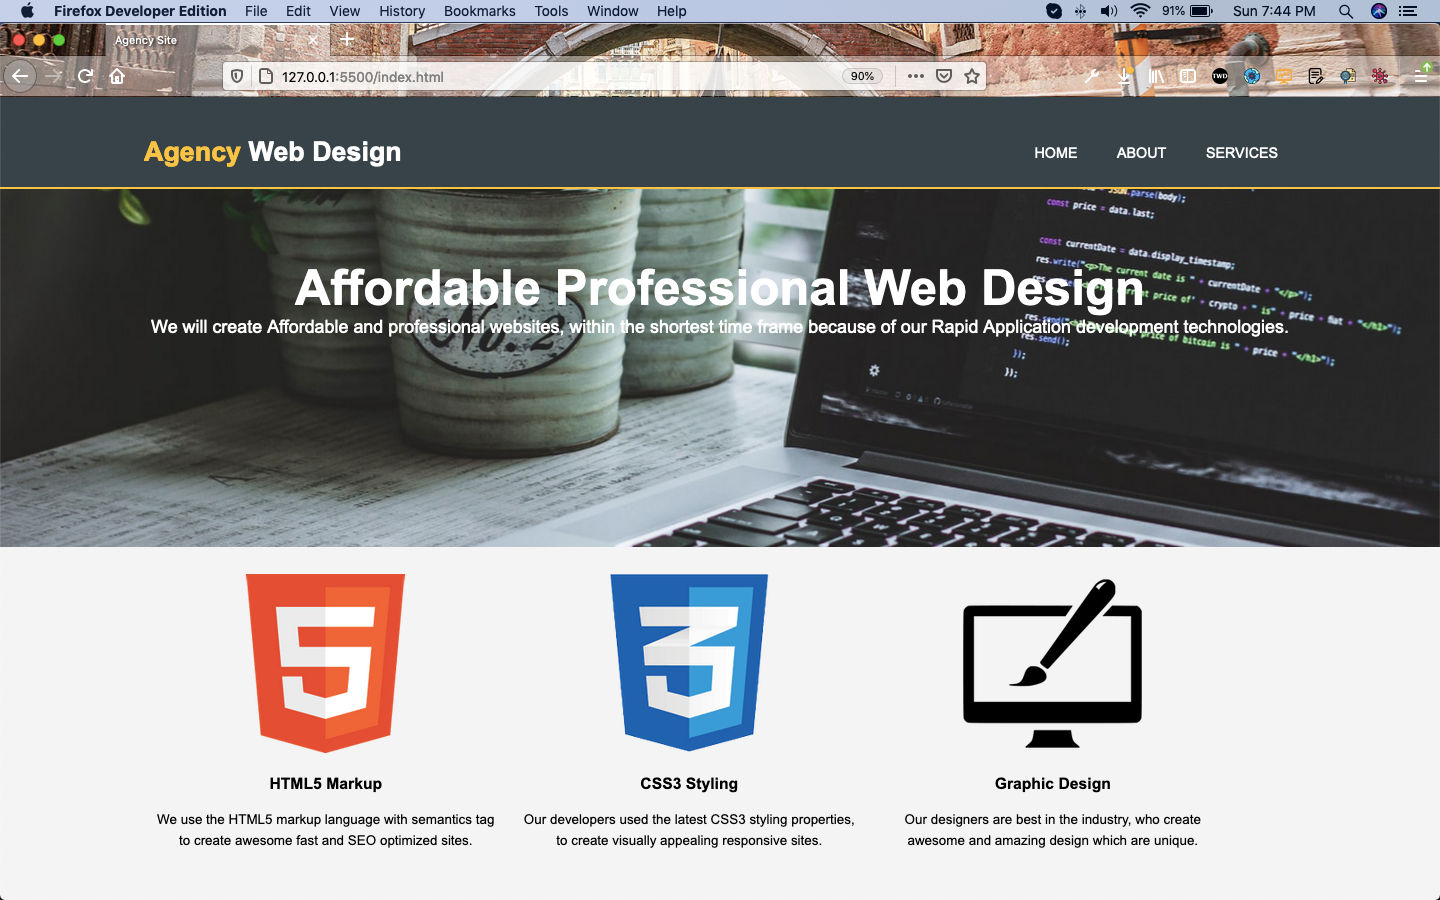 Almost styled
We will reduce the size of the logo by targeting the images and making the width as 90px.
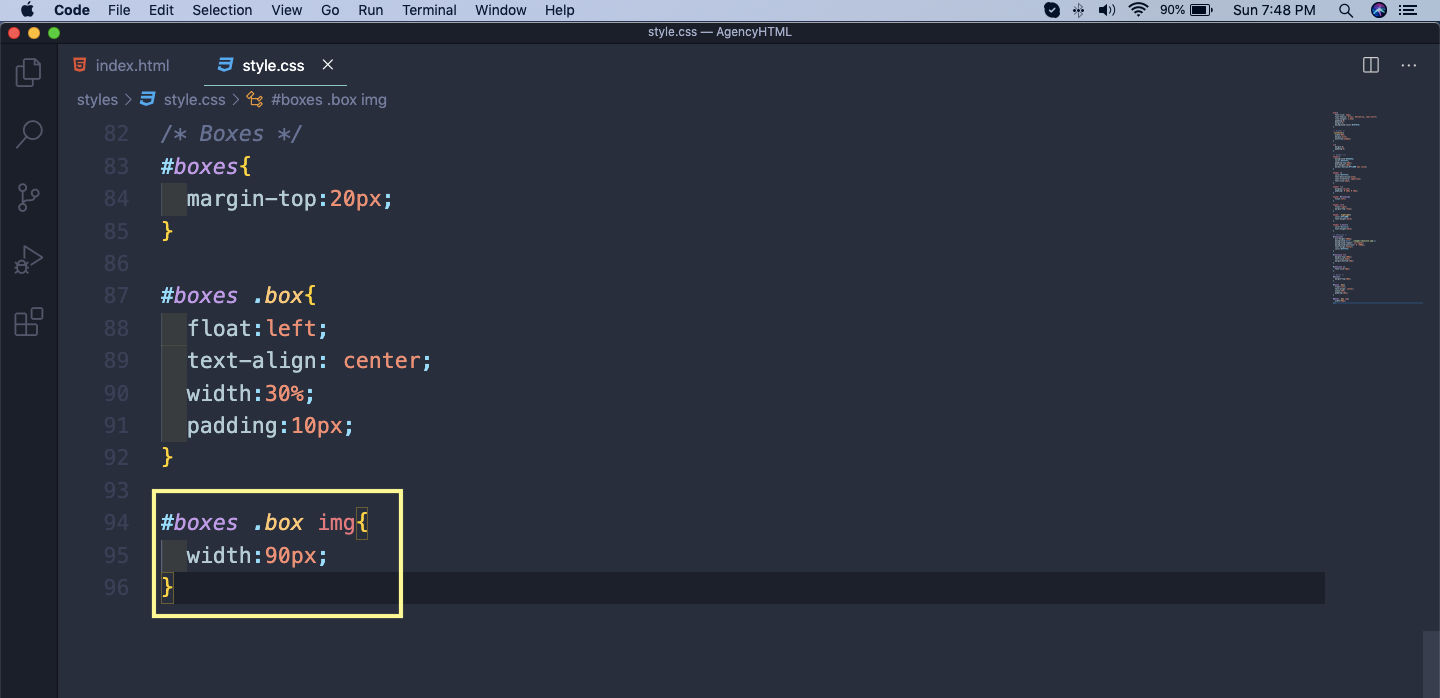 img
img
Now, the logo images are perfectly sized.
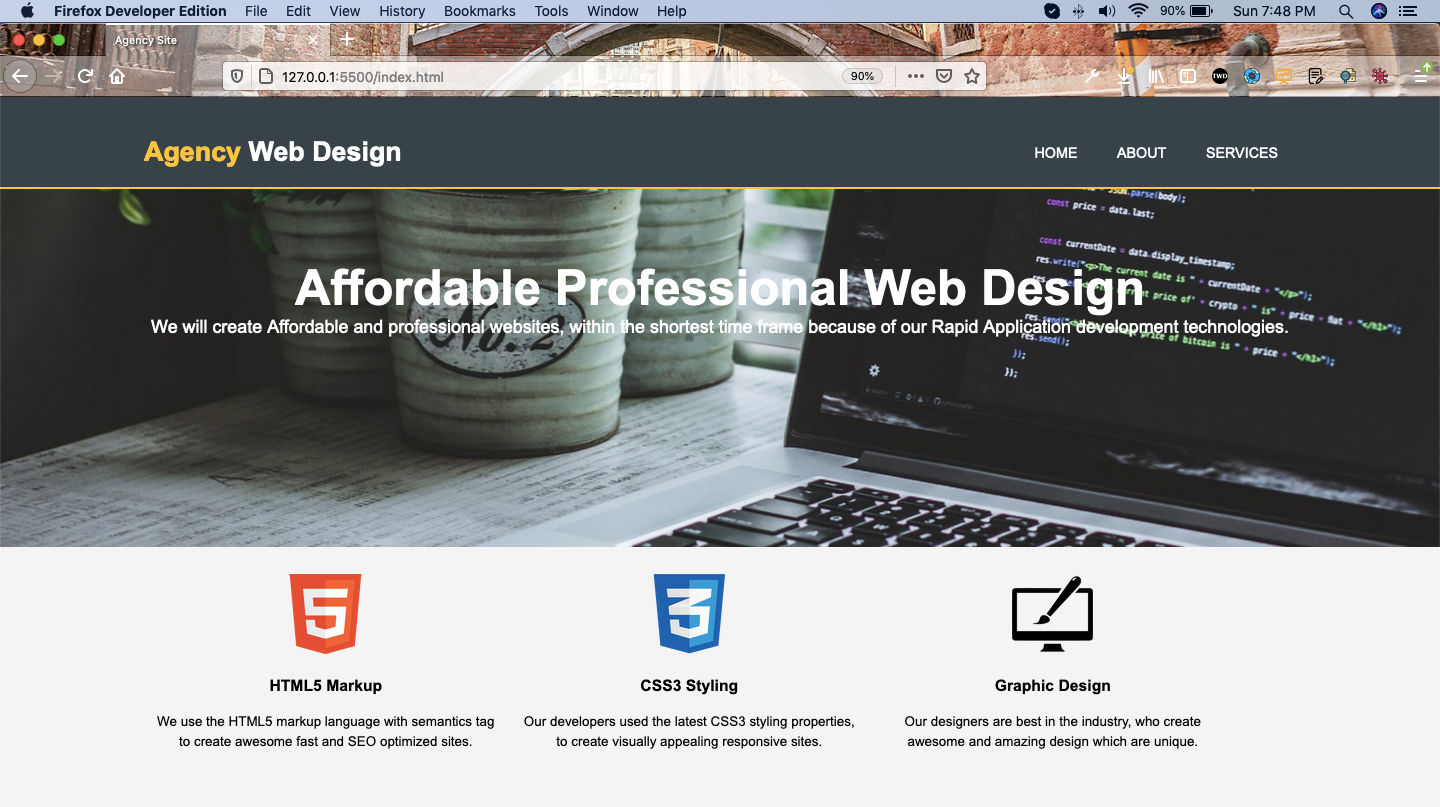 Logo images
This completes part-2.
You can find the code till this part in my github repo here.