We will start with Angular, which was the first JavaScript Framework to start the change towards web-apps as it was released way back in 2010.
Angular is a JavaScript Framework and not a library like React. You will get almost all the features within it and not have to depend on external libraries much, like React.
Angular is mainly divided into two parts- Angular 1 which was the first to release and is now commonly know as AngularJS and rest of the version are known as Angular 2+ or simple Angular. Right now we are at the 12th version with only new features added from Version 2.
We need to install angular cli in our system for the awesome terminal experience by the following command.
npm install -g @angular/cli
Now, go to any folder in your computer and in the terminal type the below command to create your first Angular project.
ng new first-app --no-strict
It will ask us a bunch of questions. Let’s answer them as mentioned below.
 Creating Project
Now, once the installation is complete change to the directory, open it with VSCode and run the command ng serve to start an Angular project.
 ng serve
Now, we can goto http://localhost:4200/ and our app will show below screen.
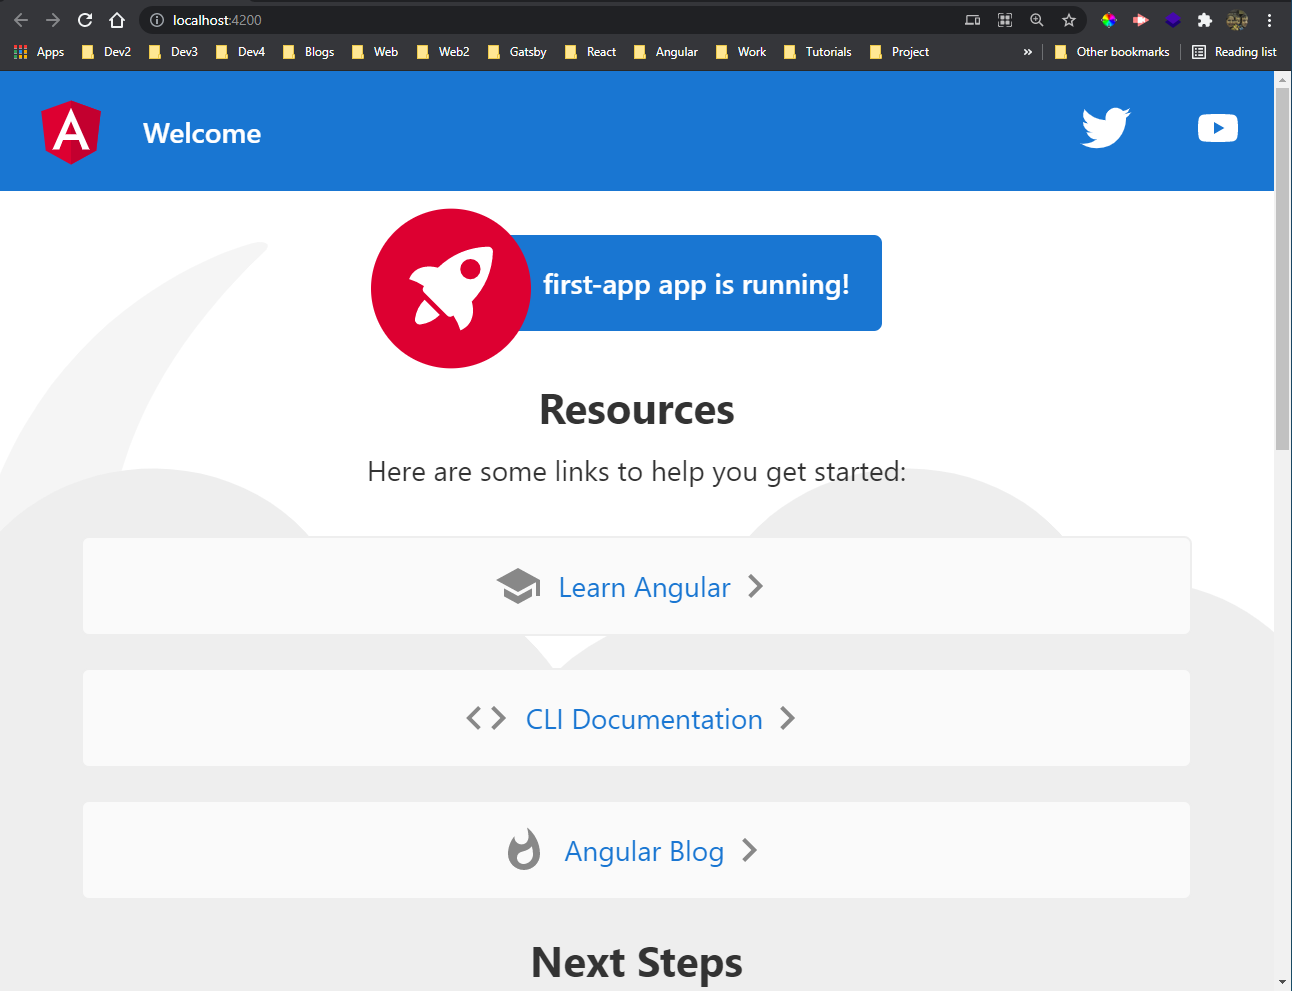 localhost
Now, our Angular app starts with index.html file, where we have an app-root injected.
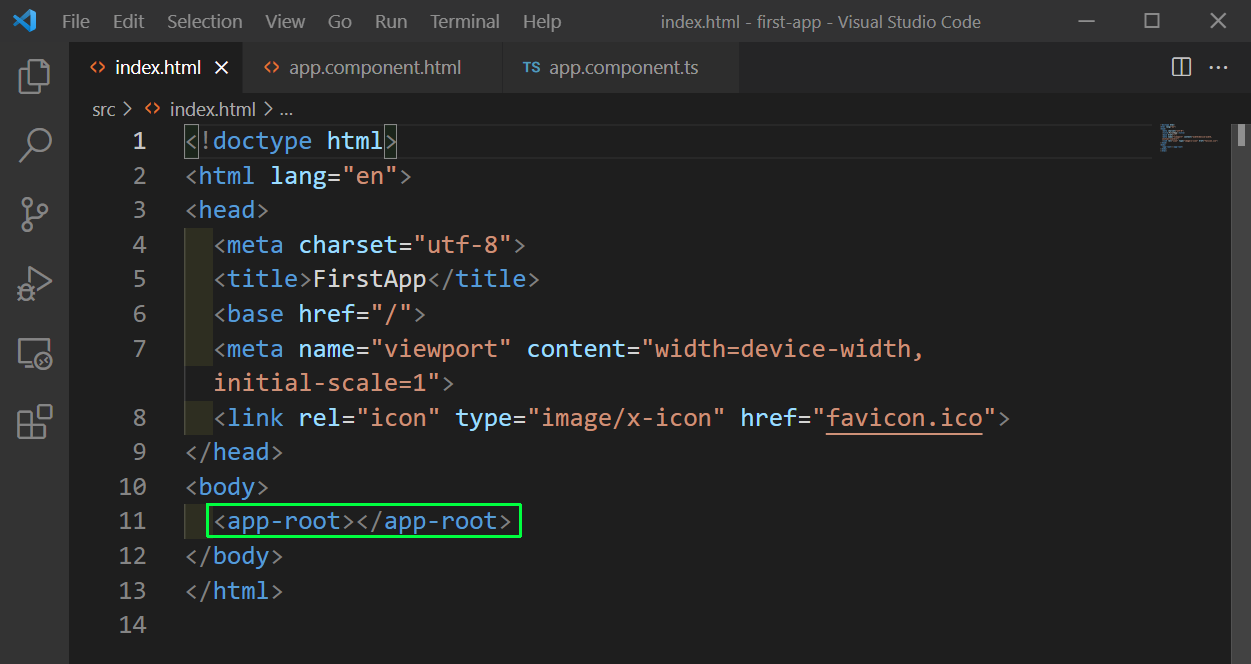 index.html
This app-root is in the selector for app.component.ts file and this is how it is linked.
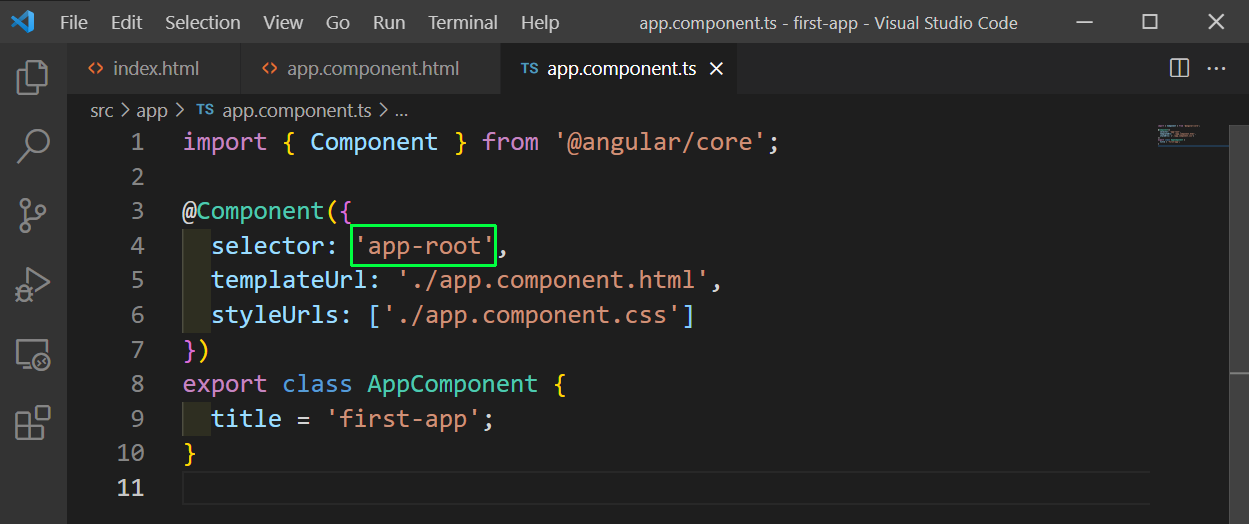 app.component.ts
We get the data of our boilercode from app.component.html file. So, we will remove all the earlier code and add our simple code in it.
Here, we have an input field and a name associated with it. We are using a two-way binding of ngModel, which we will learn more later.
 app.component.html
Now, in app.component.ts file we will add the name variable.
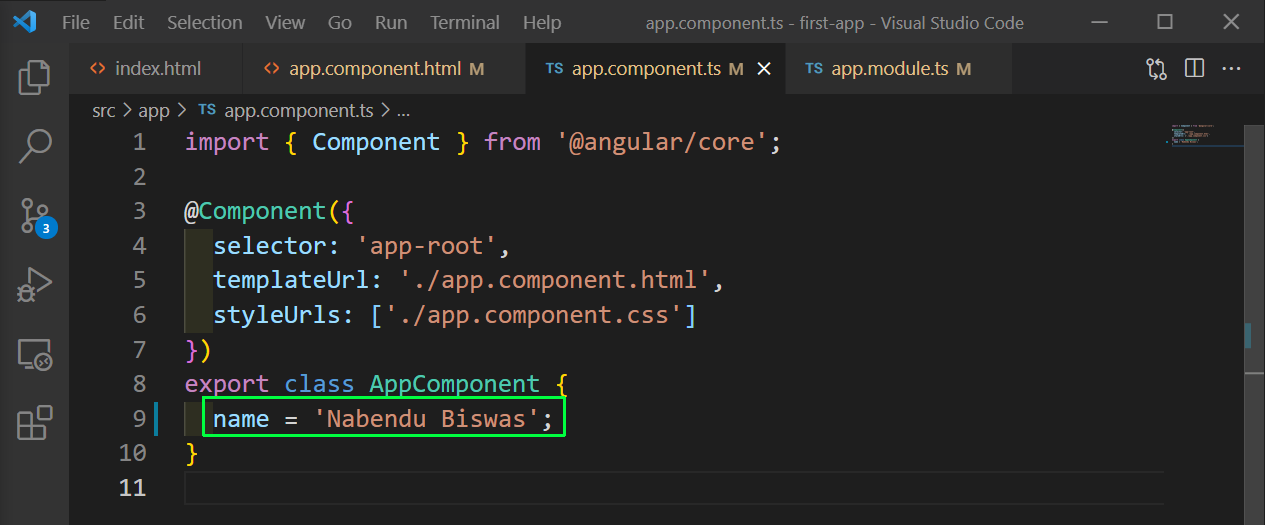 app.component.ts
But to use ngModel in our project, we need to add FormsModule in our app.module.ts file.
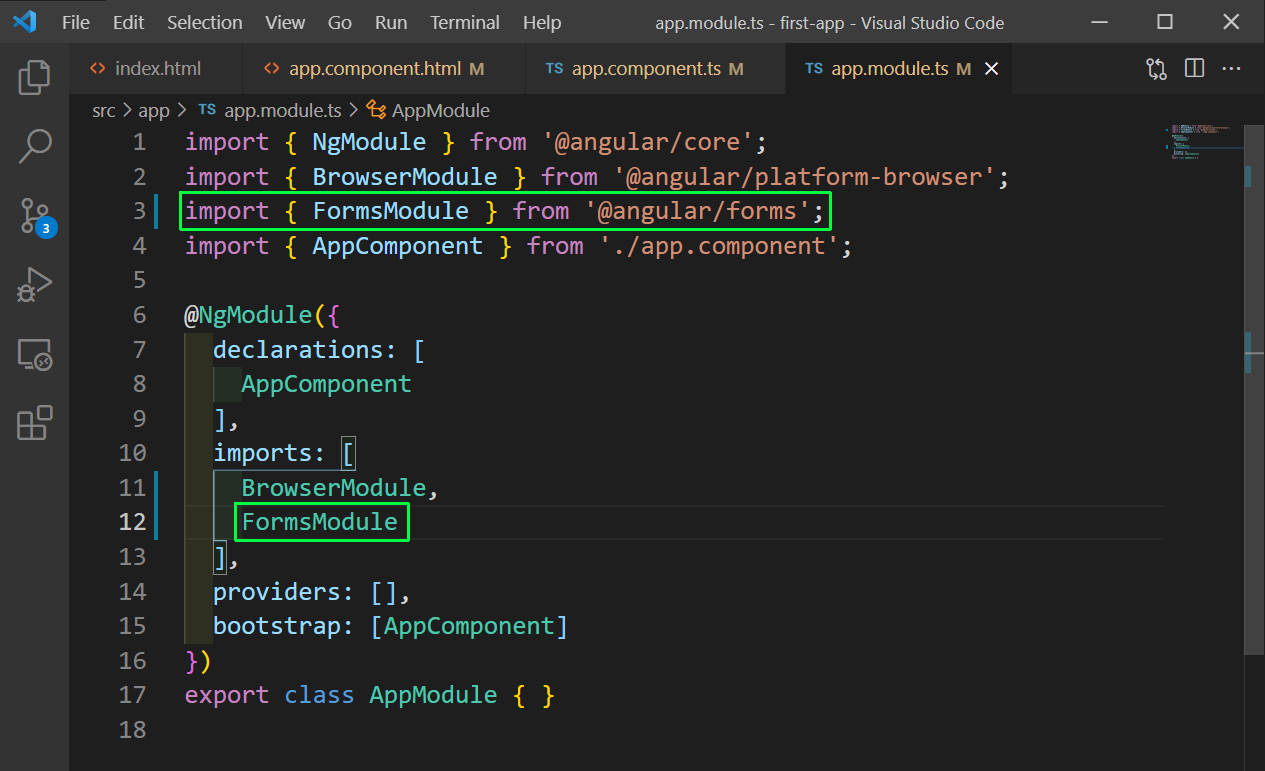 app.module.ts
Now, in localhost we will see the input text and can update it as well.
 localhost
We will use bootstrap in the project. So, close the running app and install bootstrap by below command.
 Bootstrap
We also need to add bootstrap in angular.json file.
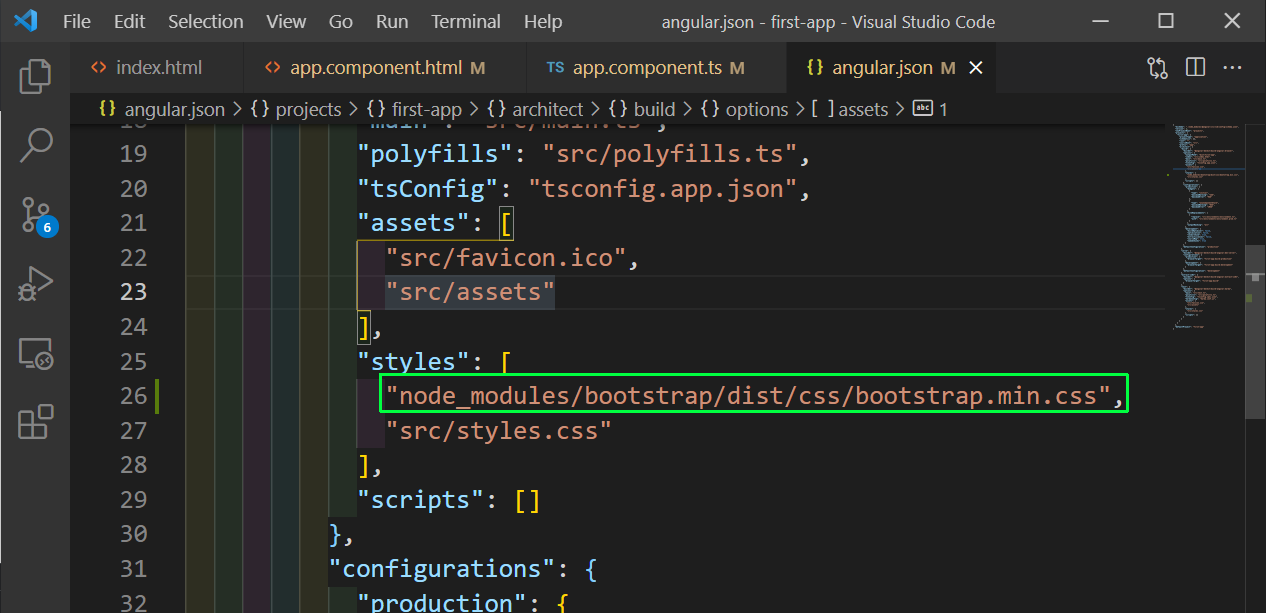 angular.json
Now, run ng serve again and everything should work fine. Now, we will learn to create a component manually.
Create a folder server inside app folder. Inside it create two files server.component.html and server.component.ts
Now, in the server.component.ts file we need to import Component from angular/core. After that we have to use a decorator Component. Inside it we have to give a selector, which is a unique name of the app. The next templateUrl contains the external html file name, which in our case is server.component.html in the same directory.
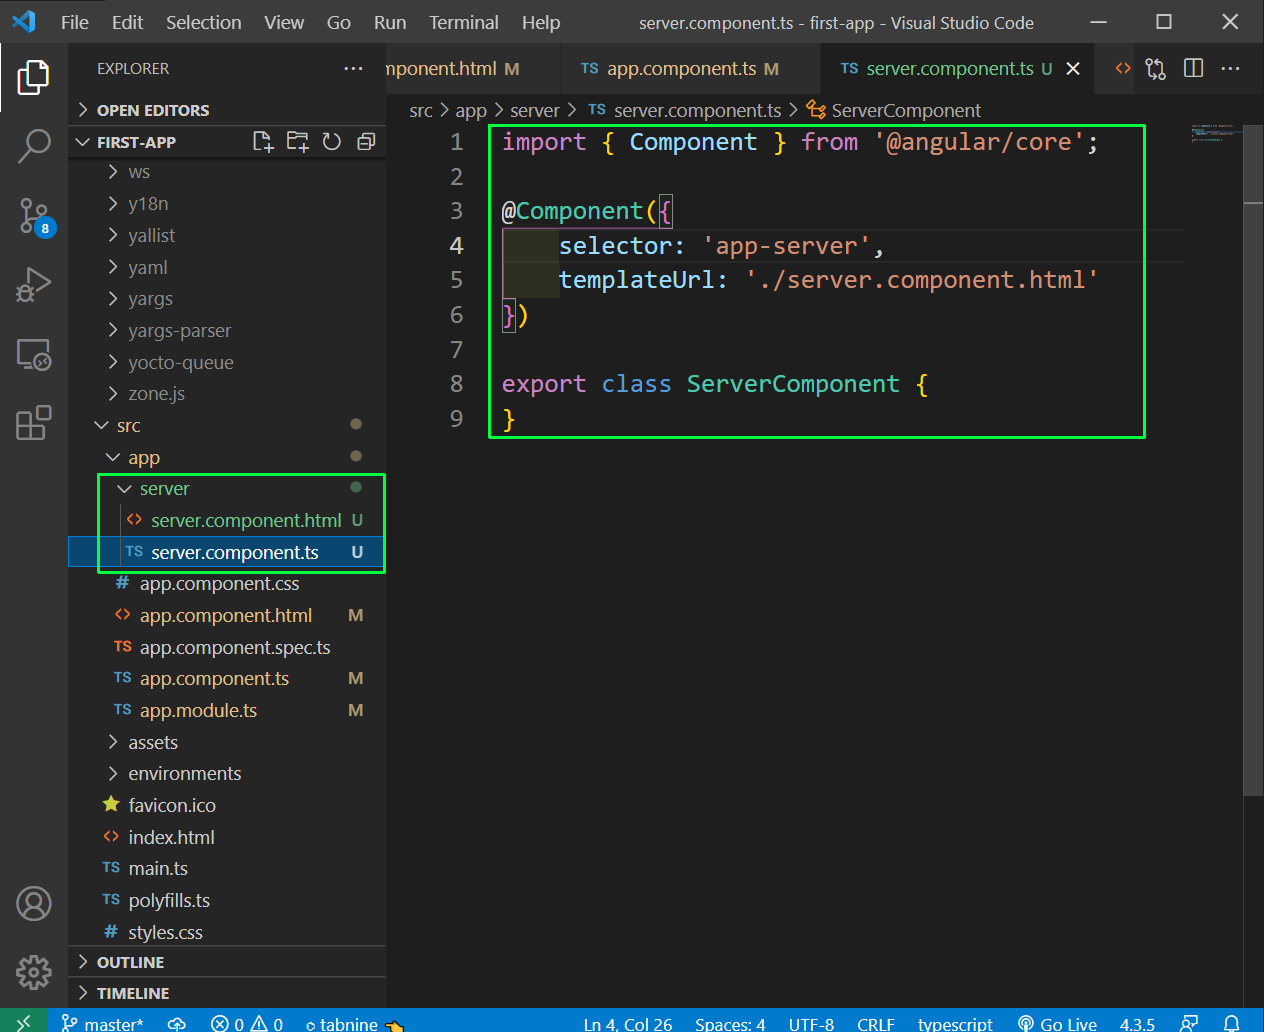 server.component.ts
Now, our file server.component.html just contain some basic html as of now.
 server.component.html
Now, whenever we add a new component we have to add it in app.module.ts file.
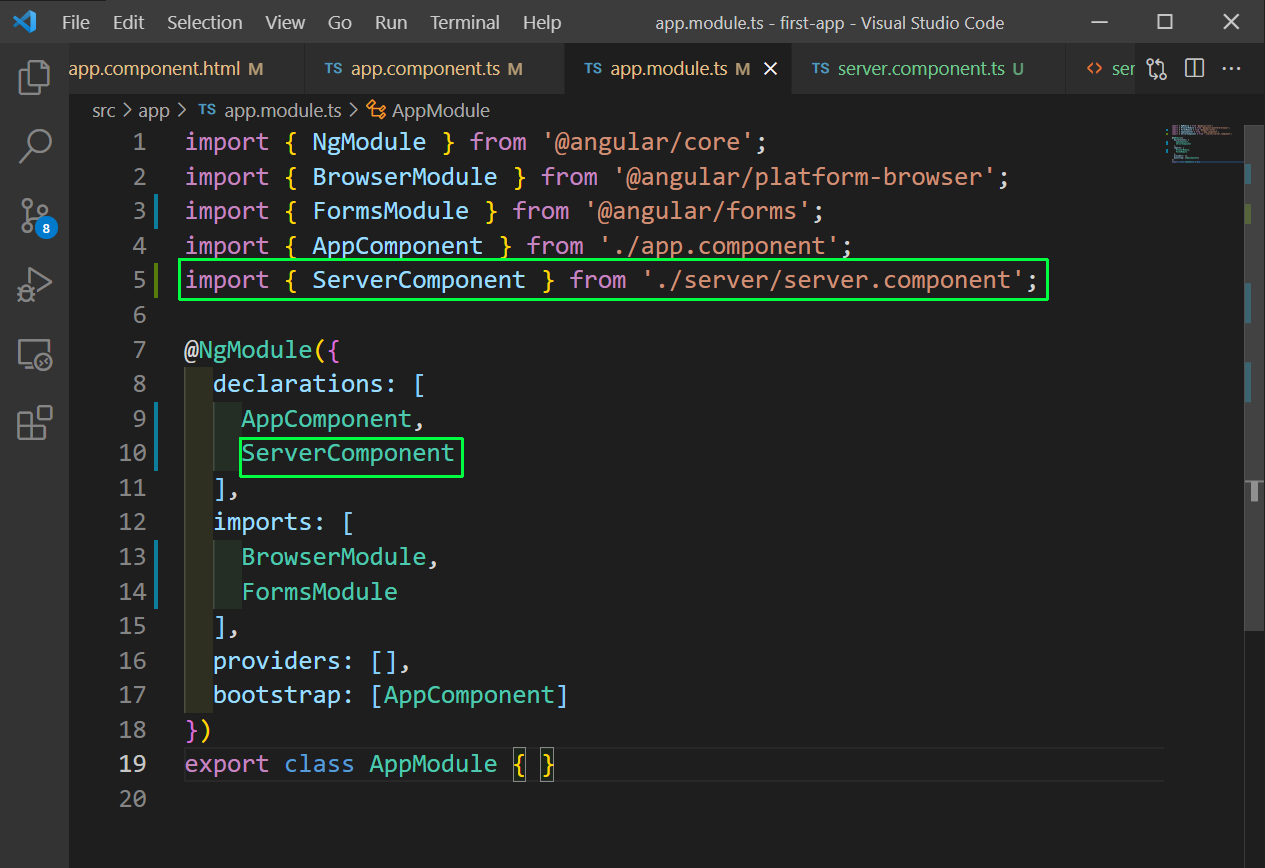 app.module.ts
Now, to show the component from any other component, we just have to use it’s name. We are doing the same in app.component.html file.
 app.component.html
Now, in our localhost, we will see the content of the ServerComponent.
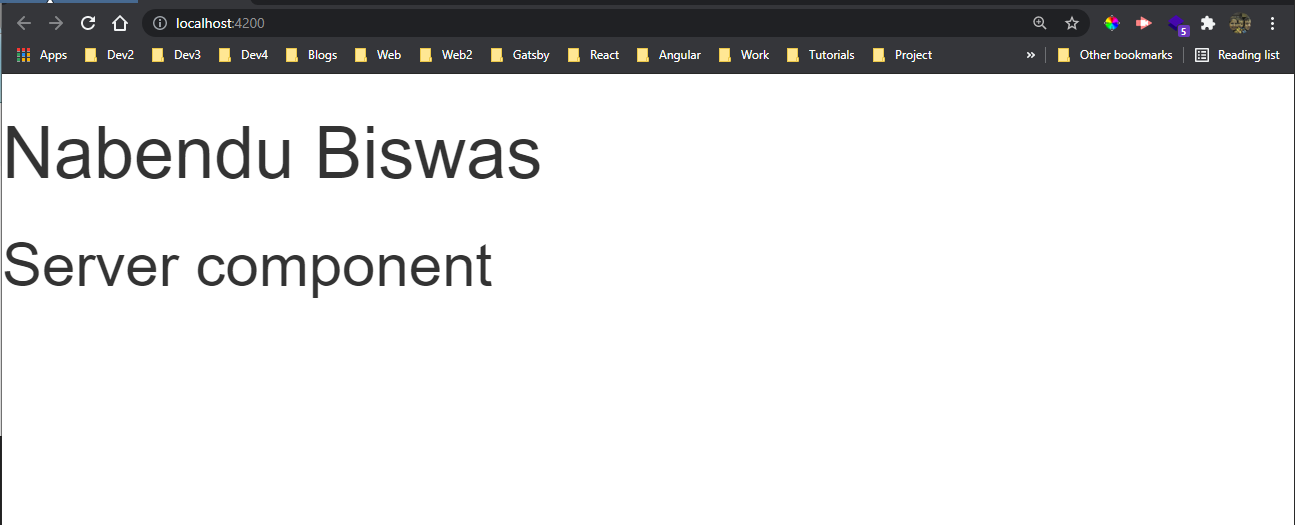 Server
We can also use the cli to create angular components. We create a new component by giving the command ng g c <component_name> from root and it will create a servers folder containing four files in it.
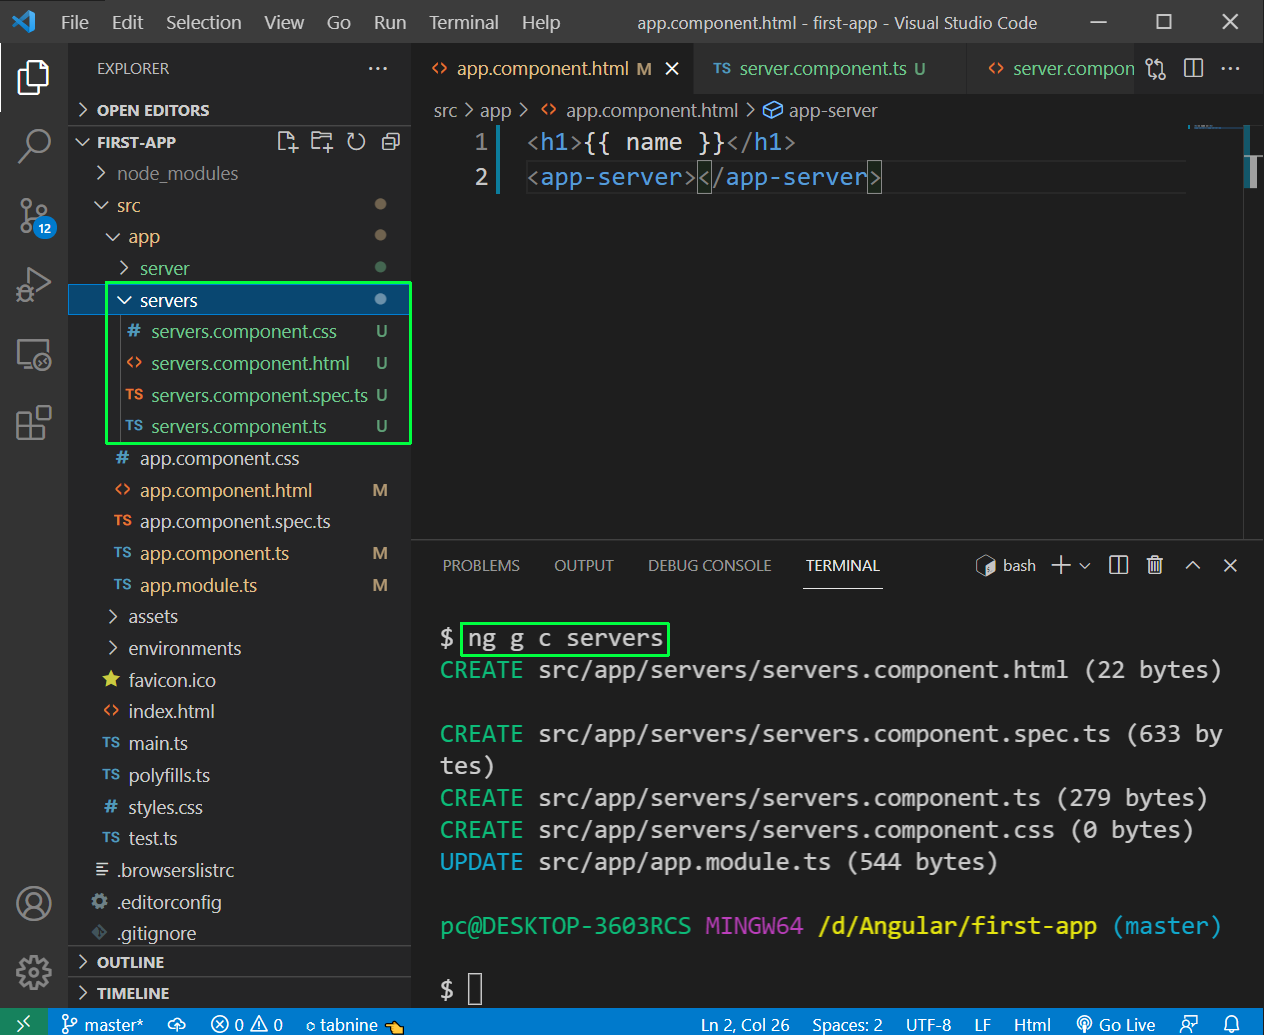 Generate
It does all setup which includes creating the html, ts and css file. Also, it adds this new component in app.module.ts file.
app.module.ts
Now, in app.component.html file add the Servers component instead of the Server component.
 app.component.html
Now, in the servers.component.html add the Server component.
 servers.component.html
Now, the localhost will show two server component.
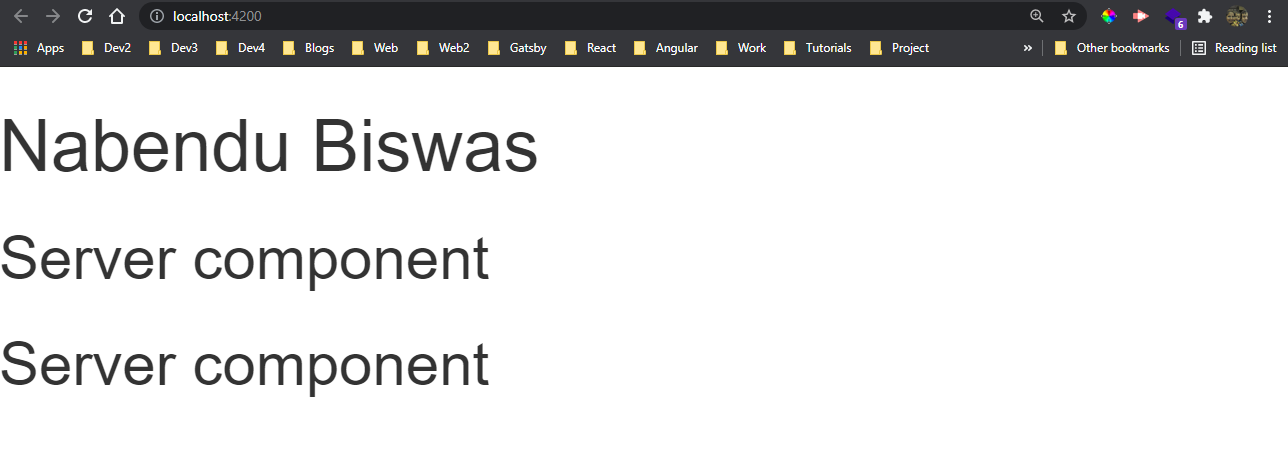 localhost
We can also write the html directly in the typescript file. We should follow this approach only when we have only 2–3 lines of code in html.
Instead of templateUrl, we can have template and have the HTML inside a template string(backticks).
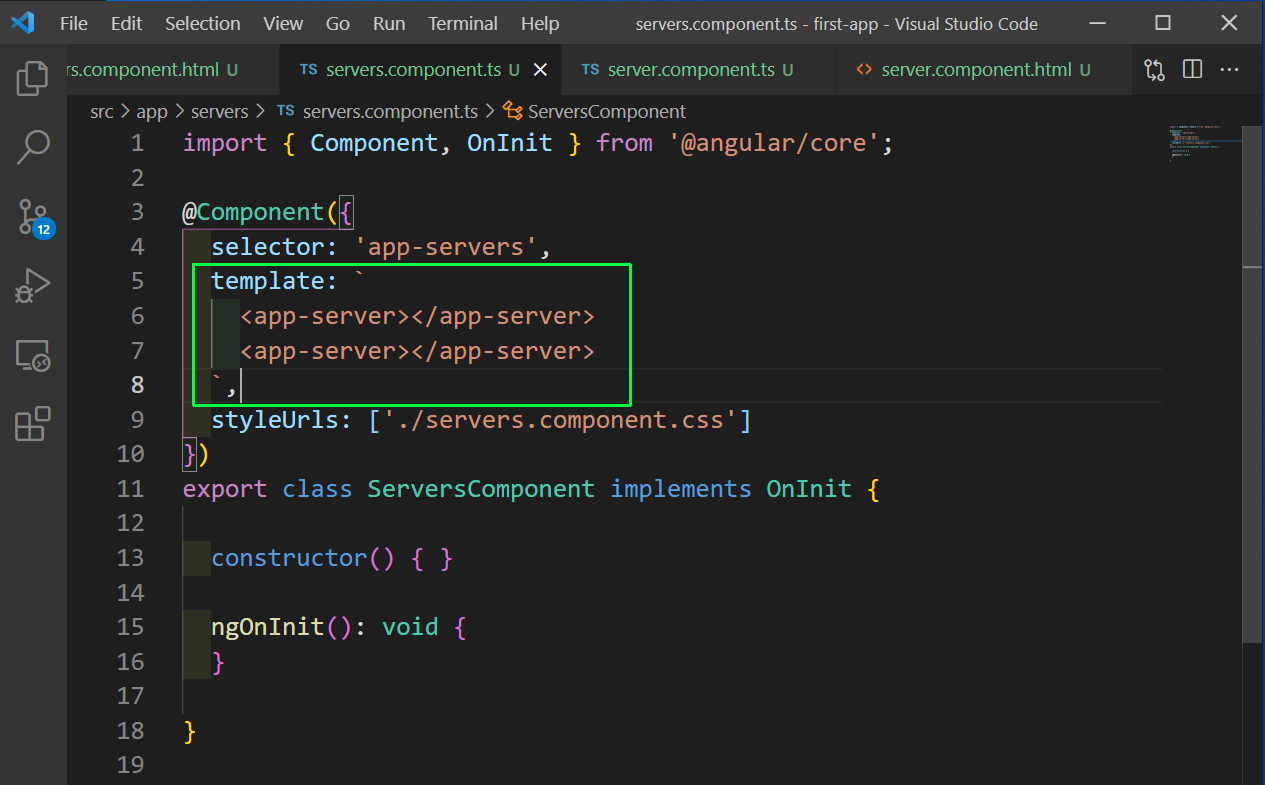 servers.component.ts
Now, we will look into styles in our project. We will add some bootstrap classes in our project in app.component.html file.
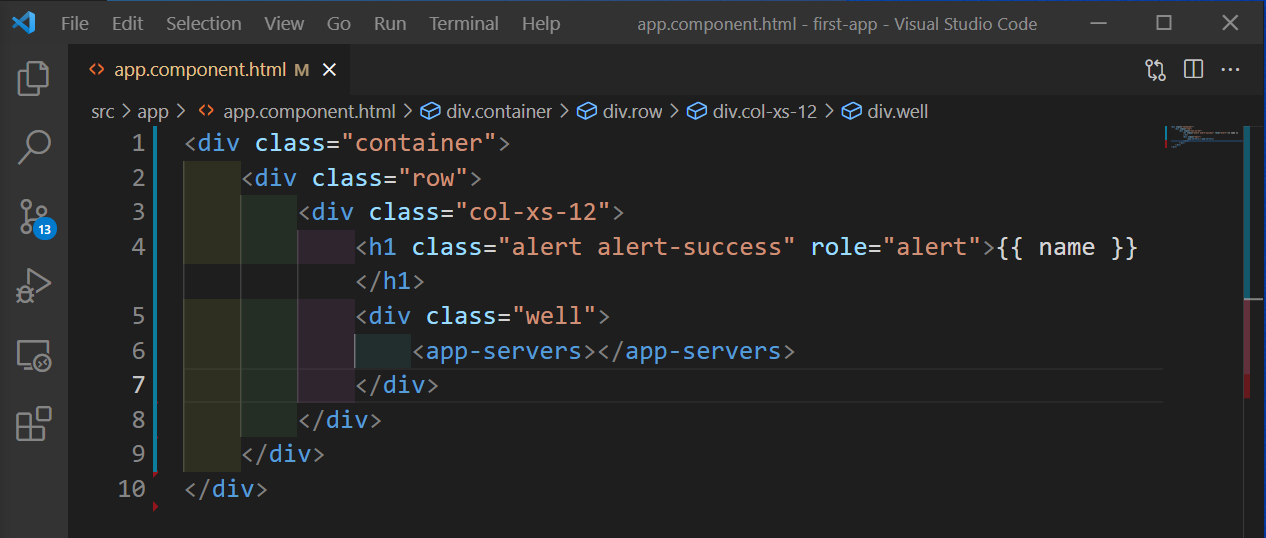 app.component.html
Now, in localhost we can see these beautiful bootstrap classes.
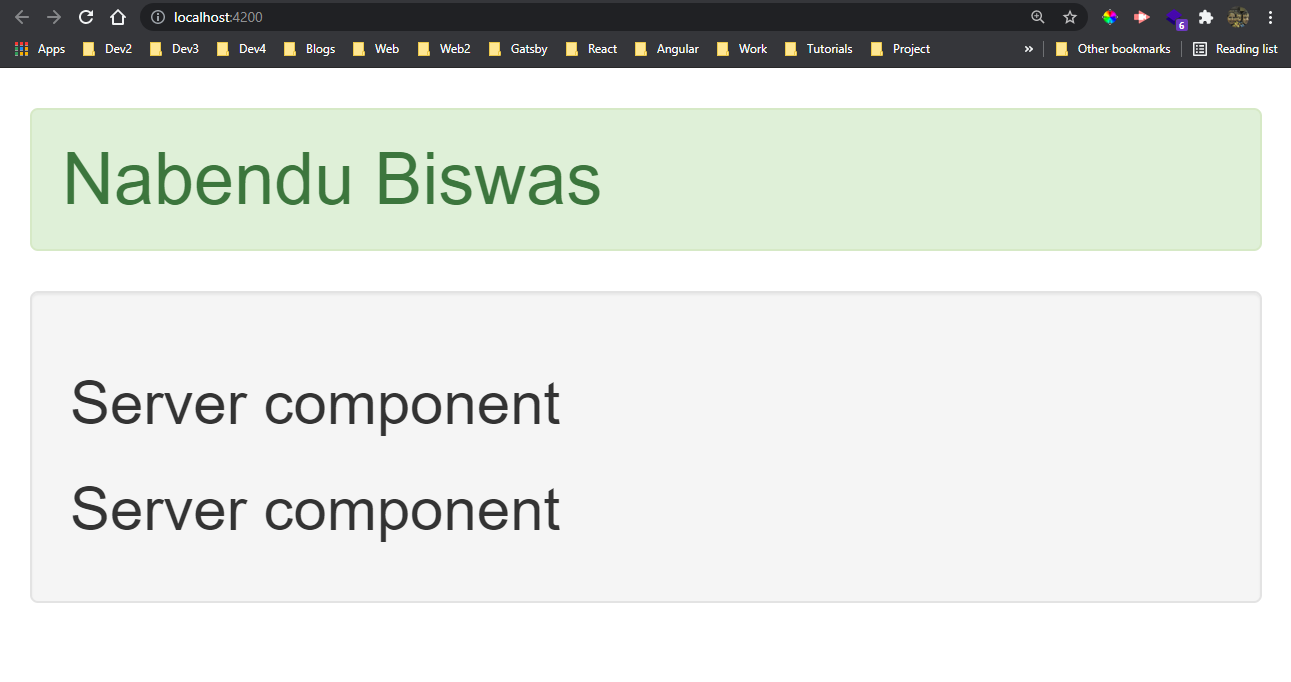 localhost
We can also change the style directly by adding styles in the app.component.css file.
h1{
    color: blue;
}
Now, the text is blue in color in localhost.
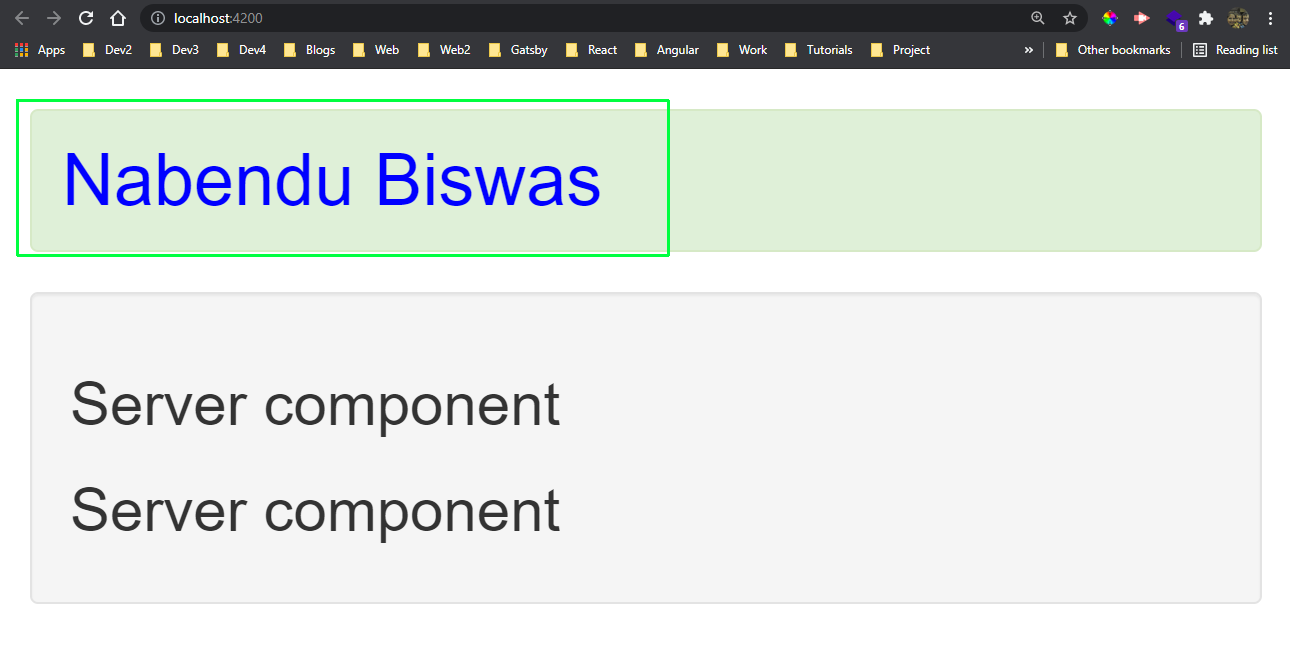 localhost
This completes part-1 of the Angular basics. See you soon in part-2. You can find the code for the same in this github repo.