Simple Angular Form - Template Driven
by Nabendu Biswas / February 26th, 2019
#javascript #angular #webdev
I had recently moved to Angular at work after working in React for quite sometime. Unlike React where we generally use third party form components like Redux Forms, angular have all things out of the box. It have two type of forms — Template Driven and Reactive. We will create a simple Template Driven here.
We need to build a form with below instructions.
Add a Form with the following Inputs (and Validators)
1) Mail address (should not be empty and should be an email address)
2) A Dropdown which allows the user to select from three different Subscriptions (“Basic”, “Advanced”, “Pro”) Set “Advanced” as Default
3) A Password field (should not be empty)
4) A Submit Button
Display a warning message if the Form is invalid AND was touched. Display a warning message below each input if it’s invalid. Upon submitting the form, you should simply print the Value of the Form to the Console.
We have a basic Angular 6 project as our starting point.
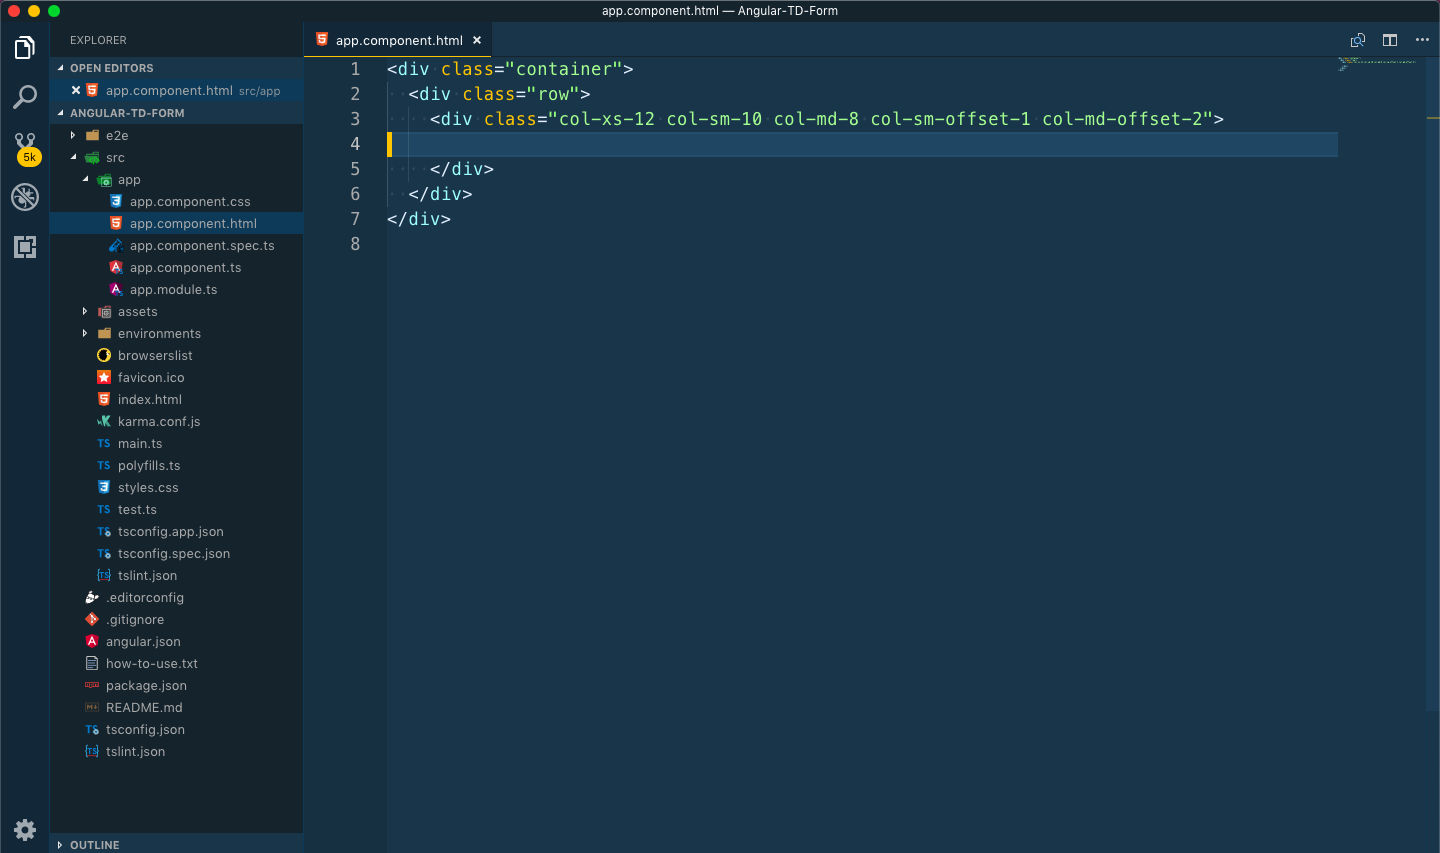 Basic Setup
Lets start with creating an email field. Notice that we are using bootstrap in our project, so using form-group and other bootstrappy thing to style.
    <form>
        <div class="form-group">
            <label for="email">Mail</label>
            <input type="email" id="email">
        </div>
    </form>
This is a plain old HTML email field. To register it as a control in our Angular form we will add ngModel to it. We will also require to have a name to it. So, our form now become like below.
    <form>
        <div class="form-group">
            <label for="email">Mail</label>
            <input
                type="email"
                id="email"
                ngModel
                name="email">
        </div>
    </form>
We should also have Validators in it. So, we will add the HTML validator required and the Angular validator email to it. Will also add a bootstrap class form-control to make it look nice.
    <form>
        <div class="form-group">
            <label for="email">Mail</label>
            <input
                type="email"
                id="email"
                ngModel
                name="email"
                required
                email
                class="form-control">
        </div>
    </form>
Now, with our ng serve running, our form looks like now.
 Basic layout
We will now move to our next task to create a dropdown. First let’s write the basic code with the bit of angular, we learned above.
    <div class="form-group">
        <label for="subscription">Choose a Subscription</label>
        <select name="subscription" id="subscription" ngModel class="form-control"></select>
    </div>
We now need to add the options, which we could hard-code but there is an alternative. We will go to out ts file and create an subscription array.
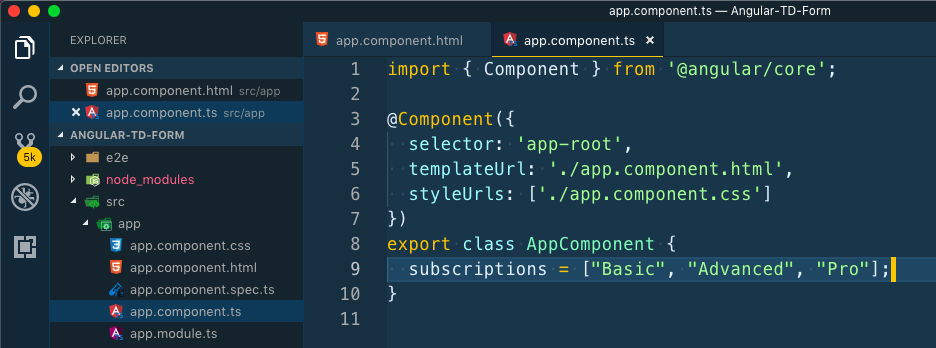 subscription array
Now, we will use ngFor in our html to loop through the array for the three options. We will then bind the value by property binding to the current iteration. And also output it for the user to see something.
    <div class="form-group">
        <label for="subscription">Choose a Subscription</label>
        <select name="subscription" id="subscription" ngModel class="form-control">
        <option
            *ngFor="let subscription of subscriptions"
            [value]="subscription">{{subscription}}</option>
    </select>
    </div>
As per the instructions, we also need to set a default value for the dropdown. We will again do it in the ts file.
    export class AppComponent {
        subscriptions = ["Basic", "Advanced", "Pro"];
        selectedSubscription = "Advanced";
    }
Now, to show it we will have to use property binding on ngModel in our select to point to the default value. Our completed code for select now look like below.
    <div class="form-group">
        <label for="subscription">Choose a Subscription</label>
        <select
            name="subscription"
            id="subscription"
            [ngModel]="selectedSubscription"
            class="form-control">
                <option
                  *ngFor="let subscription of subscriptions"
                    [value]="subscription">{{subscription}}</option>
        </select>
    </div>
And our form now includes the dropdown with a default value.
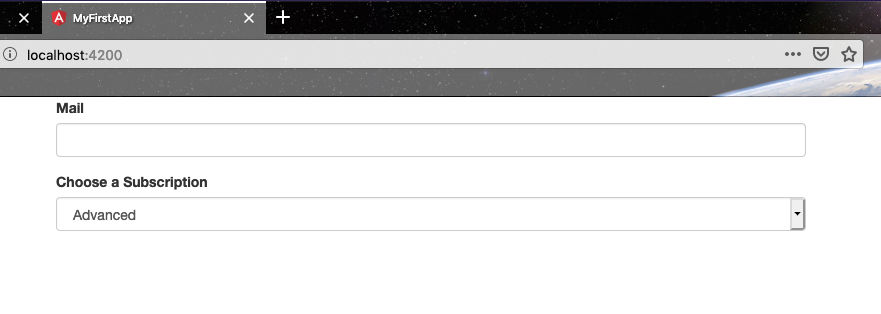 Form with defaults
Now, lets quickly add the password and the button fields.
    <div class="form-group">
        <label for="password">Password</label>
        <input
            type="password"
            id="password"
            ngModel
            name="password"
            class="form-control">
    </div>
    <button class="btn btn-primary" type="submit">Submit</button>
Now, we will add the warning messages. We will add a message below email, which will only be seen when mail input is invalid and touched. The help-block, is a just a bootstrap thing.
<span class="help-block">Please enter a valid email</span>
We will then add a local reference #email and bind it to ngModel to get access to this control. And then will add *ngIf to show the message, when email is not valid and touched. Our complete code for email will be like below.
    <div class="form-group">
        <label for="email">Mail</label>
        <input
            type="email"
            id="email"
            ngModel
            name="email"
            required
            email
            class="form-control"
            #email="ngModel">
        <span
            class="help-block"
            *ngIf="!email.valid && email.touched">Please enter a valid email</span>
    </div>
It shows the message on giving an invalid email.
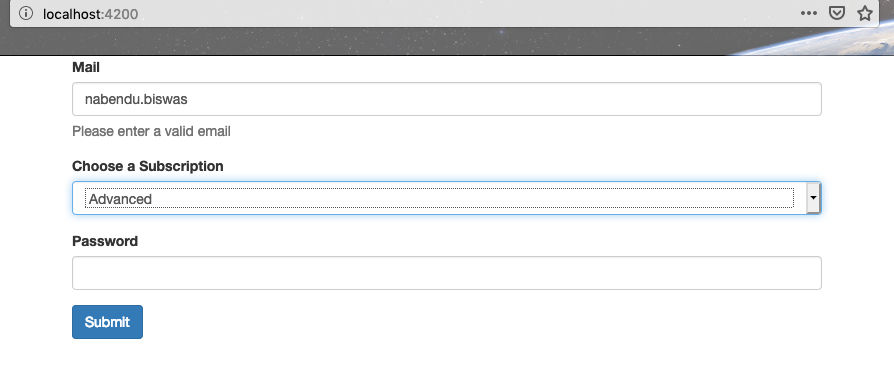 invalid email
We will now also add similar code to password field.
    <div class="form-group">
        <label for="password">Password</label>
        <input
            type="password"
            id="password"
            name="password"
            ngModel
            required
            class="form-control"
            #password="ngModel">
        <span
            class="help-block"
            *ngIf="!password.valid && password.touched">Please enter a password</span>
    </div>
Now, let’s add validation to the whole form. For this we have to add local reference to the form
<form #signupForm="ngForm">
And then display a message just above the button
    <p *ngIf="!signupForm.valid && signupForm.touched">The form is invalid!</p>
    <button class="btn btn-primary" type="submit">Submit</button>
Now, we will add the logic to display message when we will submit the form. We will add a click handler on submit.
<form #signupForm="ngForm" (ngSubmit)="onSubmit()">
Now, we will go to the ts file to implement this method. To get access to the form elements we have to use ViewChild. And then display it in console. Our complete ts file is below.
    import { Component, ViewChild } from '@angular/core]';
    import { NgForm } from '@angular/forms';

    @Component({
        selector: 'app-root',
        templateUrl: './app.component.html',
        styleUrls: ['./app.component.css']
    })
    export class AppComponent {
        subscriptions = ["Basic", "Advanced", "Pro"];
        selectedSubscription = "Advanced";
        @ViewChild('signupForm') sgForm: NgForm;

    onSubmit() {
            console.log(this.sgForm.value);
        }
    }
Now, our form is completed and we satisfied all the criteria. Time to test the form and click that submit button.
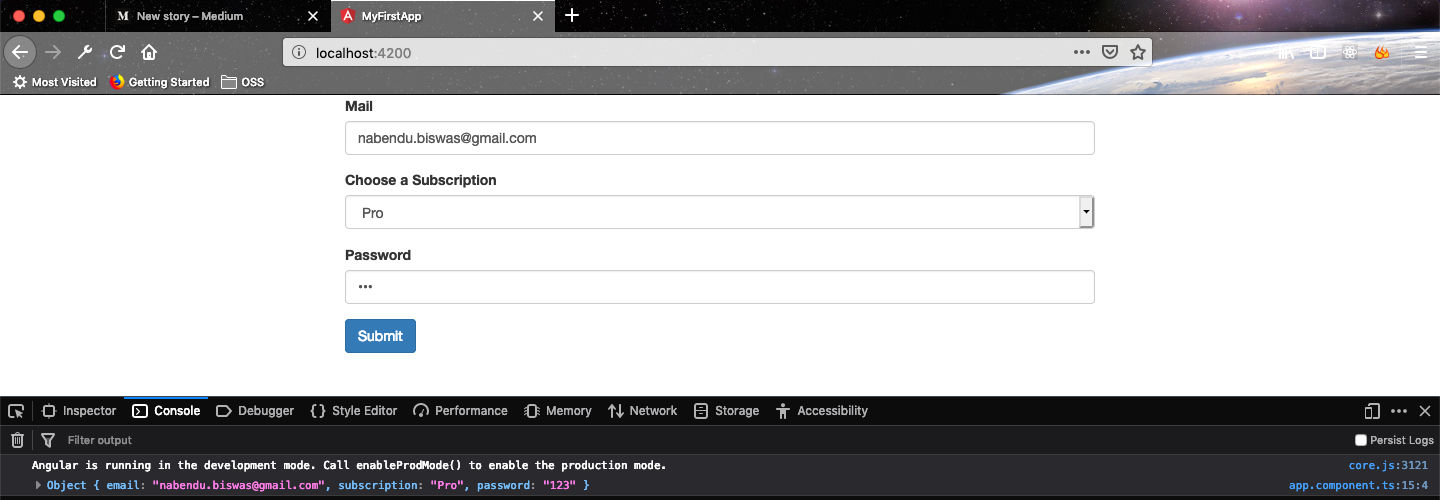 The final product
The complete code for the same can be found here.
Hoped, you enjoyed creating Template driven form with Angular.