Creating Blog site using Stackbit and Gatsby — 6
by Nabendu Biswas / February 8th, 2020
#gatsby #react #javascript
Series: Gatsby-stackbit
Welcome to part-6 of the series. As, you might know from earlier part that i am upgrading by personal blog site https://nabendu.blog/
One of the main task remaining from last post was to add advertisements to the site.
I should tell it’s a great pain to add advertisements to a Gatsby site as all the html files are generated on build. And most advertisement networks provide you javascript scripts to put in the head and the body tag.
In part-5 i had applied for google adsense account, but as my content is on three sites(even though i had canonical links to my primary domain https://nabendu.blog/ from dev and medium, it was rejected.
After searching the internet i found this useful article containing the details of other popular ad networks.
I applied for Media.net, InfoLinks and RevenueHits and got approval from all of them. I also applied for Carbon Ads, which is nowadays very popular with developers but didn’t got the approval yet.
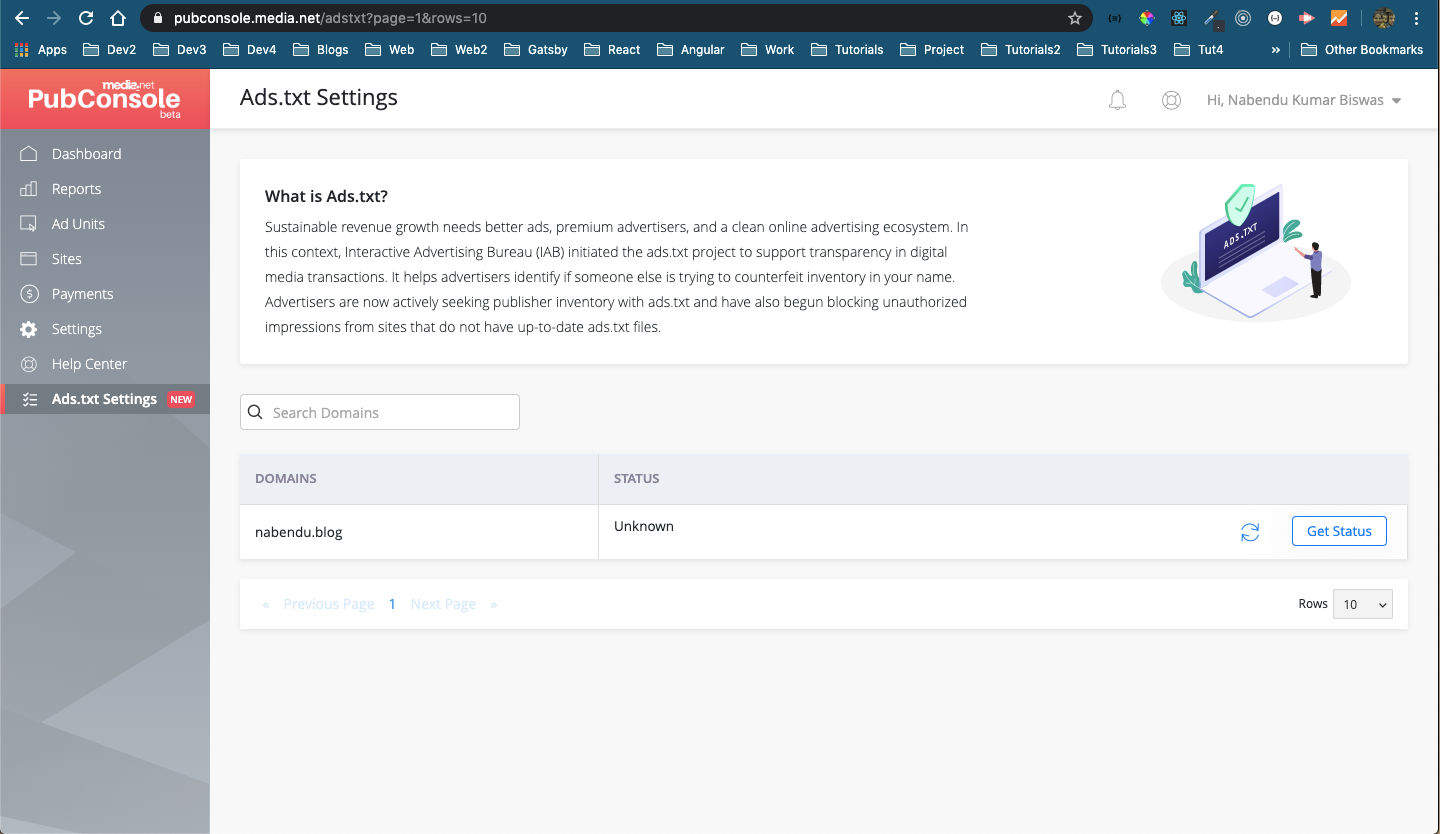
I decided to add Media.net ads to my site as they serve ads from yahoo network. Once you login to media.net dashboard, you need to add a file Ads.txt in your site root directory.
 Ads.txt
Rest of the chapter is exclusive content and is from my book Foundation Gatsby Projects.
The book can be purchased from Apress site here

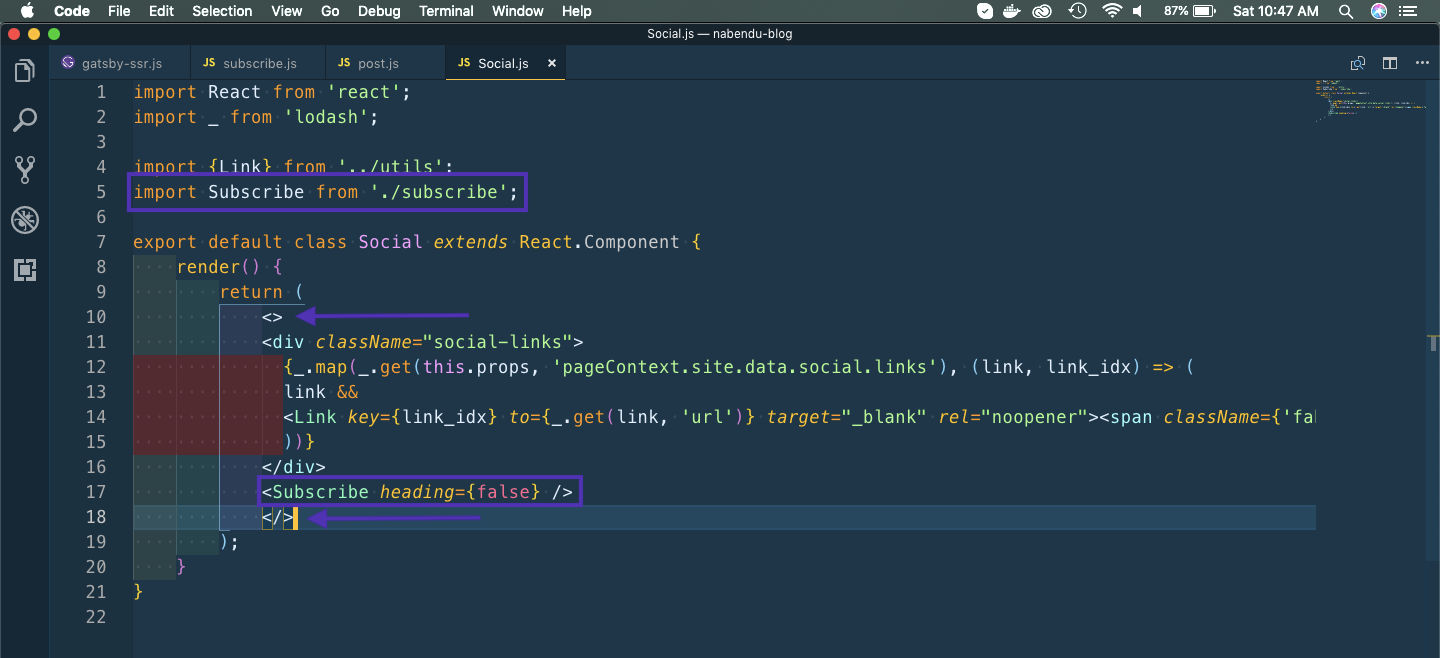
Next to show the Subscribe component in the Sidebar, i had updated the Social.js file. I had included it in the file, followed by adding a React fragment and added it with passing the props heading as false.
 Social.js
And it is showing the mini Subscribe component in the Sidebar. Please do subscribe to my weekly newsletter, which will contain the updates on my posts.
You can find the code till this at my github repo here.
Hope to see you in this series again, when i make some more changes to my blog site.