Create Youtube Player in ReactJs — Part 1
by Nabendu Biswas / April 21st, 2018
#react #beginners #javascript
Series: Youtube-Player-React
My journey with react started more then a year back. I was already doing some web-development with HTML, CSS , Javascript for past 7 years. Then completed the Freecodecamp frontend certification also. React came like this cool kid in frontend development, which was a must then. So, i jumped into it and purchased “Modern React with Redux” from Stephen Grider and learned a lot from it. Also, learned a lot from React for beginners by Wes Bos. I highly recommend both and this article is based on what i learned from both and my past 9 months a React developer for my company.
In React we have to divide our project as small components. Then write those components and stick it into the main App component. We are making a Youtube player app in react. So, we design the layout and create components for different parts.
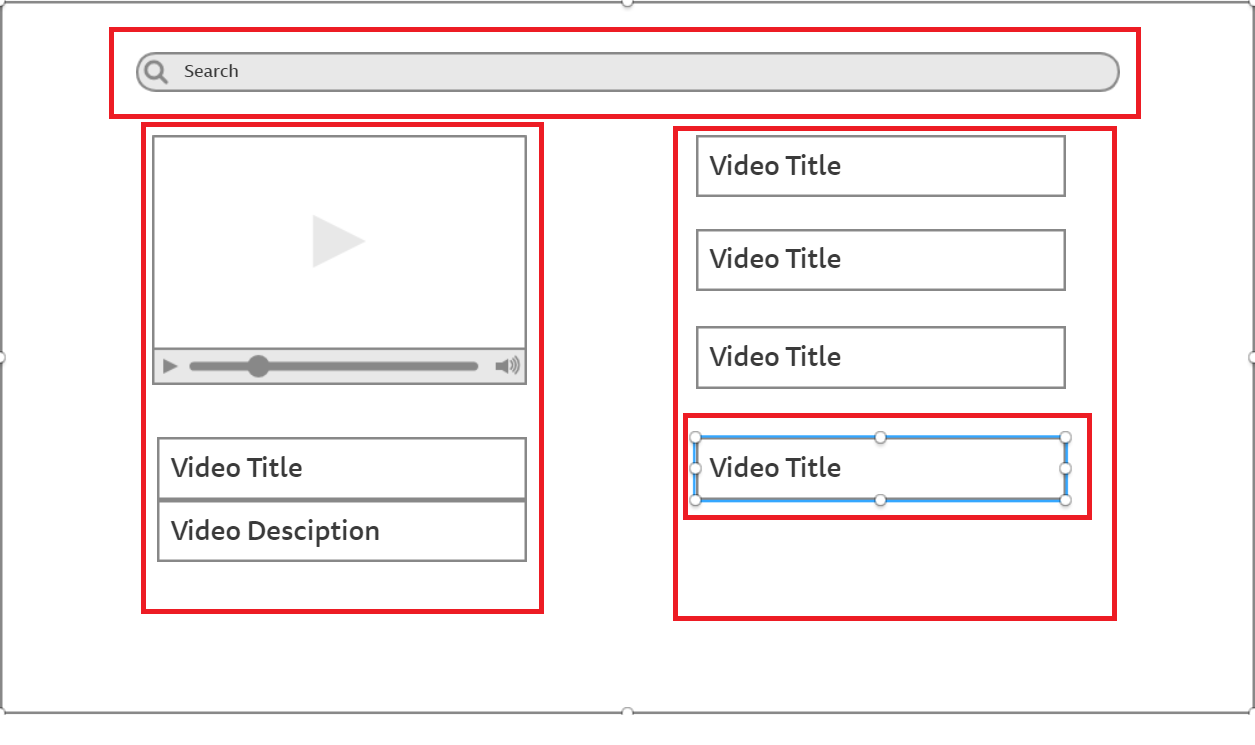 Wireframe with components in RED
As in the above diagram, we have divided the App into four components — Search bar, Video Player, Video list and Video list items.
We will create the react app using the awesome create-react-app from facebook. Search for it, depending on your npm version you have to follow different process.
For npm 5.1 and earlier and for npm 5.2 and up
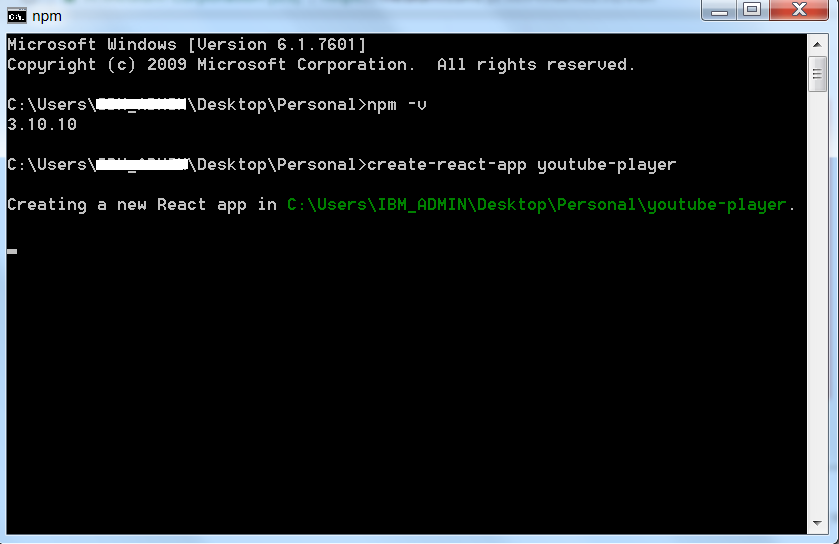 create-react-app
It will take 2–3 mins to create the basis boilerplate app. The cd into it and do “npm start”
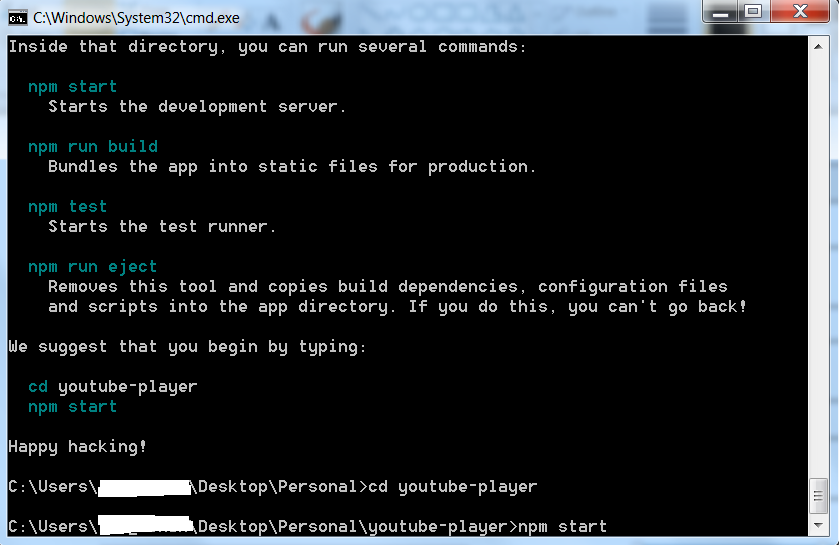 cd into it and npm start
It will start the app on http://localhost:3000/ and show the basic boilerplate, which we will change soon
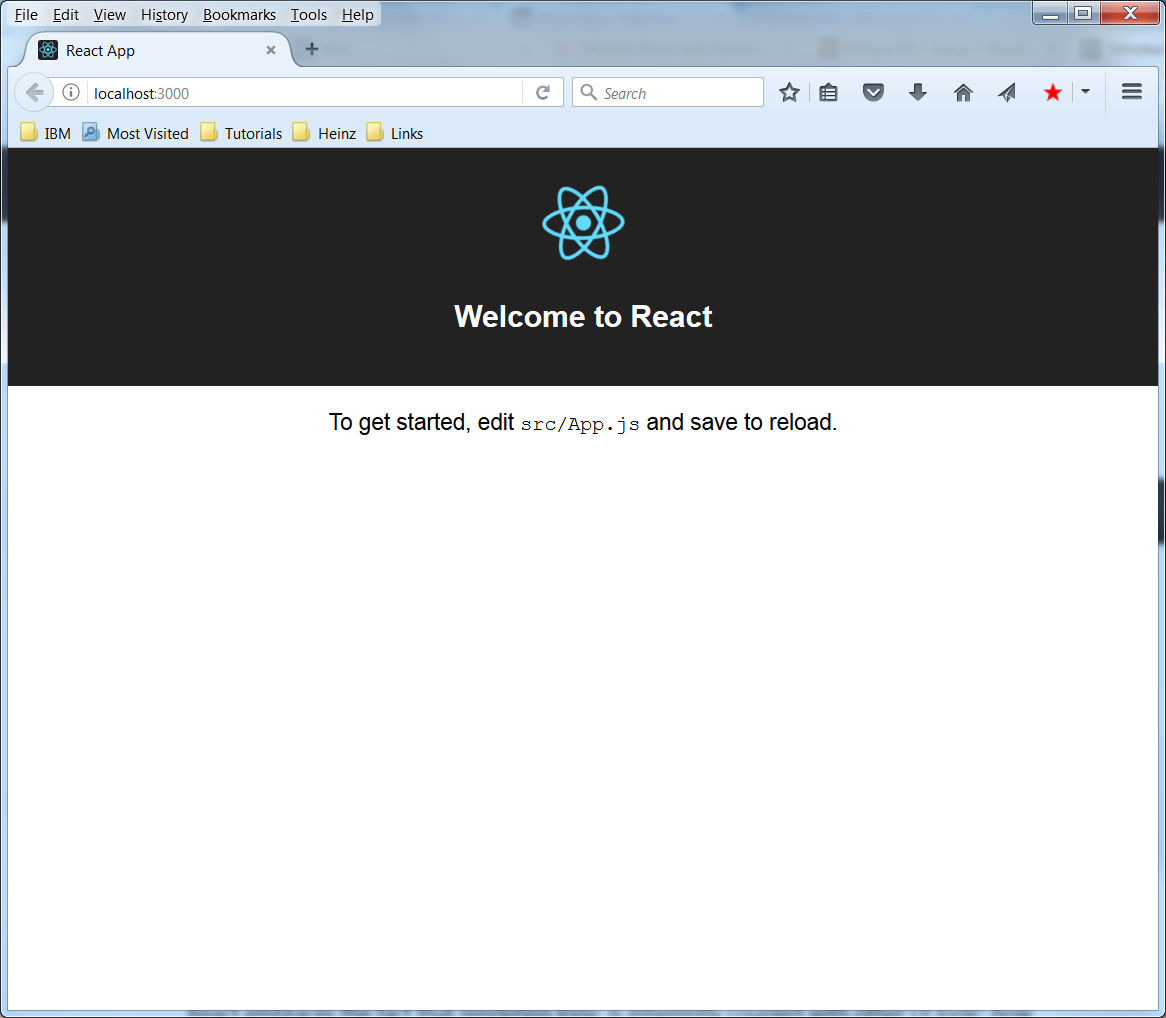 Basic boilerplate
The index.js renders all these from App.js and show it in the “root” in index.html element by -
ReactDOM.render(<App />, document.getElementById(‘root’));
So, we will start our coding from App.js which is our main component holding the other components mentioned earlier like Search Bar, Video Player etc.
Open the folder youtube-player using your favorite code editor. I am using VSCode.
Update App.js as below.
import React, { Component } from ‘react’;
    class App extends Component {
    render() {
        return (
                <div>
                    Youtube App
                </div>
            );
        }
}
export default App;
Create a new folder called components inside src and create four files for, our four components in it.
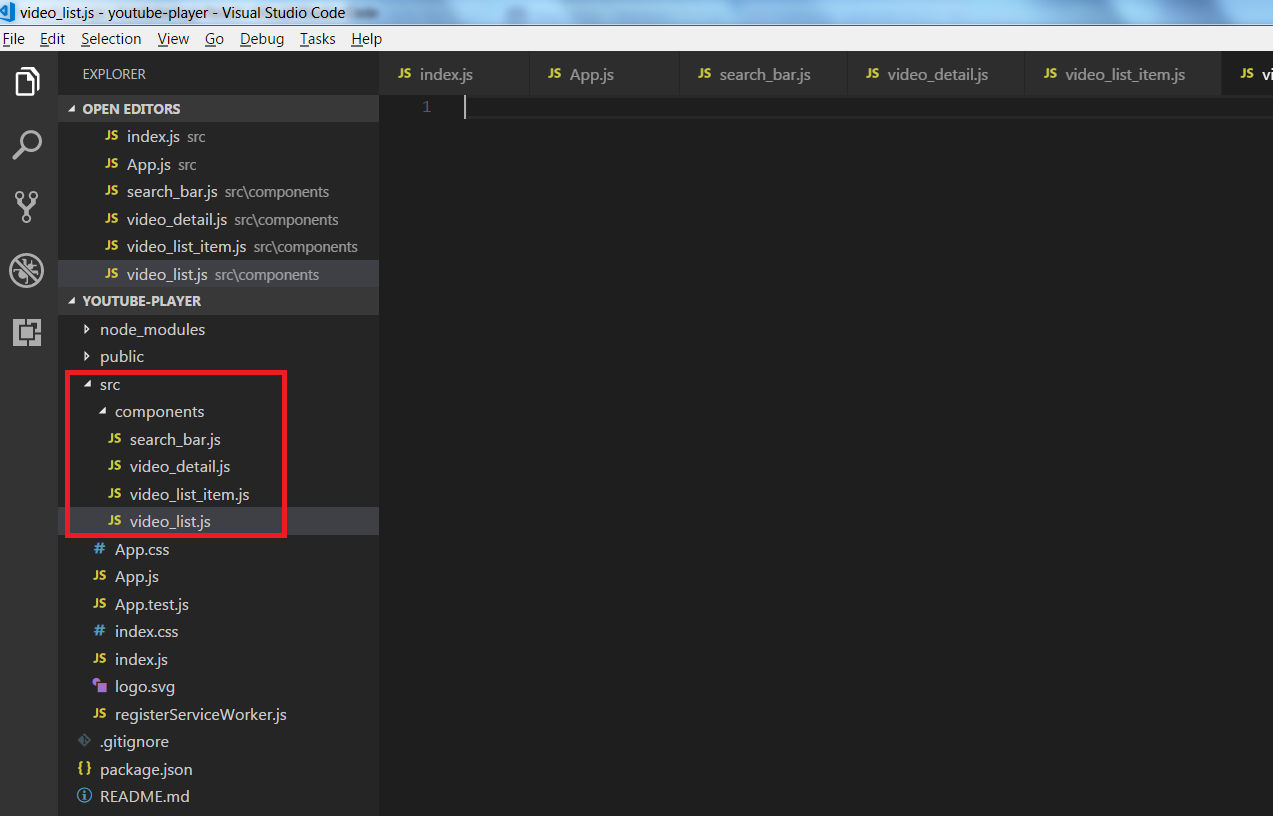 Creating files
As we will add youtube to our app, head over to https://console.developers.google.com , to get the API keys.
Search for youtube and then select YouTube Data API v3
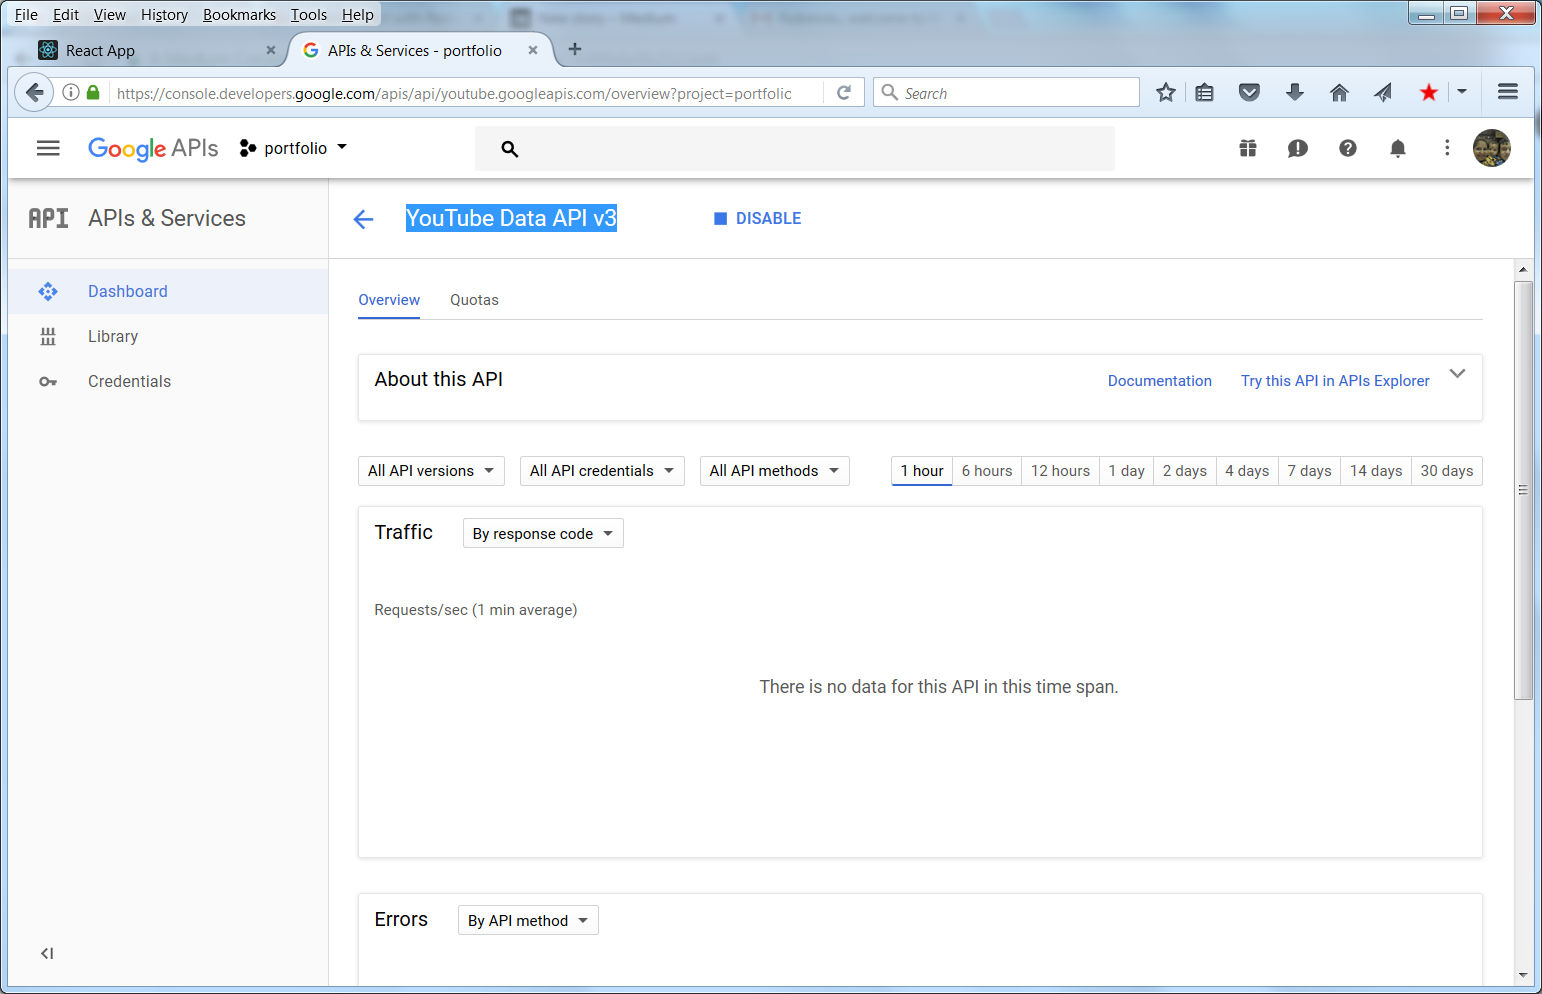 YouTube Data API v3
You have to “Enable API” and then head to Credentials and click “Create Credentials->API Key”
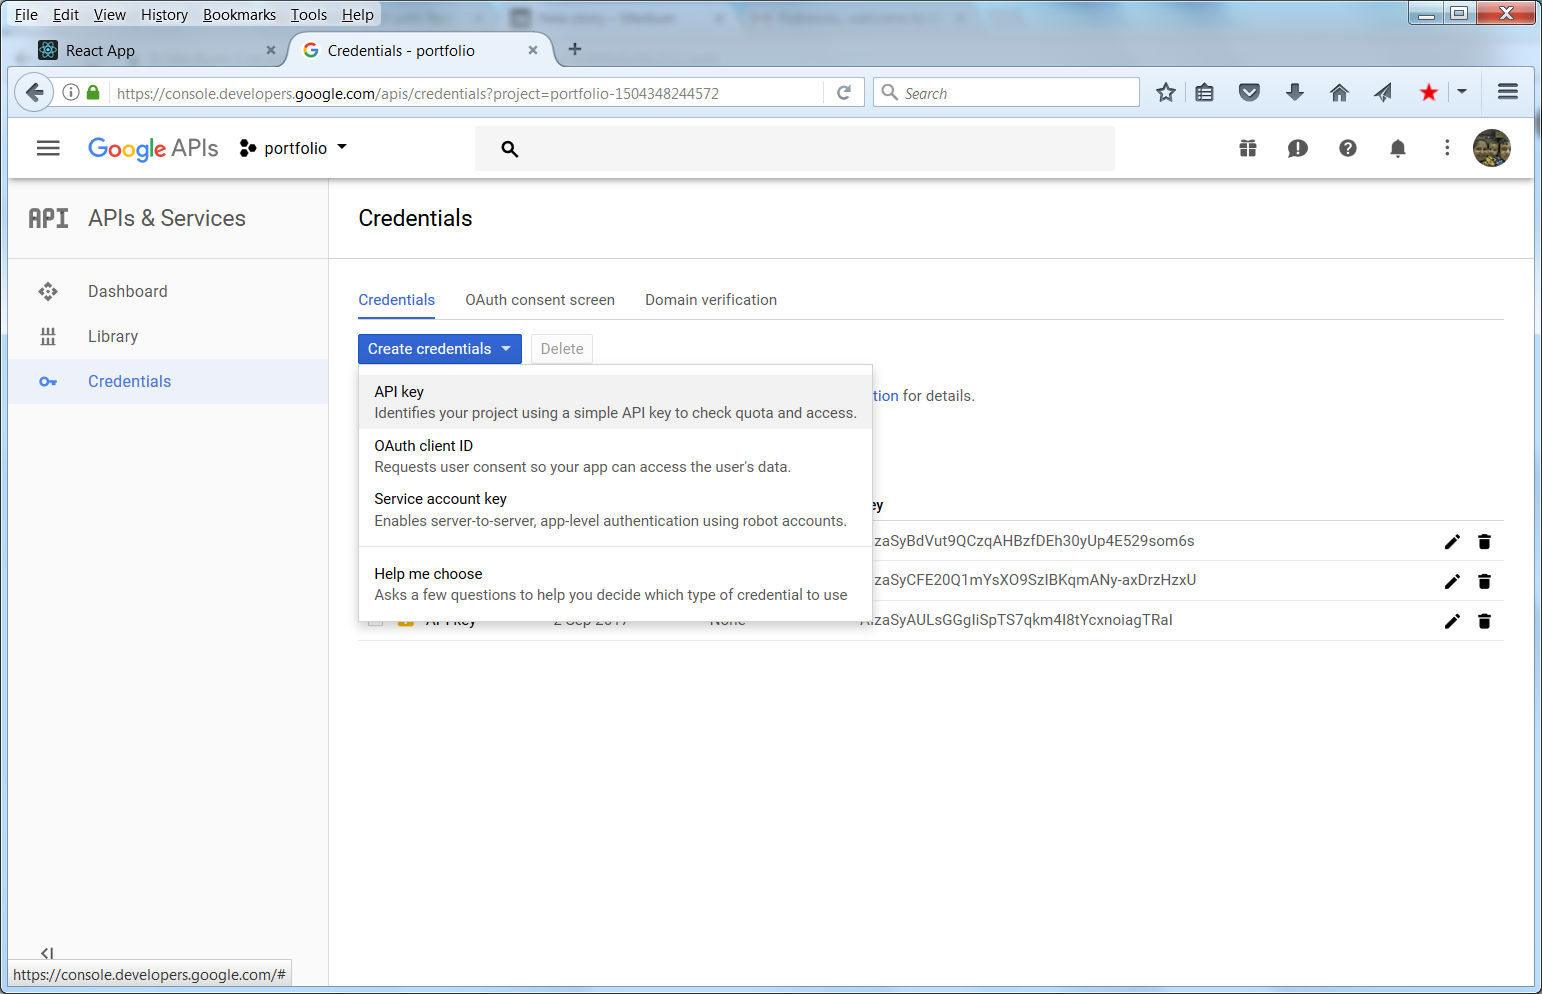 Create Credentials->API Key
Copy the api key to your App.js
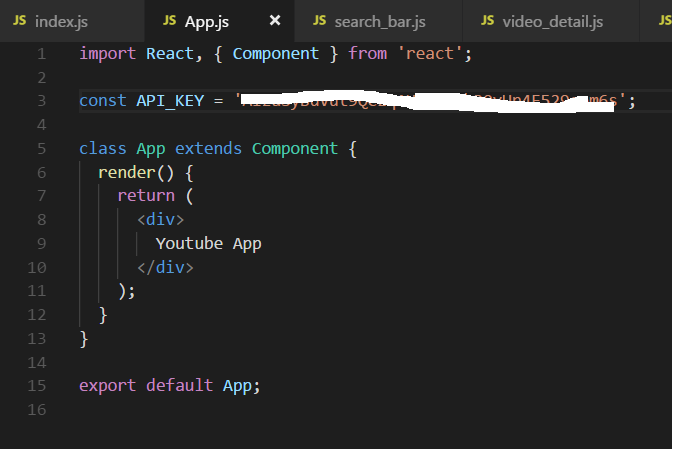 Copy the API key
We will install a package called youtube-api-search to help in searching, so head over to your command prompt and install in project through npm by
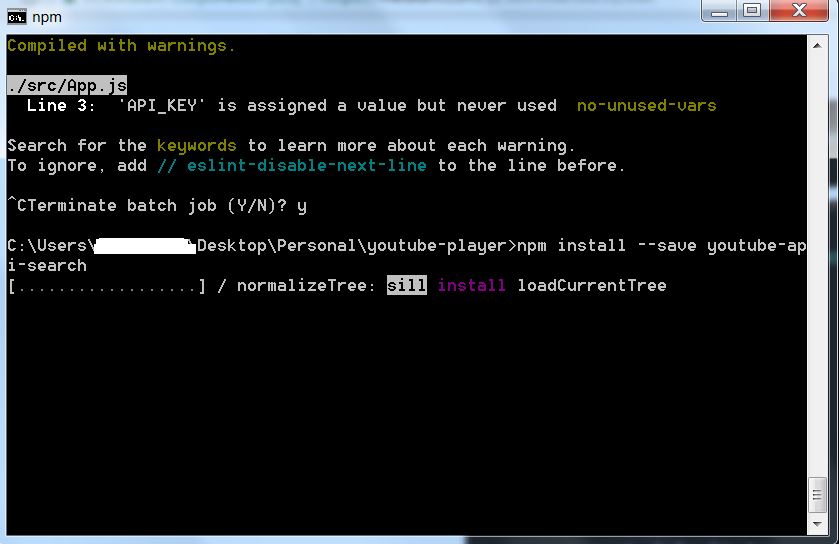 *npm install — save youtube-api-search*
We will start creating our SearchBar component now. Head over to it and change like below to create a class based component-
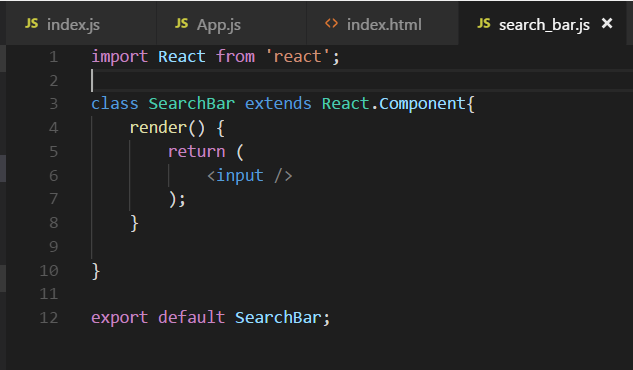 search_bar.js
Now add this component to our App.js by adding below lines
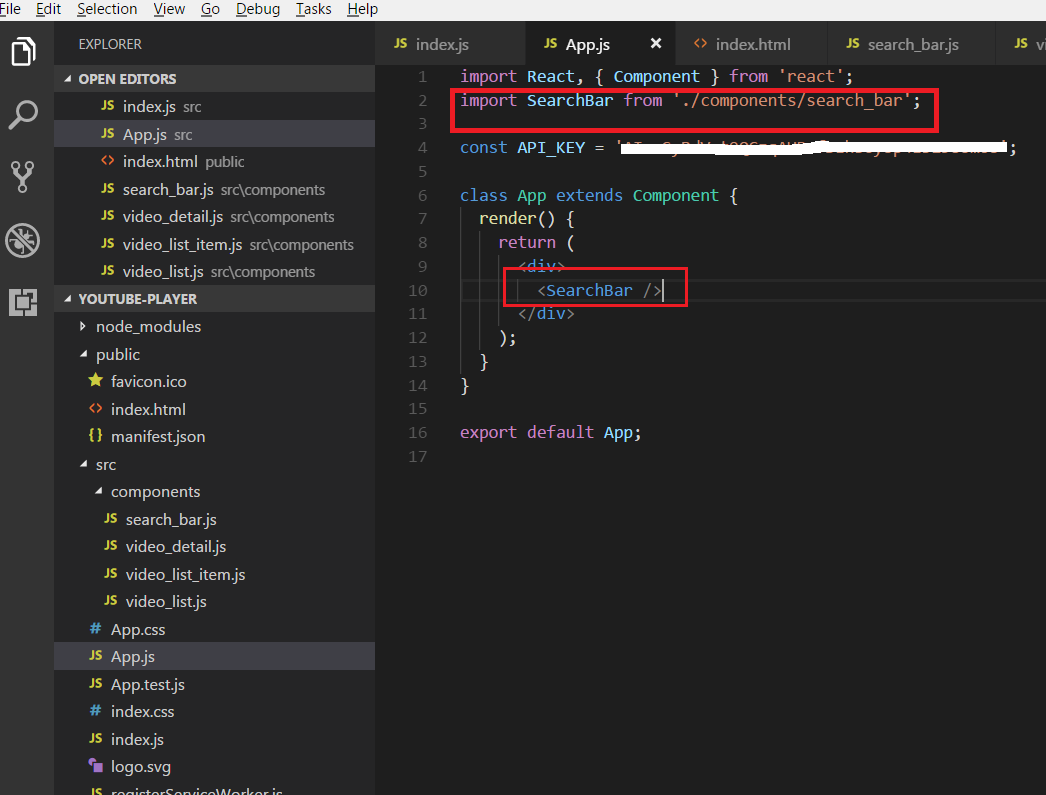 import SearchBar and display it.
Head over to the react-app, it shows this input box now. You should have npm start running for it.
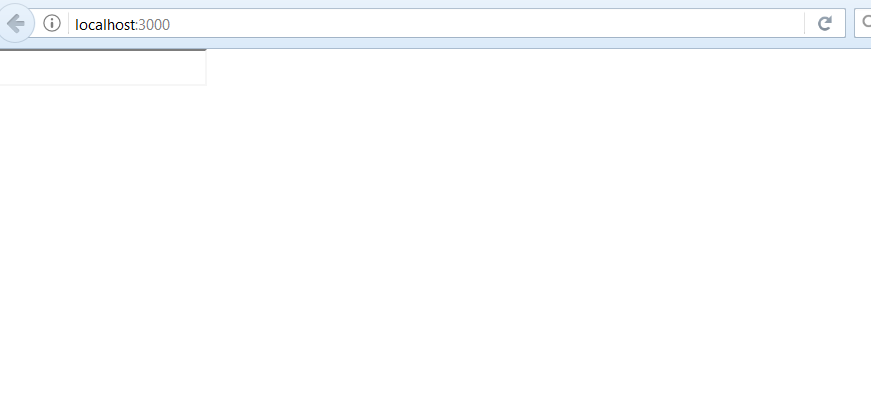 Showing input box
Now we will complete the input field in our search_bar.js and it will have some new logic, which i will explain next.
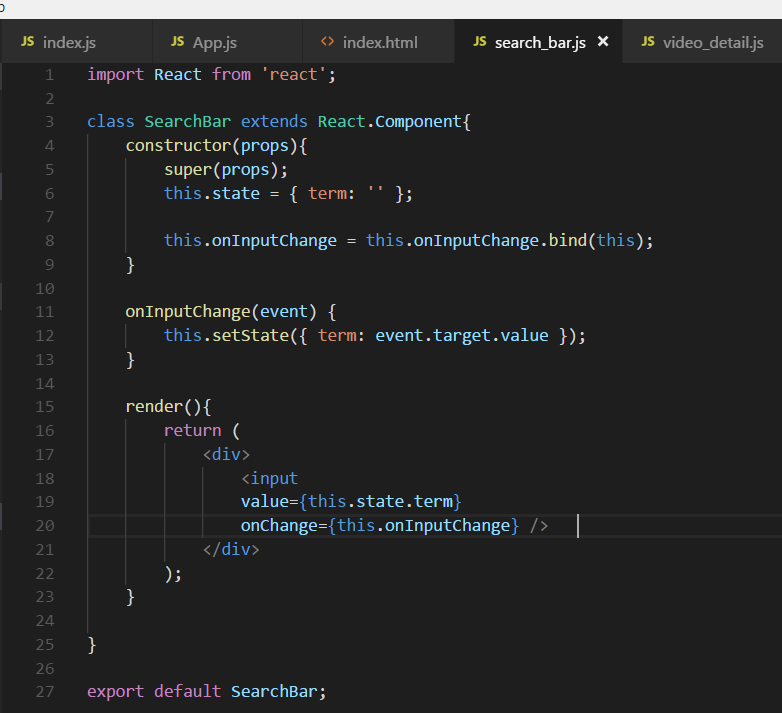 With state and onChange
We are using state which is one of the key concept of React. It is basically an object of this file, which holds various key-value pairs. It is initialized in constructor by statement like this.state = { };
But when we need to change it, we can do only by statement like this.setState({ });
In React whenever the state is changed the render function is run again.
Now let go through the flow to understand how state and input box works. We are using ES6 constructor, which will run first when the SearchBar is called first from index.js . Inside constructor, we are setting our initial state object by this.state = { term: ‘’ }; which set a key-value pair. The value for key term is empty string. Ignore the next line for now, will come back to it soon.
After the constructor is run, then the render() will run. It have an input field for which value={this.state.term}, so we are setting it to value of term. This is empty string as value to term is ‘’. Notice, we are using {} because that’s how we show JSX inside our file.
We have an onChange={this.onInputChange}, this is a change handler but in react we add on to it. Other handlers are onClick, onFocus etc.
Now this onChange handler will wait until the user types something in input field. Suppose the user types ‘a’ in input box, it will trigger the function onInputChange.
Inside onInputChange we are using this.setState({ term: event.target.value }); It is changing the state object and setting term equal to event.target.value, which is a plain HTML event which triggered this. It is ‘a’ in this case, so term : ‘a’
Now, in React when we change the state the render() runs again. So, it will run and set the value in input with value={this.state.term} . Now the value is ‘a’ for the key term.
This step will repeat everytime we hit add an alphabet to input field and term gets updated to that.
One last this, the line this.onInputChange = this.onInputChange.bind(this); in constructor is required, or else in onChange where we are using this.onInputChange it won’t recognize it. The statement means we are binding this value to onInputChange
Hope, this article will be helpful for some.