Deploying React NextJS App in Heroku
by Nabendu Biswas / July 13th, 2019
#javascript #react #graphql
Series: React-nextjs
Now that we have completed our Restaurant Billing app, it’s time to deploy it to the web. You can find my earlier article related to the same Restaurant Billing App built in React NextJS
Most apps have just the frontend to deploy or the frontend and backend to deploy. But our app have three pieces, so we need 3 deploys.
Prisma Server— MySQL database
Yoga Server — Mutation and Query Resolvers
React App — Next.js app
We will use heroku for this, as we can deploy all three there. We will start with Prisma
Prisma Server
First go to you Prisma dashboard and goto Servers. And then click on ADD SERVER.
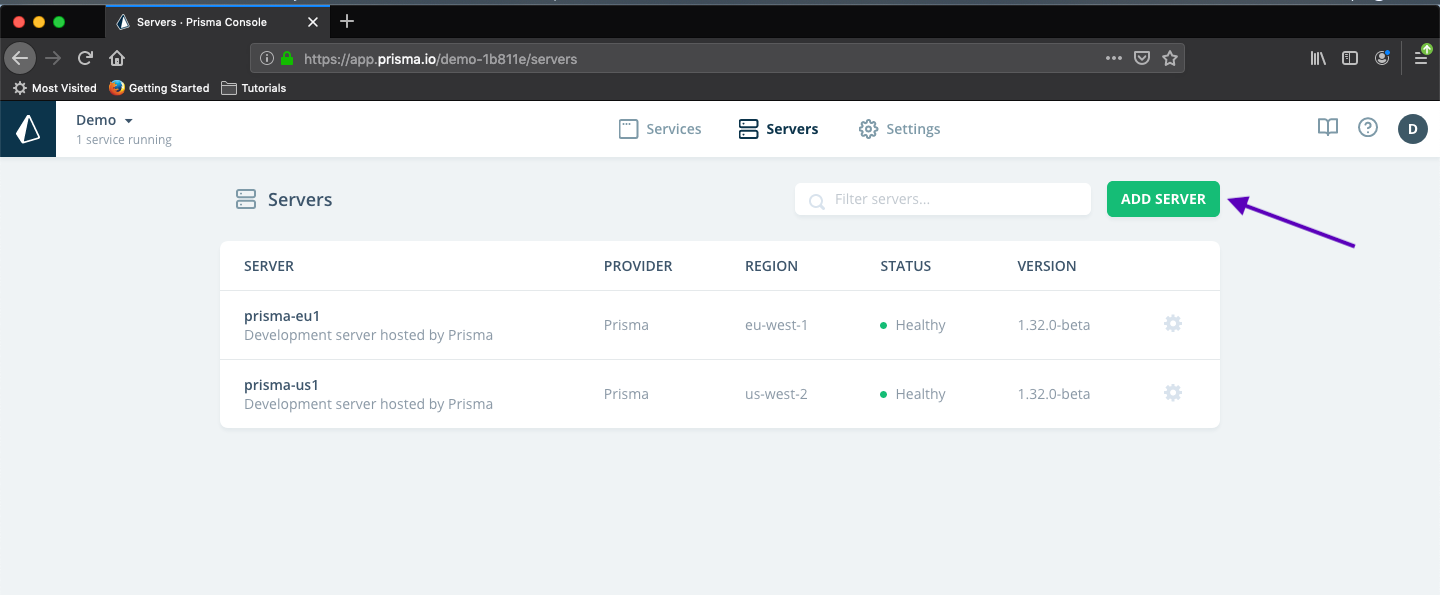 ADD SERVER
After this in this screen give the Server a name and description.
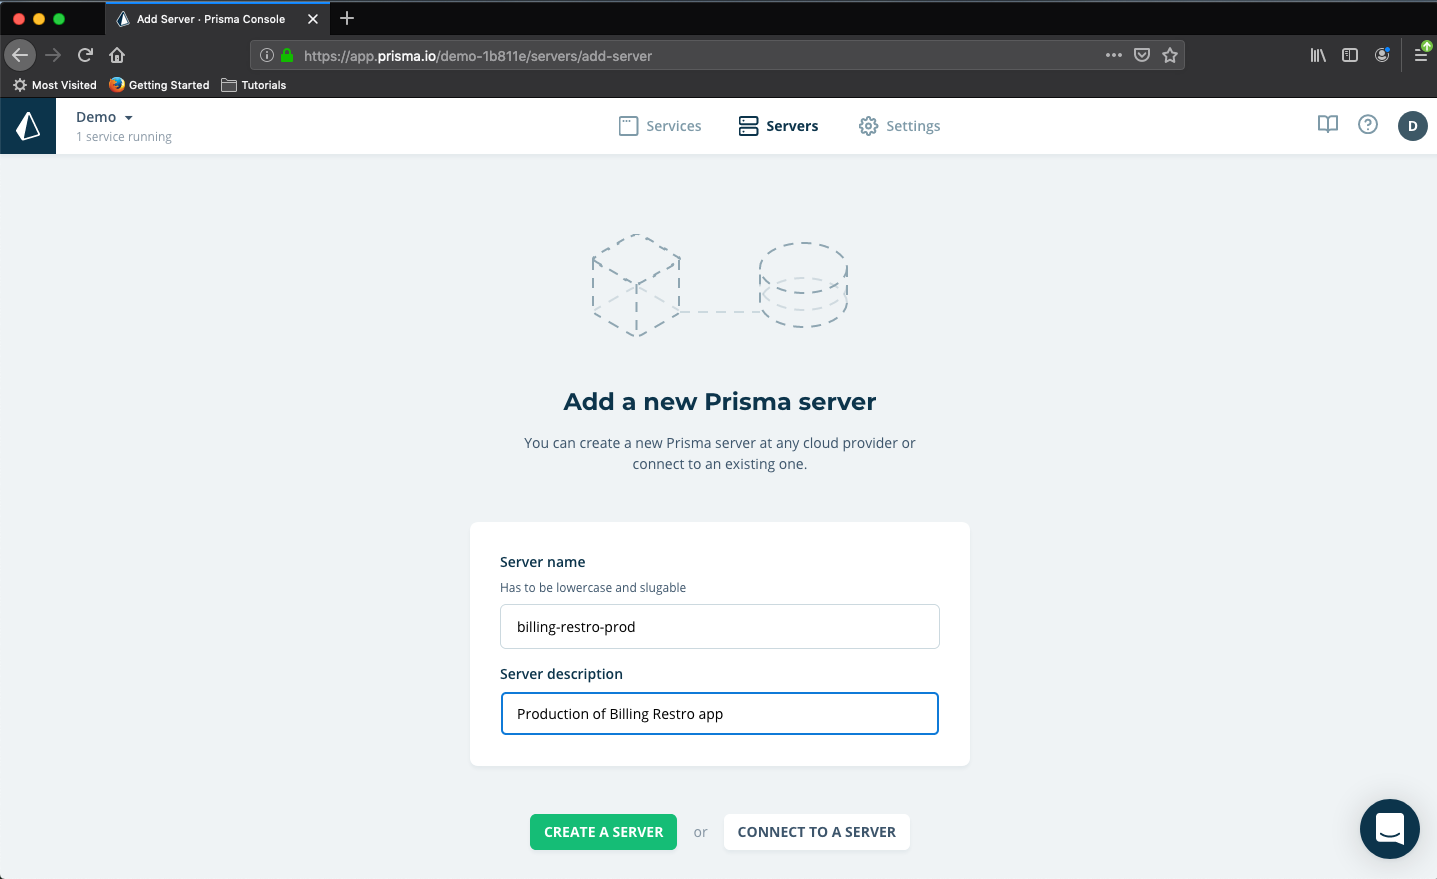 New Prisma Server
Then click on Create a new database in this screen.
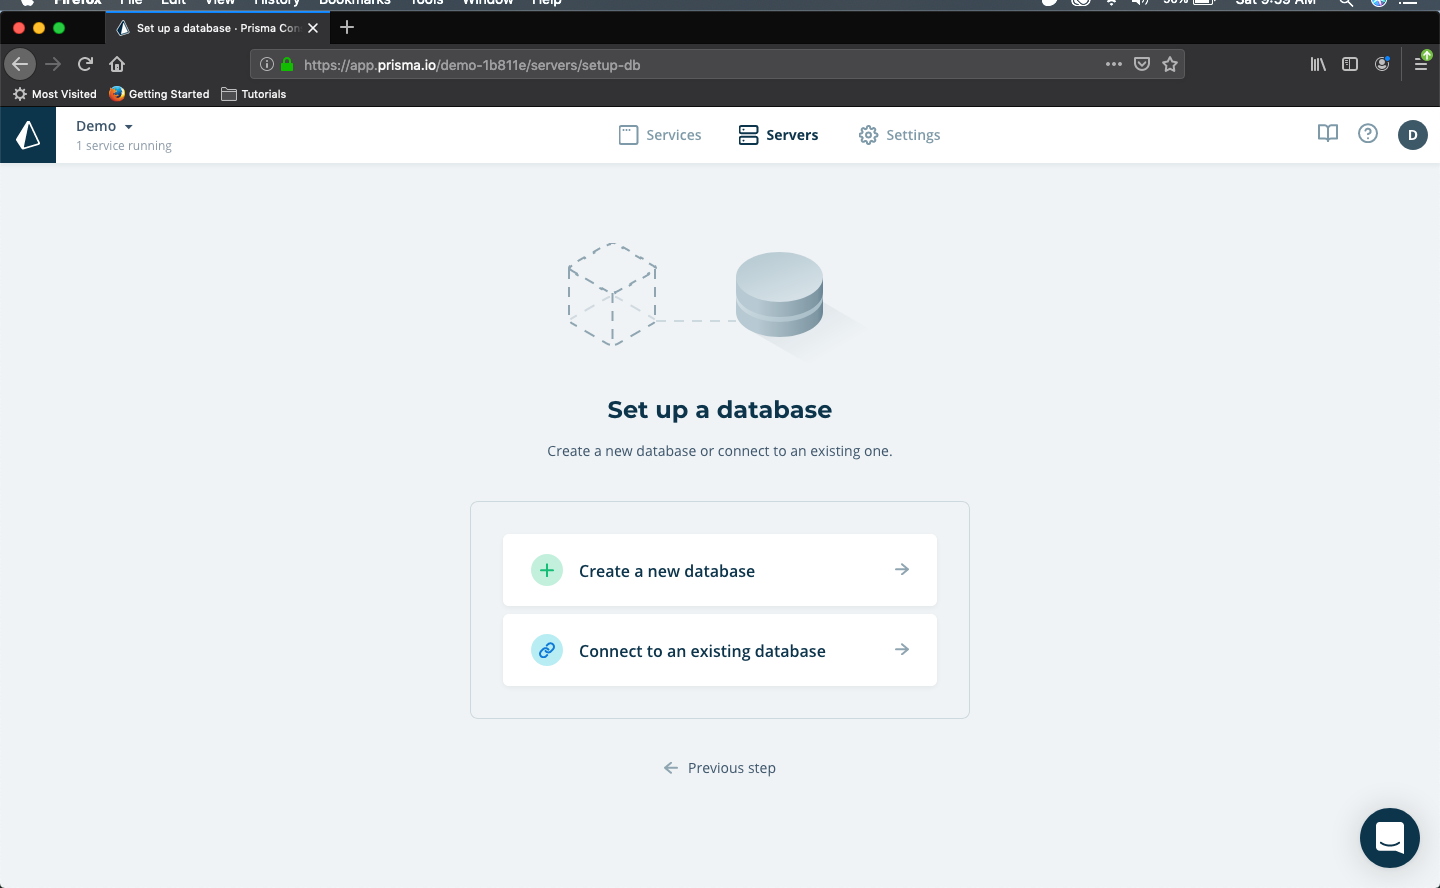 Set up a database
then in Choose database provider, we choose Heroku
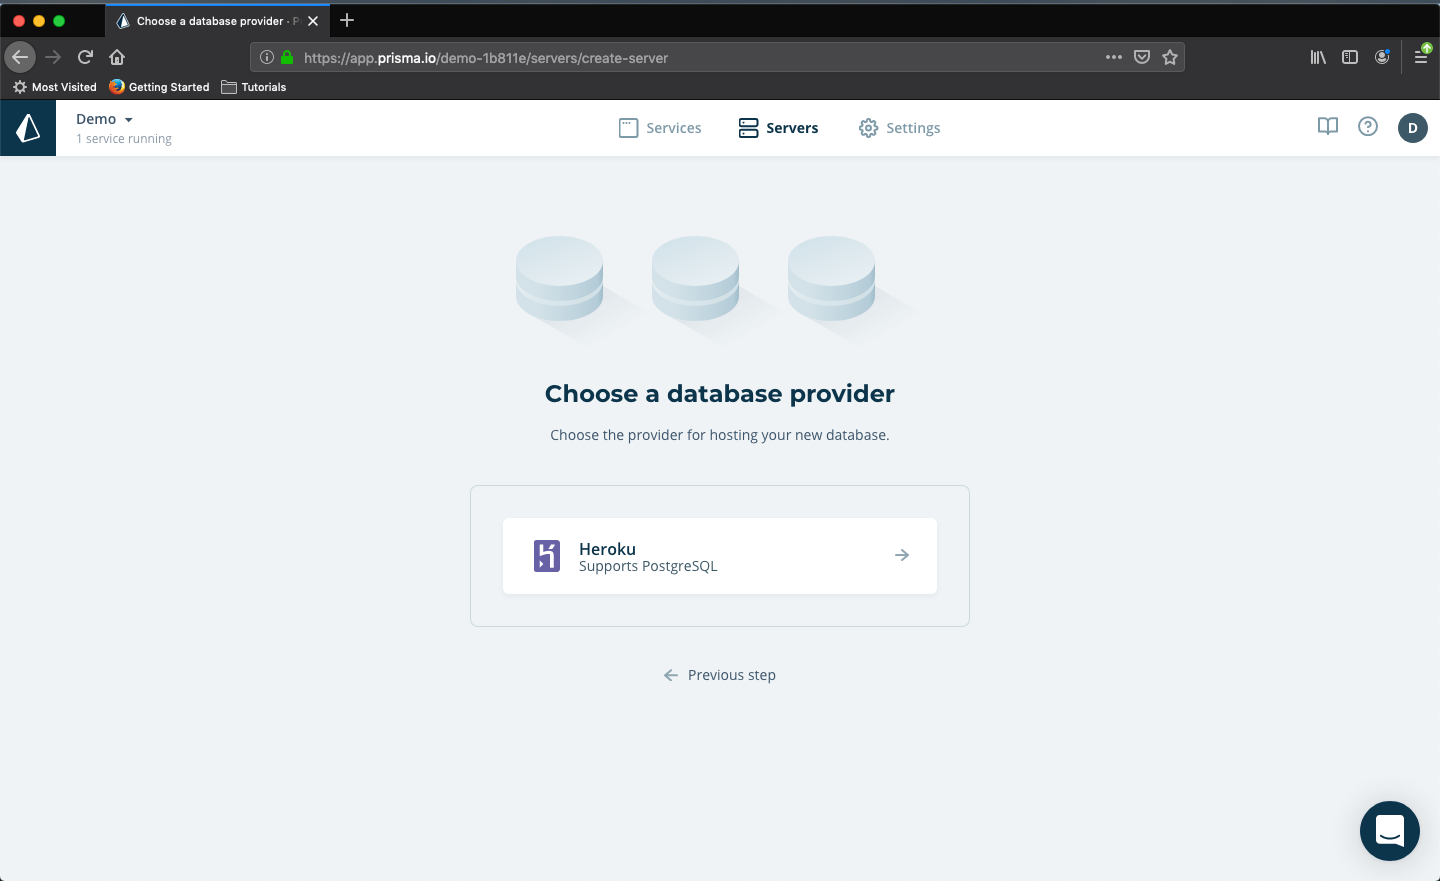 Choose database provider
then click on Connect to Heroku
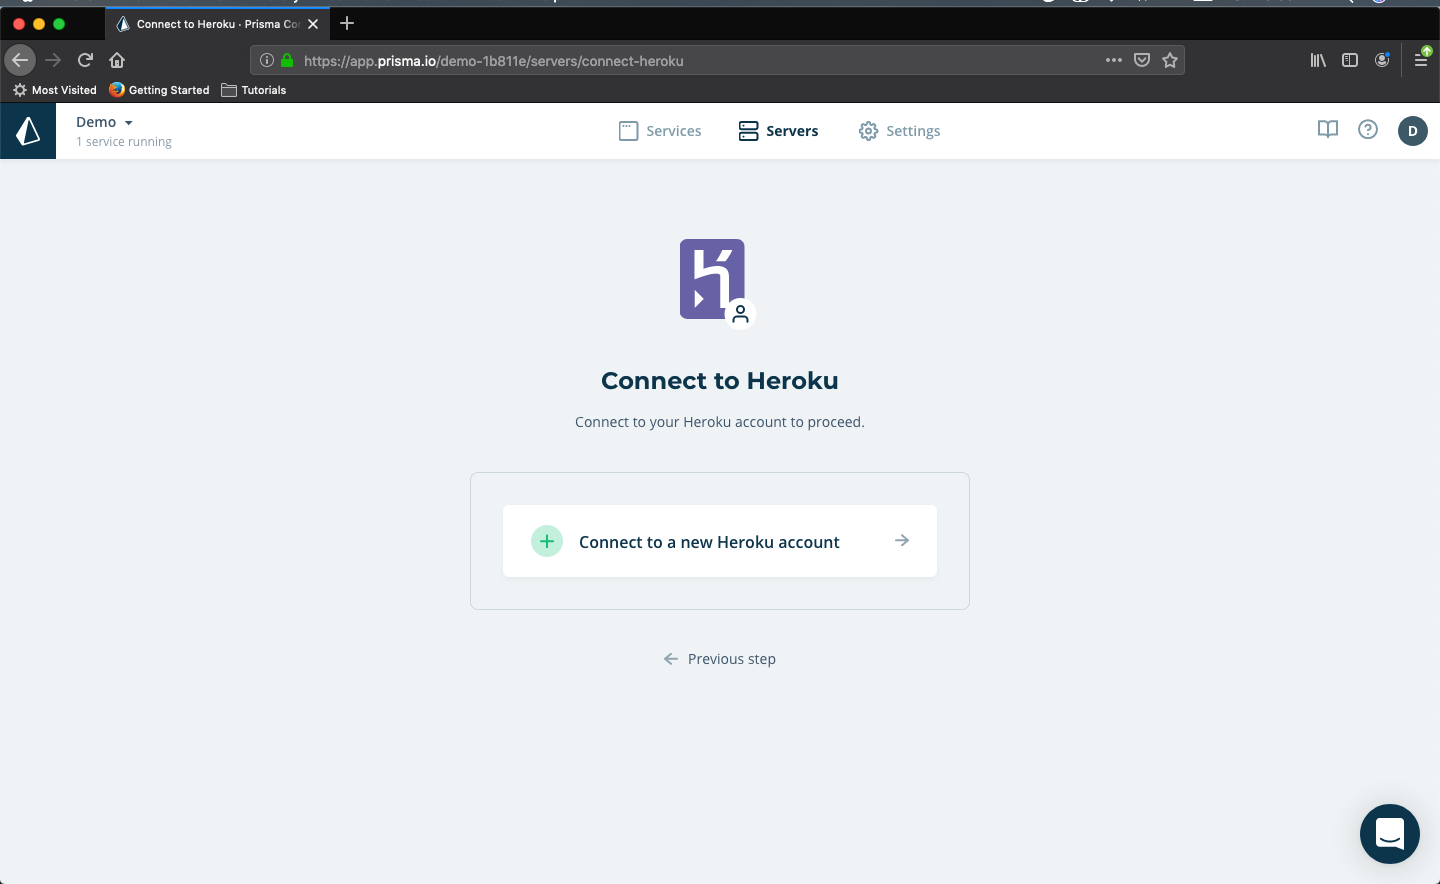 Connect to Heroku
then enter your Heroku credentials.
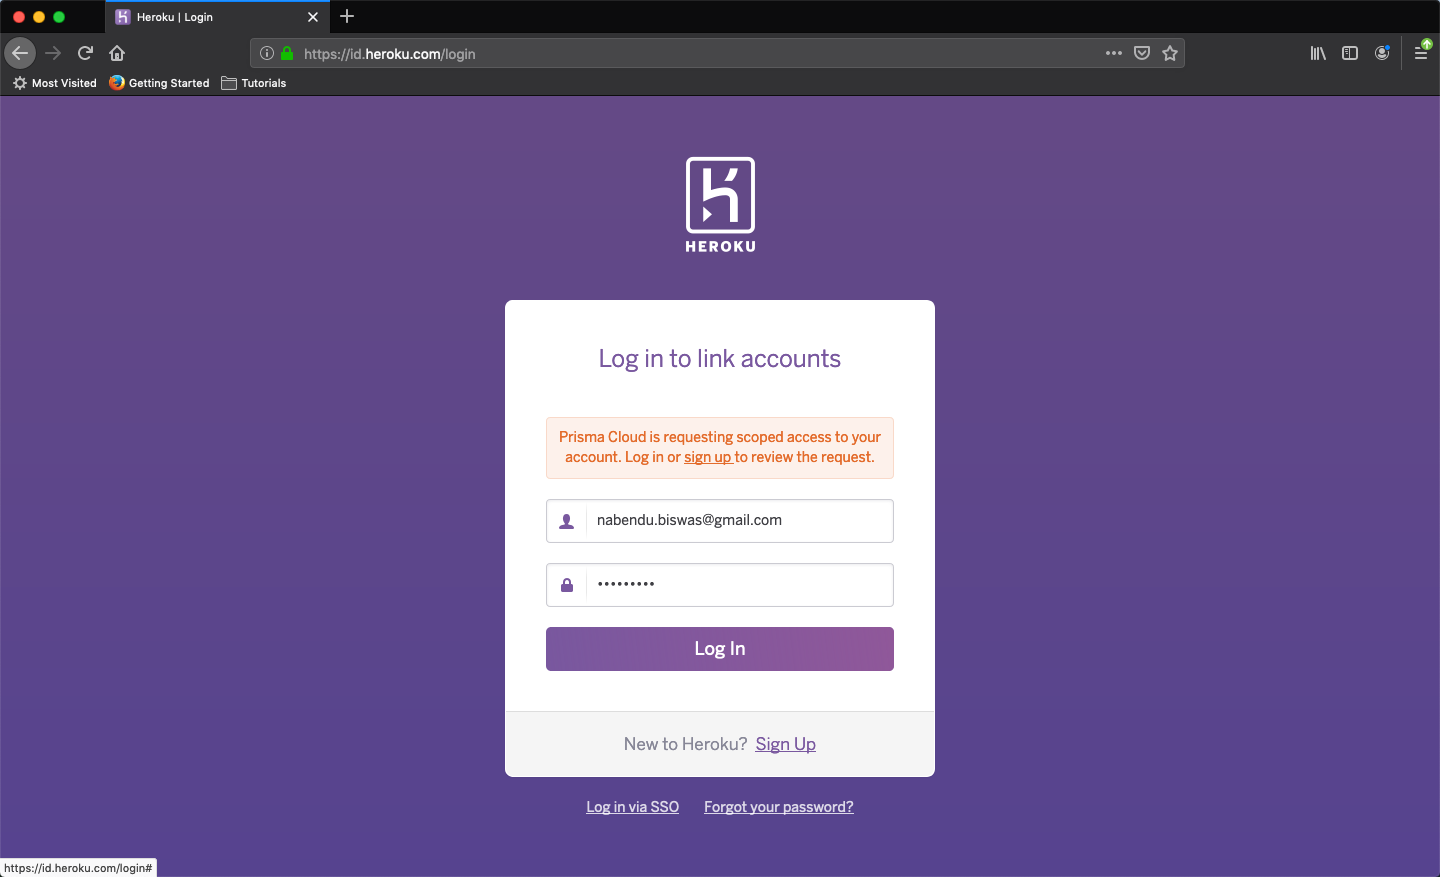 Link Heroku account
then choose Hobby Dev and click on Create Database.
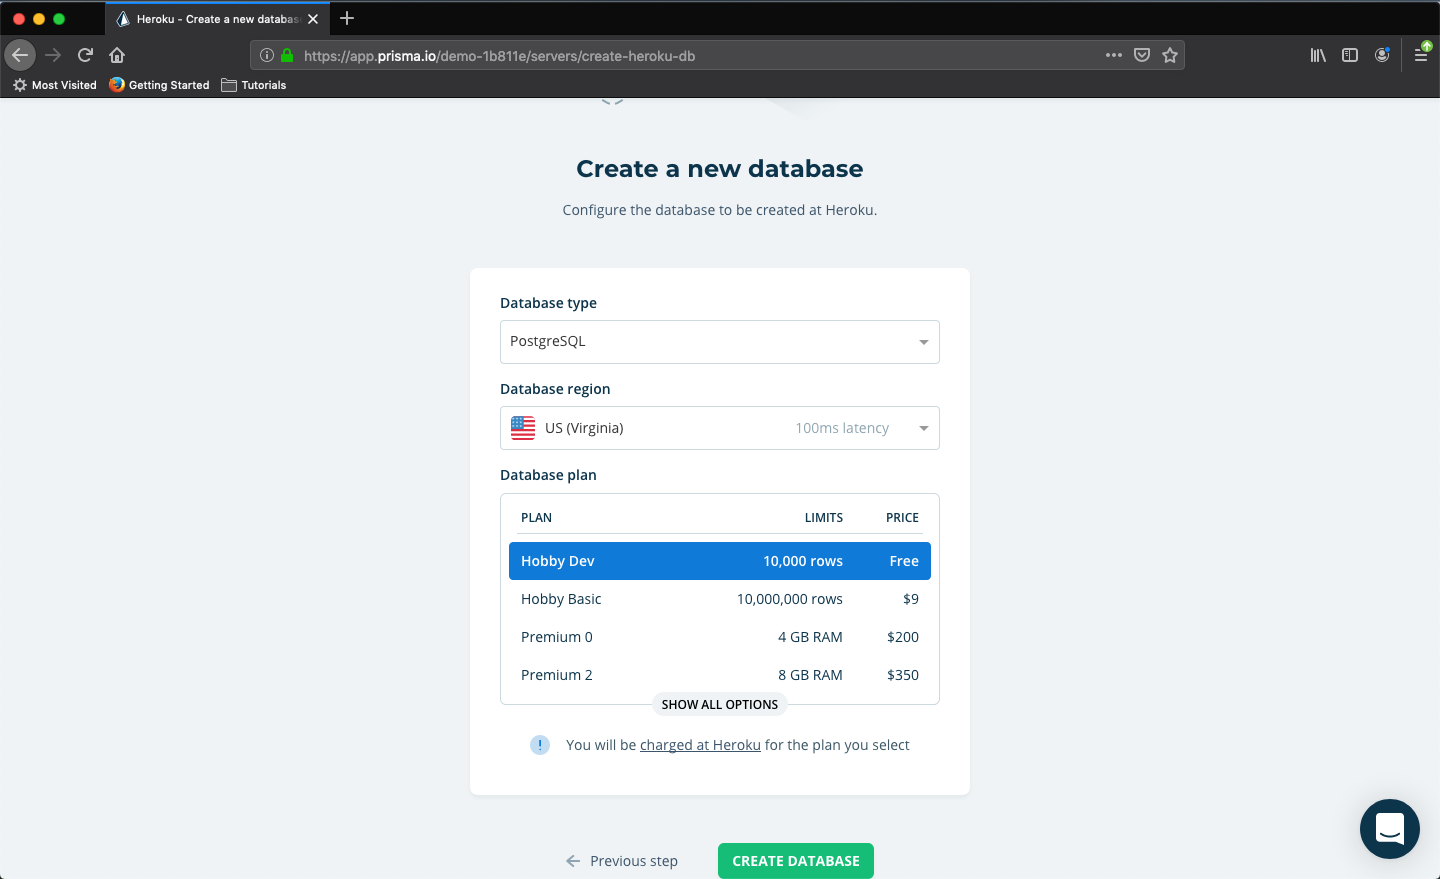 Create new database
then we will get New database successfully created. Now click on SET UP A SERVER
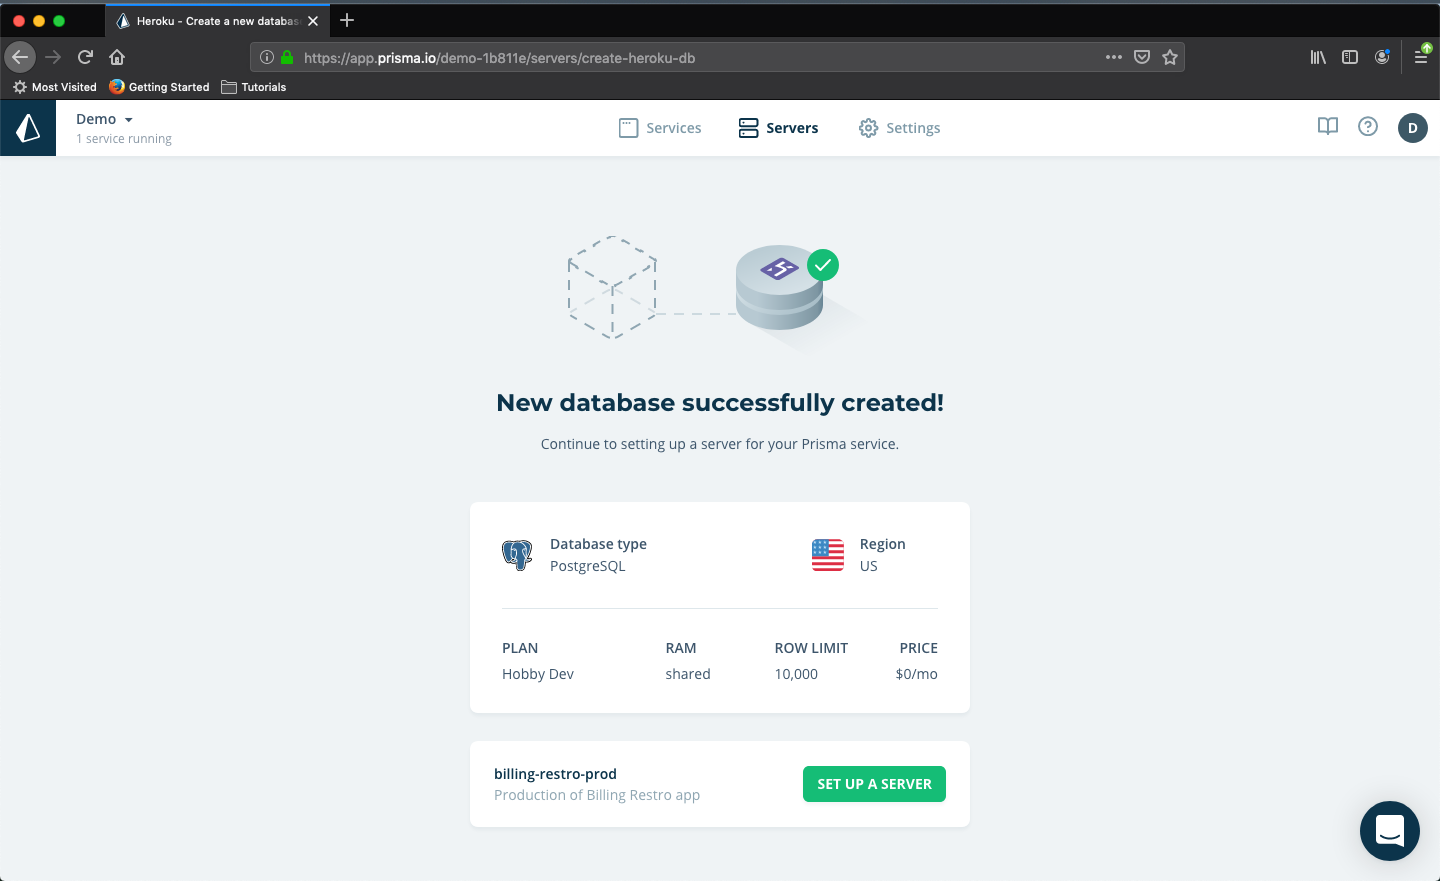 New database successfully created
then Setup the Server.
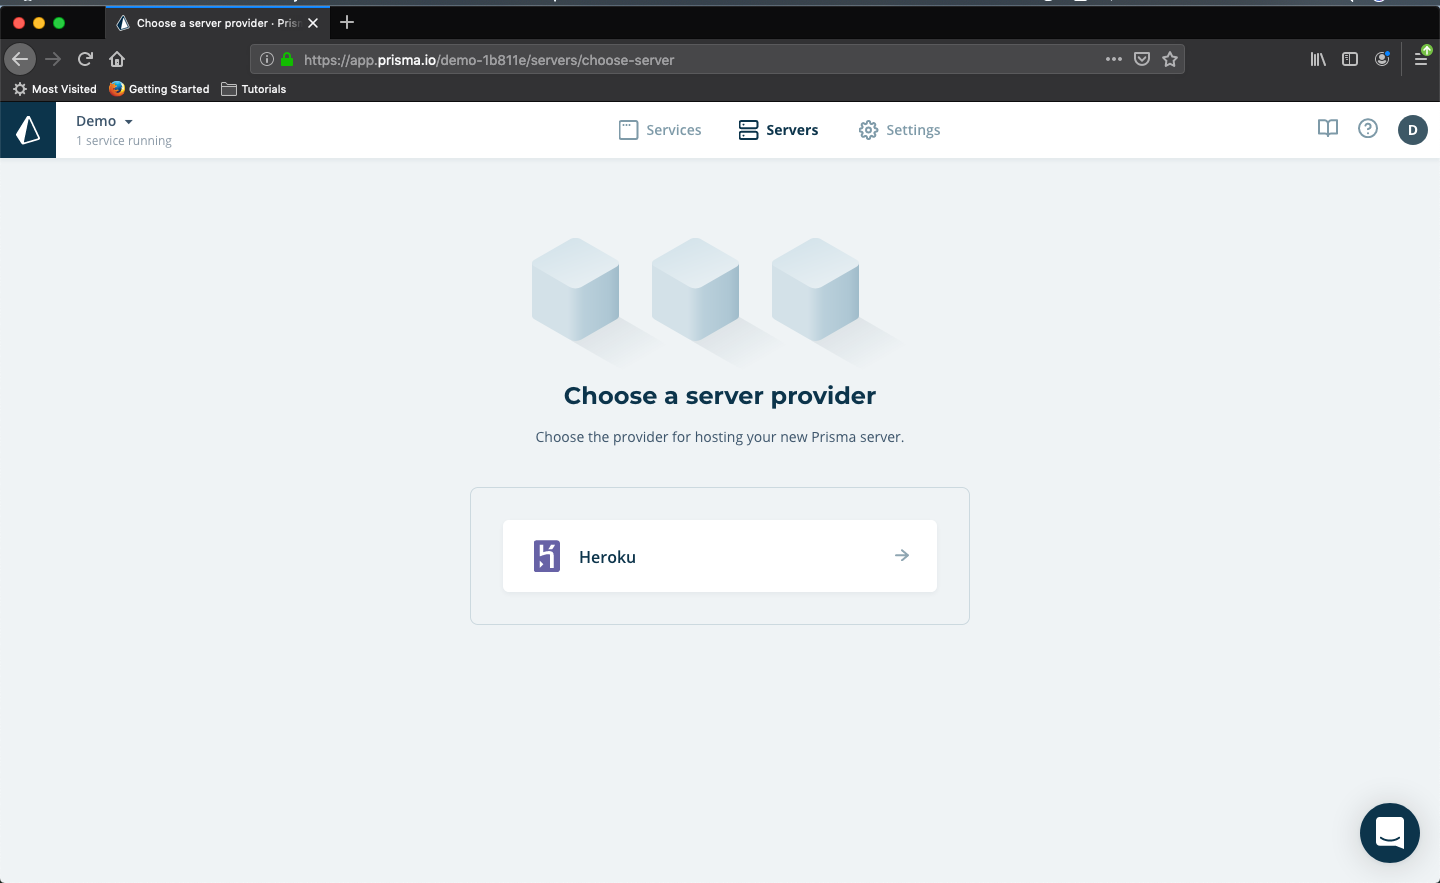 Setup a Server
After that again choose the Free plan and click on CREATE SERVER
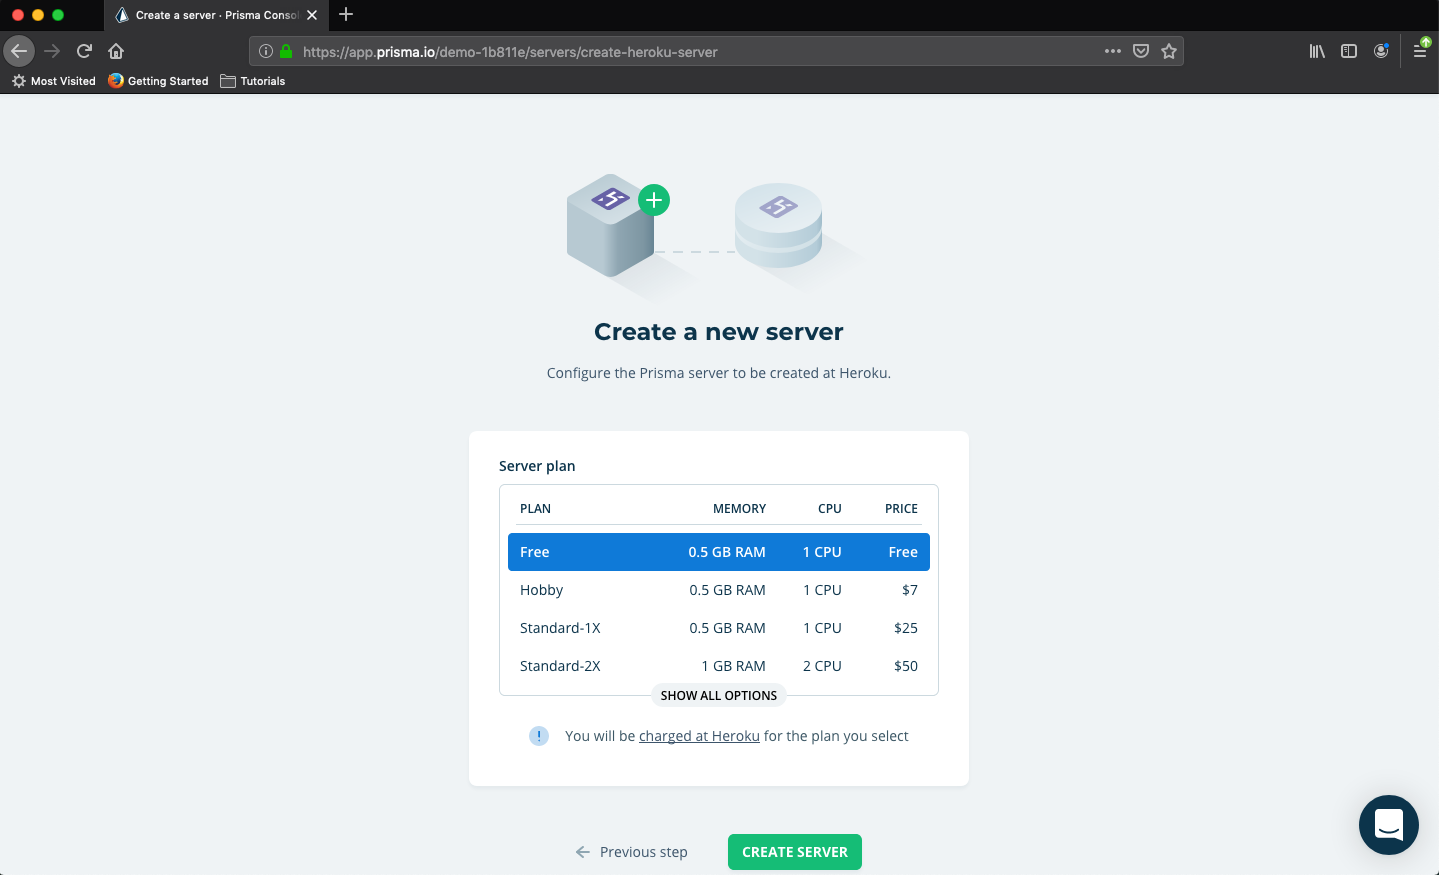 Create a new Server
then we will get the message Prisma server successfully deployed. Click on VIEW THE SERVER
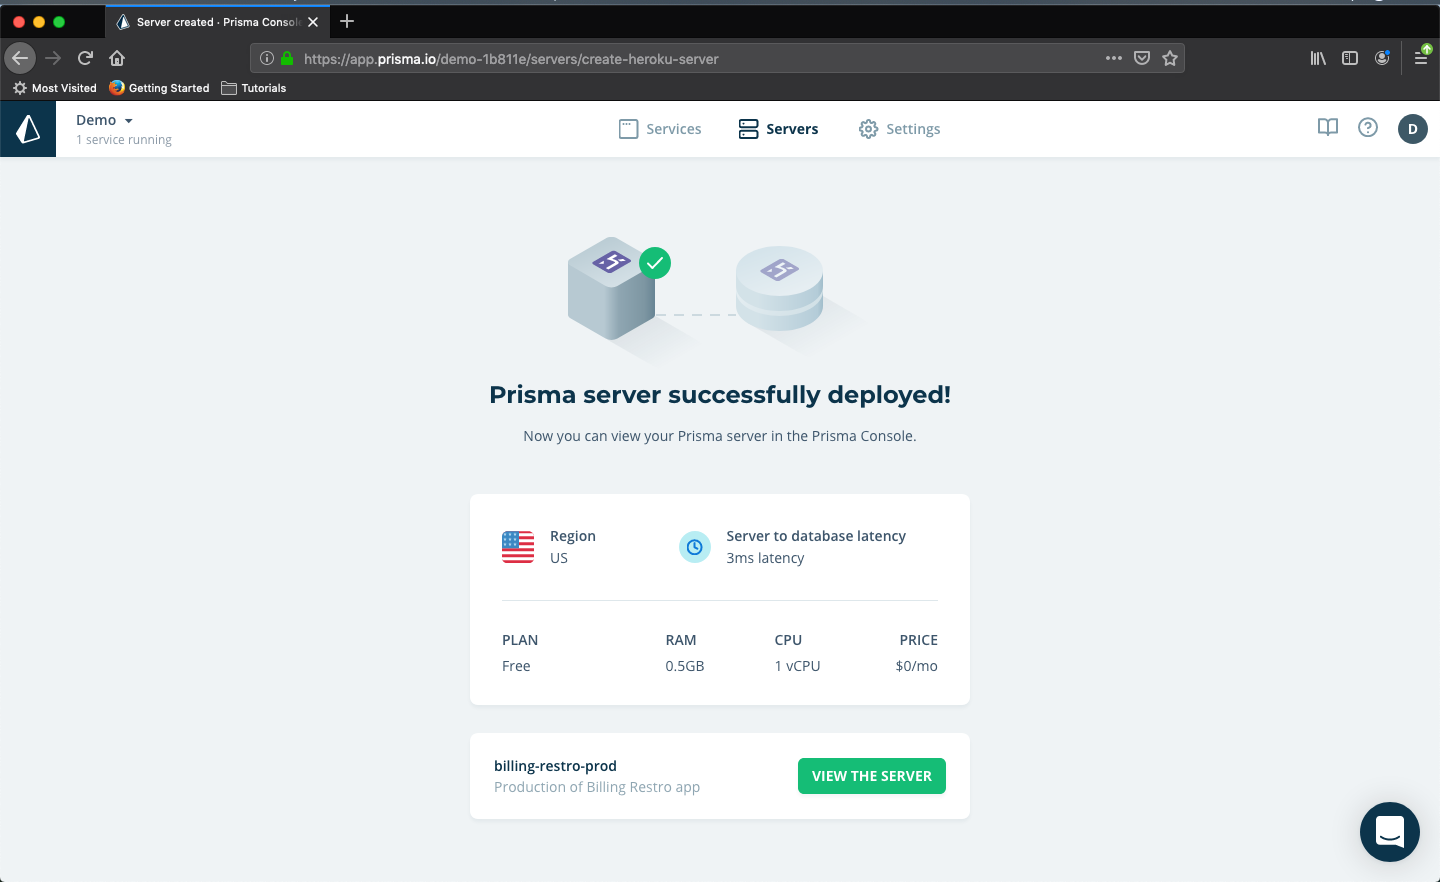 Prisma server successfully deployed
We will now see our server successfully created.
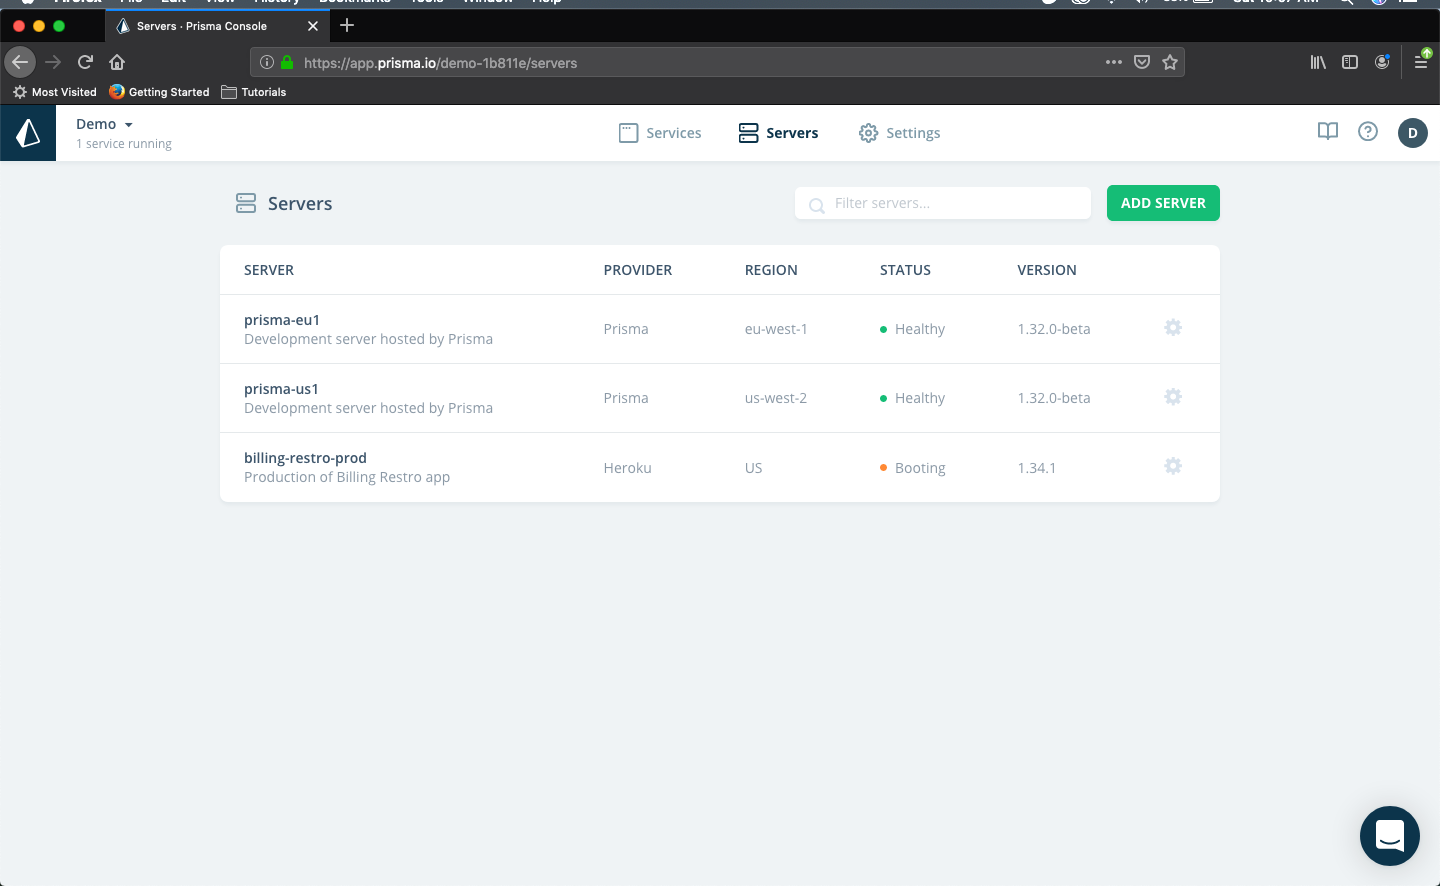 New Server added
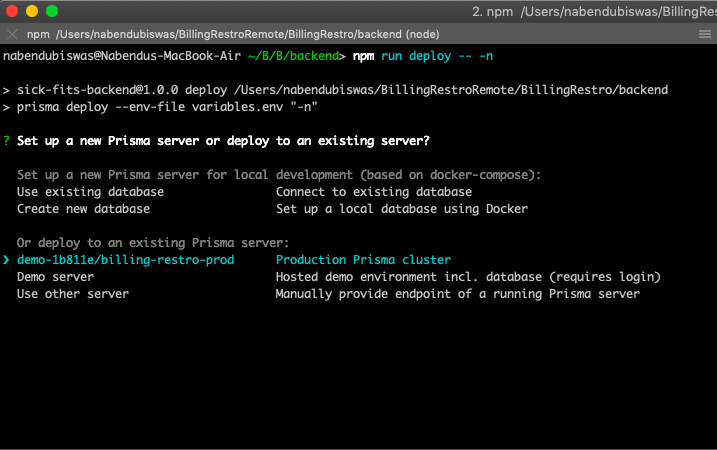
Then we will head over to our terminal to add Service to our server. Run the command npm run deploy -- -n
Use the down arrow key to navigate to our newly created server and press enter.
 npm
npm
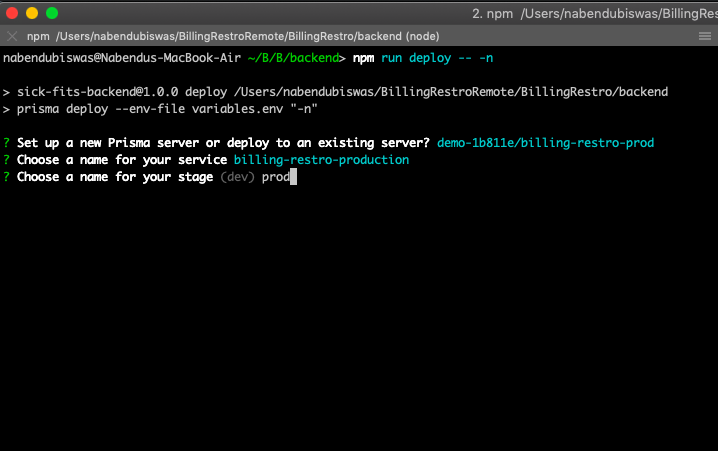
Give your service a name and give stage as prod.
 Service Name
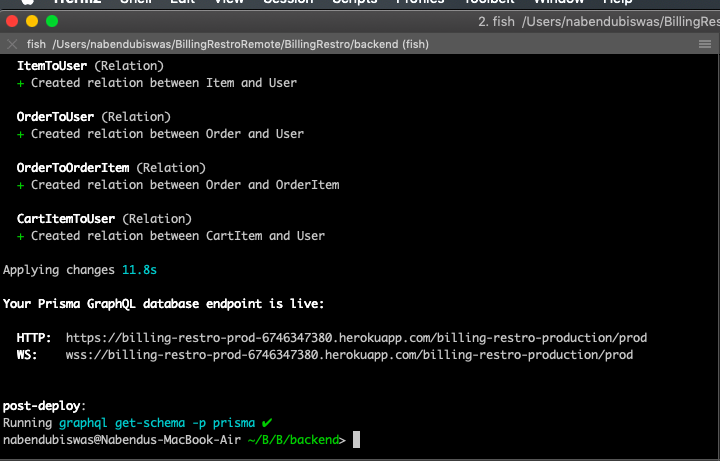
Next your service will be successfully created.
 Successful
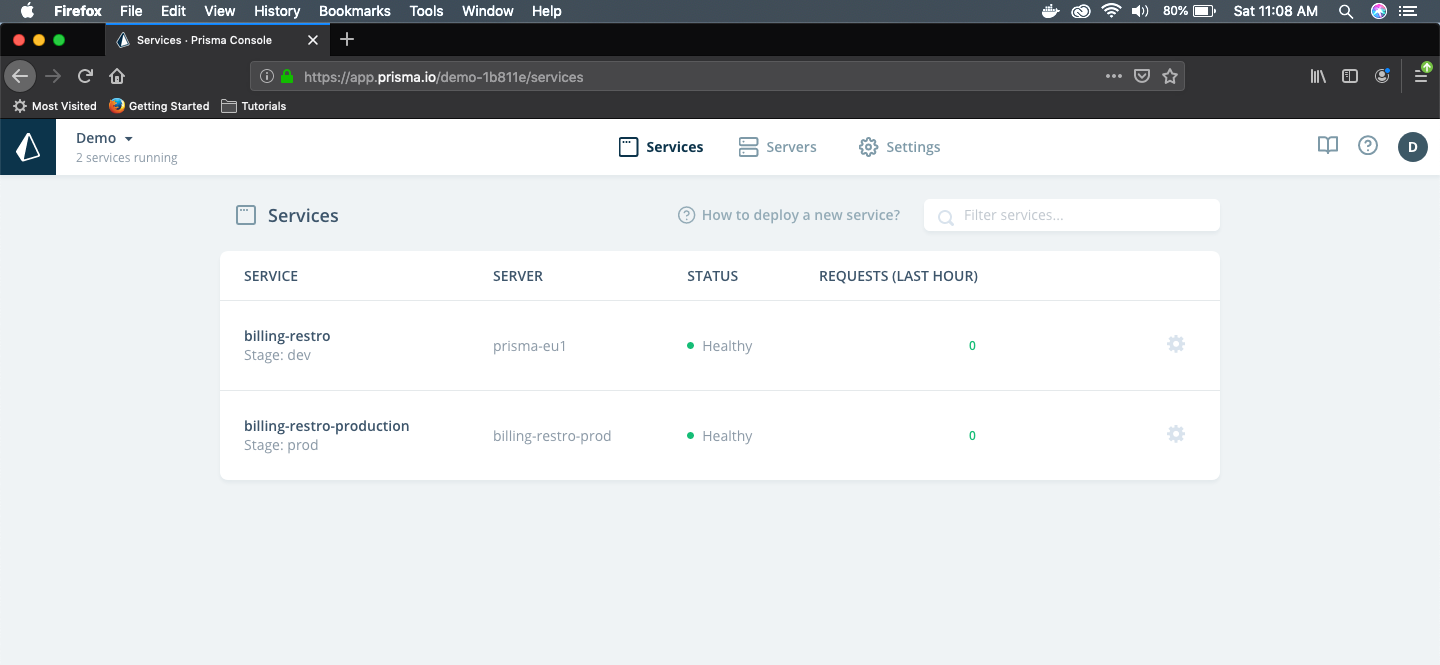
Head over to Prisma dashboard and you can see the new service.
 Newly created service
If you check your prisma.yml, you can see that our earlier endpoint is commented and a new prod endpoint added.
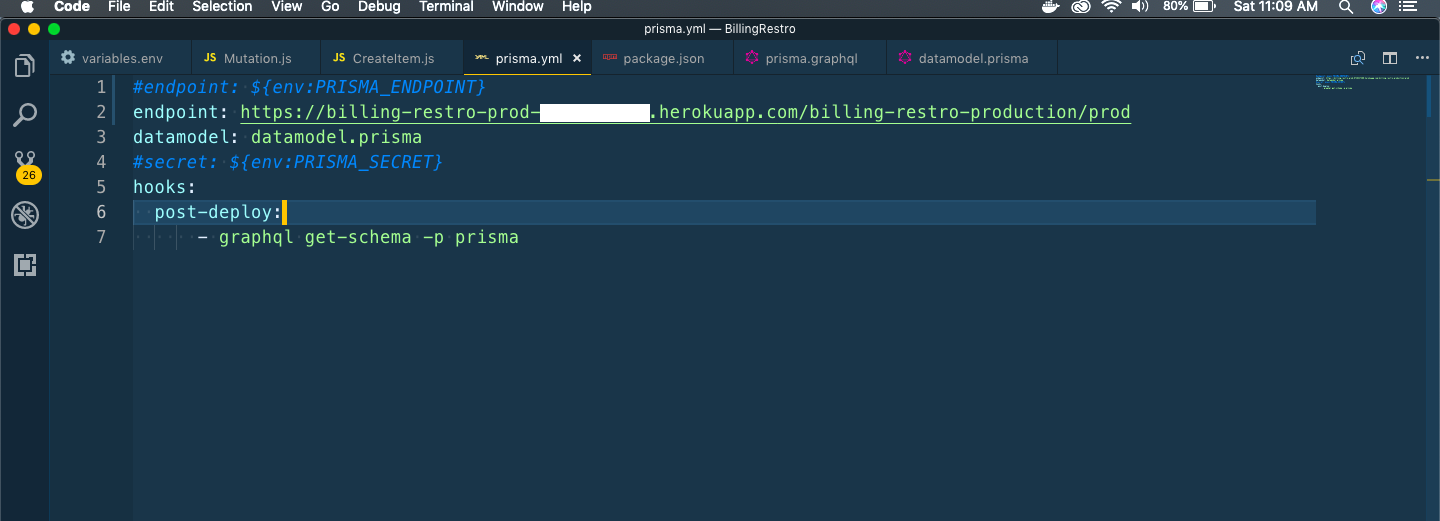 prisma.yml update
We will uncomment the secret in prisma.yml as this is production
 uncommenting secret
Finally, again run npm run deploy
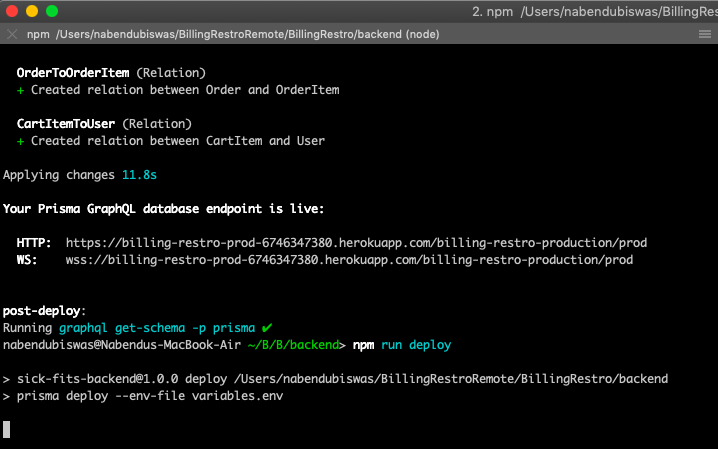 npm again
Yoga Server
Now, it’s time to deploy our app to Yoga Server. You need to have heroku cli installed for this. Check this link for installation instruction.
Next,head over to the terminal. You should be in the main folder containing your backend and frontend folders. First commit your all uncommited code by -
    git add -A
    git commit -m "Heroku deployment"
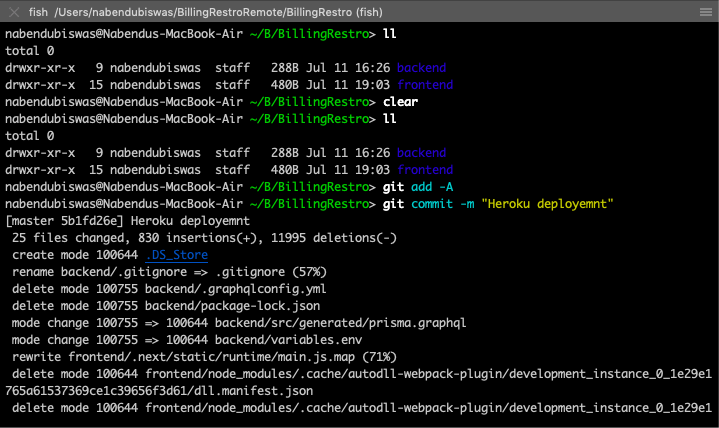 main folder
Now we login to heroku by heroku login We need to press any key
 heroku login
It will open your default web-browser and show the below screen.
 Login
Login
Once you login this screen will be show and you need to close the browser.
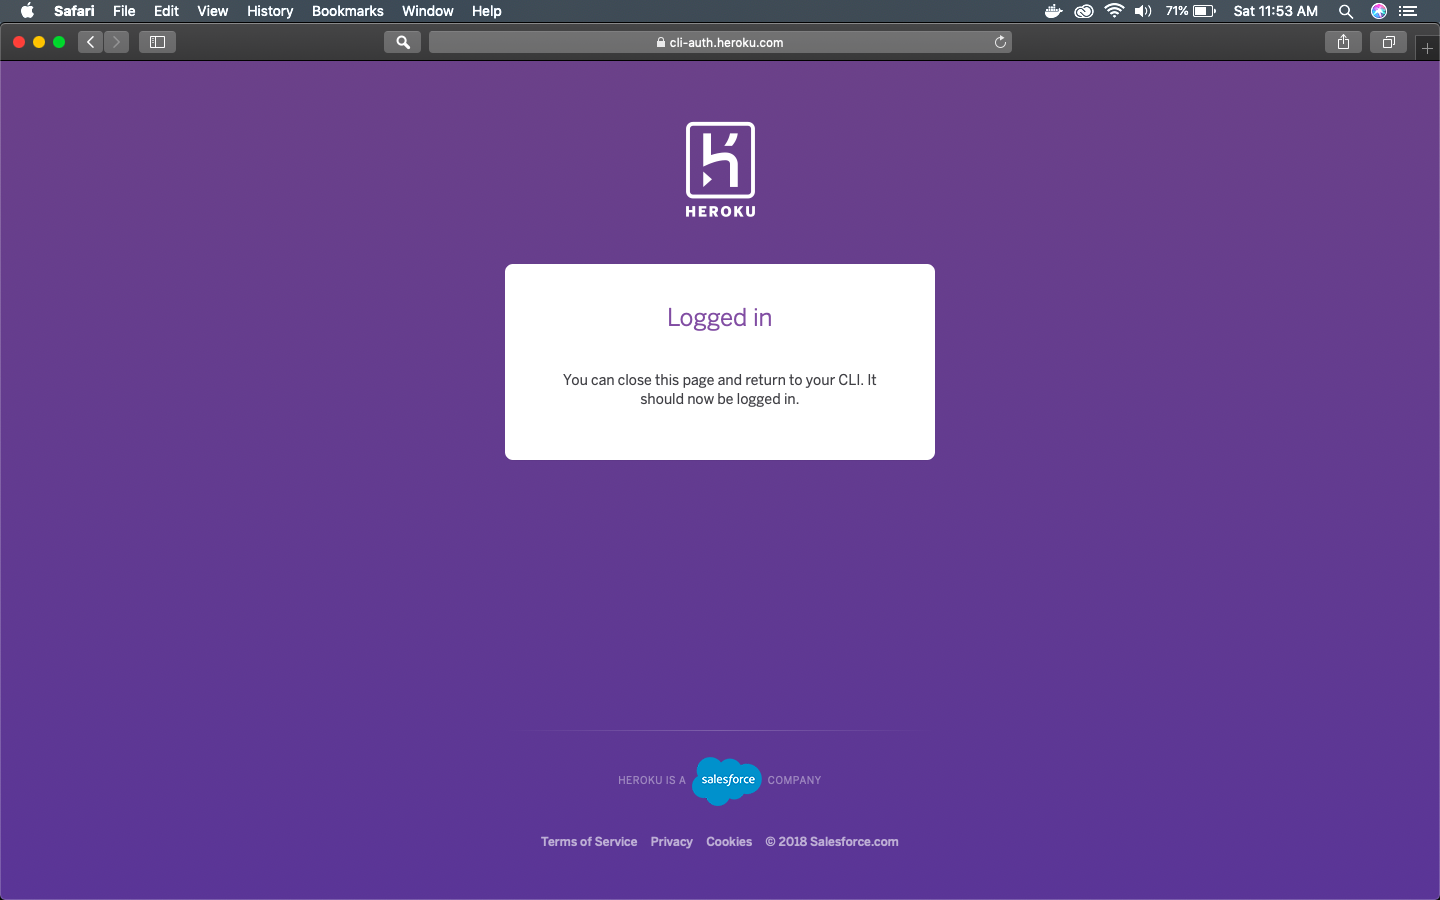 Close the browser
We will now see the successful login in terminal.
 Logged in
After this we need to create a new heroku app by the below command.
heroku apps:create billingrestro-yoga-prod
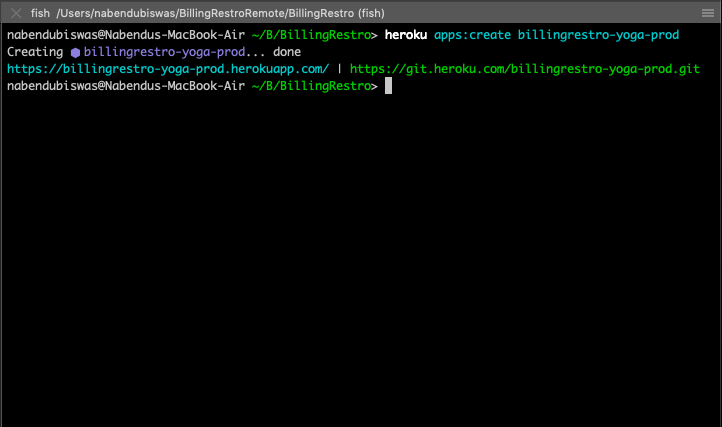 heroku create
You can now see the app create in your heroku dashboard.
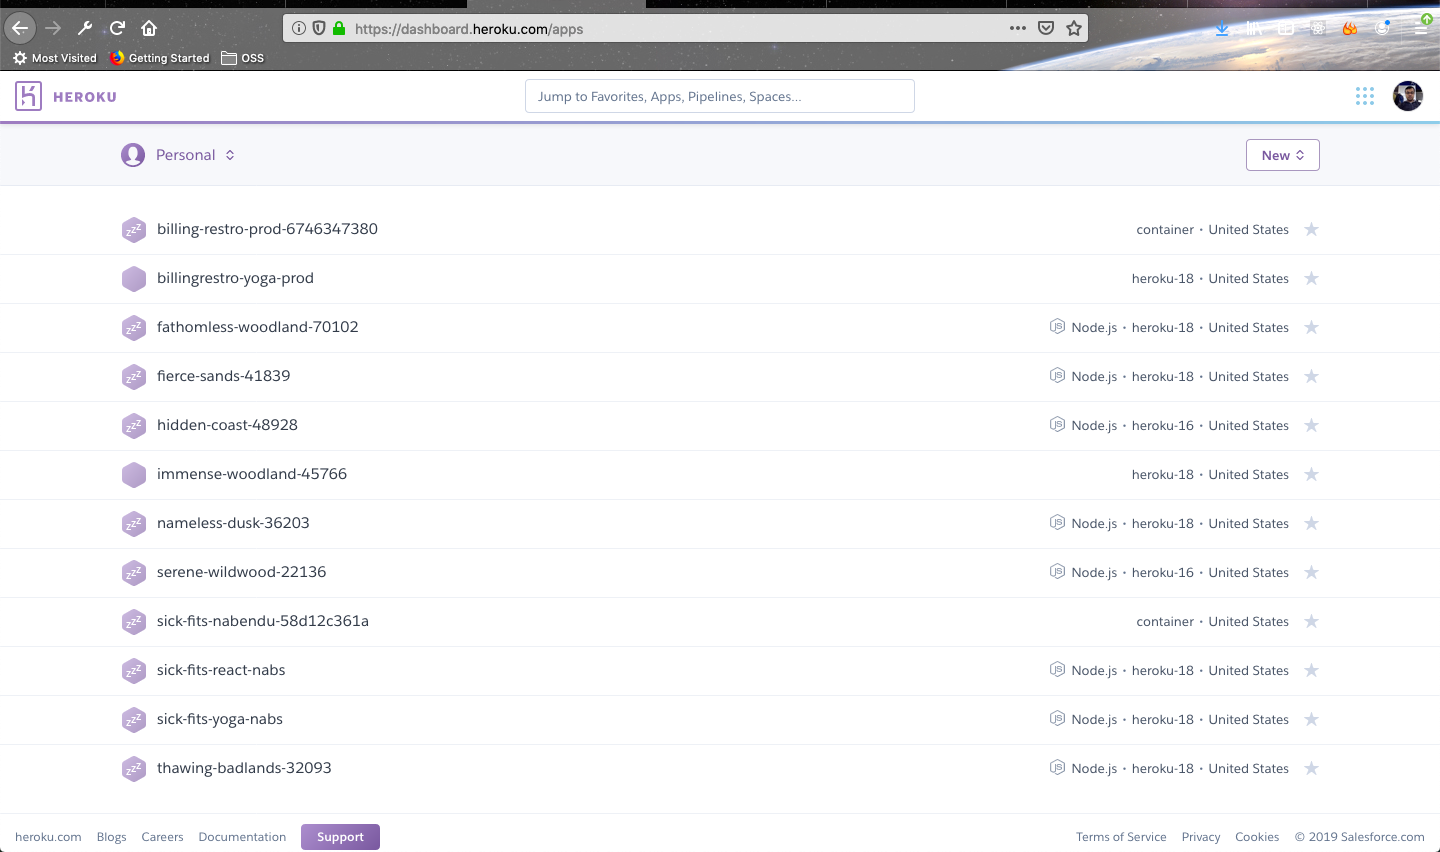 yoga app
Now we will get a new branch in our terminal. Do a git remote -v
 git remote
Heroku only provided us one endpoint, but we need two — one for backend and other for frontend. So, we will create a new endpoint by the one provide by heroku.
git remote add heroku-backend https://git.heroku.com/billingrestro-yoga-prod.git
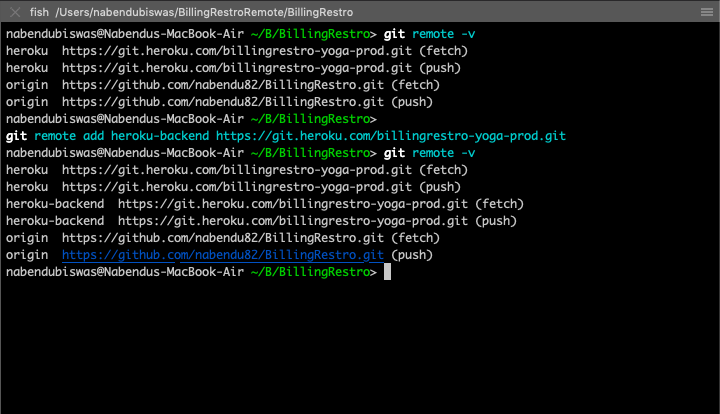 One more endpoint
Now, we will push all our backend code to this heroku-backend remote.
git subtree push --prefix backend heroku-backend master
 subtree
Next, we will need to add the secret contents from variables.env to our yoga server. Open the yoga app in heroku and goto Settings. Click on Reveal Config Vars.
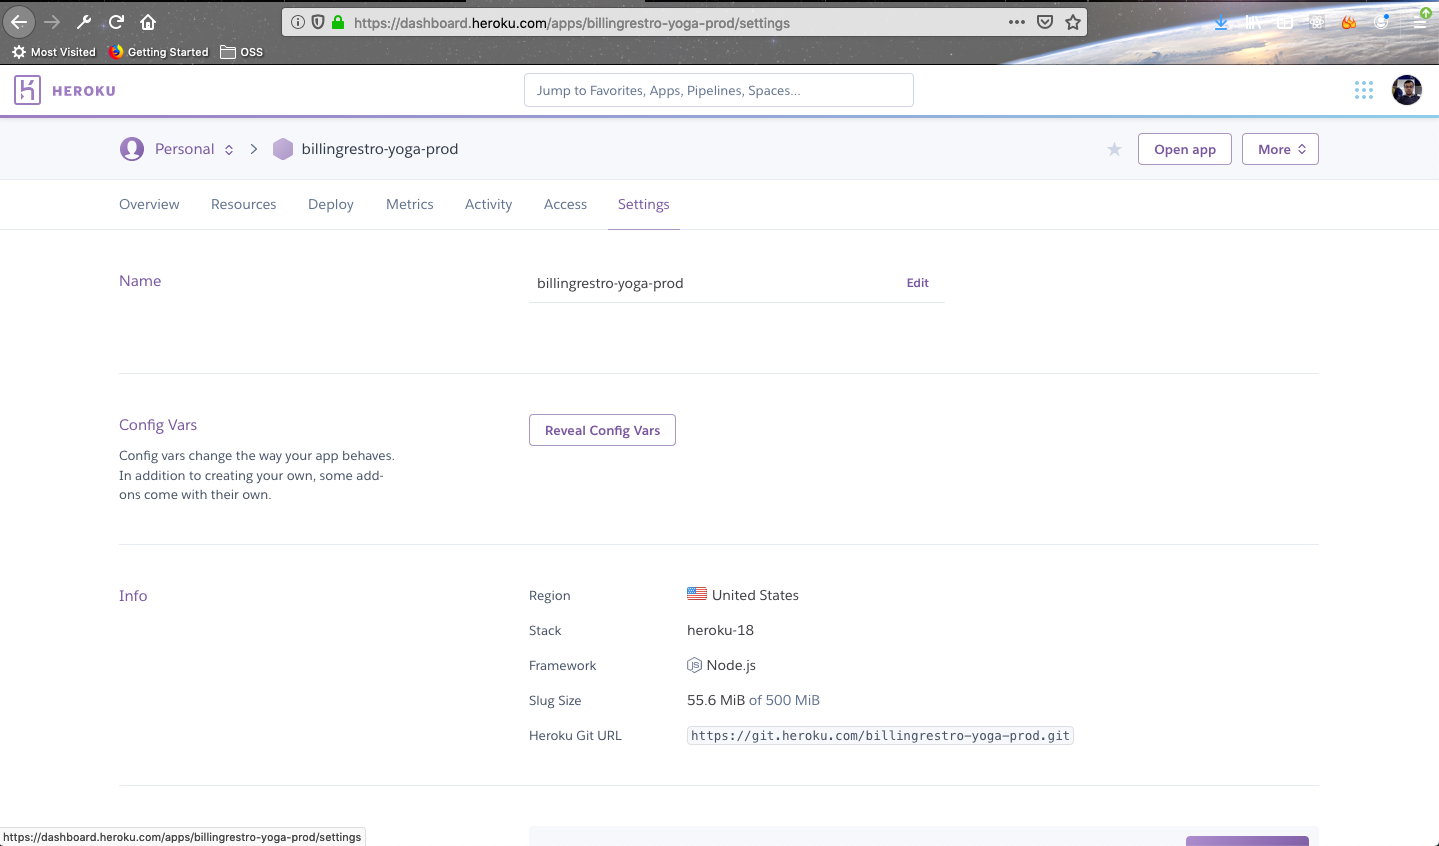 heroku app
So, open your variables.env file. Take everything from here except PRISMA_ENDPOINT, which you have to take from prisma.yml file
 variables.env
Add all the Config Vars as Key value pair.
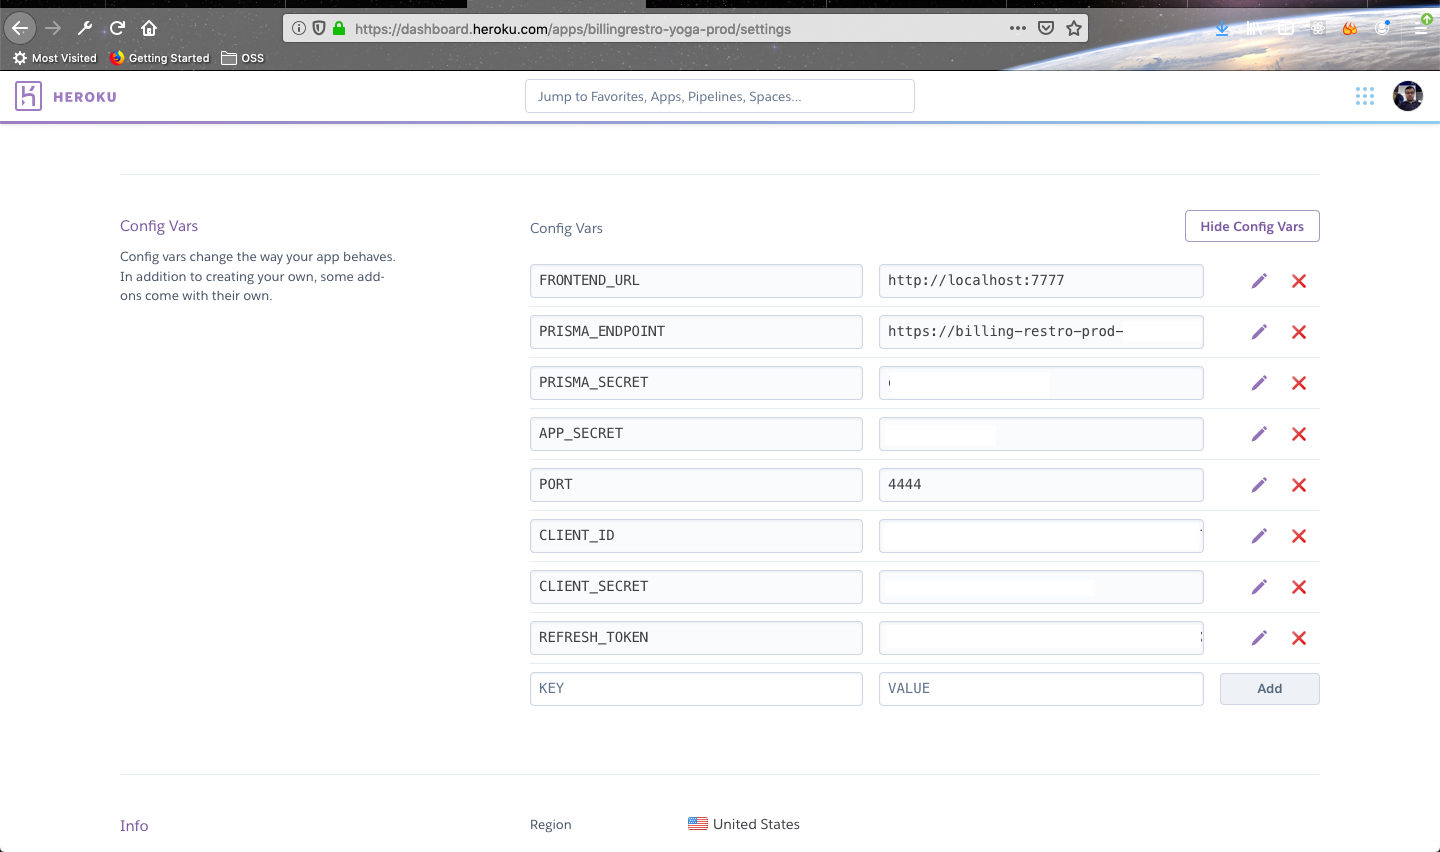 Config Vars
Now, click on More and then Restart all dynos.
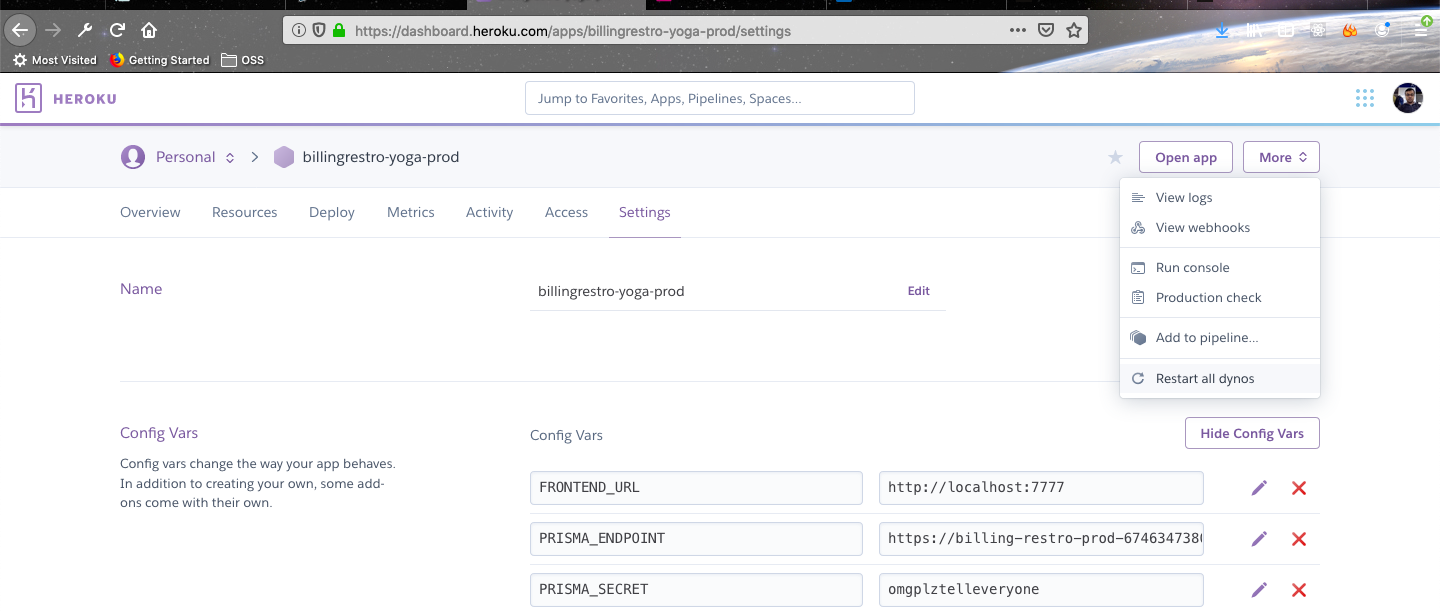
The pop-up will as you to confirm again.

After sometime click on Open App on the top right corner. It will open the yoga graphQL playground, in which you can see all the public facing Queries and mutations
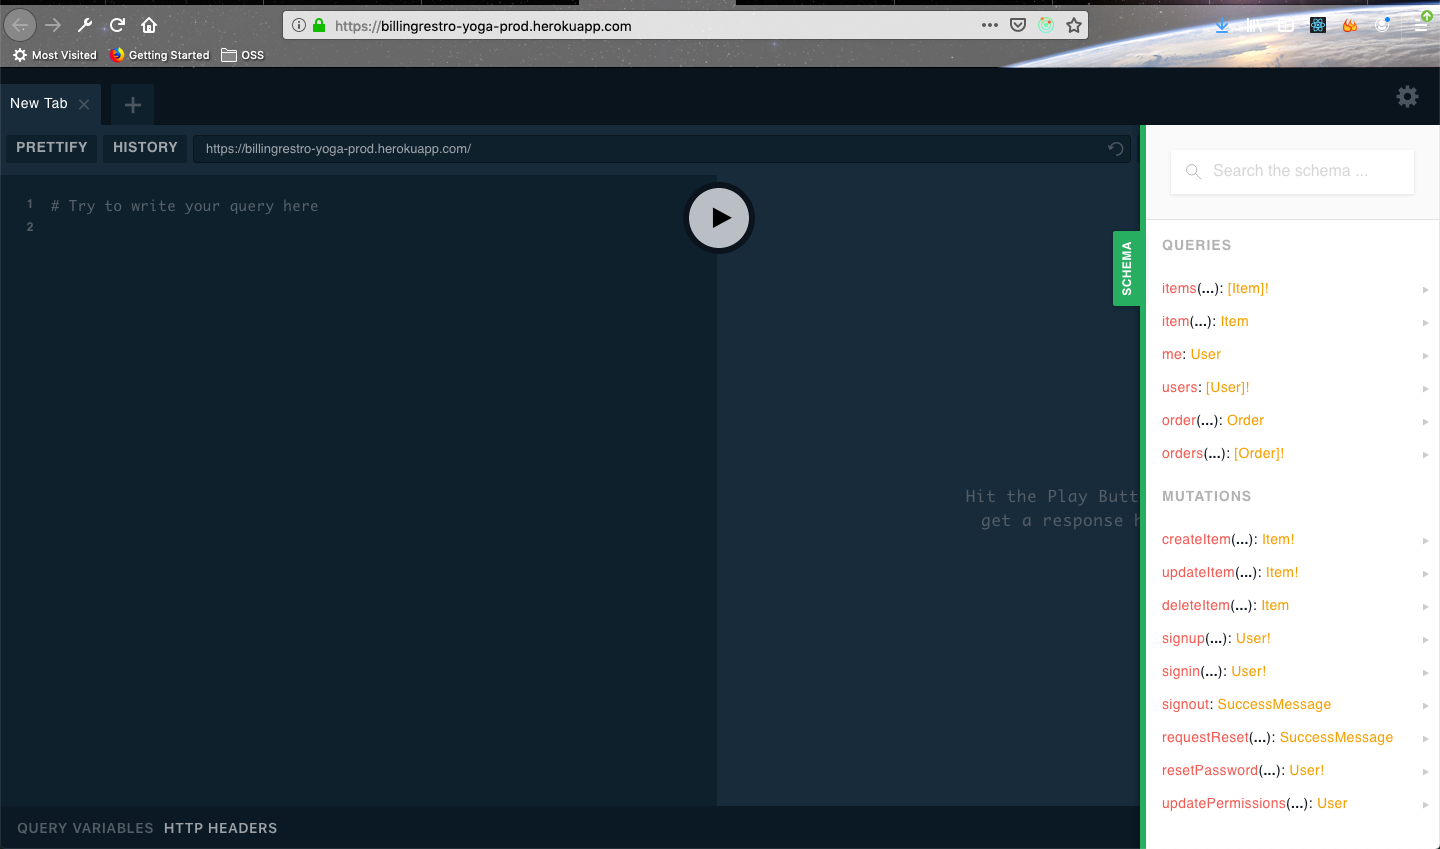 Yoga GraphQL
React App
Last we will deploy our frontend code also to heroku. First, we need to update the code a bit. Open you config.js file and add the line for prodEndpoint. The link is the yoga app you deployed in the previous part.
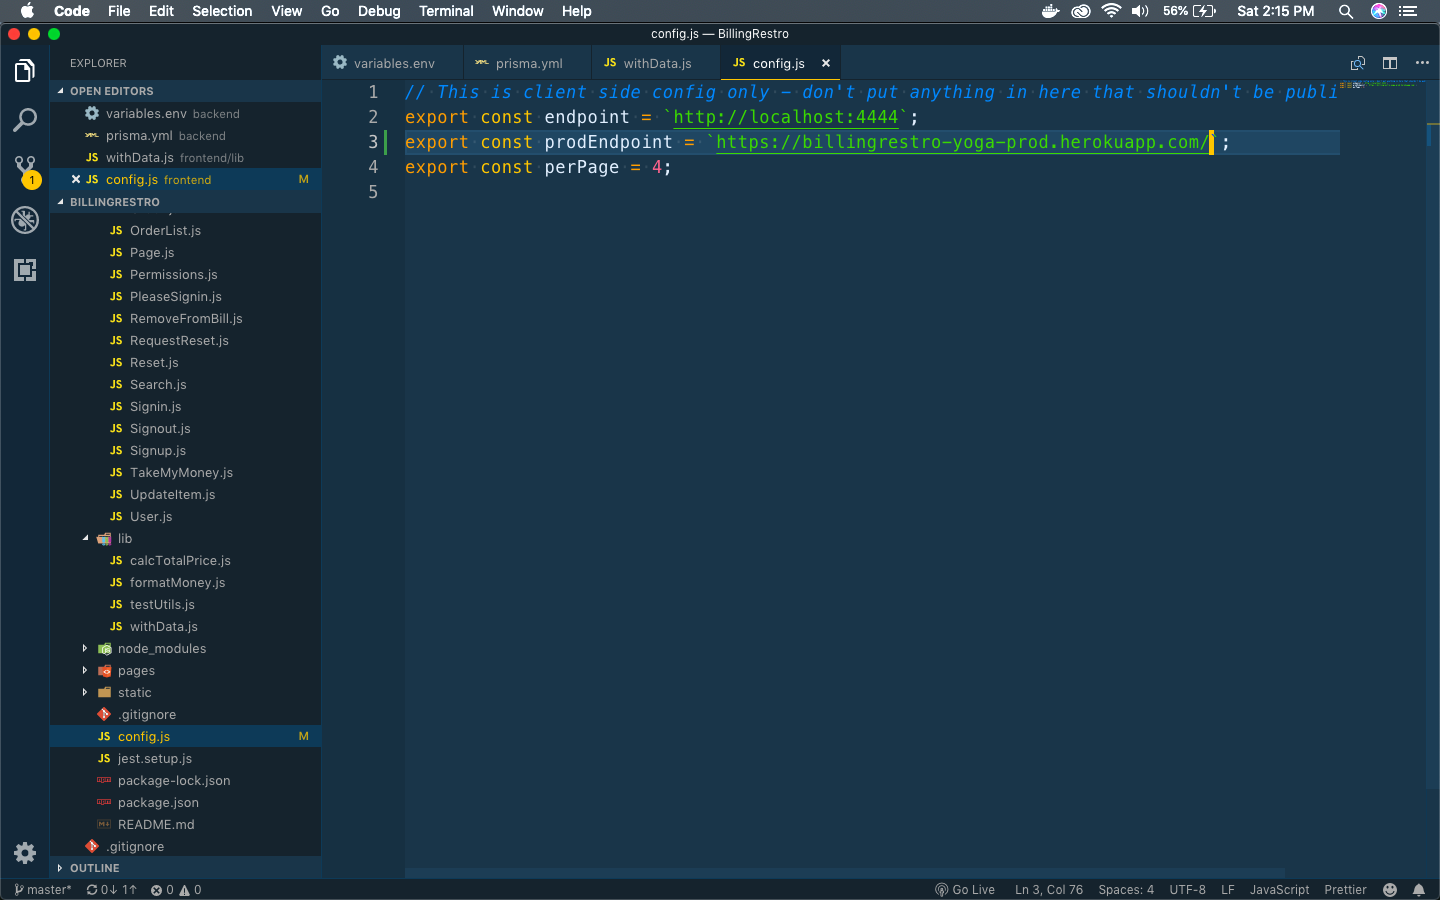 config.js
Next, add these to withData.js file. Changes are in line 3 and line 8.
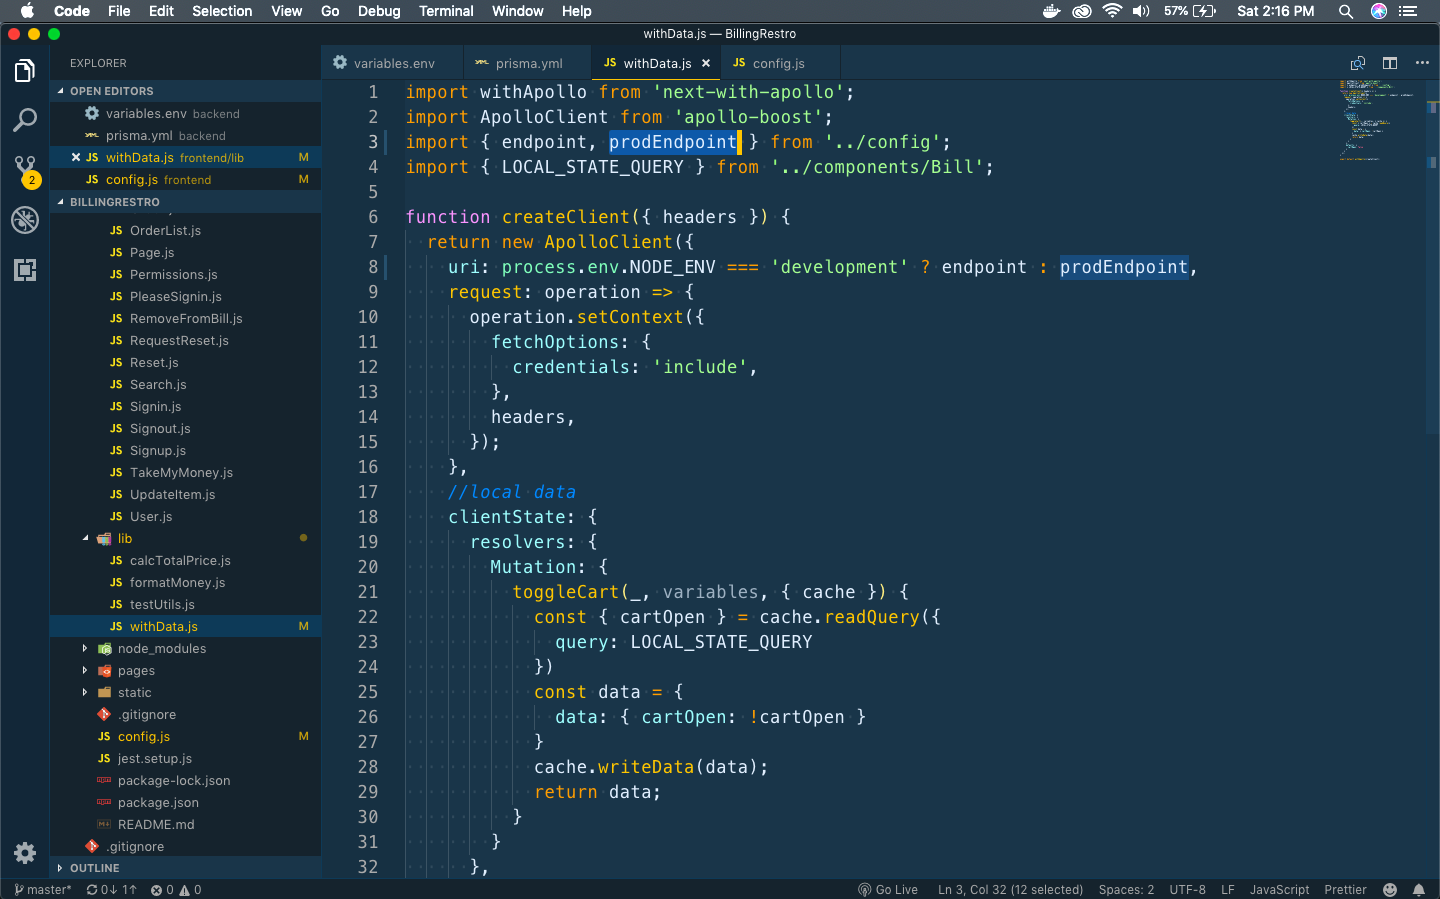 withData.js
Next, we go to the terminal and create a new heroku app by heroku apps:create billingrestro-react-prod

On checking git remote -v we will find the new remote endpoint

We, also need to do a change in package.json for our frontend, before deploying. We add Line 12 for heroku-postbuild and also add -p $PORT in Line 9.
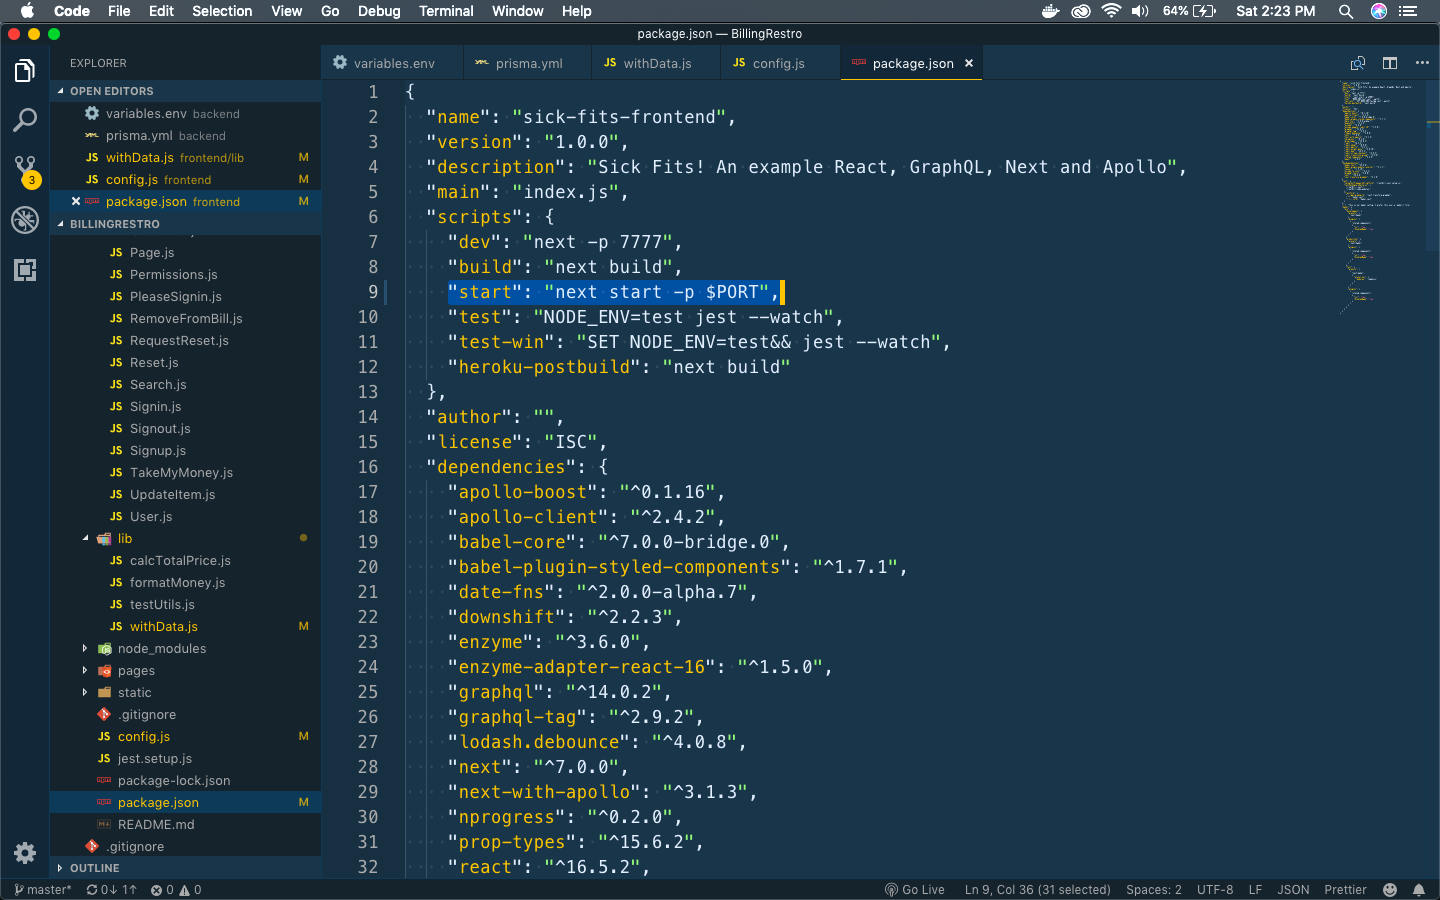 package.json
We, will add these changes before pushing to remote

Next, we will push to heroku-frontend by the below subtree command
git subtree push --prefix frontend heroku-frontend master

If we check in our heroku dashboard, we will find this newly added app.
 React app
Now, if we go to our react app, we get a network error. If we open the console, we will found it’s a CORS error.
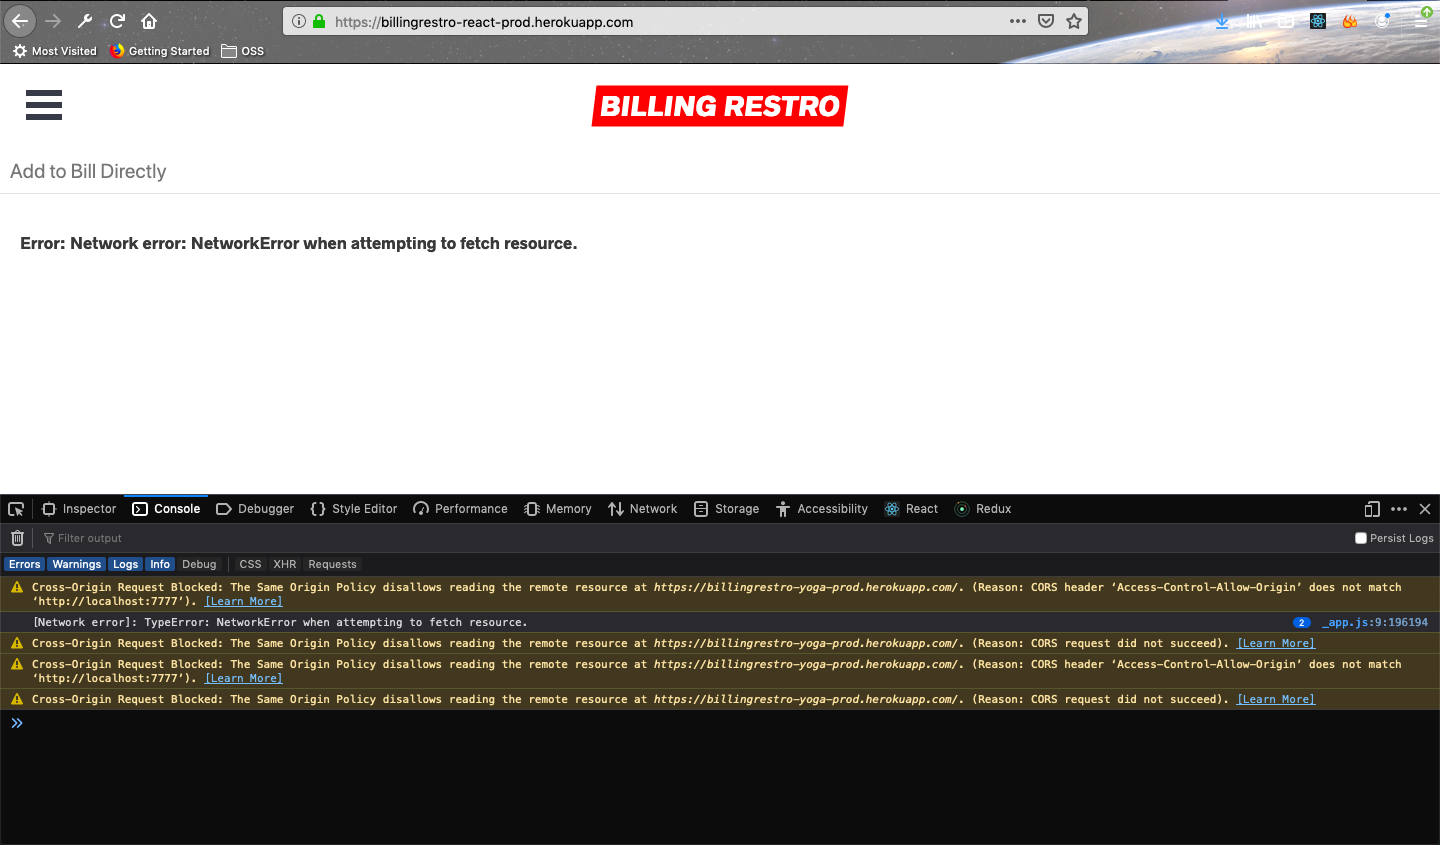 CORS error
The CORS error occured because in our yoga config, we are pointing to localhost. So, open the yoga app, then go to Settings, then Reveal Config Vars and change the FRONTEND_URL to the react app.
 React configs
Then, as usual click on More and Restart all dynos.
 Restart all dynos
Then, go again to the frontend url and you get no error.
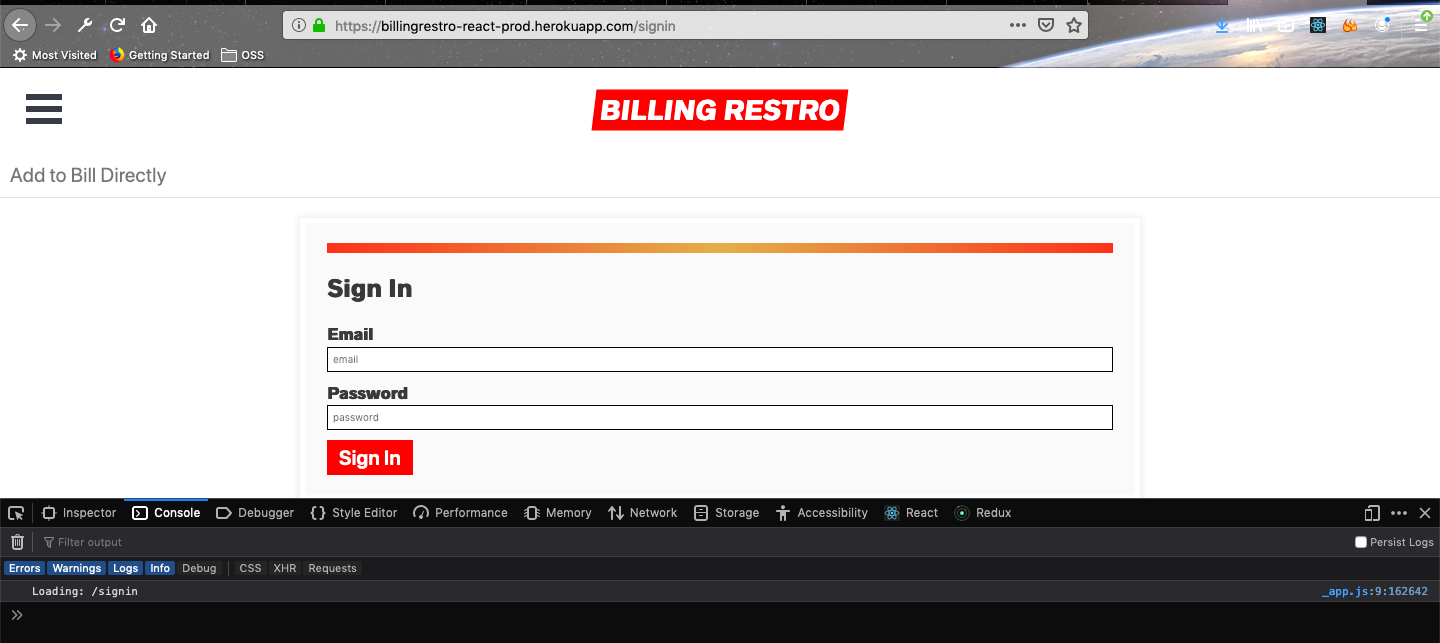 No error
But we have the same problem, which we had when creating in localhost. We need a login and only ADMIN can Sign for new Account. So, we create the Admin first by opening our Yoga playground and create one user by the below mutation.
    mutation createUser {
        signup(email:"validemail@gmail.com",name: "Admin",password: "valid"){
            email
        }
    }
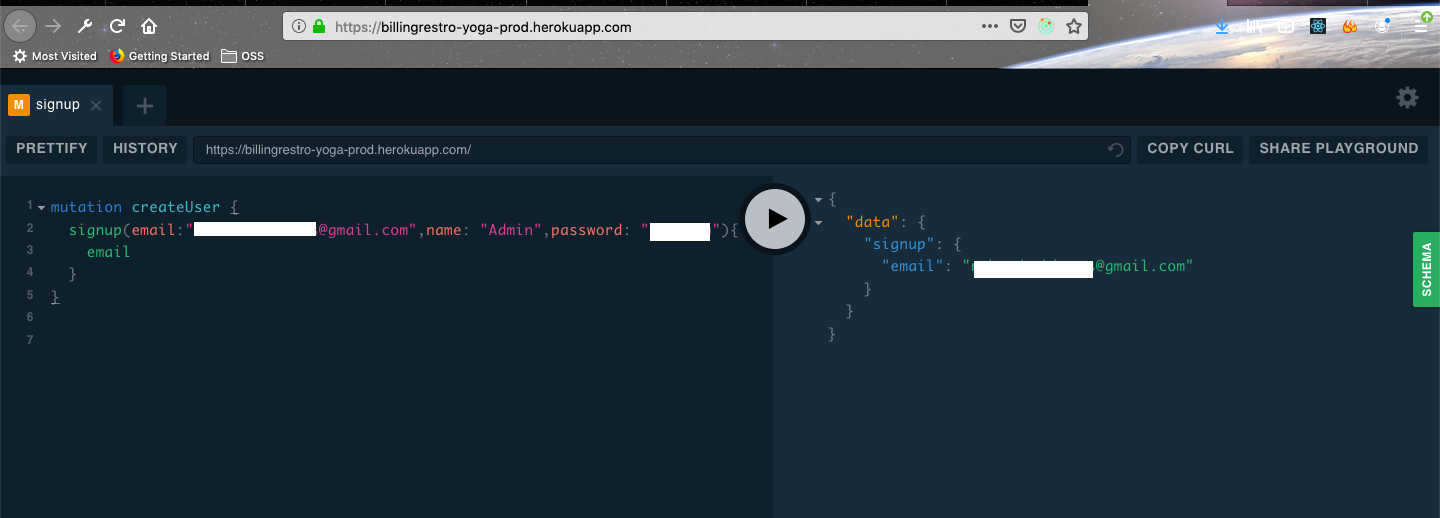 Valid gmail id
Next, we go to the Prisma dashboard and open our service. In the bottom right in permissions, click on the three dots and it will open an popup. Click on Add an item and select ADMIN from the list.
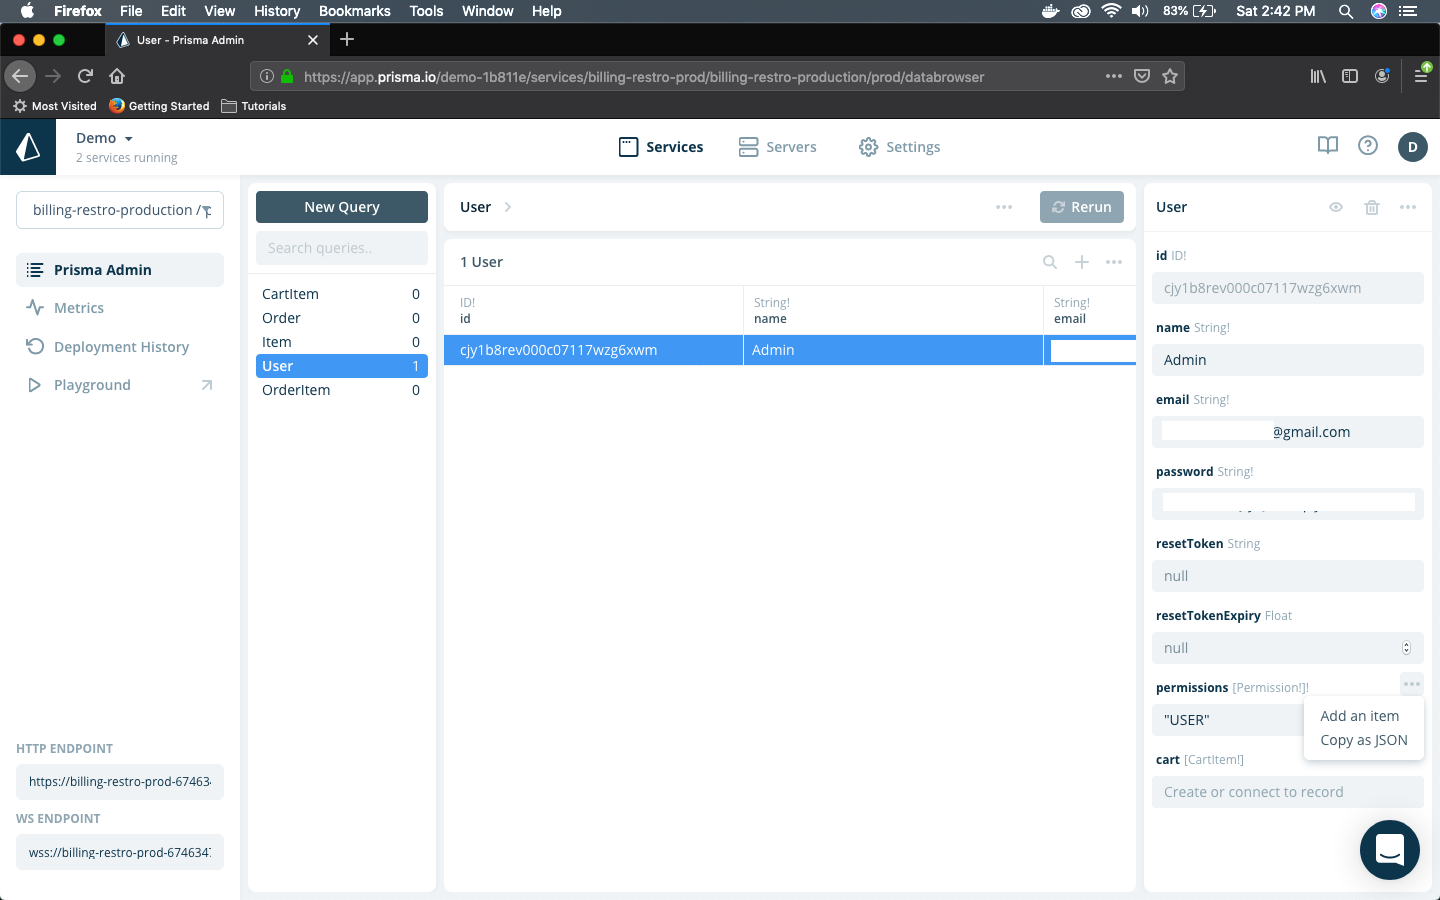 Prisma dashboard
Then a new button Save to Database will appear in the bottom right. Click on it.
 Save to Database
Head back to the frontend url and login with the Admin user to see all options.
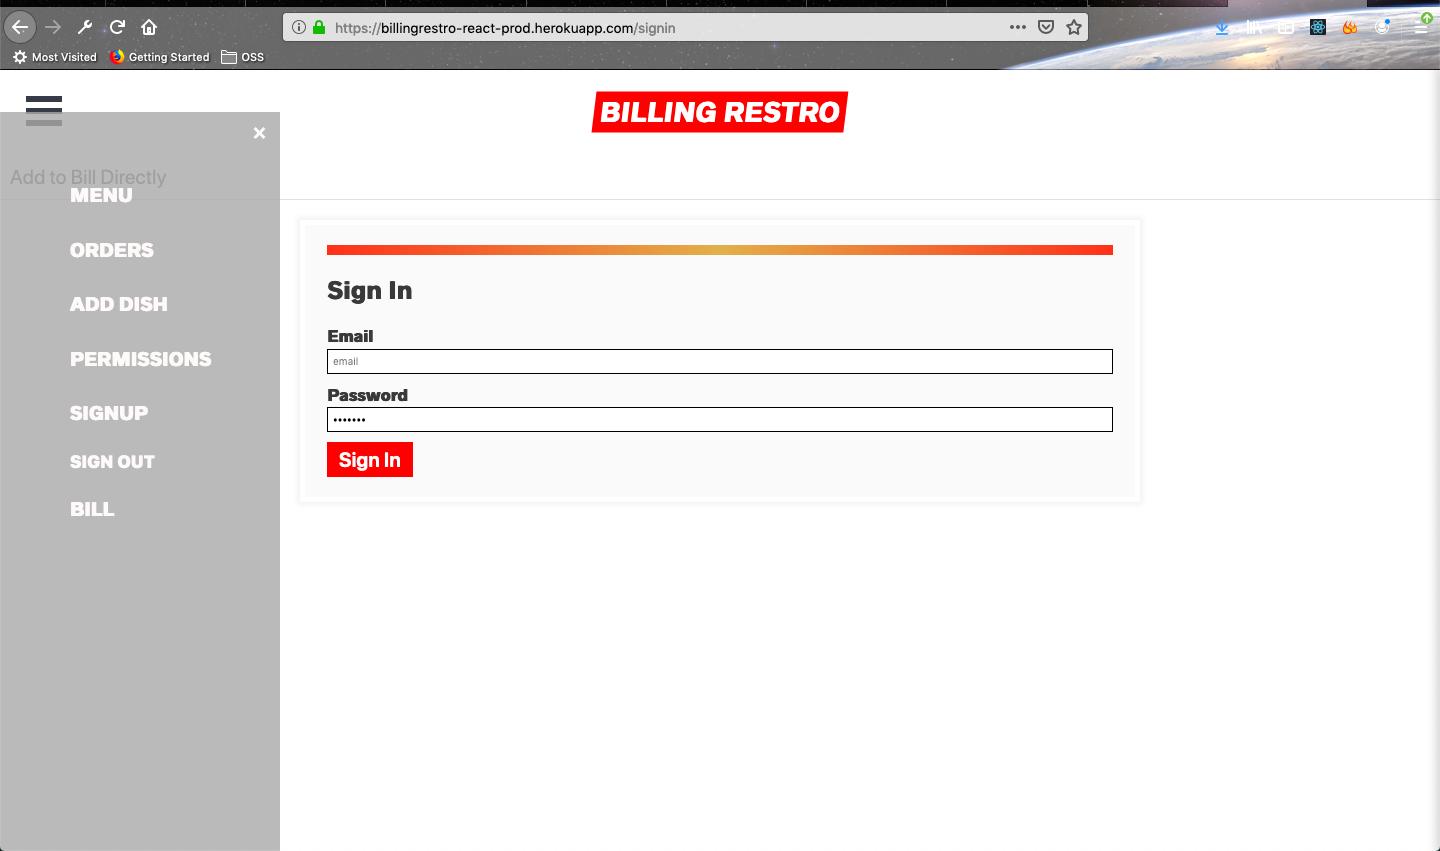 The Admin User
After adding some items the Web-app looks like below
 The complete App
You can visit the deployed url and play here. Use the credentials normal@gmail.com/normal
Also, visit the github for the project to know all the features. And please give star if you like it. Complete Production Grade Restaurant Billing App