Build a Firefox extension step-by-step-25
by Nabendu Biswas / May 2nd, 2020
#javascript #beginners #webdev
Series: Firefox-addons
Welcome to part-25 of the series. In this part we will create a new addon called Mobile View Tester. This addon allows a developer to check a website, in different popular mobile devices.
So, go ahead and create a folder MobileViewTester and inside it another folder icons. Inside that folder place three icons. You can get them from the github link at the end of this post.
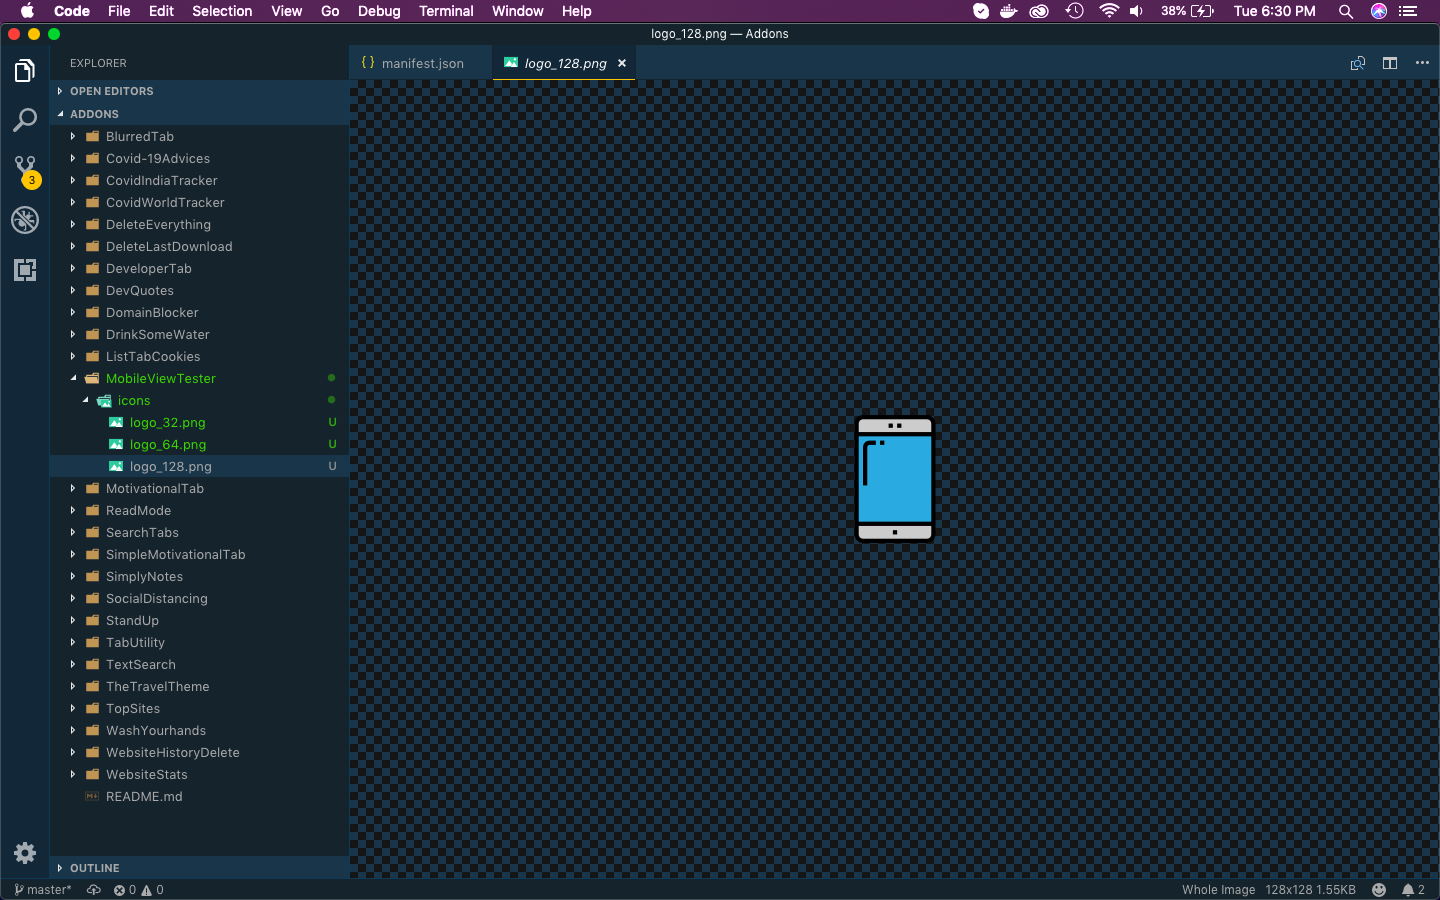 MobileViewTester
Now, create a file manifest.json inside the folder MobileViewTester and put the below content in it.
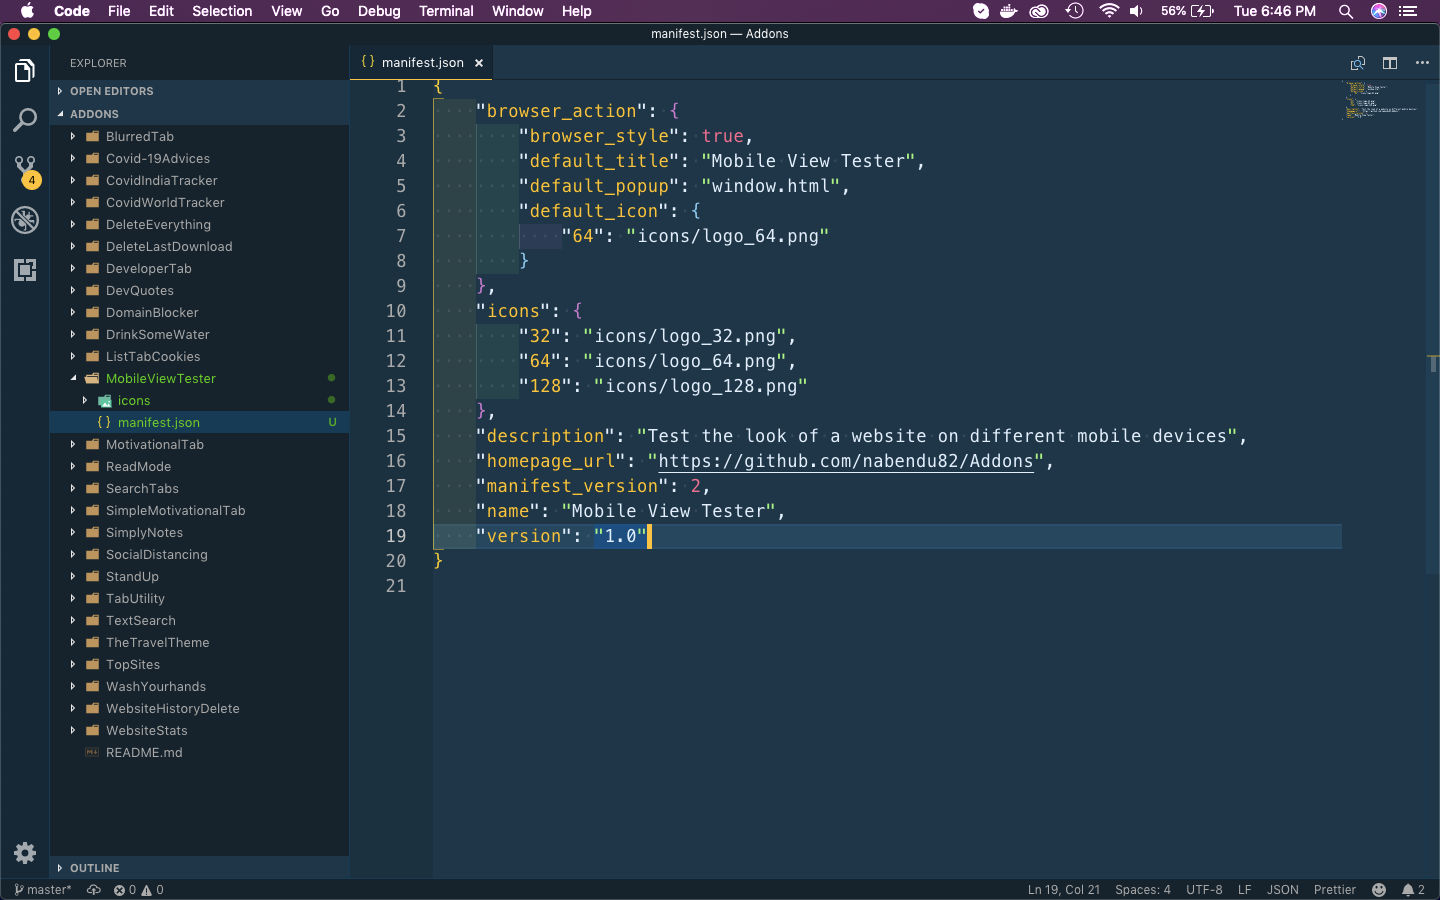 manifest.json
Next, create the window.html file in the same folder and put the below code in it.
It is a simple html file, with link to css and js file. It have some buttons to display different mobile phones.
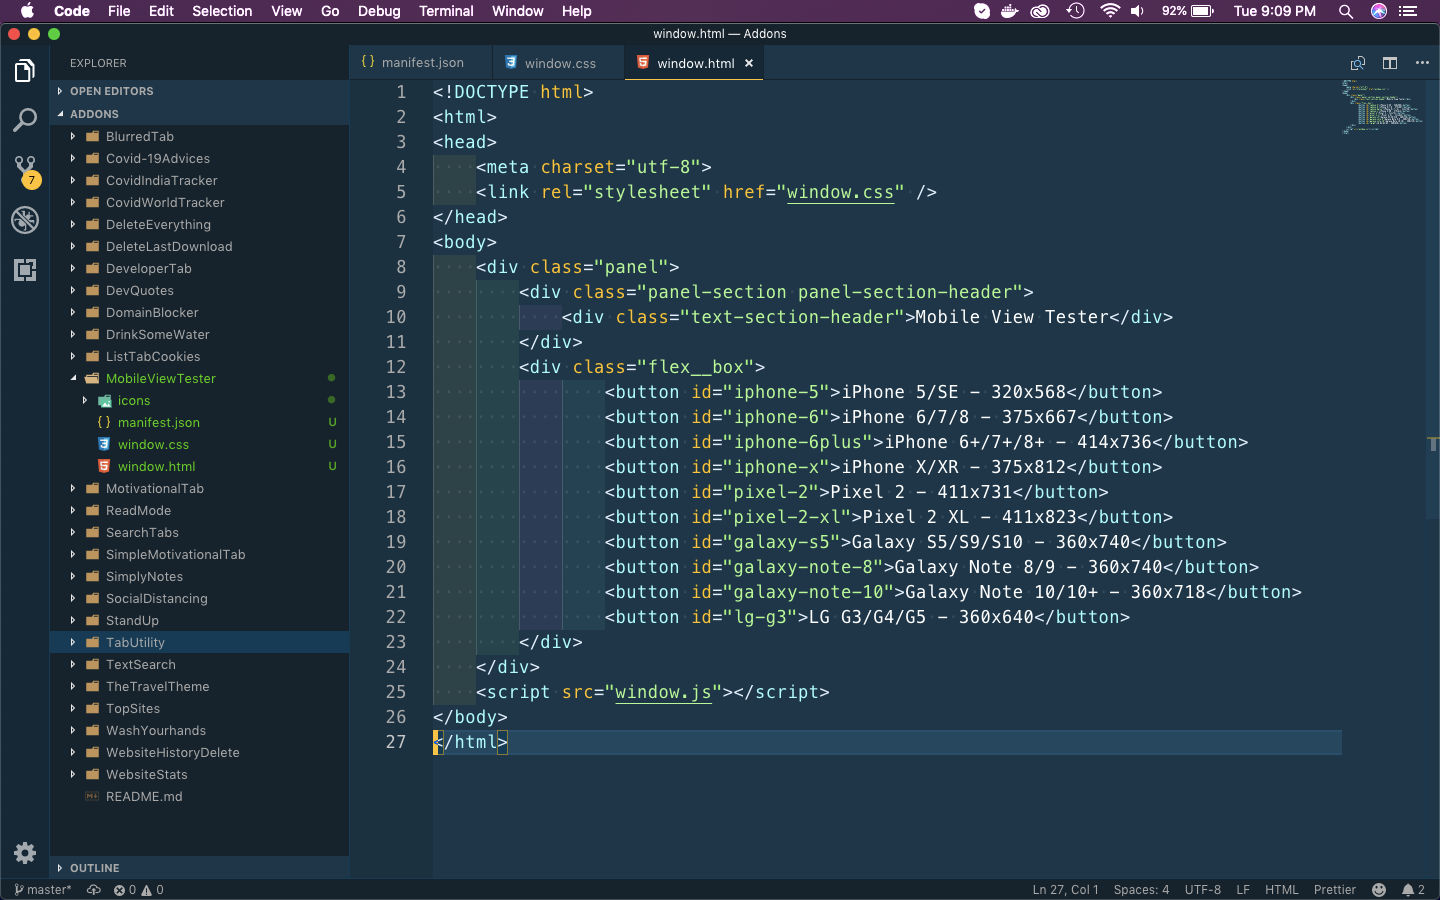 window.html
Now, let’s put some styles for this html file. Create a file window.css in the same folder and put the below content in it.
    html, body {
        width: 300px;
        background: #ffc600;
    }
    .panel {
        margin: 5px;
    }
    .text-section-header{
        font-size:25px;
        font-weight: bold;
        text-shadow: 0px 4px 3px rgba(0,0,0,0.4),
        0px 8px 13px rgba(0,0,0,0.1),
        0px 18px 23px rgba(0,0,0,0.1);
    }
    .flex__box{
        display: flex;
        flex-direction: column;
        margin-top: 10px;
    }
    button {
        box-shadow:inset 0px 1px 0px 0px #e184f3;
        background:linear-gradient(to bottom, #c123de 5%, #a20dbd 100%);
        background-color:#c123de;
        border-radius:6px;
        border:1px solid #a511c0;
        display:inline-block;
        margin-bottom: 5px;
        cursor:pointer;
        color:#ffffff;
        font-family:Arial;
        font-size:15px;
        font-weight:bold;
        padding:9px 23px;
        text-decoration:none;
        text-shadow:0px 1px 0px #9b14b3;
    }
    button:hover {
        background:linear-gradient(to bottom, #a20dbd 5%, #c123de 100%);
        background-color:#a20dbd;
    }
    button:active {
        position:relative;
        top:1px;
    }
Now, i had loaded the temporary extension and checked the styles, and it looks fine.
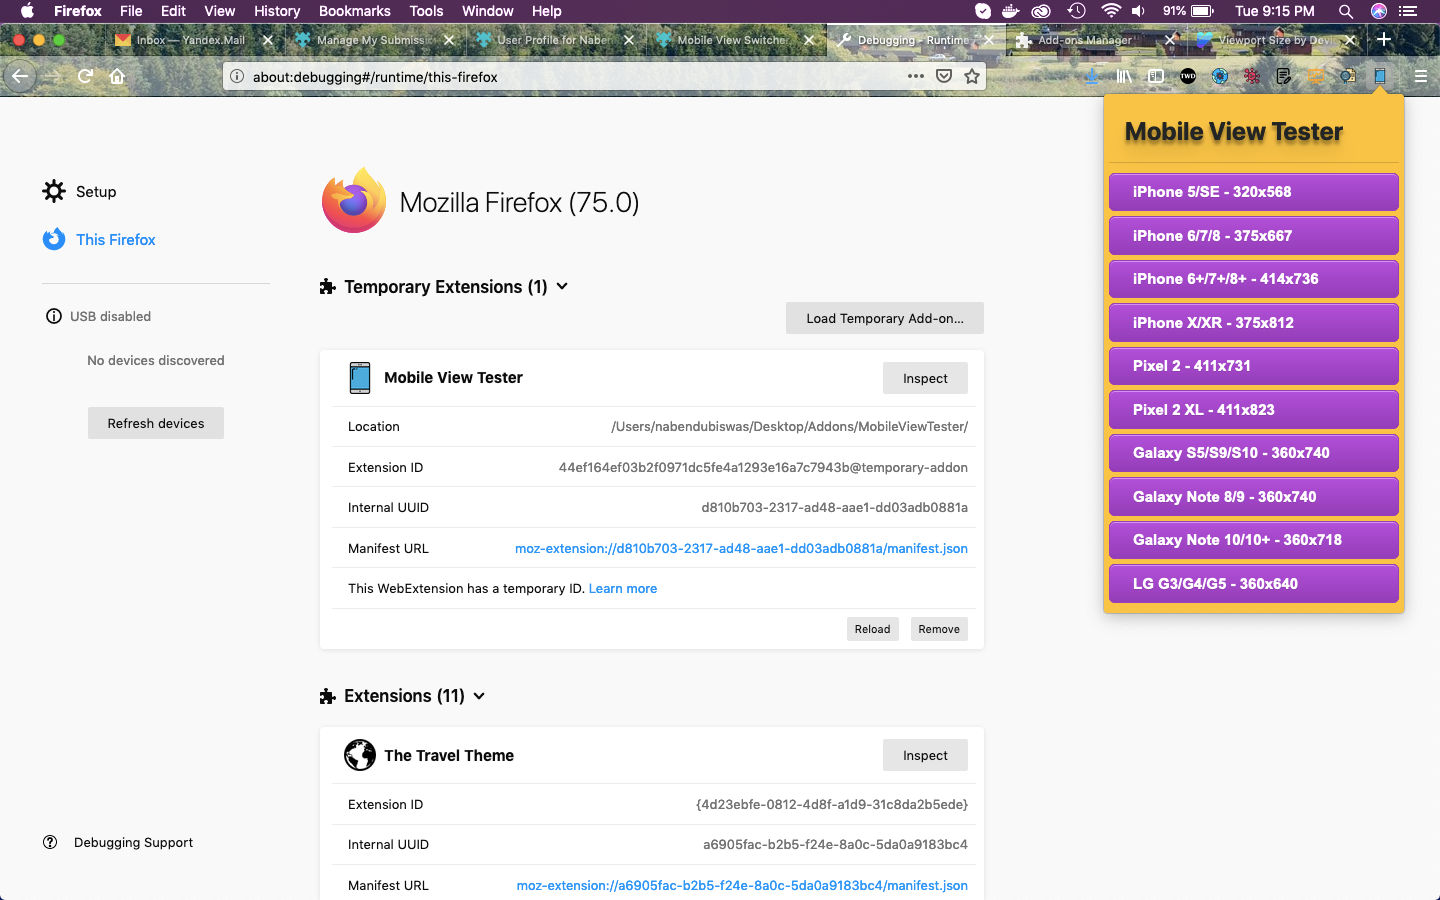 Addon
Addon
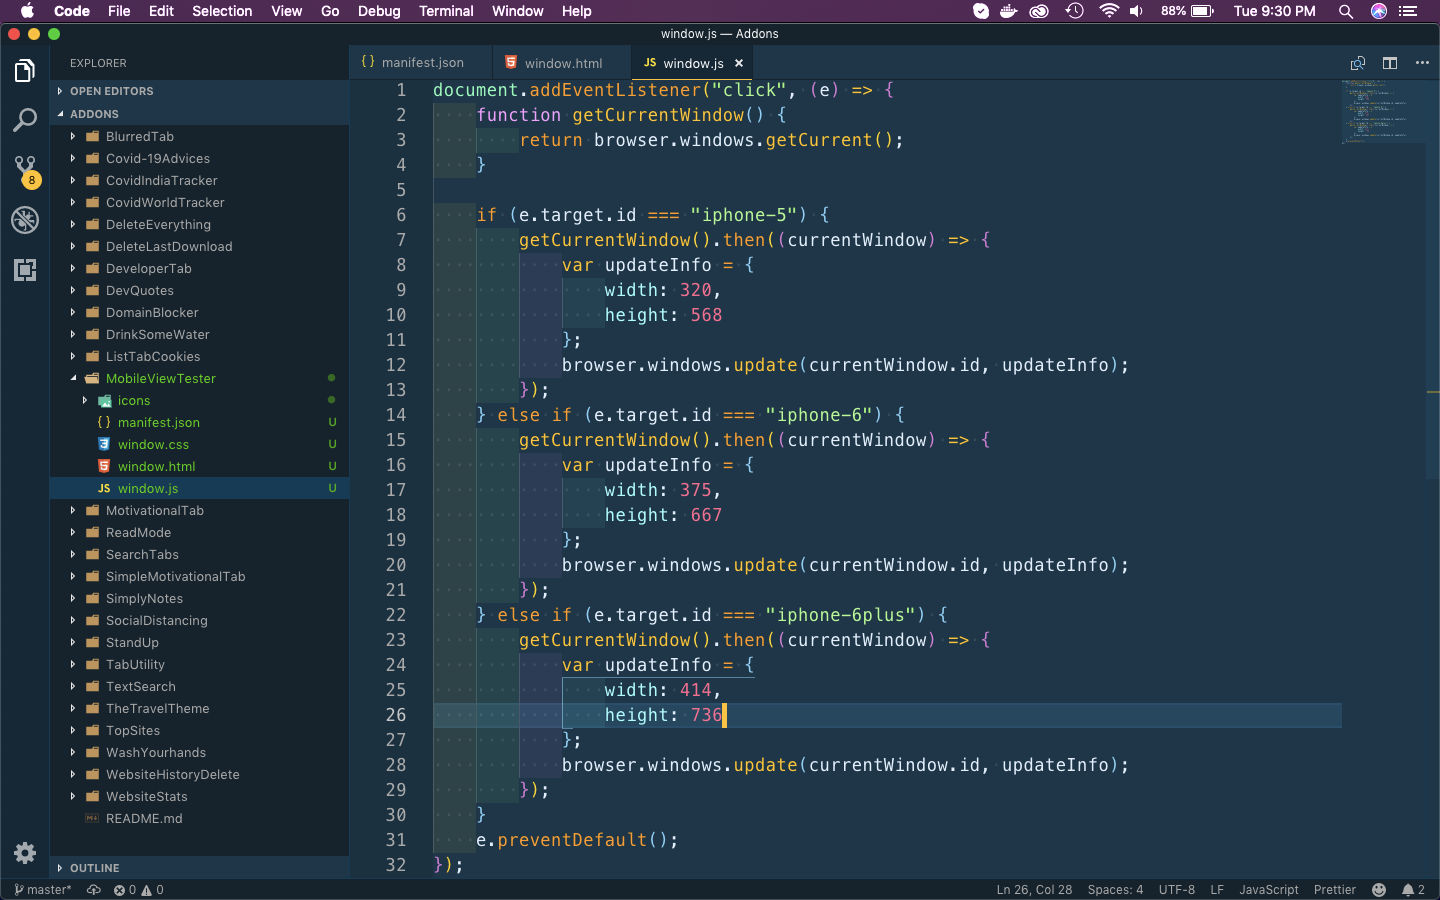
Now, we will add the logic for this addon. Create a file window.js in the same directory and put the below code in it.
Here, we have an event-listener for the click of any button at line 1. Inside the event-listener, we are targeting each id by e.target.id. On matching we are getting the current window info by windows.getCurrent().
After that we are updating the window size by windows.update() function from mozilla, by passing the window dimensions and id.
 window.js
We need to add this for all other buttons. The whole code for window.js is below.
    document.addEventListener("click", (e) => {
        function getCurrentWindow() {
            return browser.windows.getCurrent();
        }

    if (e.target.id === "iphone-5") {
            getCurrentWindow().then((currentWindow) => {
                var updateInfo = {
                    width: 320,
                    height: 568
                };
                browser.windows.update(currentWindow.id, updateInfo);
            });
        } else if (e.target.id === "iphone-6") {
            getCurrentWindow().then((currentWindow) => {
                var updateInfo = {
                    width: 375,
                    height: 667
                };
                browser.windows.update(currentWindow.id, updateInfo);
            });
        } else if (e.target.id === "iphone-6plus") {
            getCurrentWindow().then((currentWindow) => {
                var updateInfo = {
                    width: 414,
                    height: 736
                };
                browser.windows.update(currentWindow.id, updateInfo);
            });
        } else if (e.target.id === "iphone-x") {
            getCurrentWindow().then((currentWindow) => {
                var updateInfo = {
                    width: 375,
                    height: 812
                };
                browser.windows.update(currentWindow.id, updateInfo);
            });
        } else if (e.target.id === "pixel-2") {
            getCurrentWindow().then((currentWindow) => {
                var updateInfo = {
                    width: 411,
                    height: 731
                };
                browser.windows.update(currentWindow.id, updateInfo);
            });
        } else if (e.target.id === "pixel-2-xl") {
            getCurrentWindow().then((currentWindow) => {
                var updateInfo = {
                    width: 411,
                    height: 823
                };
                browser.windows.update(currentWindow.id, updateInfo);
            });
        } else if (e.target.id === "galaxy-s5") {
            getCurrentWindow().then((currentWindow) => {
                var updateInfo = {
                    width: 360,
                    height: 740
                };
                browser.windows.update(currentWindow.id, updateInfo);
            });
        } else if (e.target.id === "galaxy-note-8") {
            getCurrentWindow().then((currentWindow) => {
                var updateInfo = {
                    width: 360,
                    height: 740
                };
                browser.windows.update(currentWindow.id, updateInfo);
            });
        } else if (e.target.id === "galaxy-note-10") {
            getCurrentWindow().then((currentWindow) => {
                var updateInfo = {
                    width: 360,
                    height: 718
                };
                browser.windows.update(currentWindow.id, updateInfo);
            });
        } else if (e.target.id === "lg-g3") {
            getCurrentWindow().then((currentWindow) => {
                var updateInfo = {
                    width: 360,
                    height: 640
                };
                browser.windows.update(currentWindow.id, updateInfo);
            });
        }

    e.preventDefault();
    });
So, our code is complete. I had checked it by testing the temporary addon and it works perfectly.
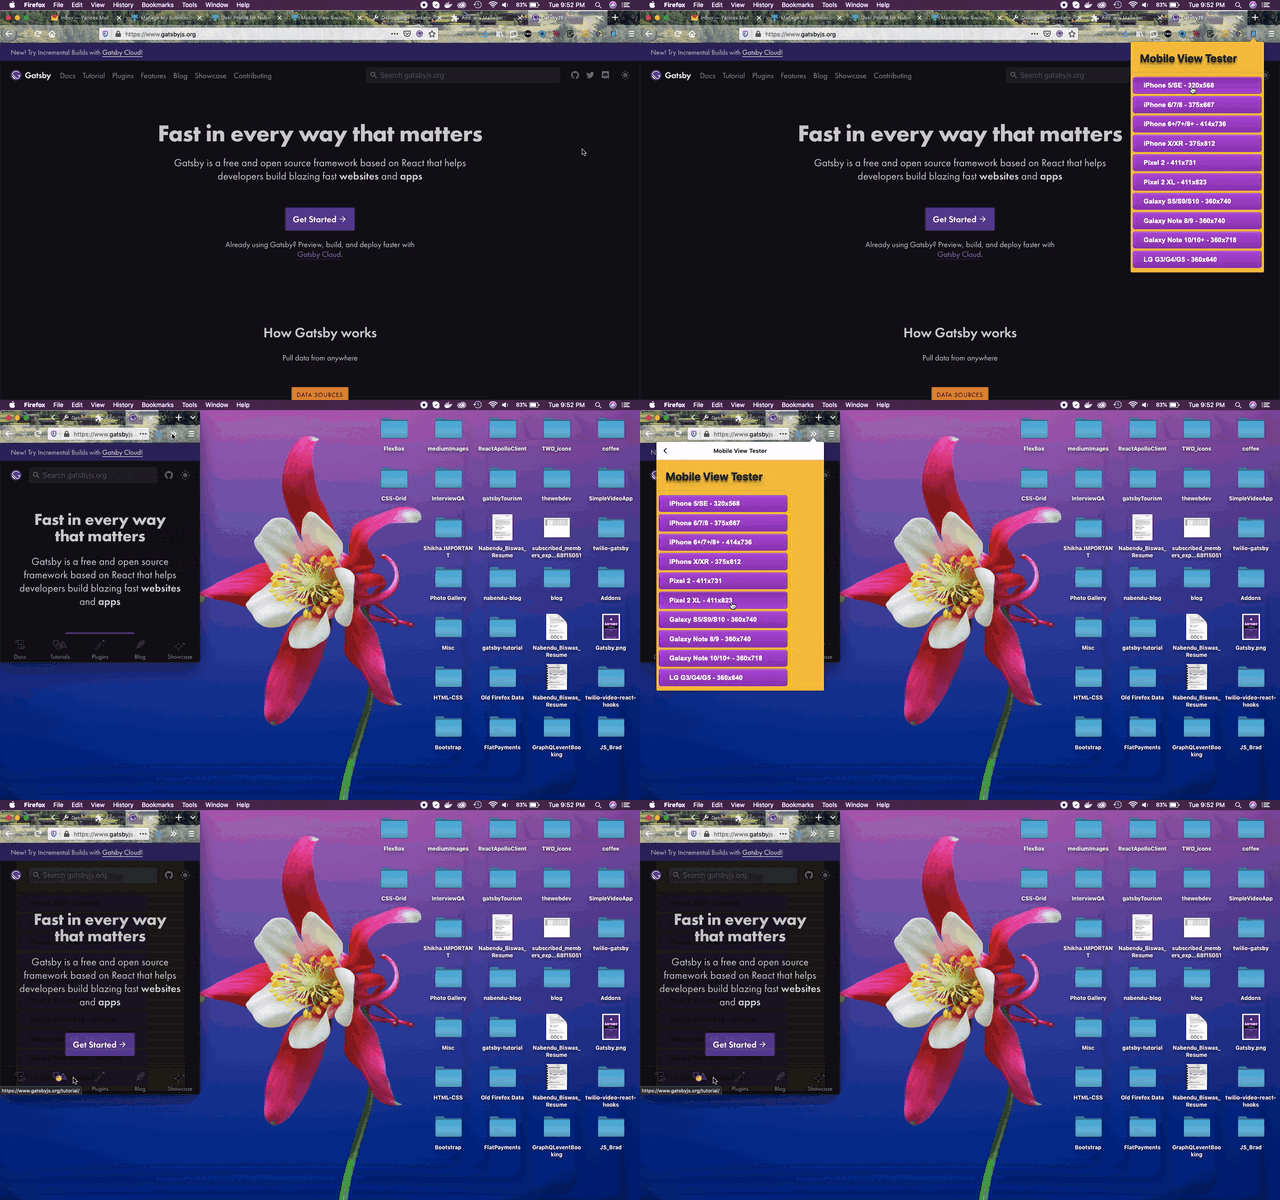 Gif
Gif
So, it’s time to publish it in the mozilla addon store. I will follow the procedure from another of my blog in the series. The link is here.
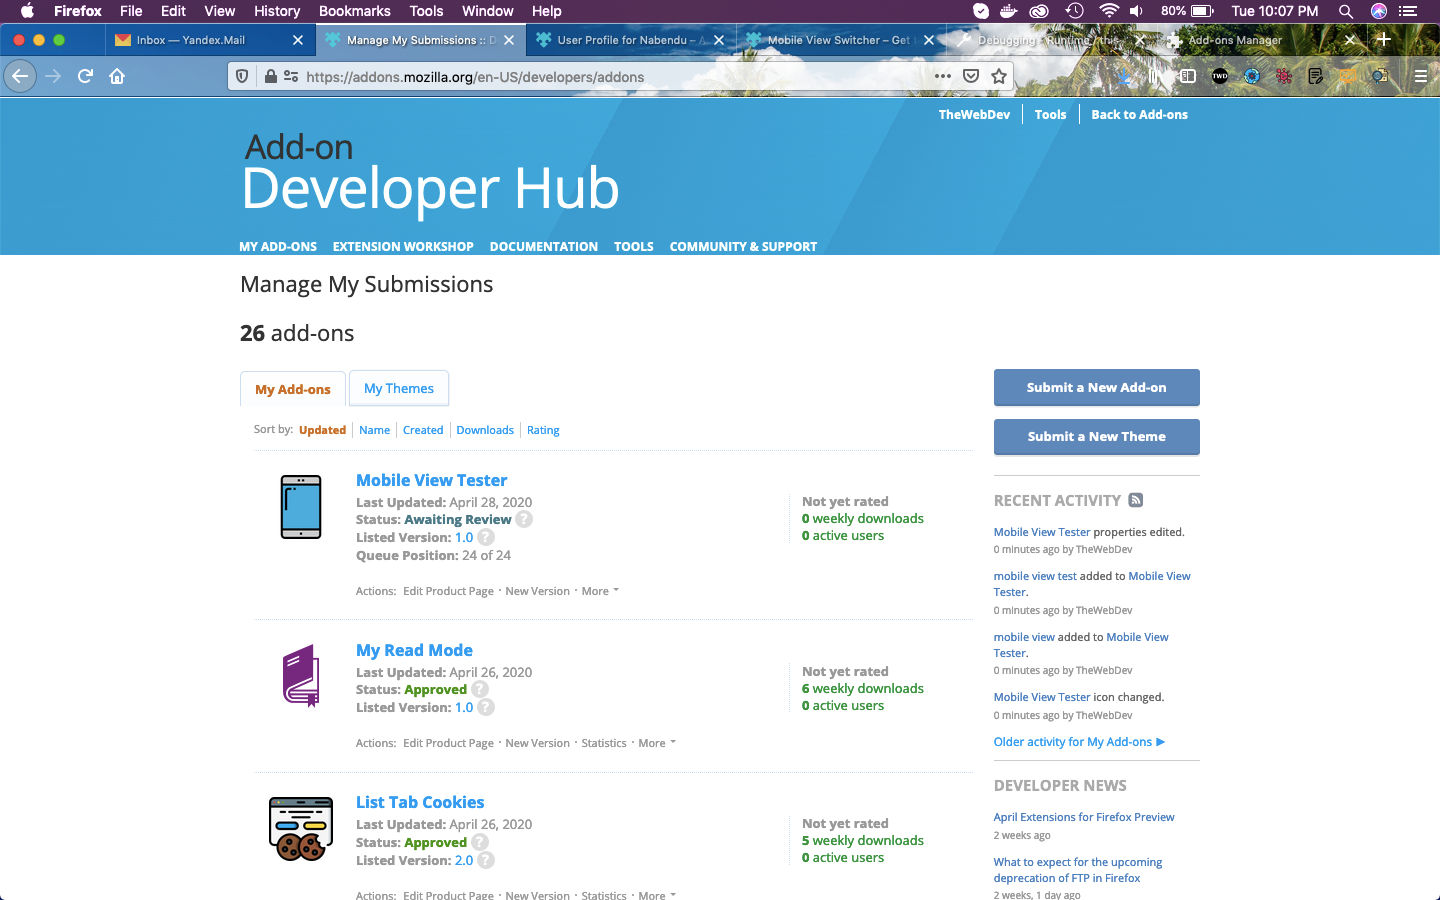 Awaiting
This complete part-25 of the series. You can install this addon into firefox from here.
You can find the code for the same in my github account here.