Flutter Crash Course for Beginners
by Nabendu Biswas / March 29th, 2021
#flutter #beginners #dart
Series: Flutter
After going through Dart in previous blog, it’s time to start our flutter journey.
Before using flutter we need to install it and the document to install it is great and did it without any problem on my Windows machine. The documentation is here.
Just one thing to keep in mind is that, we need to update environment variables on the windows machine. I have android studio also setup, which can be used to run the android emulator.
But i run it on my physical android device as it is much faster and connect it via USB to computer. I mirror my android device on my desktop using a application called scrcpy.
Now, i am a ReactJS developer primarily. And have also done React Native development, in which i struggled a lot with bugs.
Now, flutter is quite different from React Native, and here we have widget for everything.
We are going to create a simple app called Wordpair Generator, which gives us a random list of word pairs. We can also select any one of them and they will be shown in different screen.
So, open your terminal and run the below command.
flutter create wordpair_generator
After that go to that folder and open it with VSCode. In it, we need to install two extensions, which are must for flutter development.
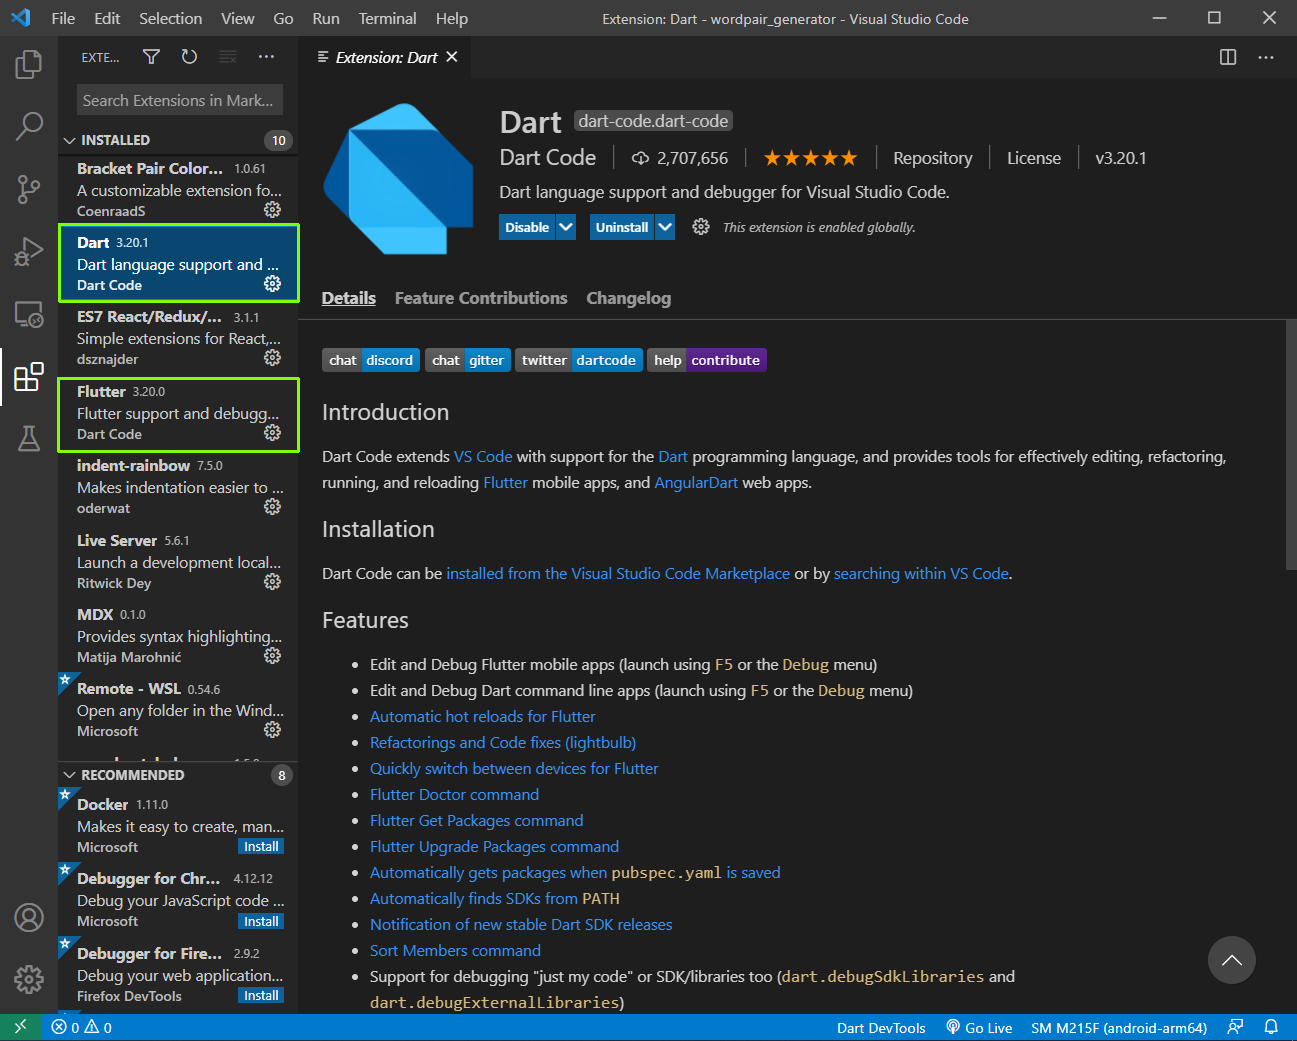 Dart
Dart
Since, i have my android device connected via USB it is showing me it at the bottom right corner. Now, click on Run and then Run Without Debugging to start the app.
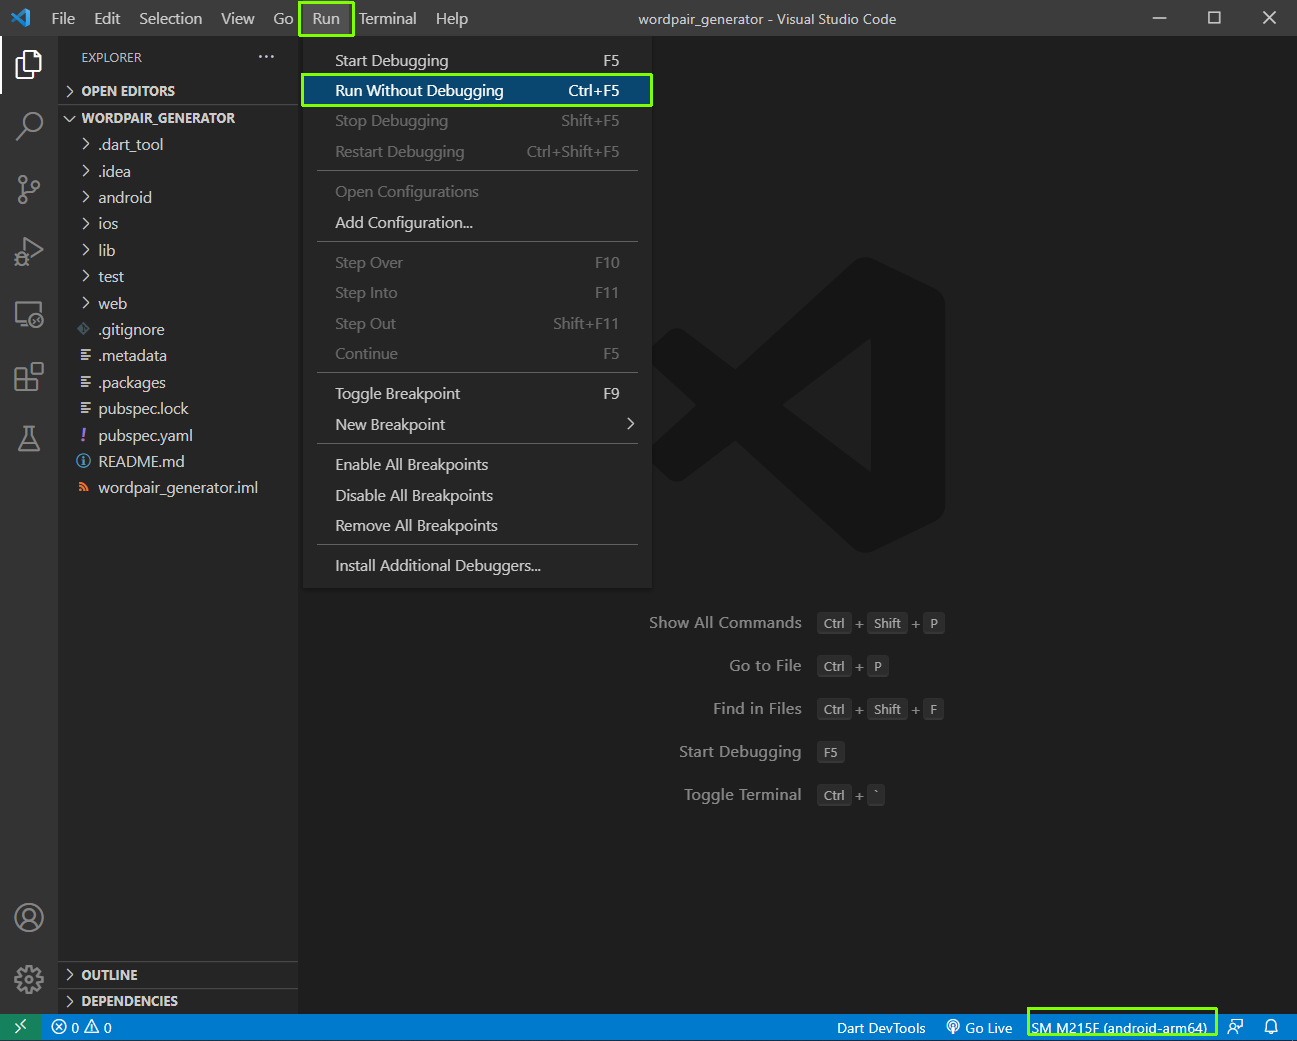 Run
Run
For the first time it will ask to Select Environment. Choose Dart & Flutter here.
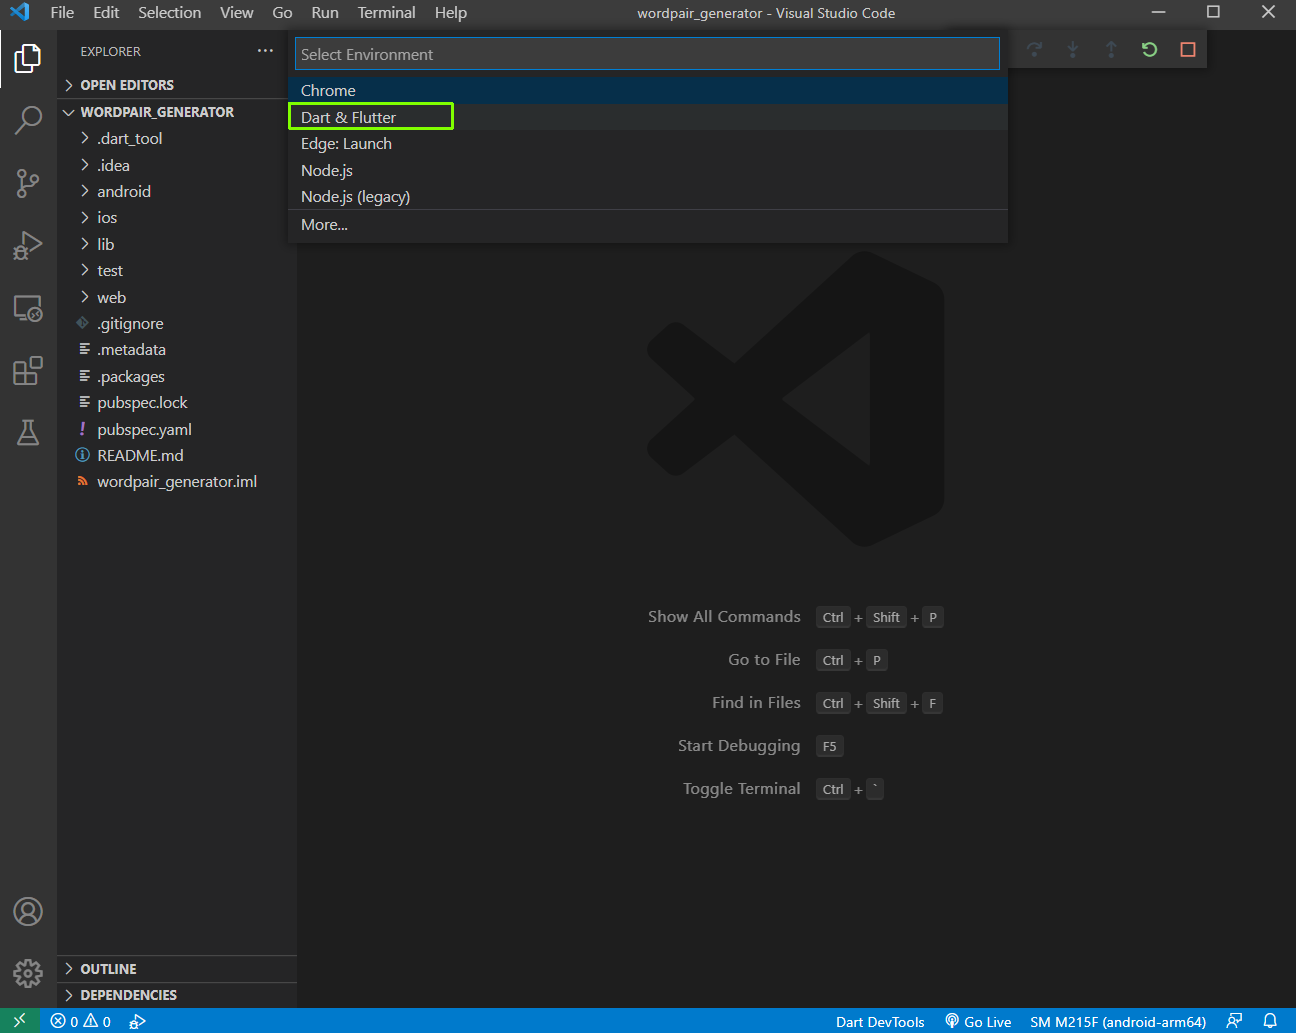 Dart
Dart
If successful, it will open our app and show a control bar in our VSCode.
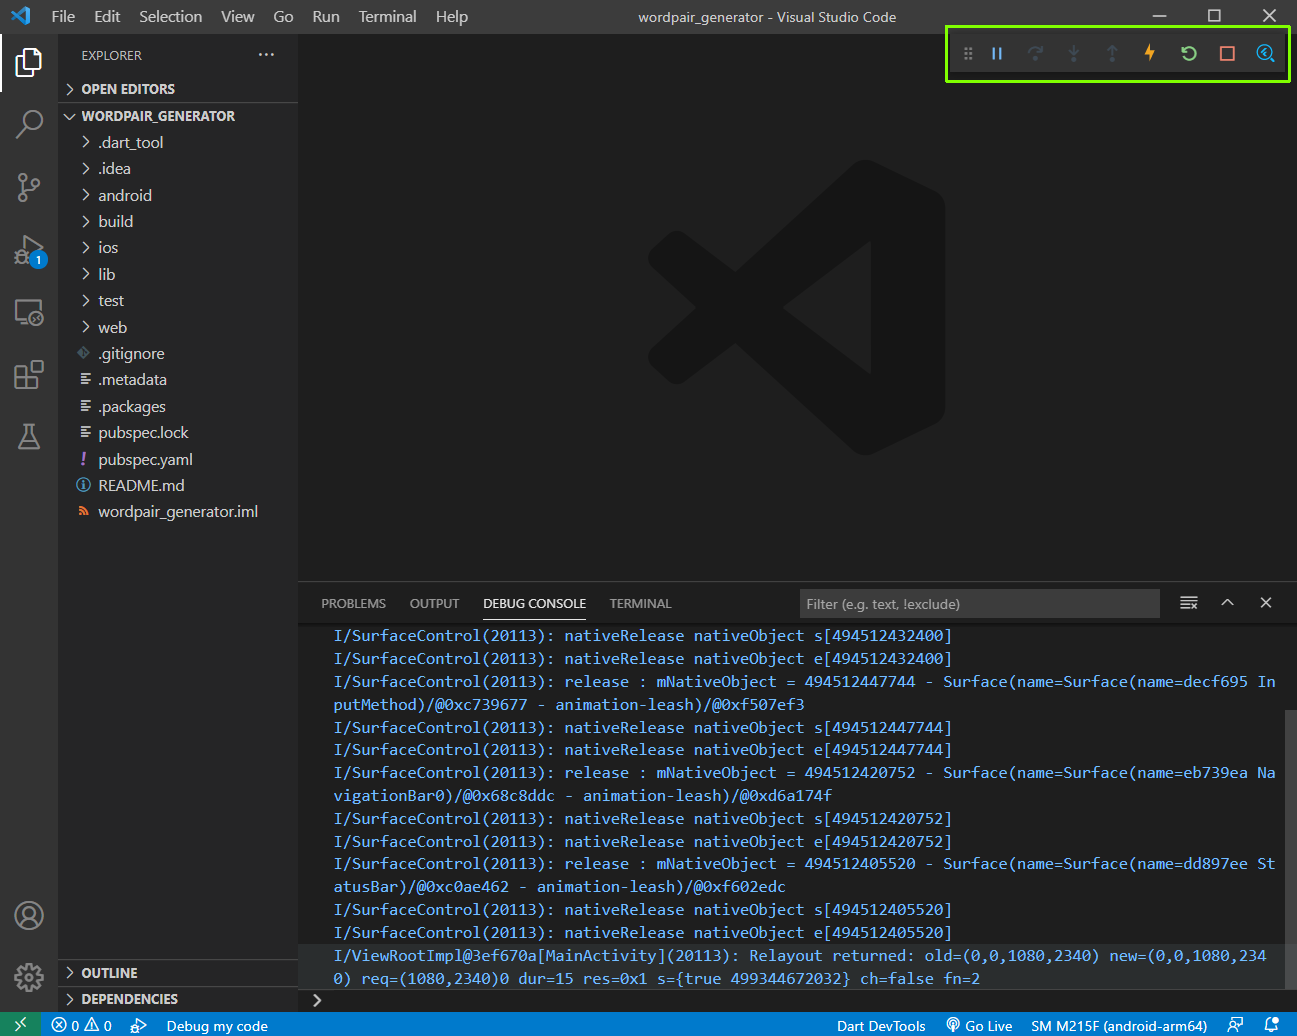 Control Bar
Now, our app is been rendered from main.dart file and the default app is a counter.
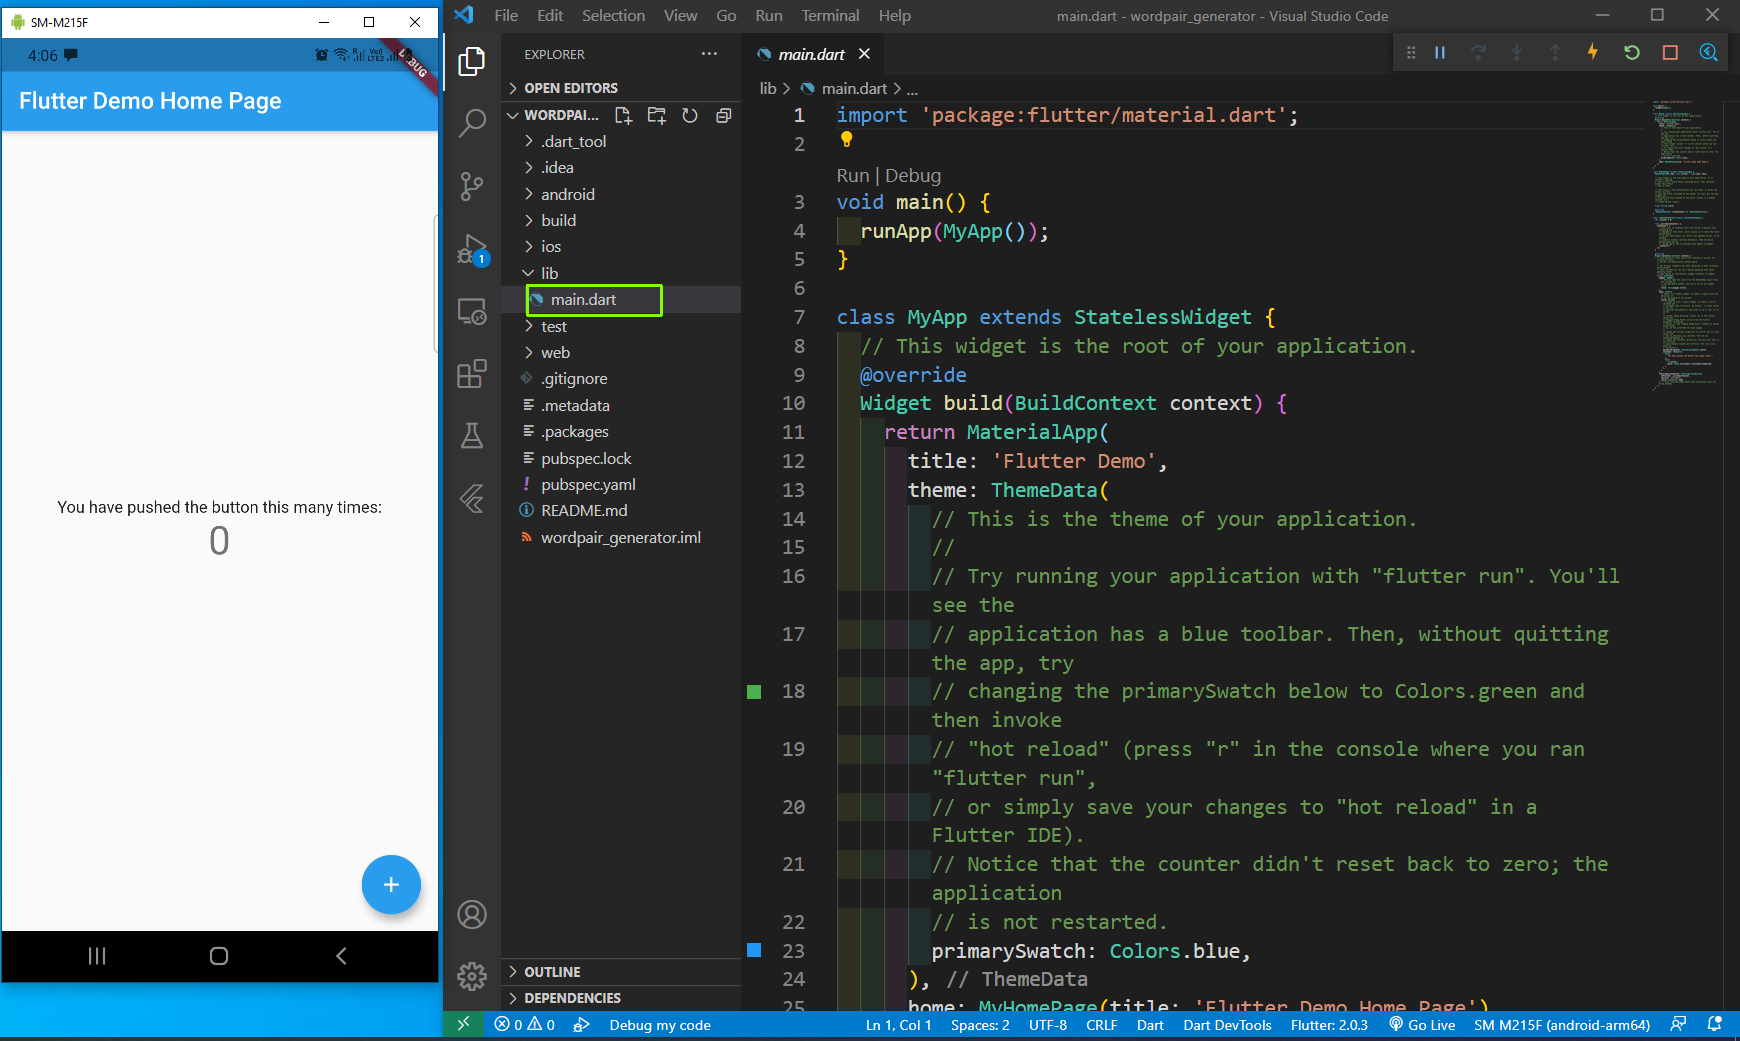 Counter
We will remove everything from here and add the below code, which is the basic structure. Here, we have a main() which is the entry point of our flutter app.
Here, we call the MyApp class, which is stateless. We then add the widget build, which call the MaterialApp. Inside it we show aText in home.
import 'package:flutter/material.dart';

void main() {
    runApp(MyApp());
}

class MyApp extends StatelessWidget {
    @override
    Widget build(BuildContext context) {
        return MaterialApp(
        home: Text('Flutter Demo'),
        );
    }
}
This will show a very ugly text in our device.
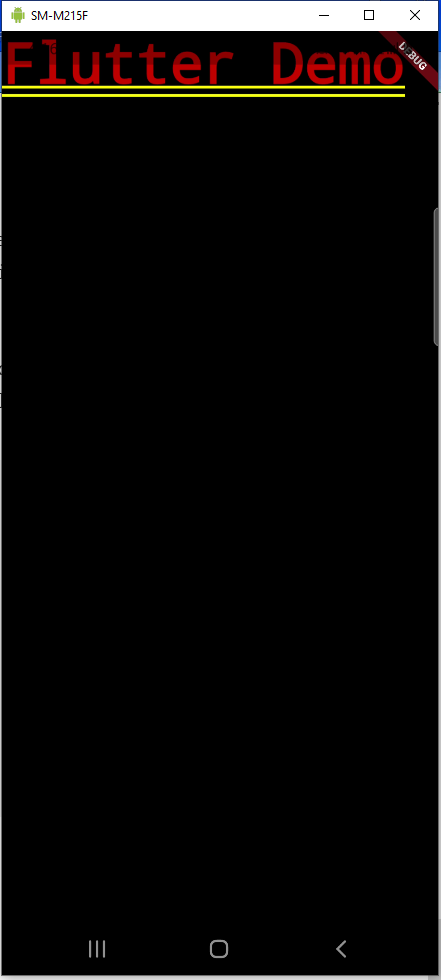 Ugly
Ugly
So, we will remove it and use Scaffold widget, which implements the basic material design visual layout structure. We are giving our App a title bar using it.
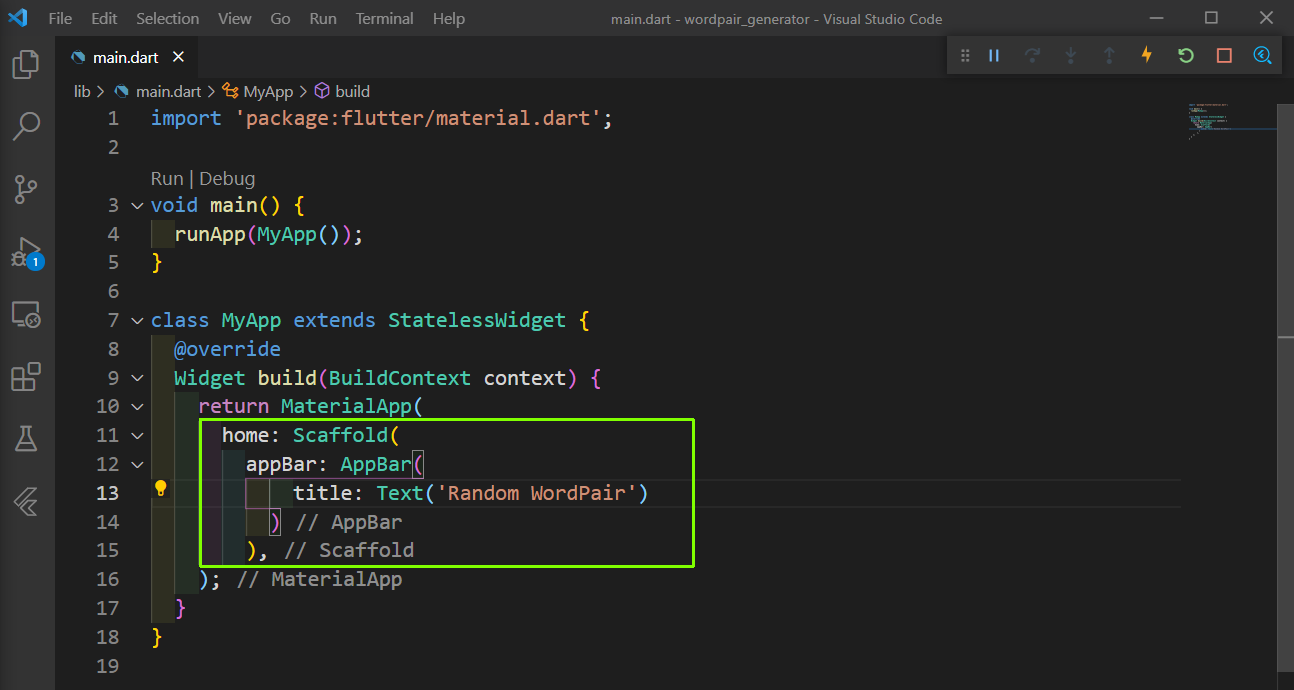 main.dart
Now, we will create a generic theme and a body for our app. The theme will give our app a general theme for all screens. And the body will contain our main app data, in which we are showing a centered text.
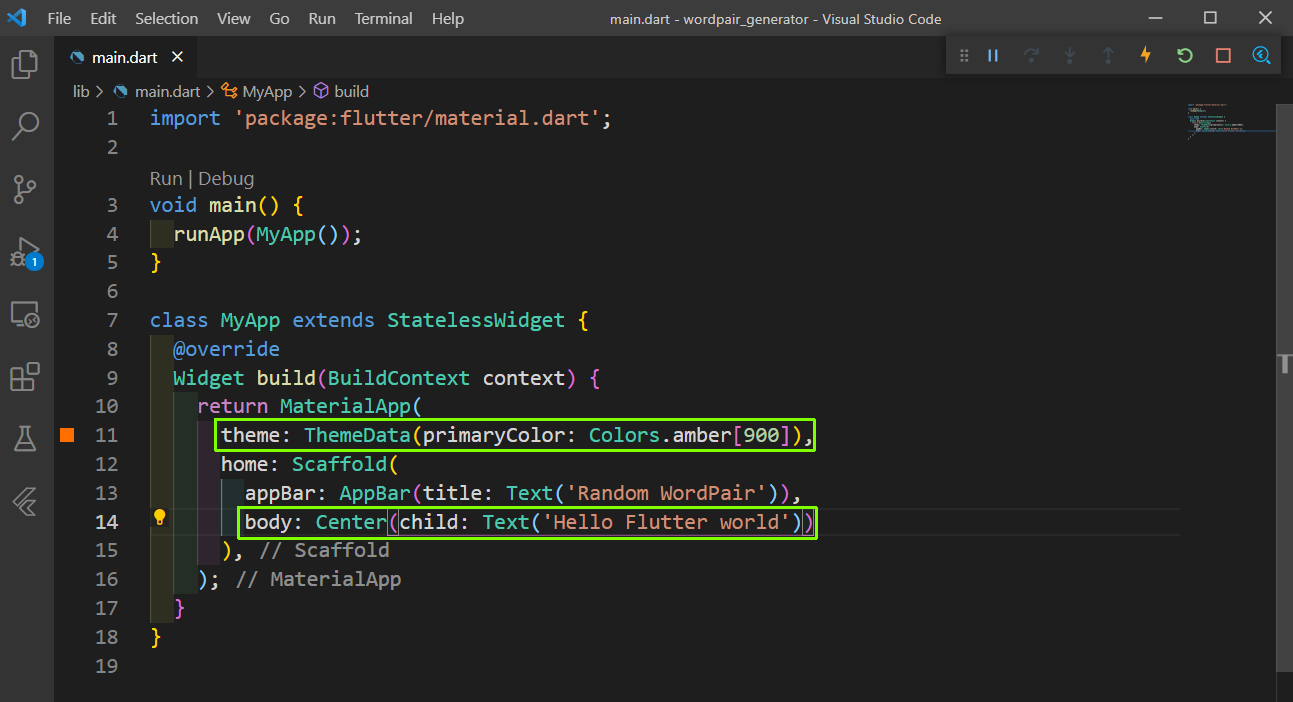 main.dart
Now, our app looks quite beautiful, with inclusion of just few widgets.
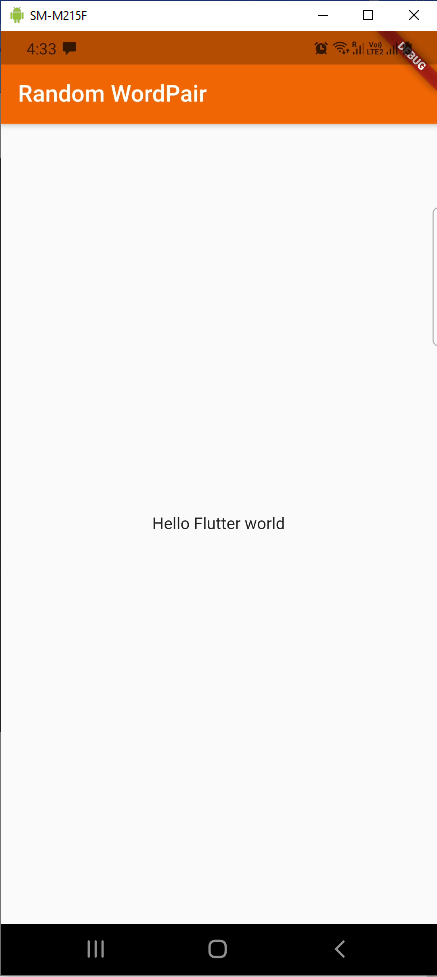 Beautiful
Now, dart also have it’s own packages like npm for JavaScript ecosystem. we can get them from https://pub.dev/
Here, search for English words and click on the first search result. The first way given is the easiest to install a dart package.
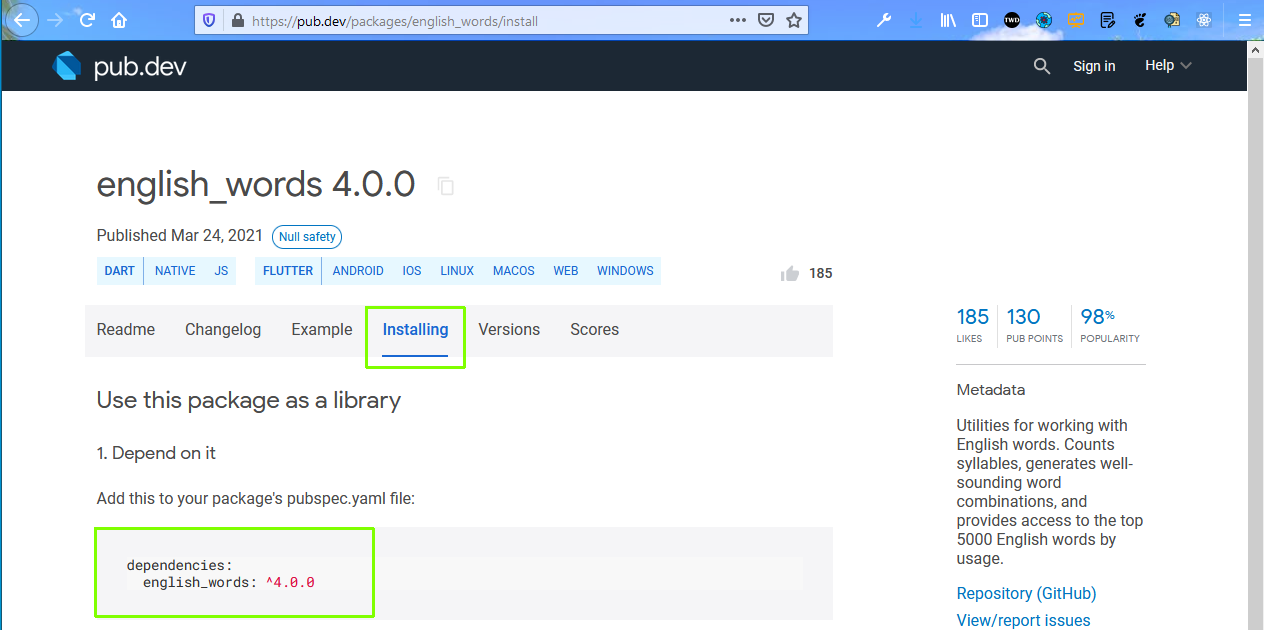 english
So, as per the documentation add it in the pubspec.yaml file. Also, notice that it is on the same level of flutter. The package will be installed automatically after saving the file.
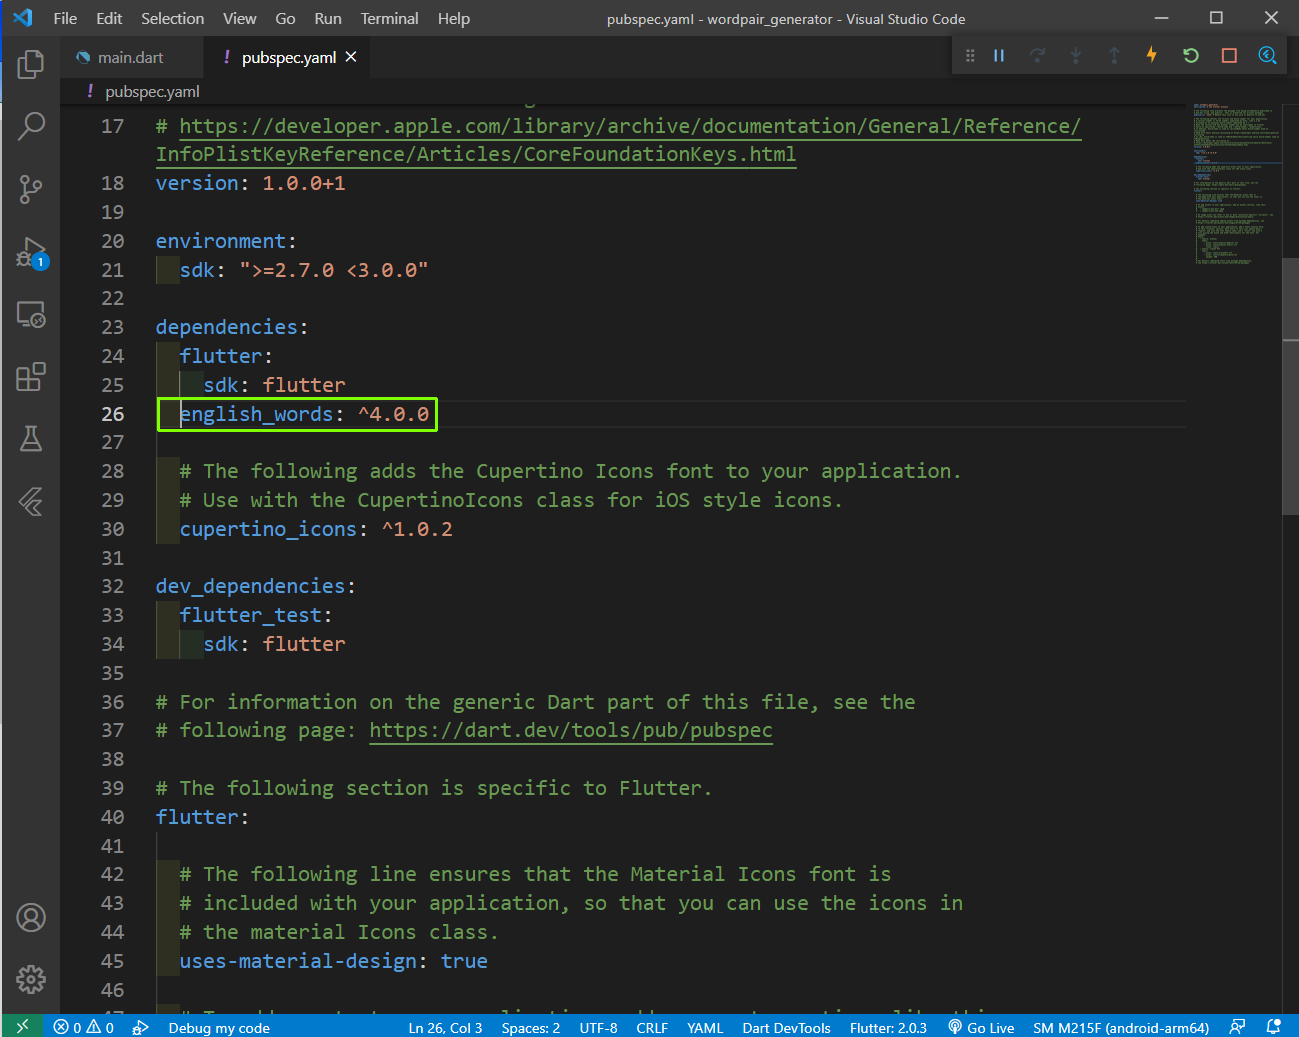 pubspec.yaml
Back in main.dart we will first import the package and then use a variable wordPair to store the result from WordPair.random()
After that we are showing the wordPair inside our Text.
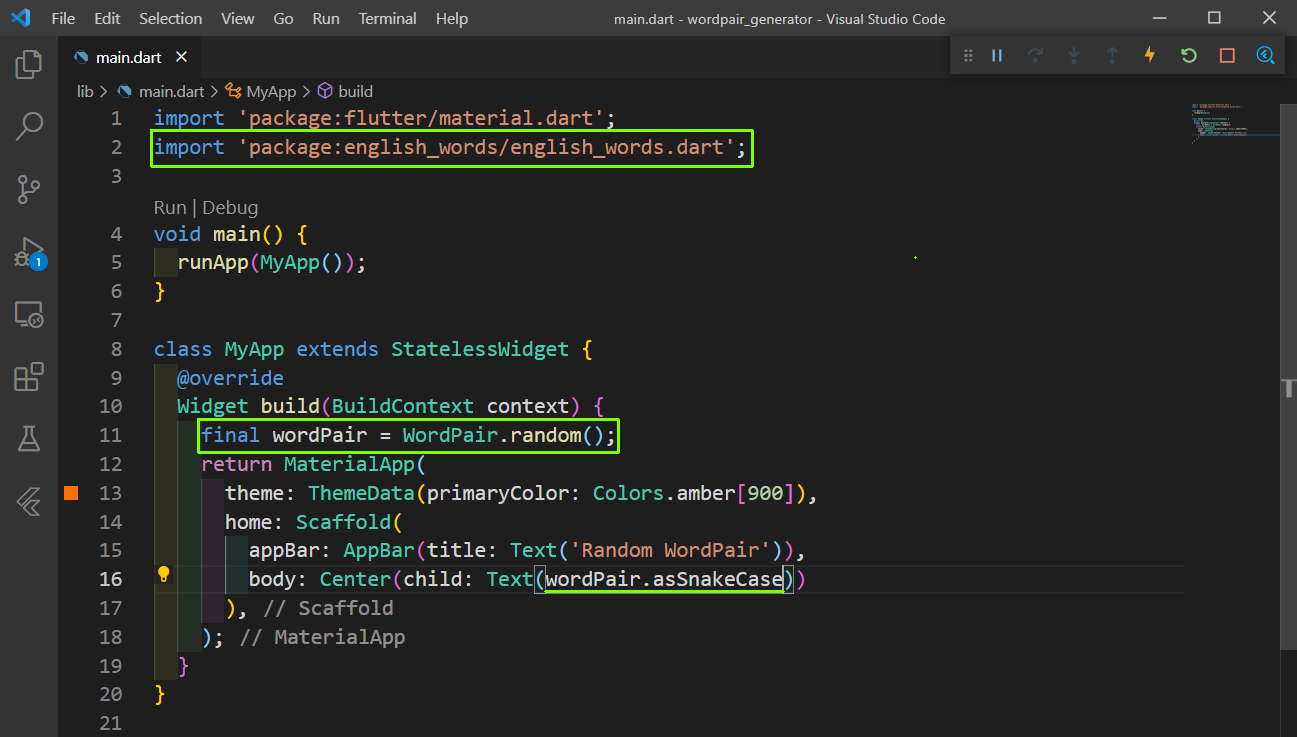 main.dart
It will show a single random wordpair in the centre of the page.
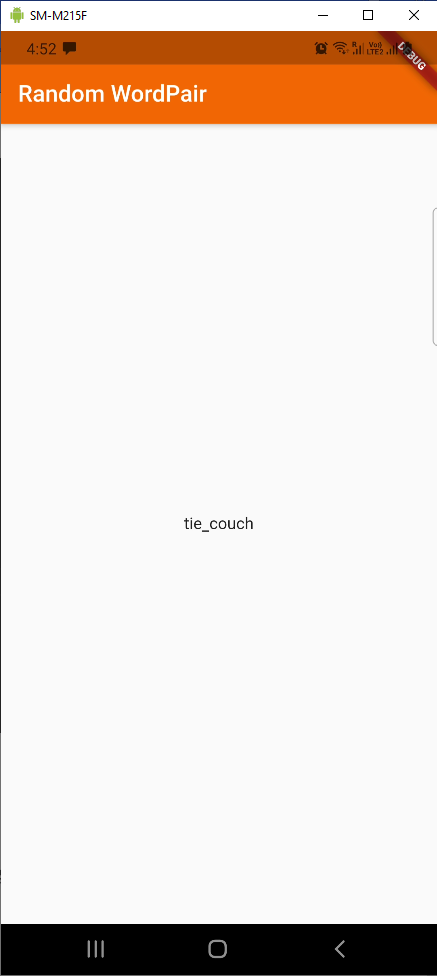 WordPair
For this application, we want a whole list of them in the List view. Now, we will show our list from a different class. So, create a RandomWords stateful class and call it from home.
A shortcut in VSCode to create a stateful class is by typing stful and pressing tab.
 Stateful
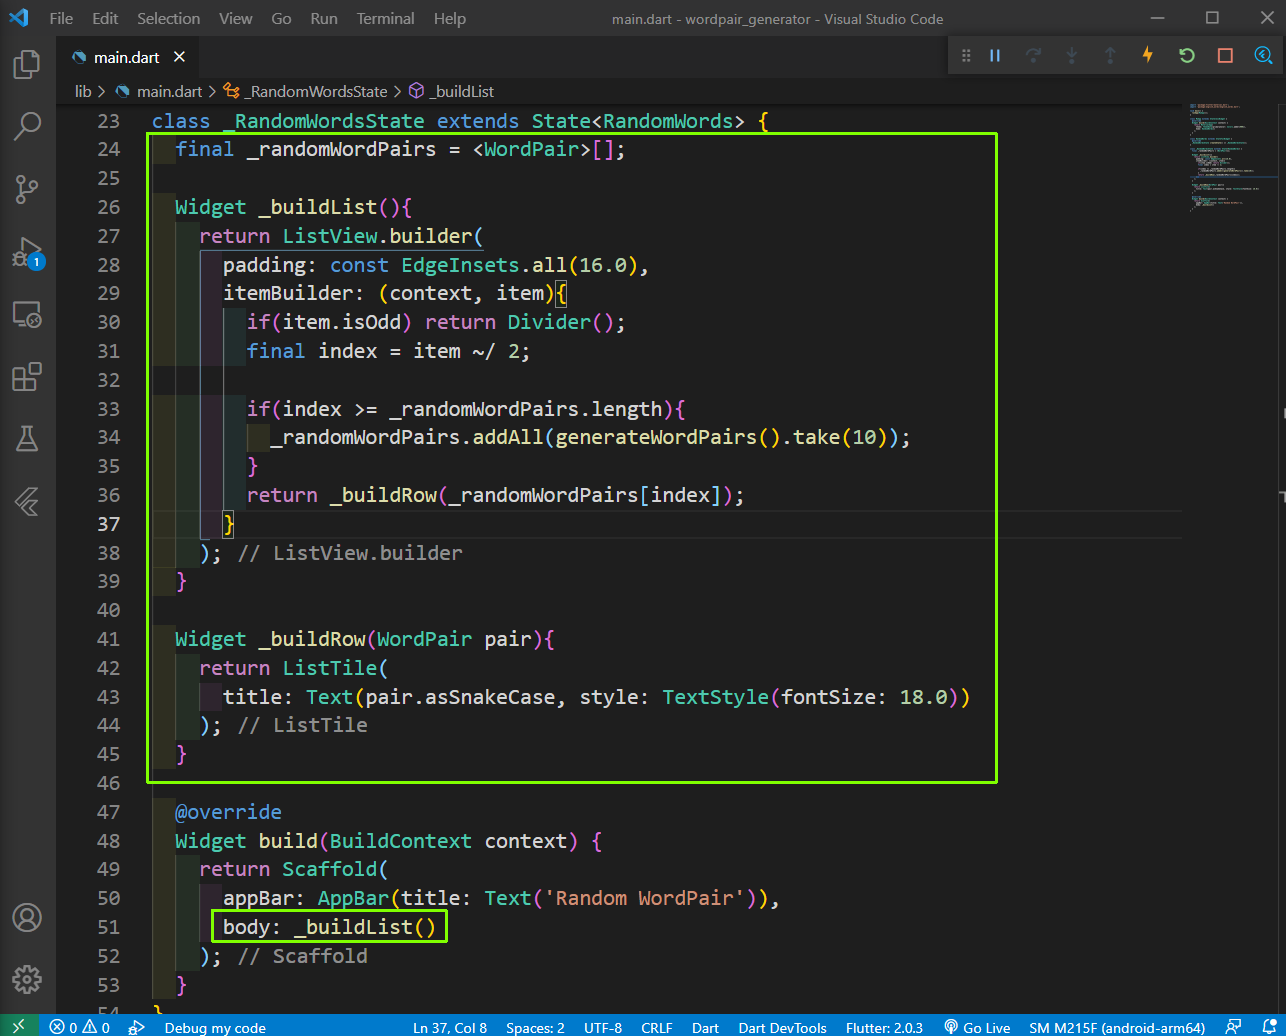
Next, in the body we are calling a private widget called _buildList(). Inside it we are first creating a variable _randomWordPairs, which will use the WordPair from English word package to create a List of English words.
After that we are using the ListView.builder to generate a dynamic list. Here, we are first giving some padding and then using the itemBuilder callback method. It takes two arguments context and item. It is actually called twice for each pair and adds a divider and a word. The word is added by another Widget called _buildRow().
Again inside the itemBuilder callback,we are generating 10 new words after the generated 10 words are exhausted, by the user scroll. Here, we also have the logic to ignore the divider index in Line 31.
 randomWords
Now, our app is showing an infinite list of random wordpairs.
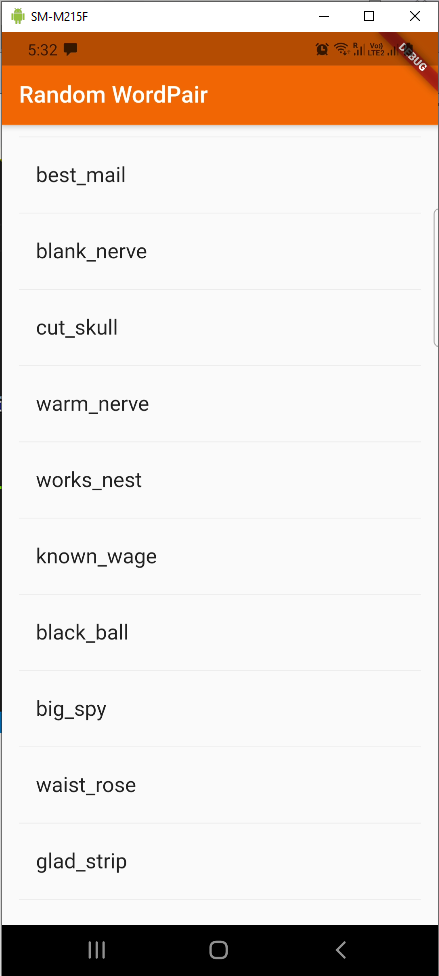 Random words
Before moving forward we will optimize our code by moving our RandomWords class to a different file. So, create a file random_words.dart in the lib folder and put the two RandomWords classes in it.
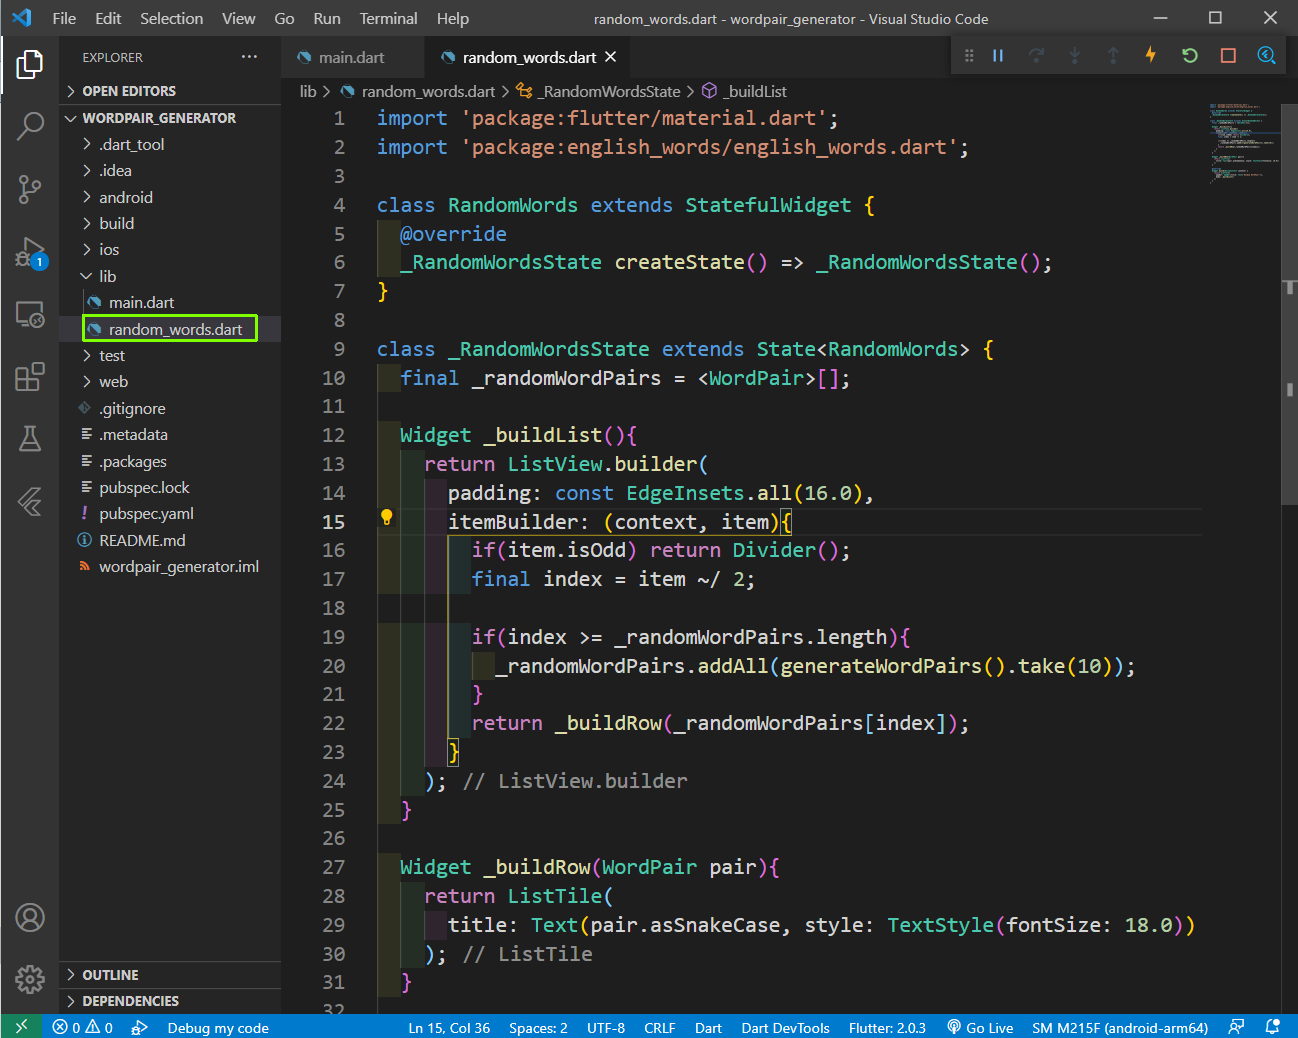 random_words.dart
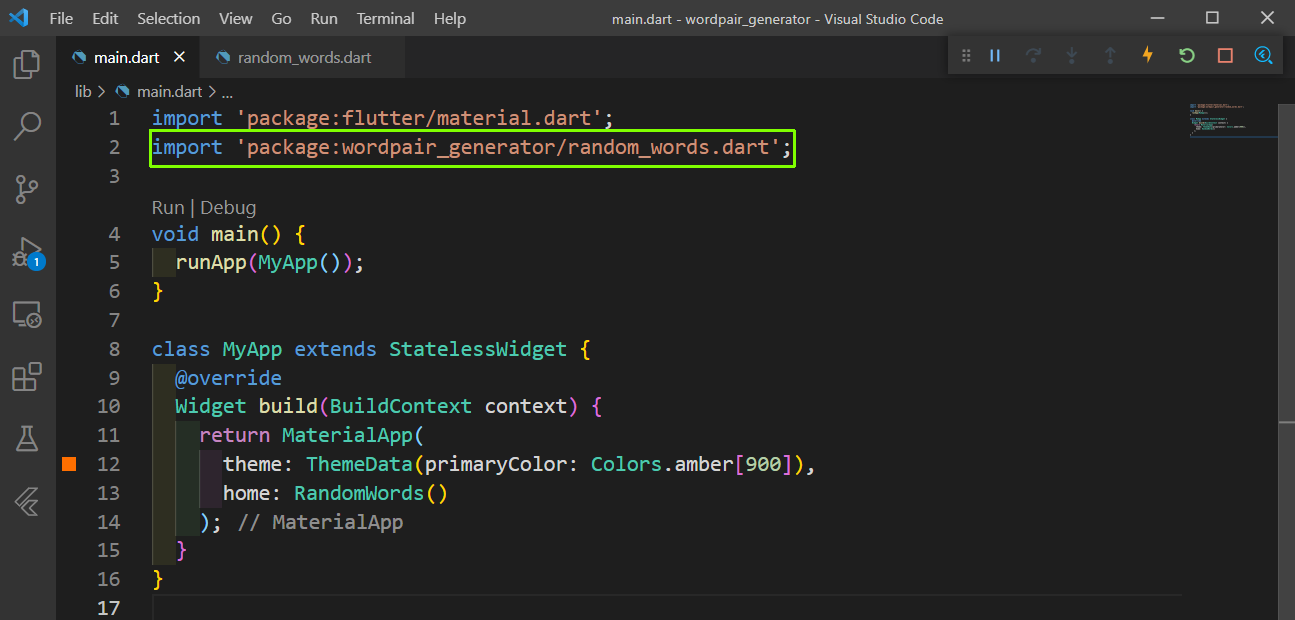
Now, our main.dart will contain a new import for the random_words.dart file.
 random_words.dart
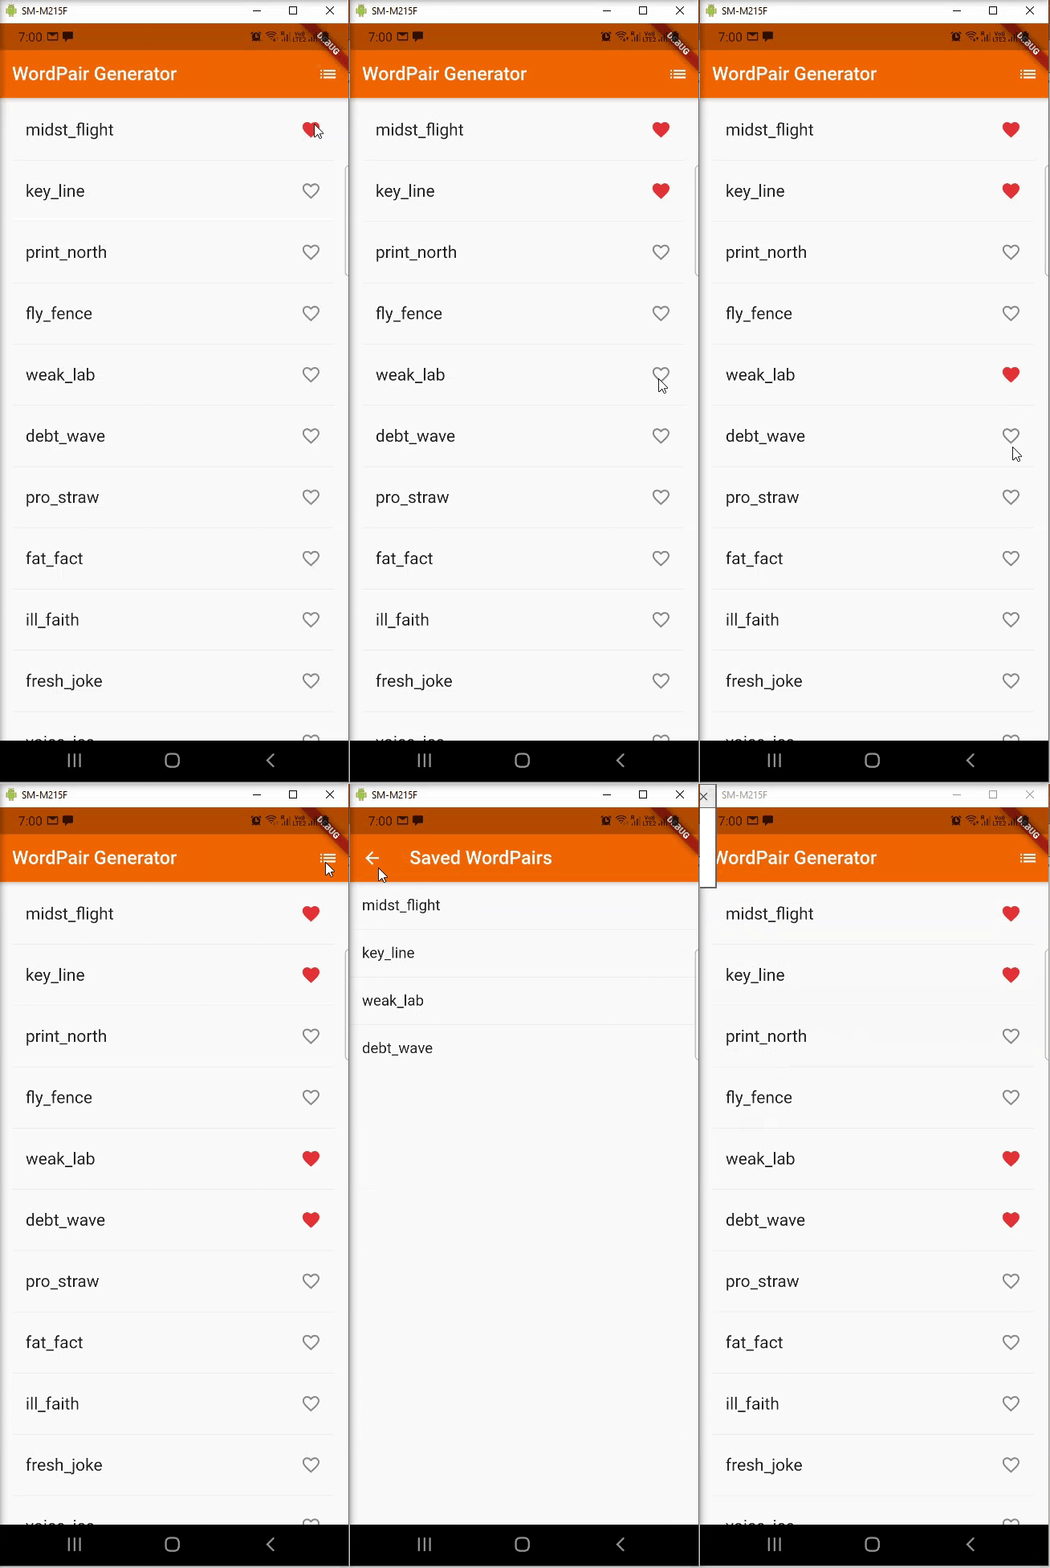
Now, we will add the logic to add our favorite words to a different screen, by clicking the icon beside the word.
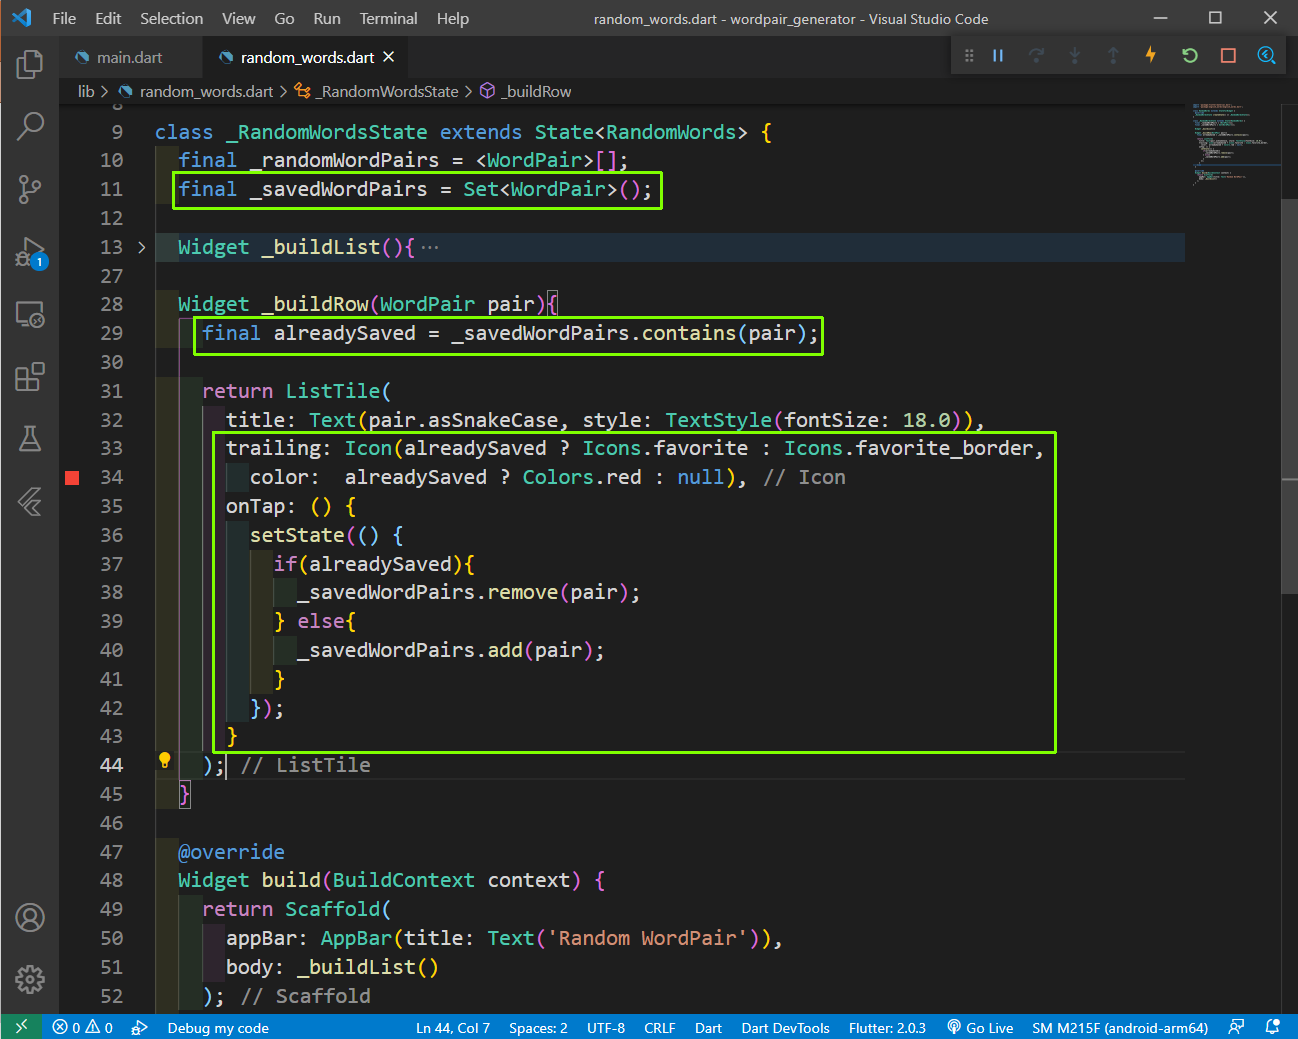
We will first add a new variable _savedWordPairs which contains a Set of WordPair. A Set is a collection of objects, where each object can appear only once. So, we can add one word Pair only once.
Next, inside the _buildRow, we are creating another variable alreadySaved, which is checking whether the pair received is contained in the _savedWordPairs.
After that we are creating an Icon in the trailing. Here, we are using ternary operator to check if the icon is already present. We are giving it a different color and icon.
Also, we are creating an onTap handler, which uses the setState() to remove the pair if already present or to add if not present.
 random_words.dart
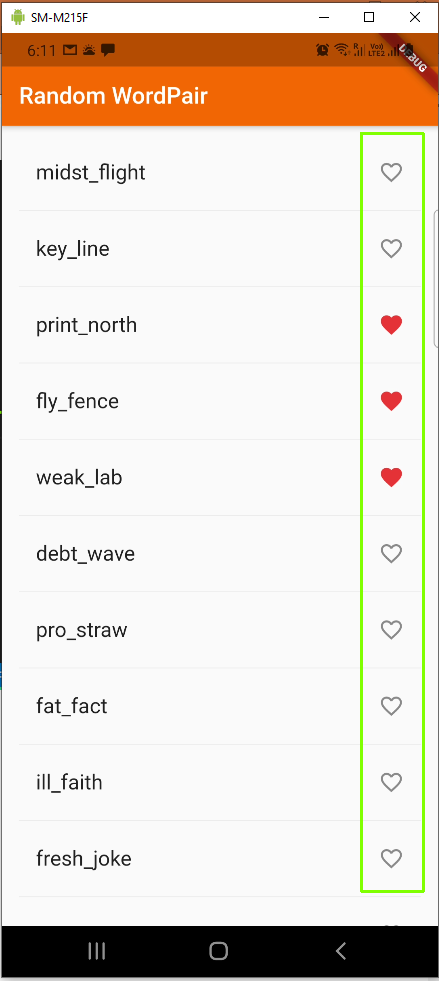
Now, in our app we can see the clickable icons.
 Clickable
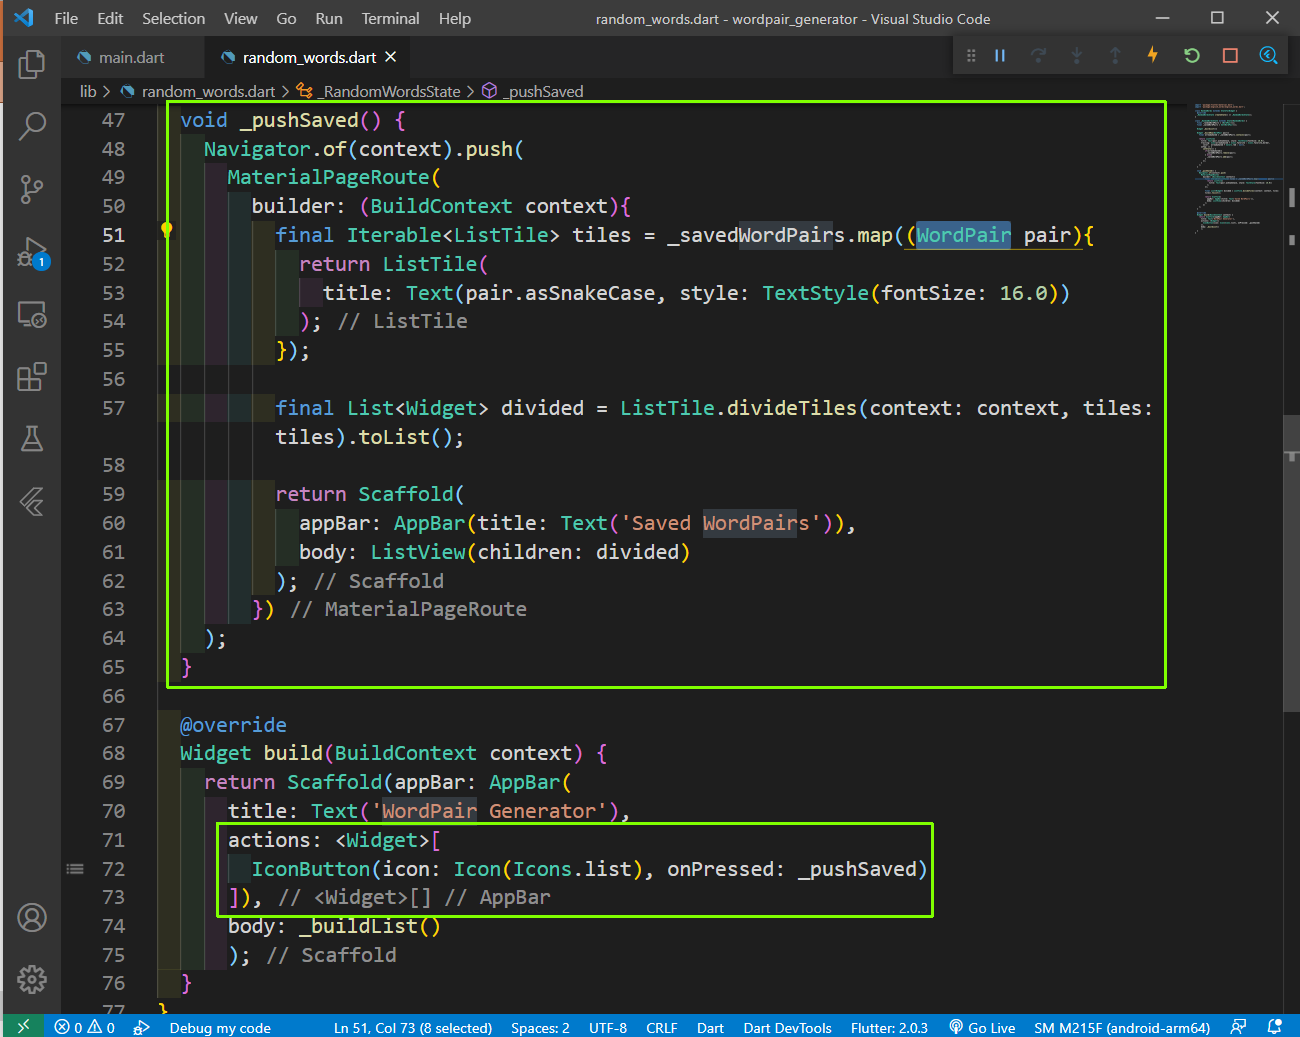
Now, we will add the logic of a separate page to show each liked word Pairs. First inside the build widget, we are adding a list icon and then an onPressed handler, which will call a method _pushSaved.
Inside the method , we are calling the Navigator and creating a new MaterialPageRoute. Here, we are taking each _savedWordPairs and mapping through it and saving it in a ListTile. After that putting it in a method divideTiles, which add the dividing lines.
After that inside a Scaffold, we are showing a new AppBar and the body containing the divided List.
 Saved Pairs
Now, our app is complete and working fine.
 Flutter
The code for this project can be found in this github link.