Conquering Frontend Mentor -8
by Nabendu Biswas / January 28th, 2021
#css #beginners #webdev
Series: Frontend-Mentor
Welcome to the part-8 of the series. We will continue with the next frontend master challenge which is Coding bootcamp testimonials slider Challenge.
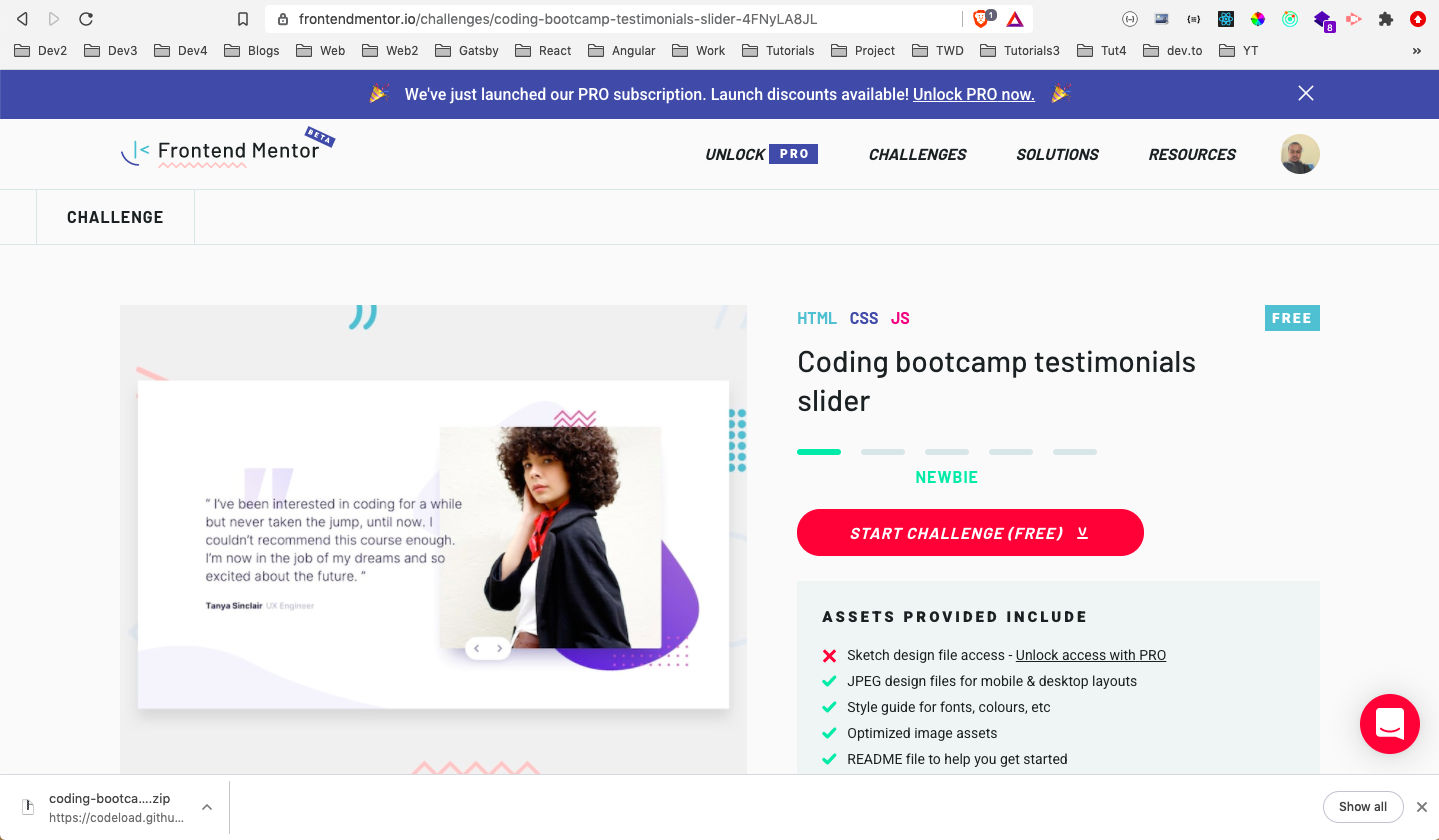 Coding bootcamp
After downloading the resources, I had extracted the zip file and copied it in the Frontend-mentor-challenges folder. After that opened the index.html file with Live Server.
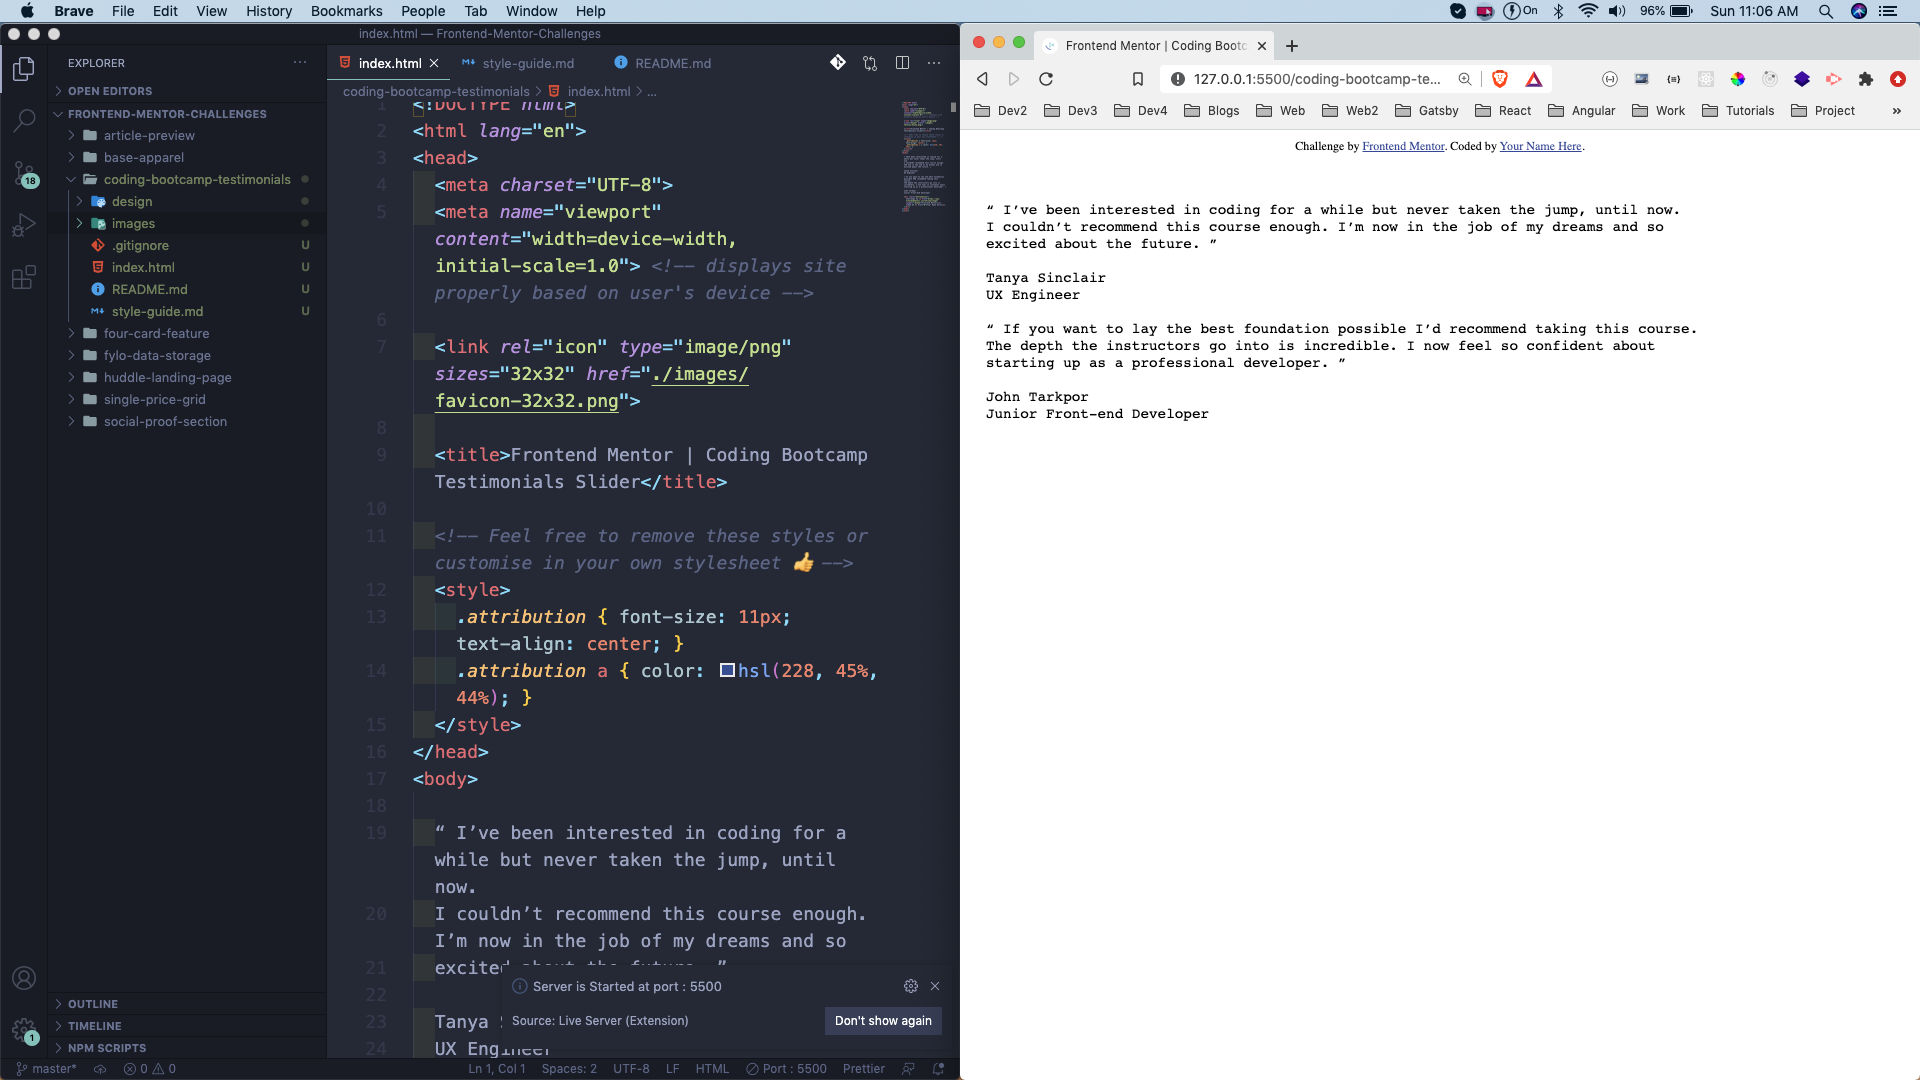 index.html
Next, we will add the required html tags. Here, everything is wrapped in a container, with two provided students class -tanya and john. Both of them are exactly the same, except the images and the content. We are not going to show both at once, but only on click of previous or next button.
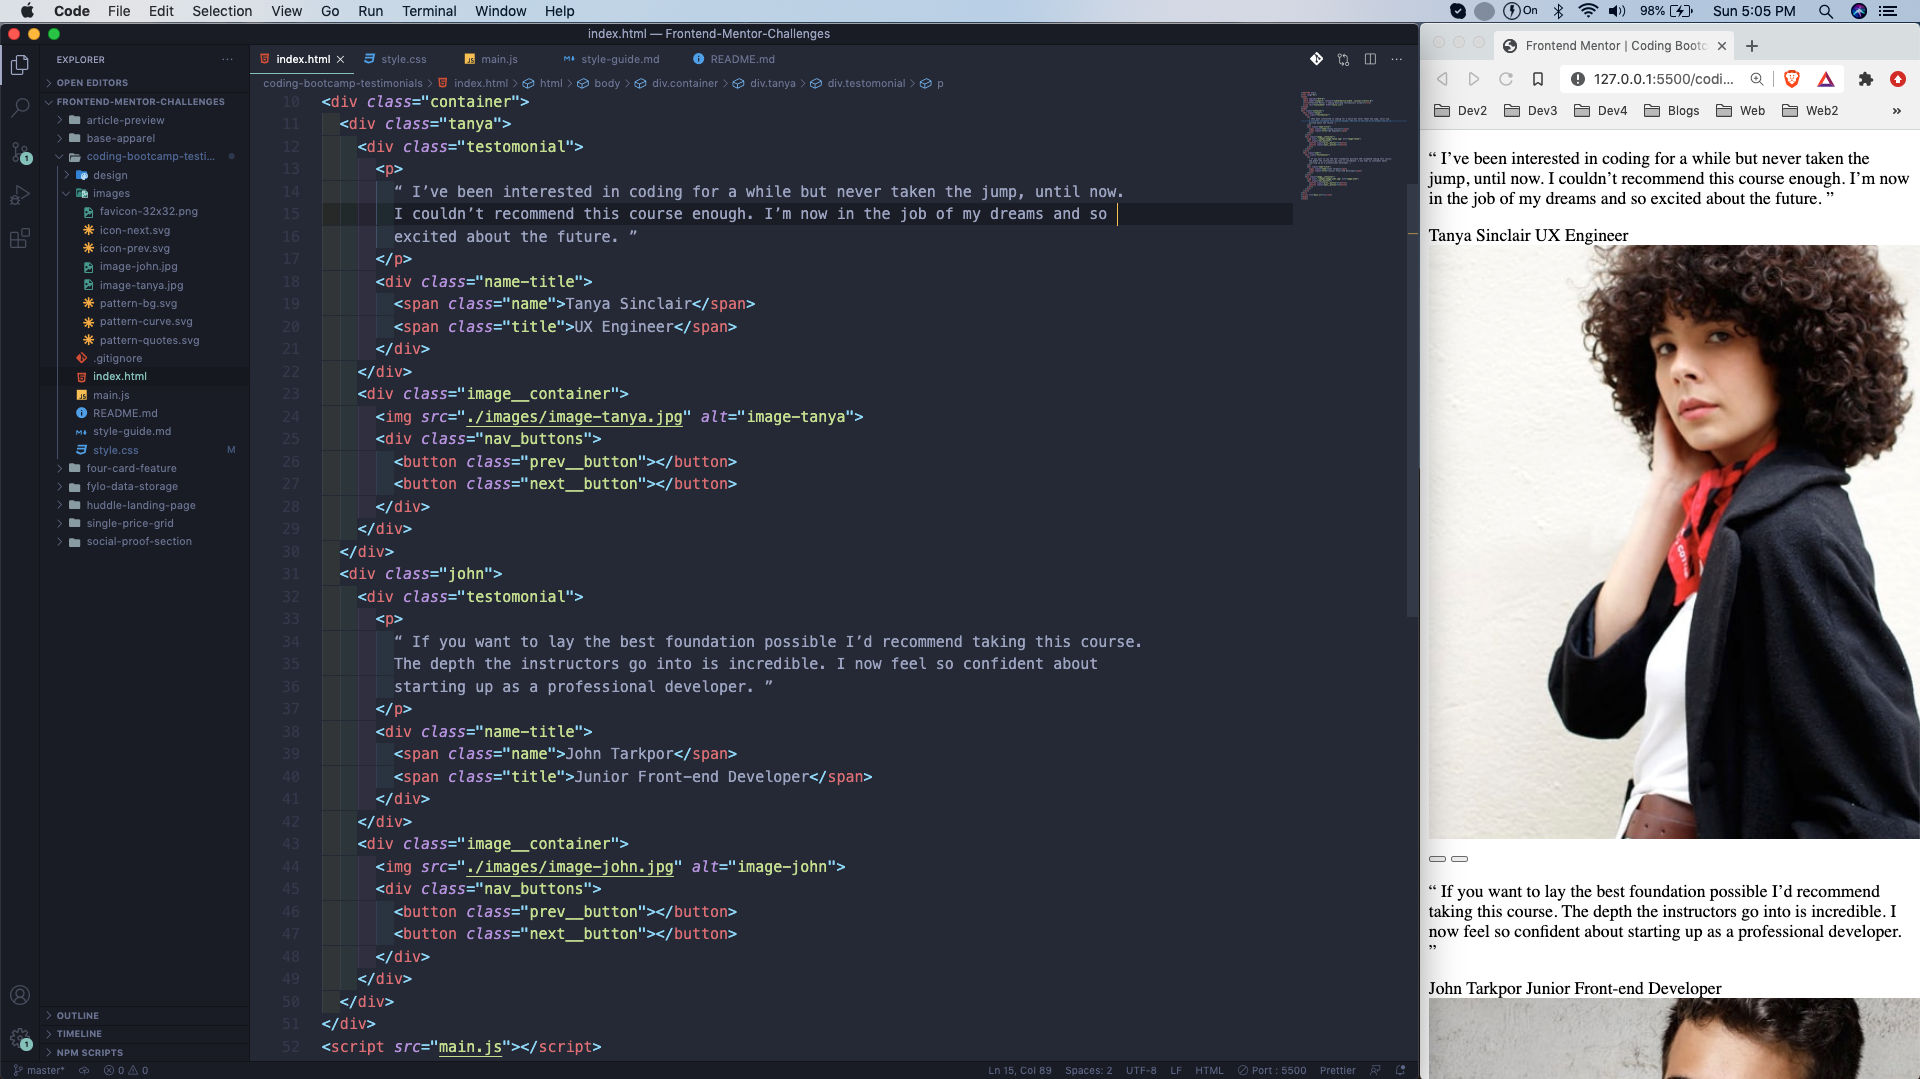 index.html
Next, it’s time to style our project but first in the desktop view. Here, we are first using the google font provided to us. After that resetting the margin and padding. Next, in the body we are centring everything and then using the three background images provided to us. We are also positioning it are the right place using background-position.
Also, notice that we are not seeing john anymore because we had hidden the john div by placing the hide class in it. This is temporary as we need to do it through the javascript.
    <div class="john hide">
    ...
    ...
    </div>
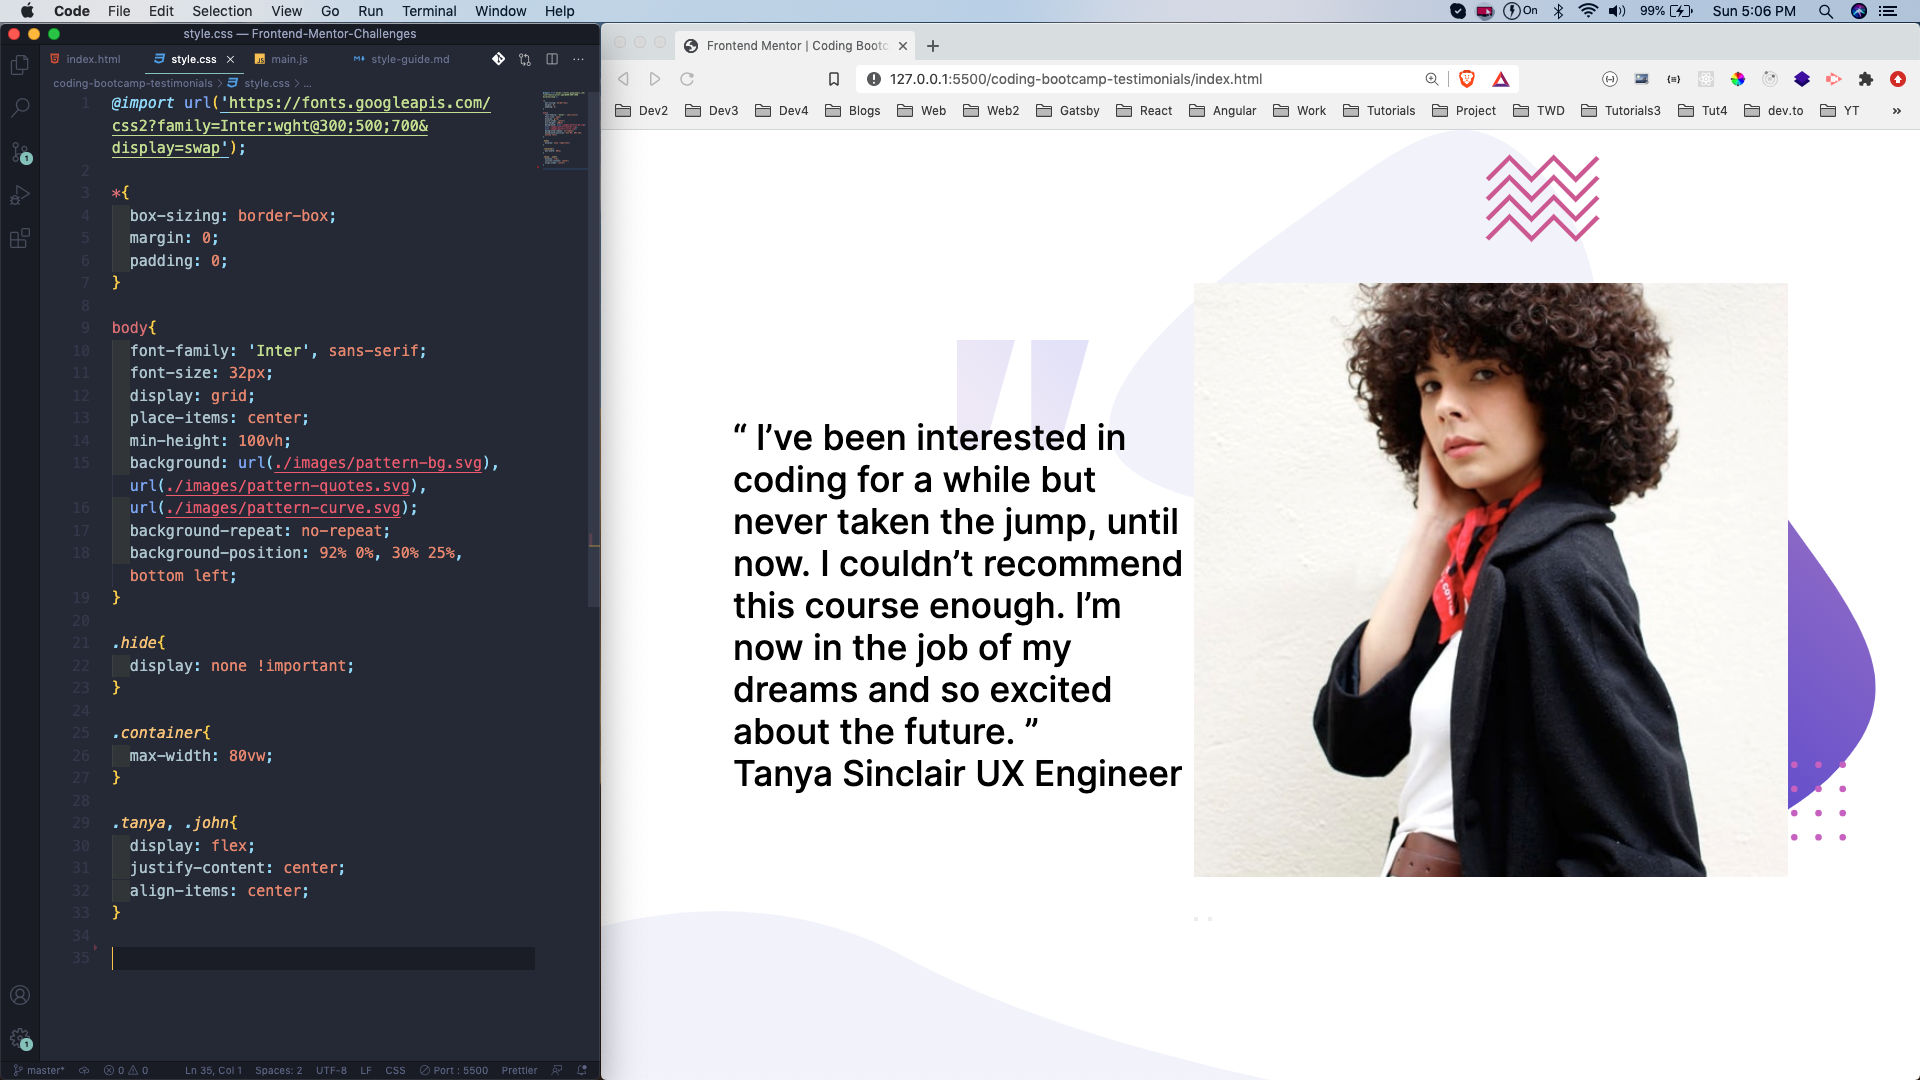 style.css
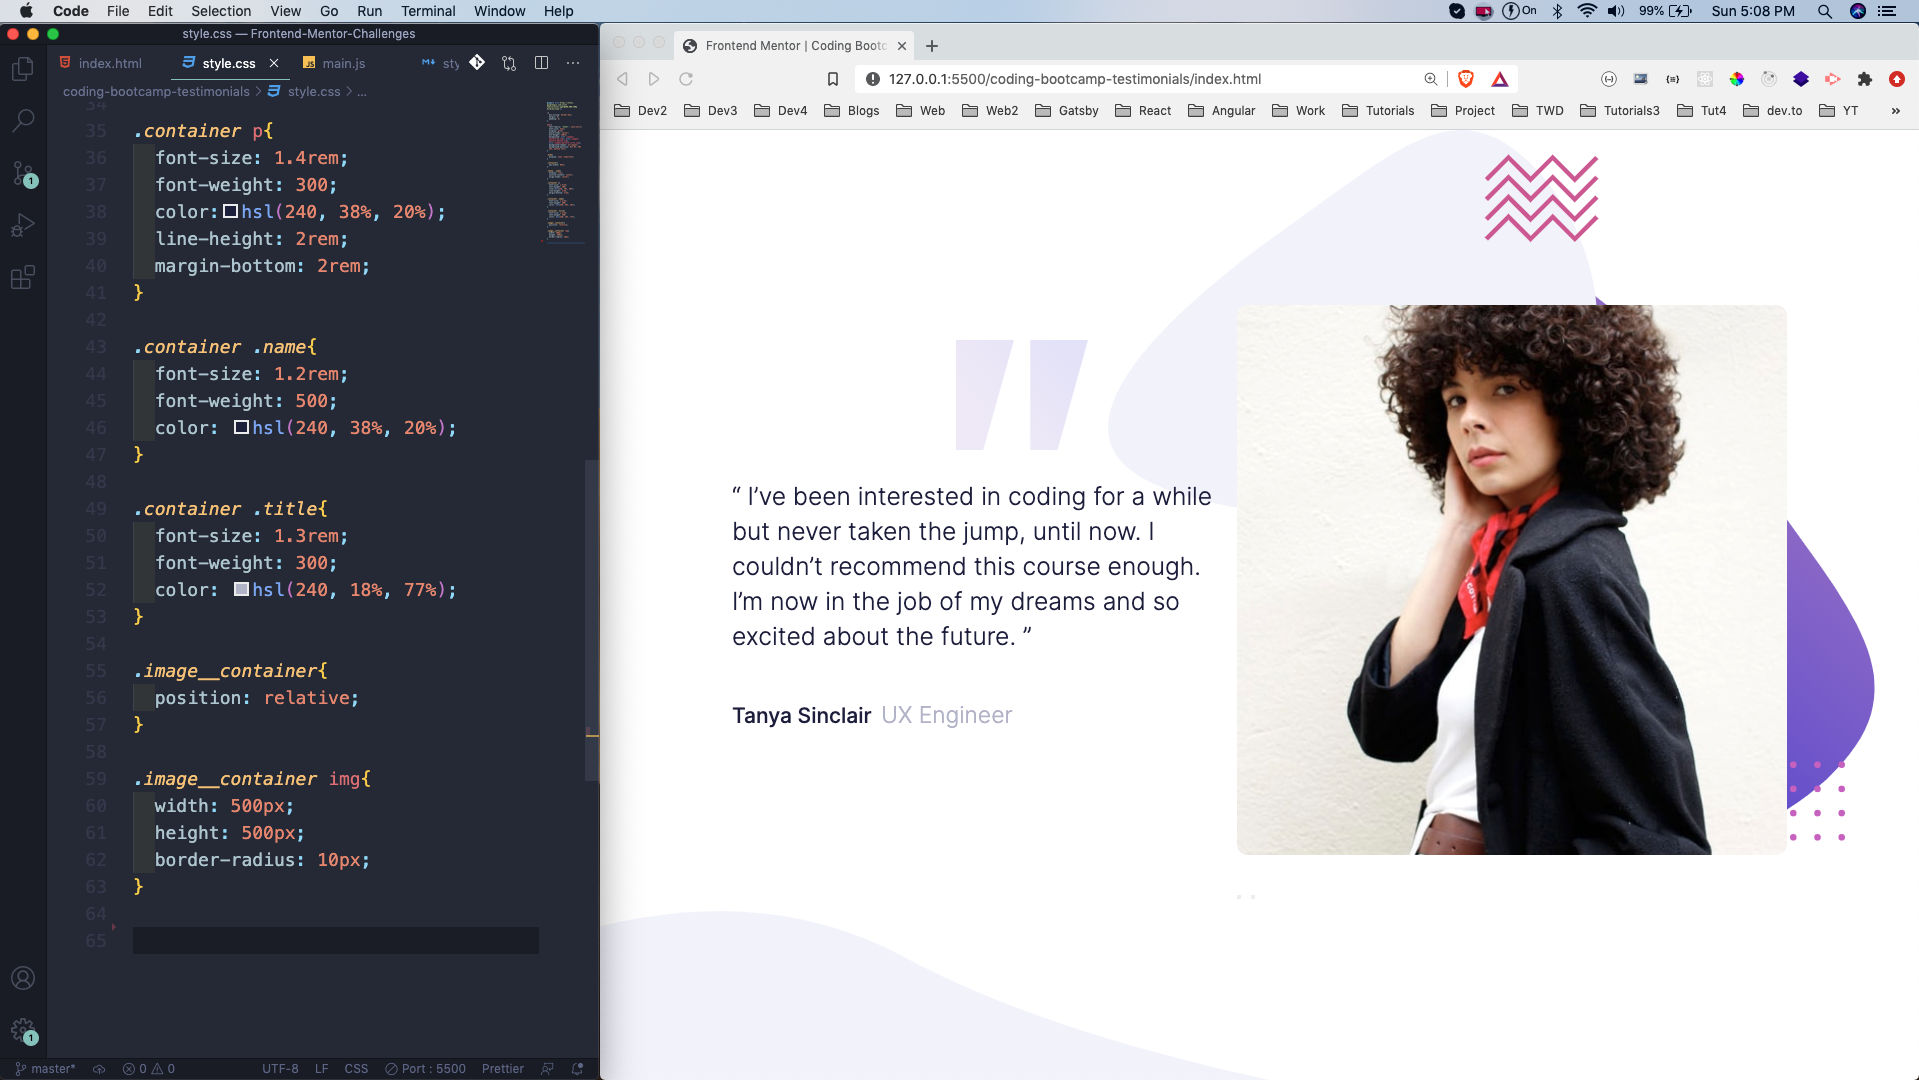
Most of the styling was done above only by placing the class tanya as flexbox. After that we are just styling the paragraph, name and title. Also, changing the image size accordingly.
 style.css
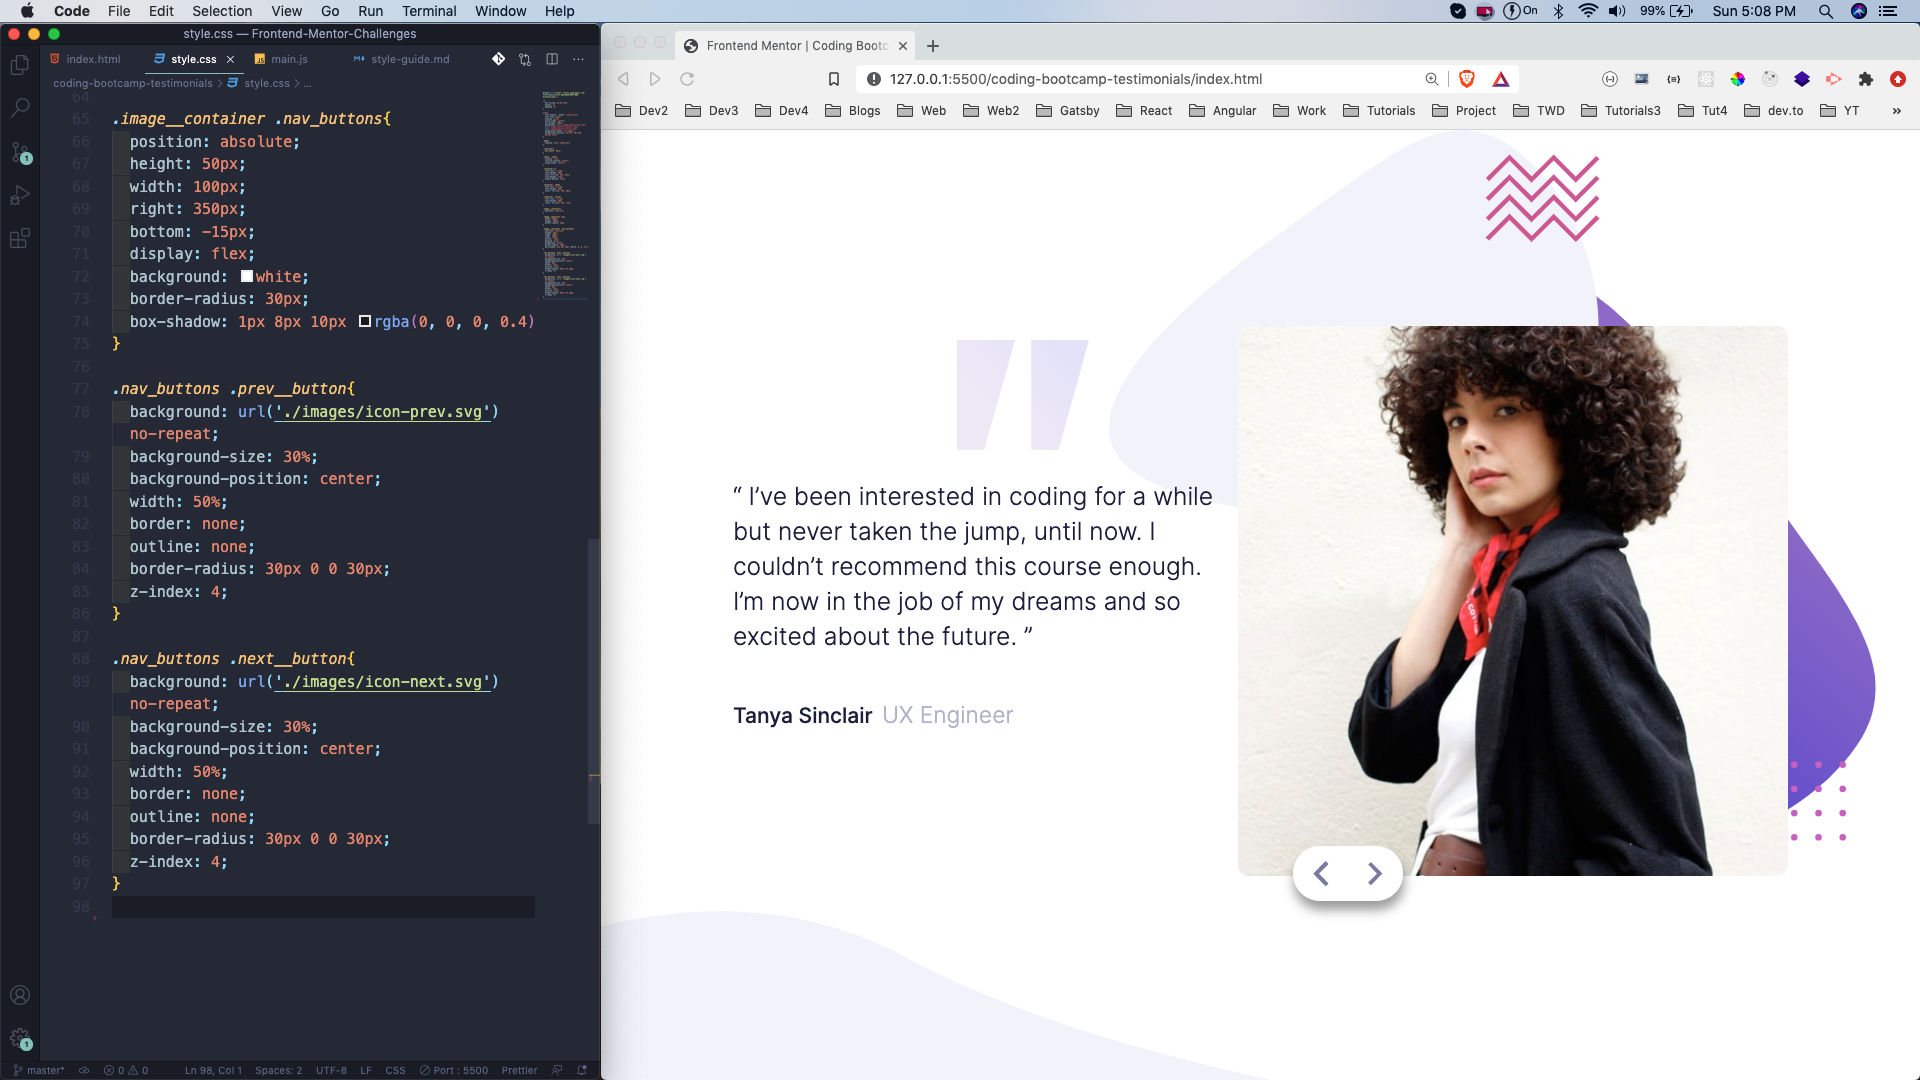
Now, we will place the navigation button are the correct place by using position: absolute. We are also showing the nav buttons with the provided icons. This completes our desktop styles.
 style.css
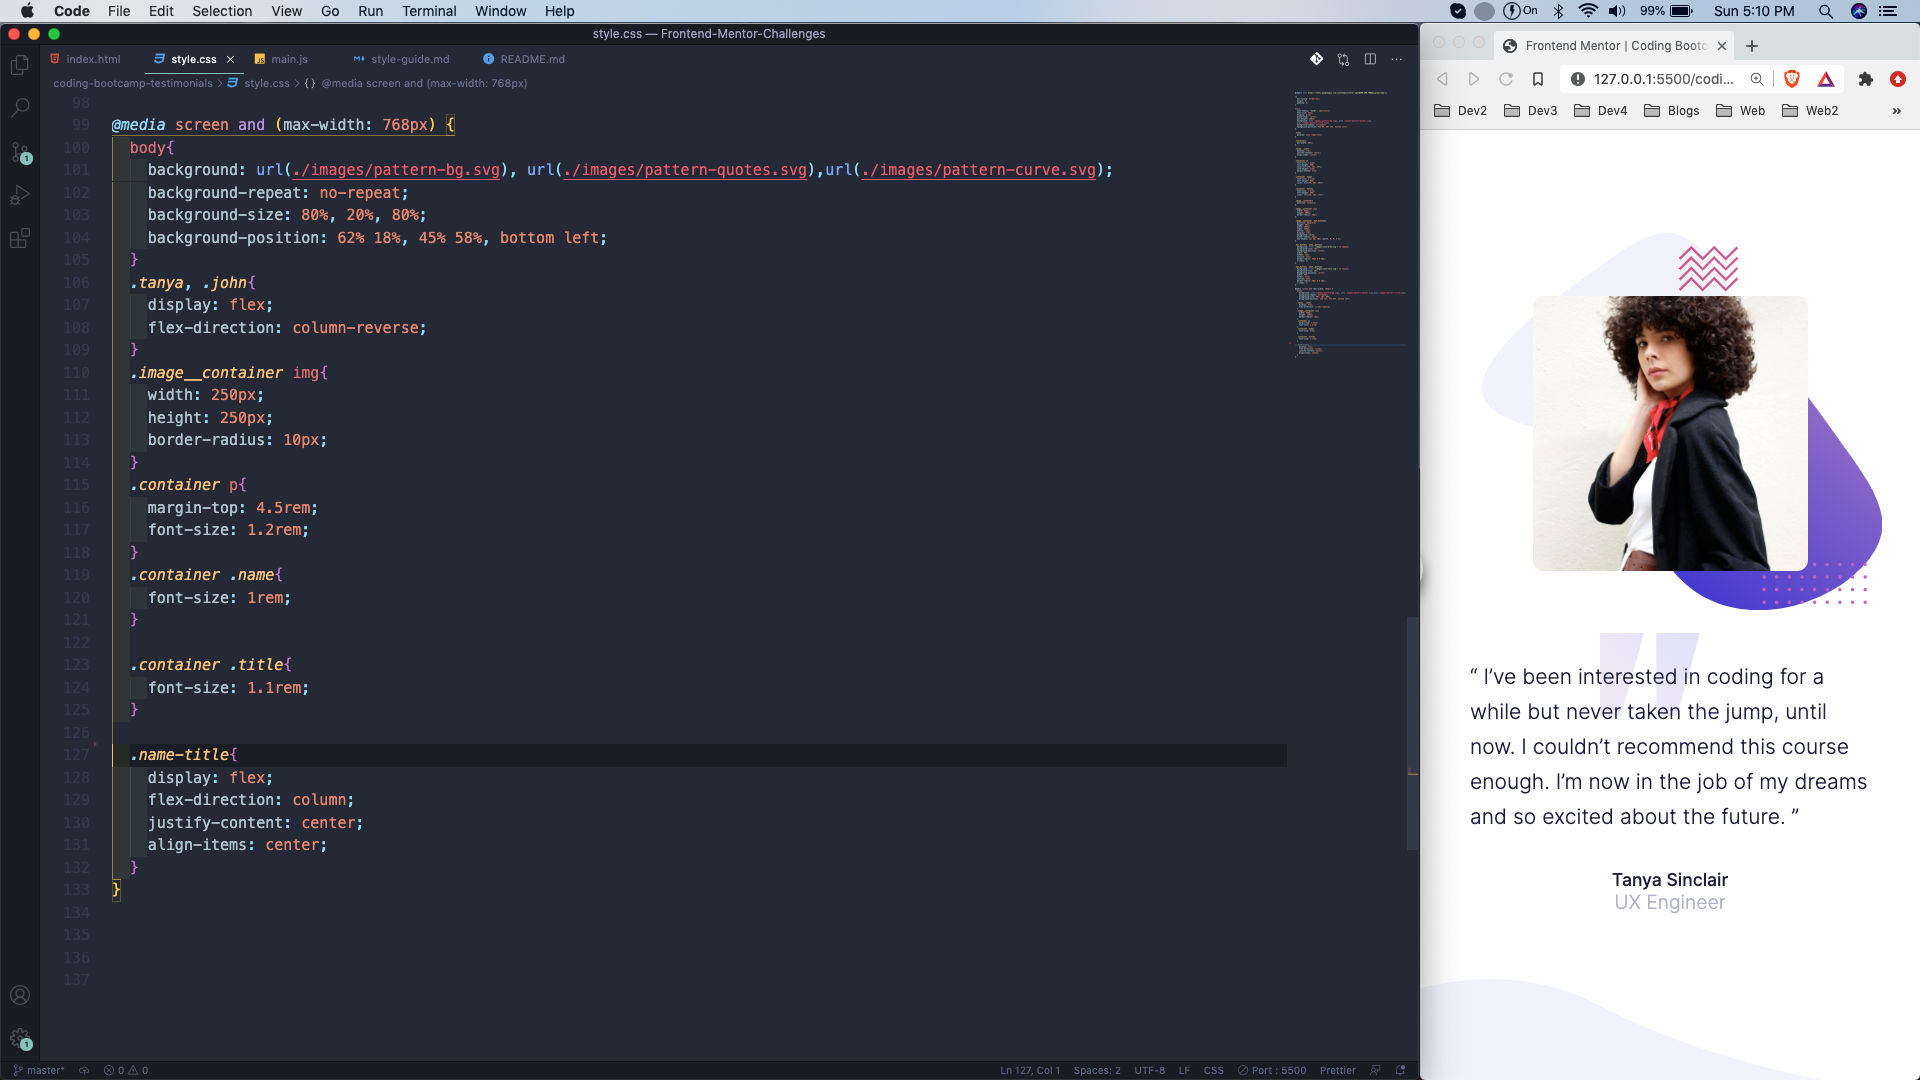
Next, we will start with our mobile styles. Here, first we have to reset our mobile background styles as the sizes are small. After that the main change is to make the flex-direction as column-reverse. The size of the image, paragraph, name and title are also reduced.
 style.css
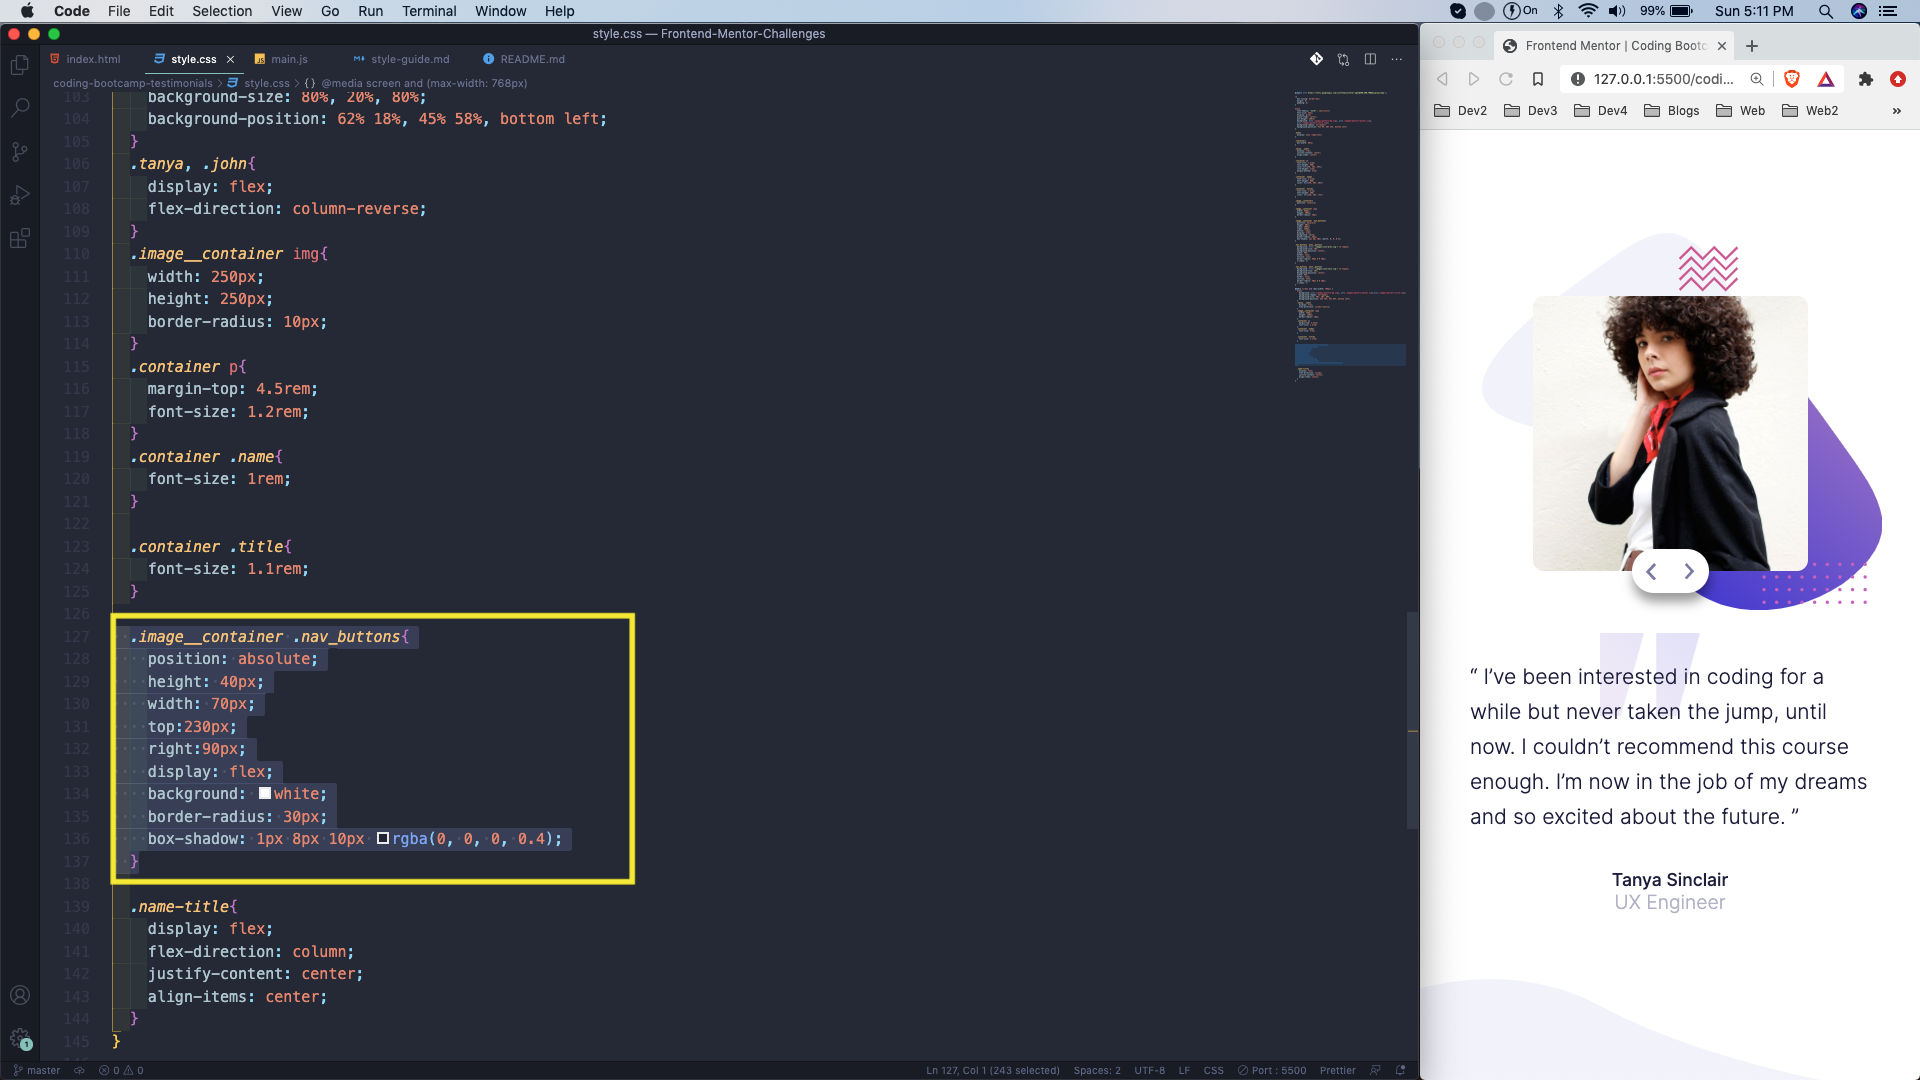
Lastly, we are changing the position of the nav_buttons for the mobile view.
 style.css
The last thing which is remaining is to add logic to the project. We need to add the small code in our JavaScript file.
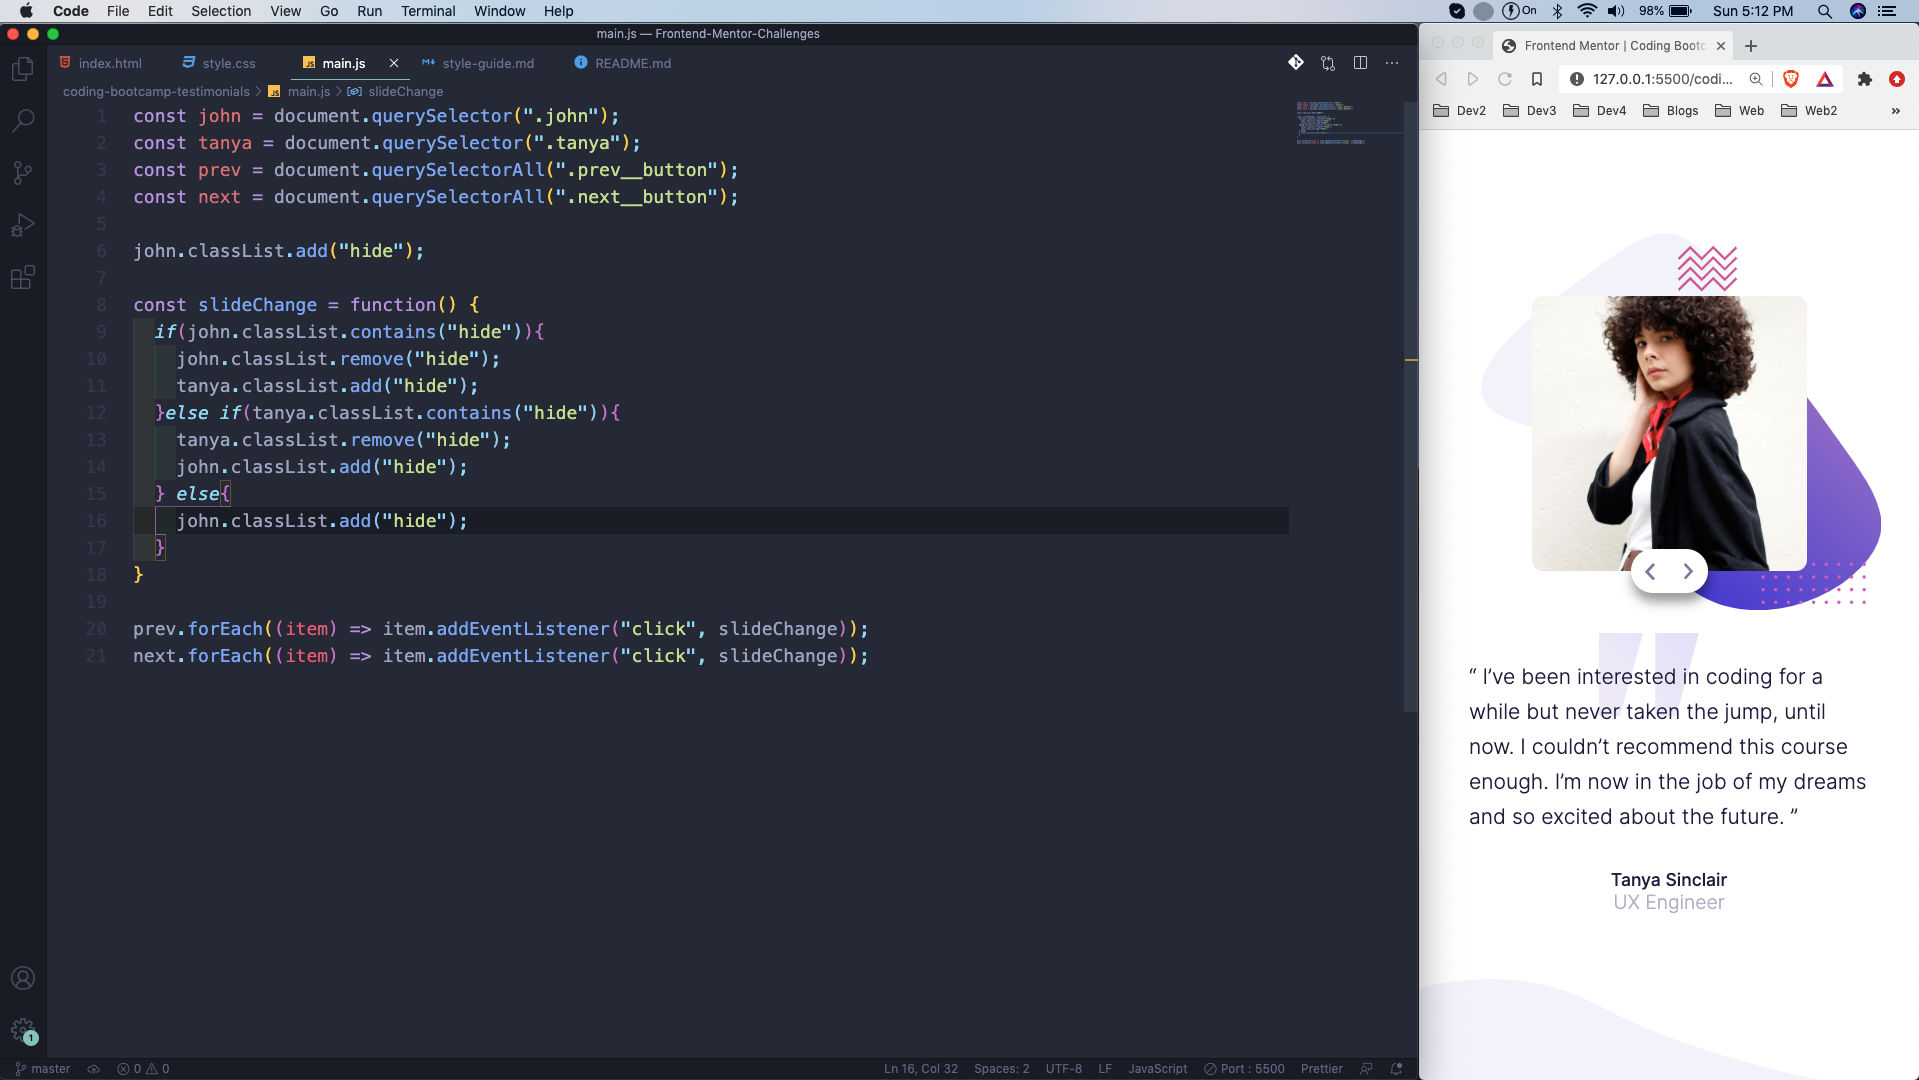
We are first selecting the john and tanya div, which completes the whole of the elements. Next, we are also selecting the previous and next buttons with querySelectorAll.
We are also adding the class hide, which is display: none to john. After that at line 20 and 21, we are looping through the previous and next button and adding an event listener to it. When someone clicks on it we are calling the function slideChange.
Inside the function slideChange, we are checking whether john contains the class hide and then removing the class hide from it and adding to tanya. We are doing the same for tanya also.
 main.js
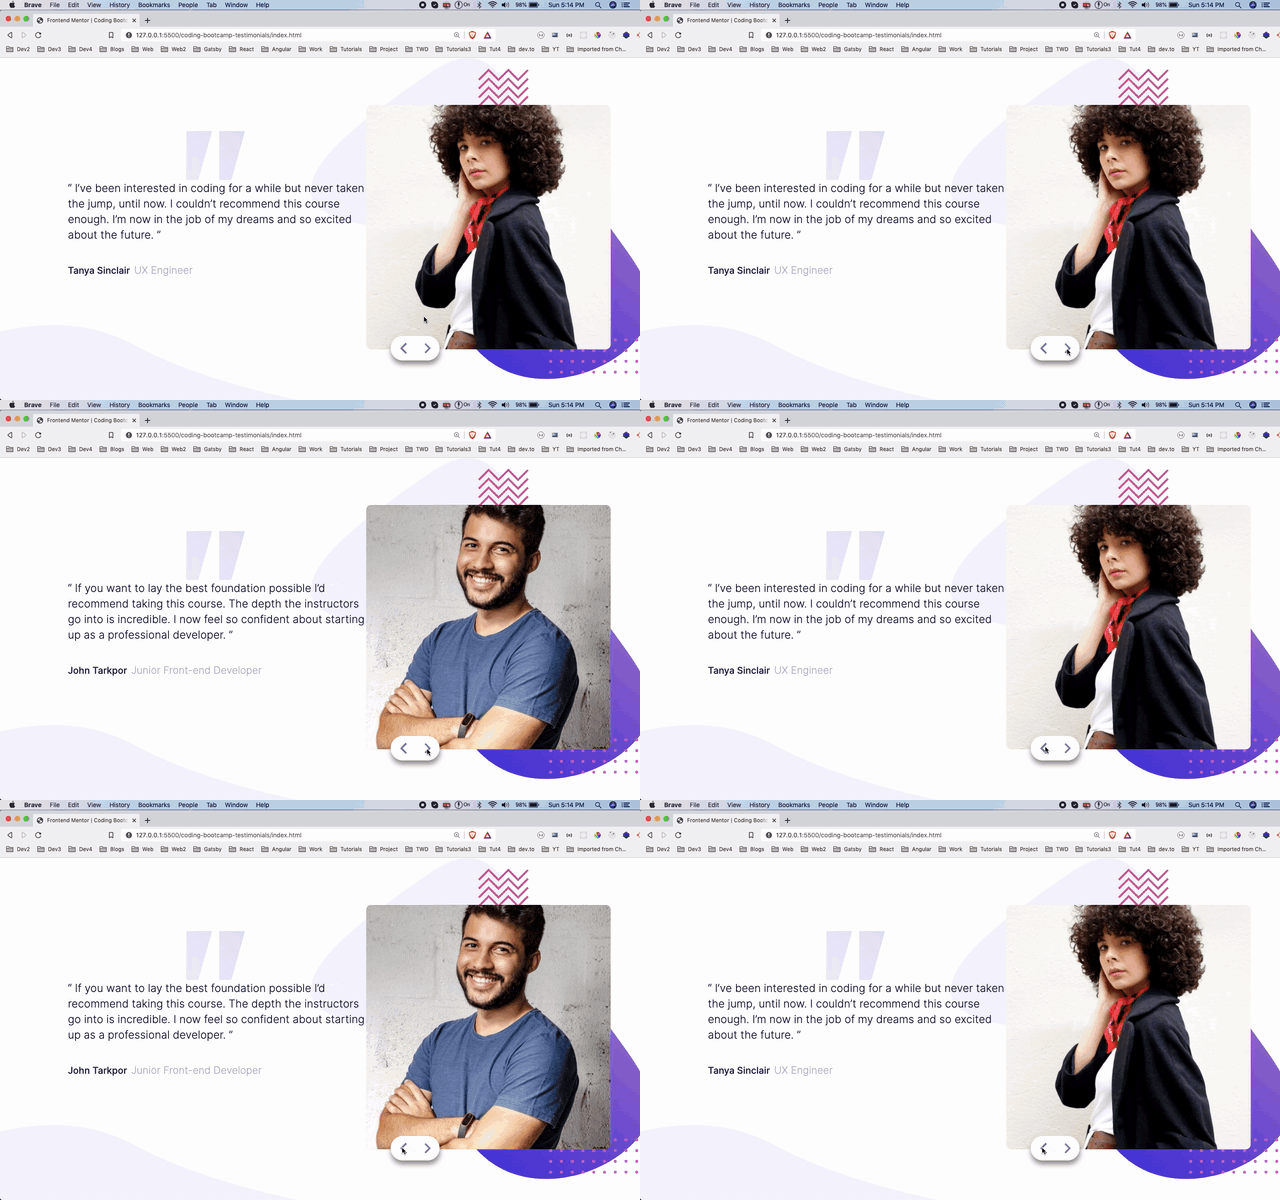
Now, when we click on any button we can see both john and tanya.
 Gif
Gif
This completes our eight Frontend mentor challenge. You can find the code for the same in this github link.