Learn GatsbyJS by creating a tourism site -20
by Nabendu Biswas / December 30th, 2019
#gatsby #react #javascript
Series: Gatsby-tourism
Welcome to part-20 of the series. In this part i will first buy domain name and add the details in netlify. The process is exactly the same as described in my earlier post. So, please follow it.
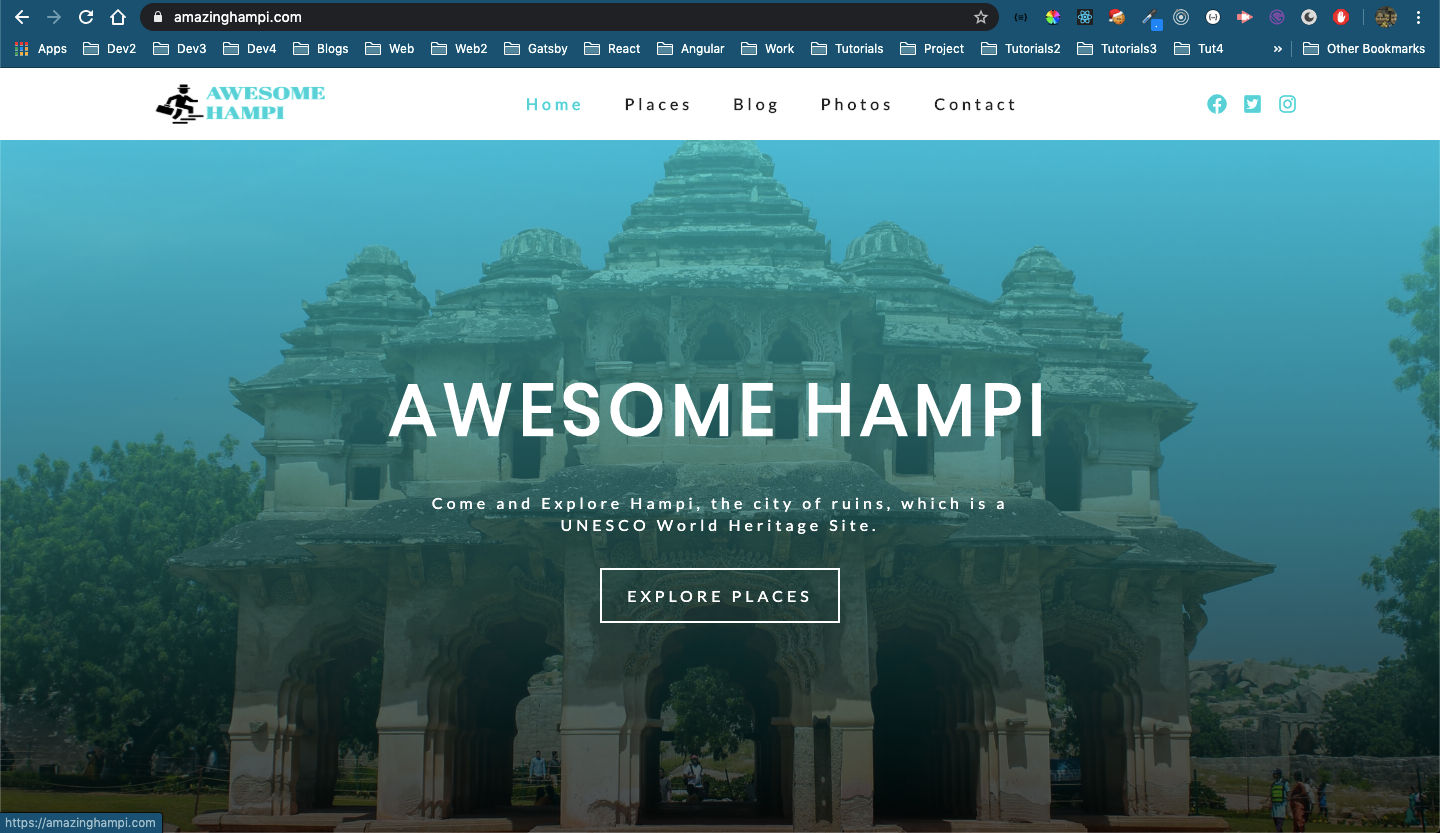
After doing all the setup, i am able to goto https://amazinghampi.com/ to access the project.
 Finally Live
Now, it’s time to add plugins for SEO. We need to first install gatsby-plugin-react-helmet , which will help us to control the head element of each page.
As per the documentation npm install the package first. Head over back to the project and stop any gatsby develop, which is running. After that npm install the packages by below command.
npm install --save gatsby-plugin-react-helmet react-helmet
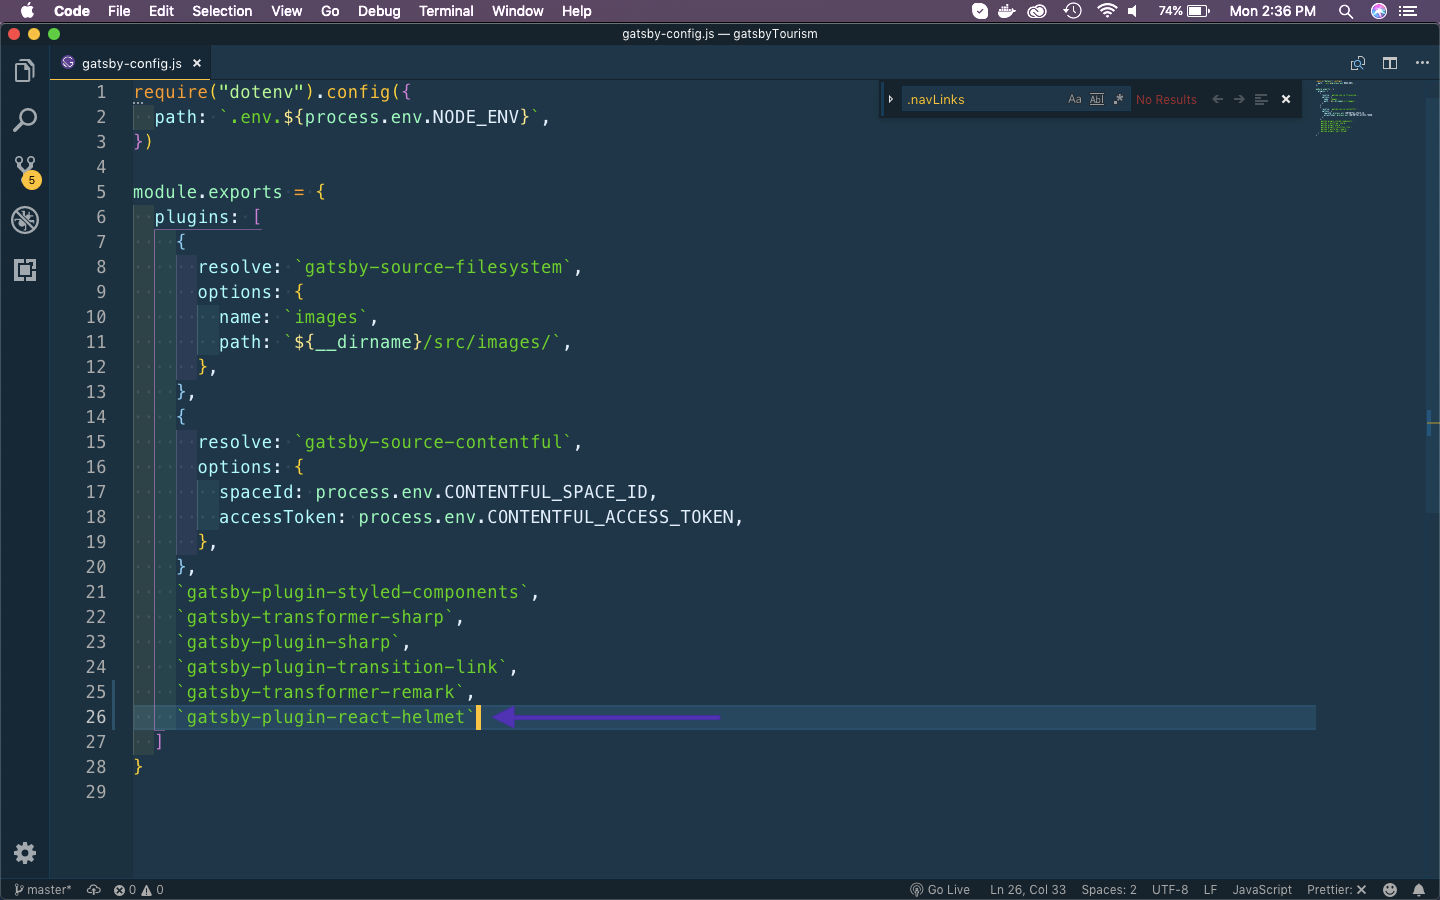
Now, as per the documentation we need to add the below text in gatsby-config.js
 gatsby-config.js
Rest of the chapter is exclusive content and is from my book Foundation Gatsby Projects.
The book can be purchased from Apress site here

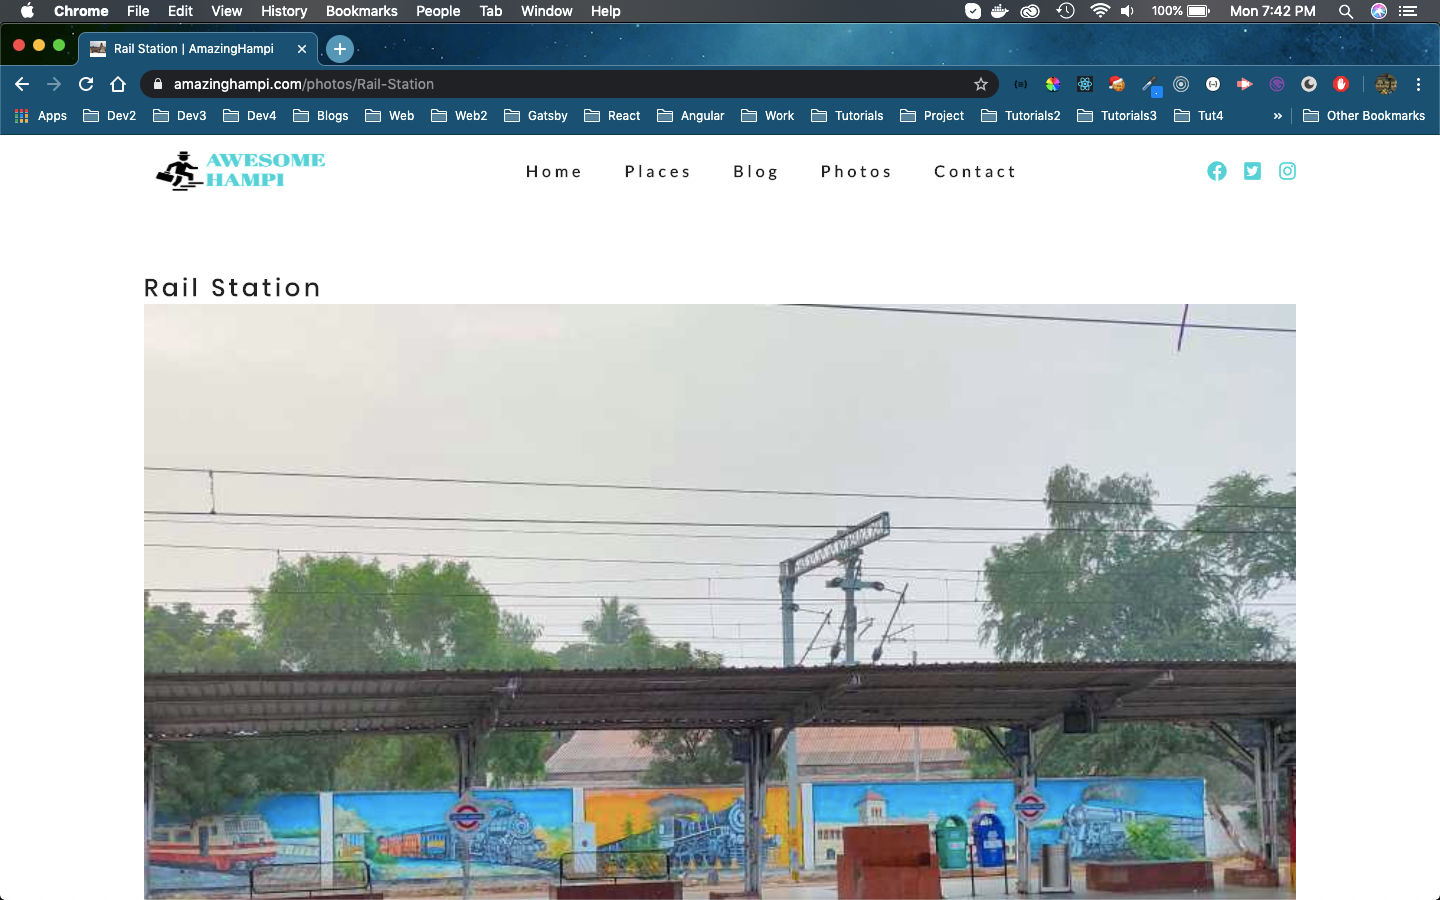
After pushing and successfully deploying in netlify our site is live at https://amazinghampi.com/ and the project complete.
 amazinghampi.com
Feel free to use the code to create amazing sites by cloning or forking from my github at https://github.com/nabendu82/gatsbyTourism
Please give Star if you like the repo.
The site Amazing Hampi, is now on Product Hunt. Please upvote.