HTML Crash Course for Beginners - 4
by Nabendu Biswas / July 17th, 2020
#html #beginners #webdev
Series: HTML-Basics
Welcome to part-4 of the series. We will continue with learning some more form tags first, and complete our form journey.
We will next see the checkbox in forms. Checkbox are very common in forms, where we want to record multiple selections from the user. Each checkbox can have a value also, which gets send to the server when we submit the form.
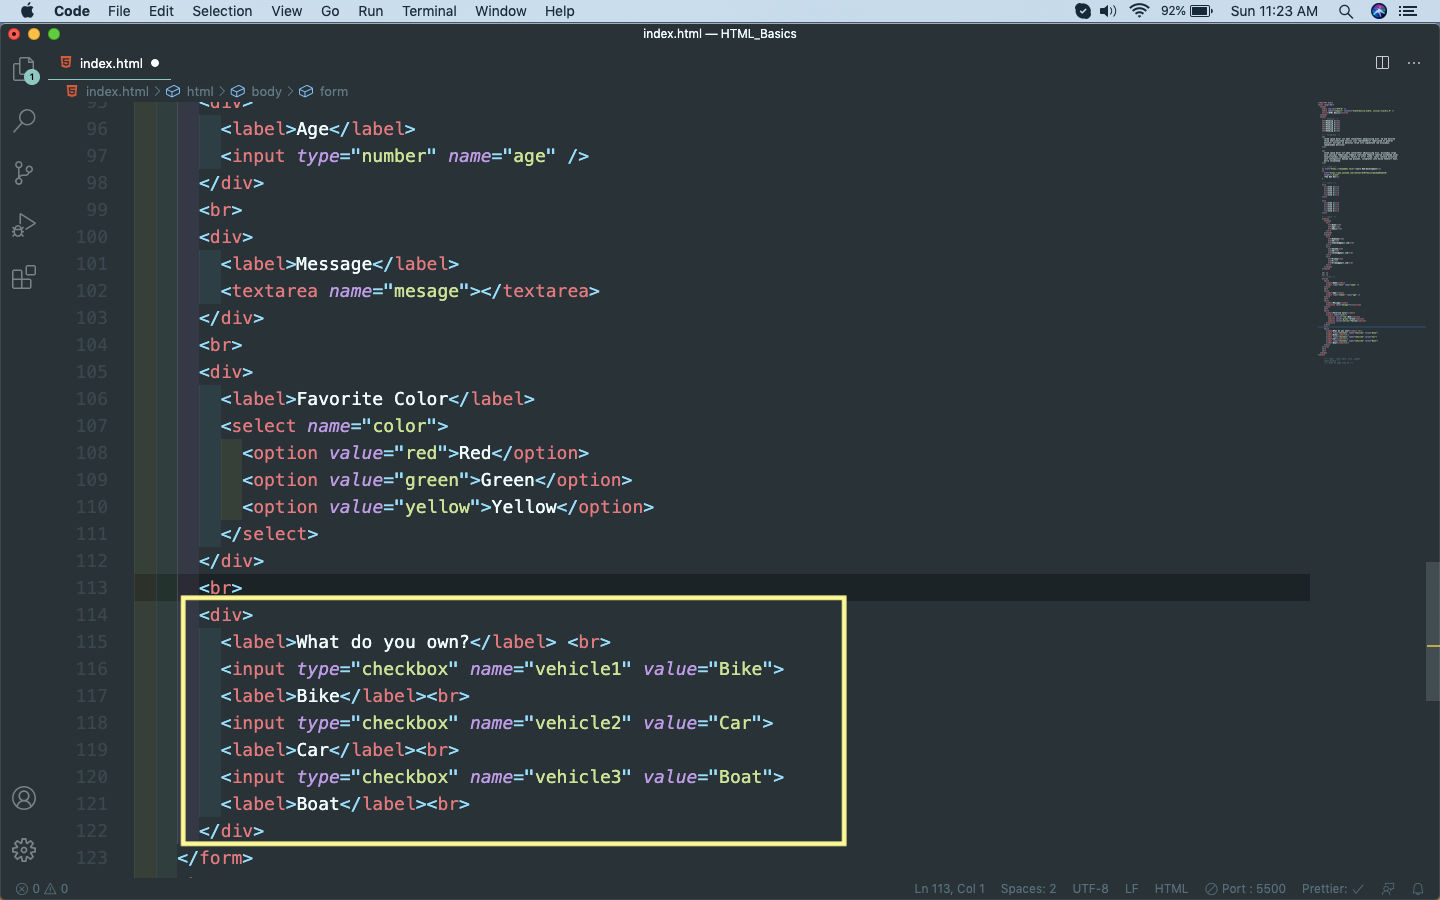 index.html
It will show like below on the form. We can select multiple options in it.
 Checkbox
The next thing which we will learn is Radio button. And they are used to record only one option, out of a group of options. Suppose, we want to record the Gender of a person. So, it will be out of three genders only.
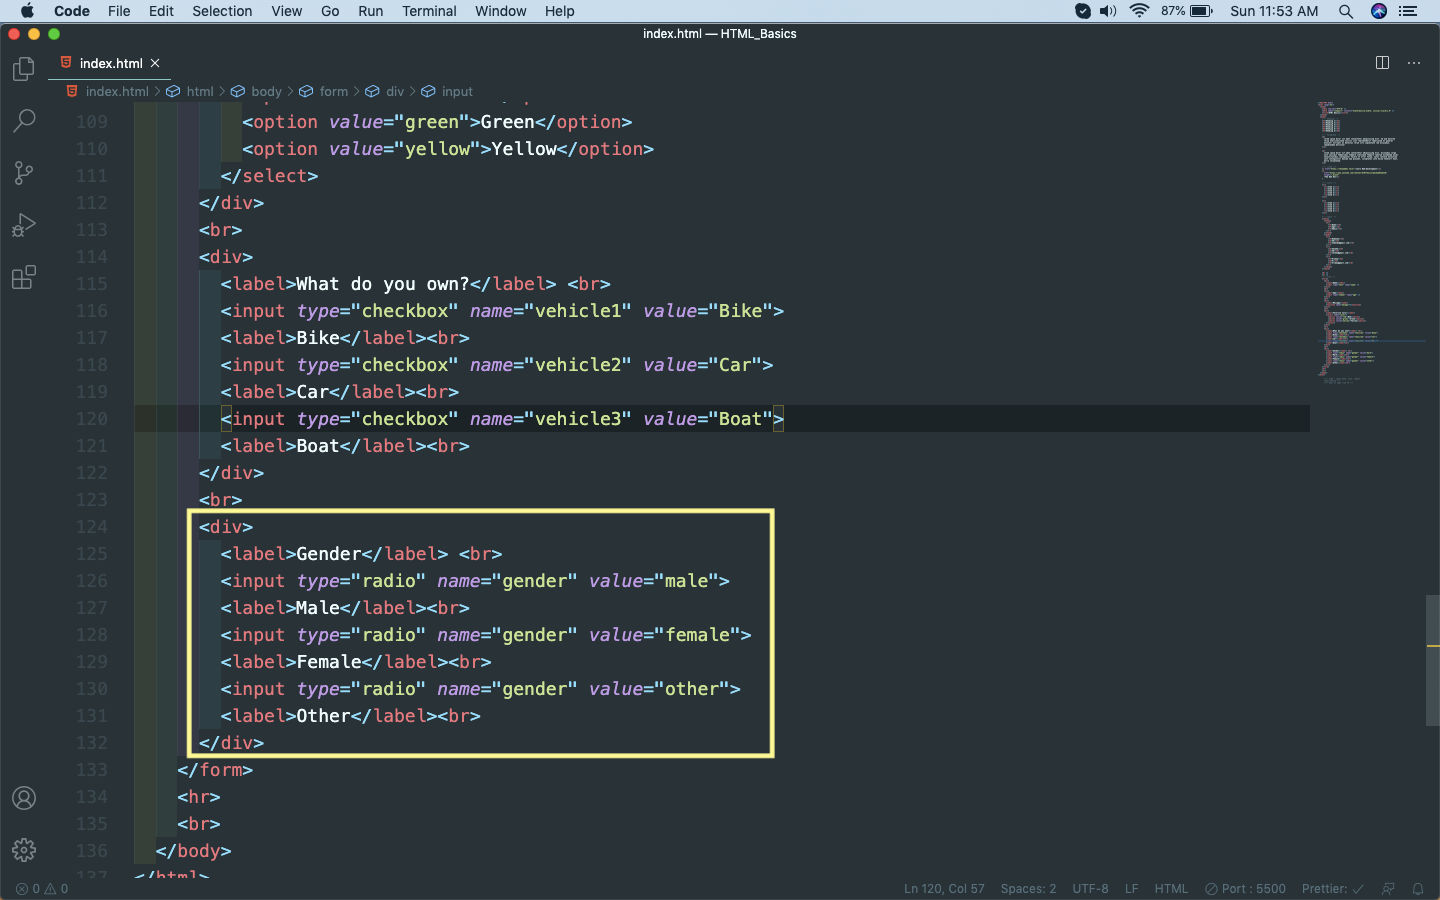 Radio
Radio
It will show as below in the form. As you might notice, we can only select one gender in the Radio box, but can select multiple in the checkbox.
 Radio
Radio
The last thing which we will learn is a submit. It is a special type of button, which when clicked will fire the event to the server, for which we generally write action logic in the form tag. For in the below example it will fire the action_page.php file, when clicked on Submit button.
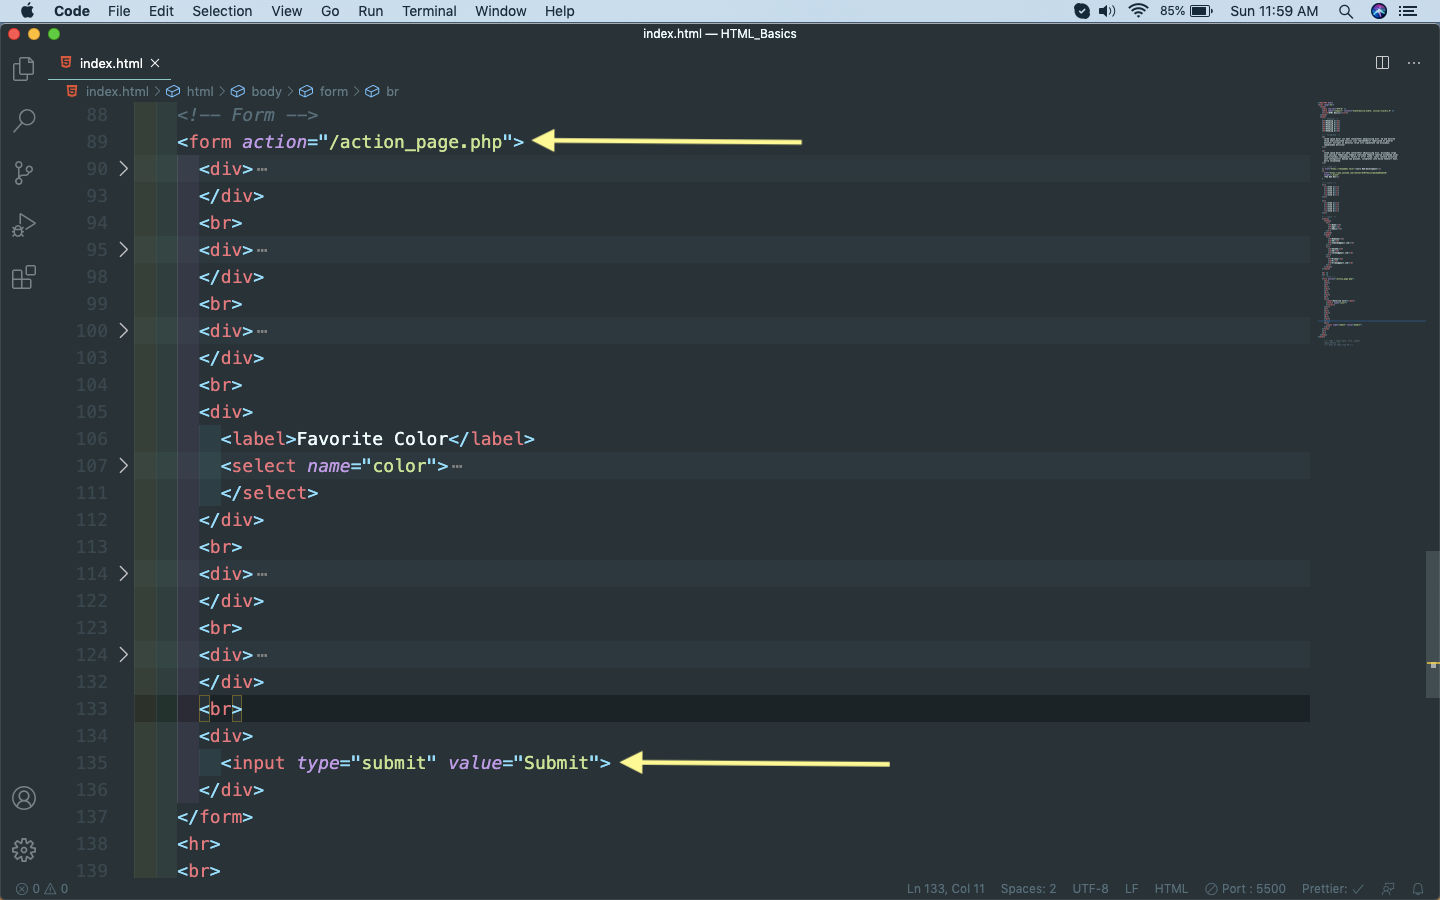 Submit
It will show a basic button with no styling in the form.
 Submit
There are many other Input types. You can learn about all of them from this w3school link.
Button Tag
In the form tag, we learnt about input type submit, which converts into a button for the form. But we also have button tag in html, which will show a button. It will not do any special action and the click action need to be done through JavaScript.
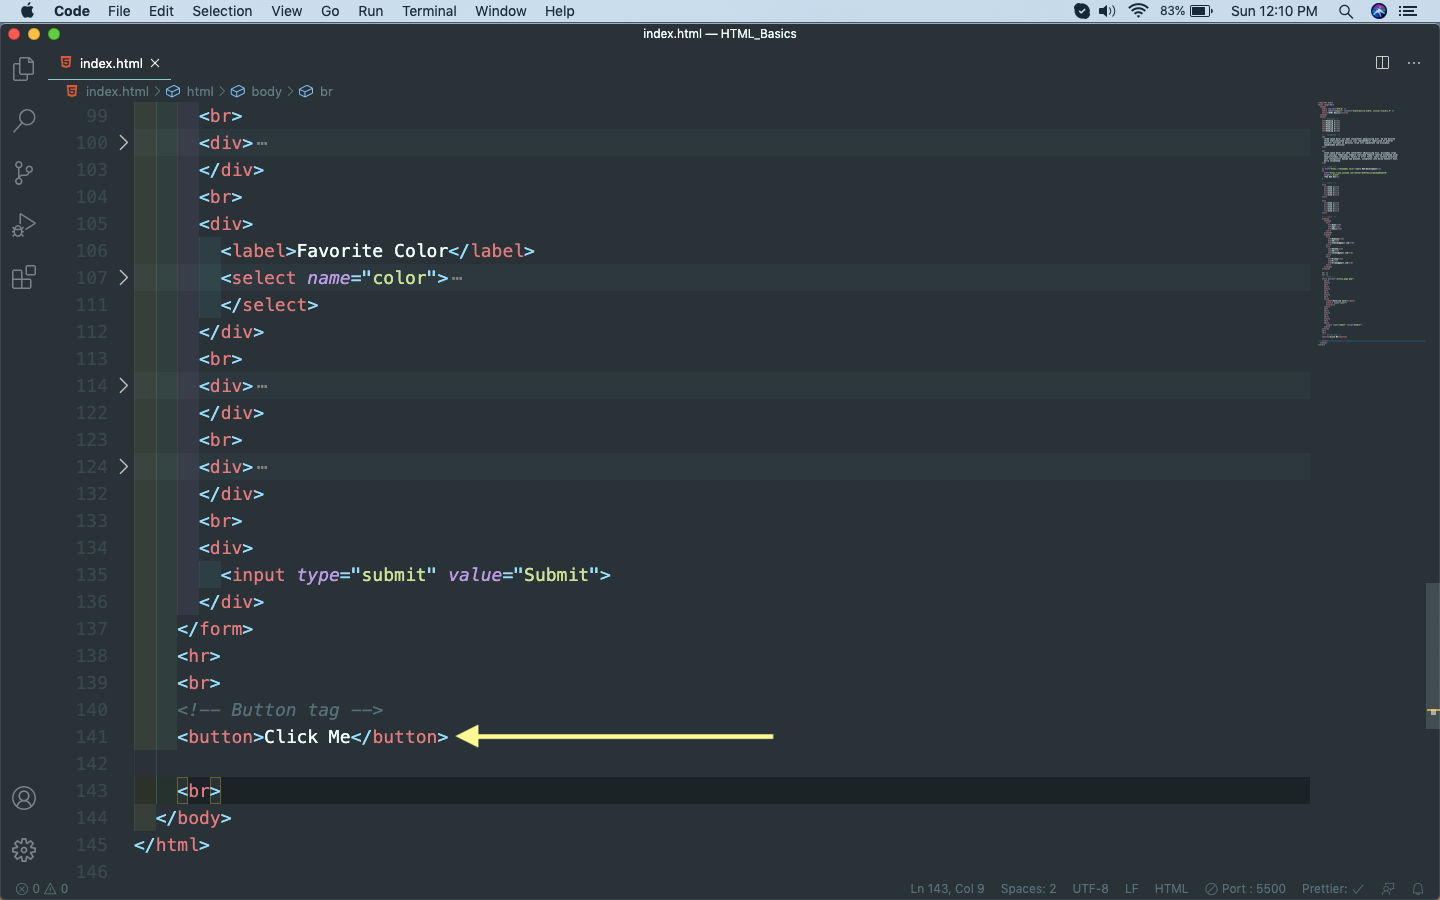 Button
It will show a button, with no styles on the web-page.
 Button
Image Tag
Next, we will learn about a very important tag which is there in all website and that is the Image tag, which is used to display images on a website. It’s a simple self closing tag, which a necessary src attribute in which we give the path of the image.
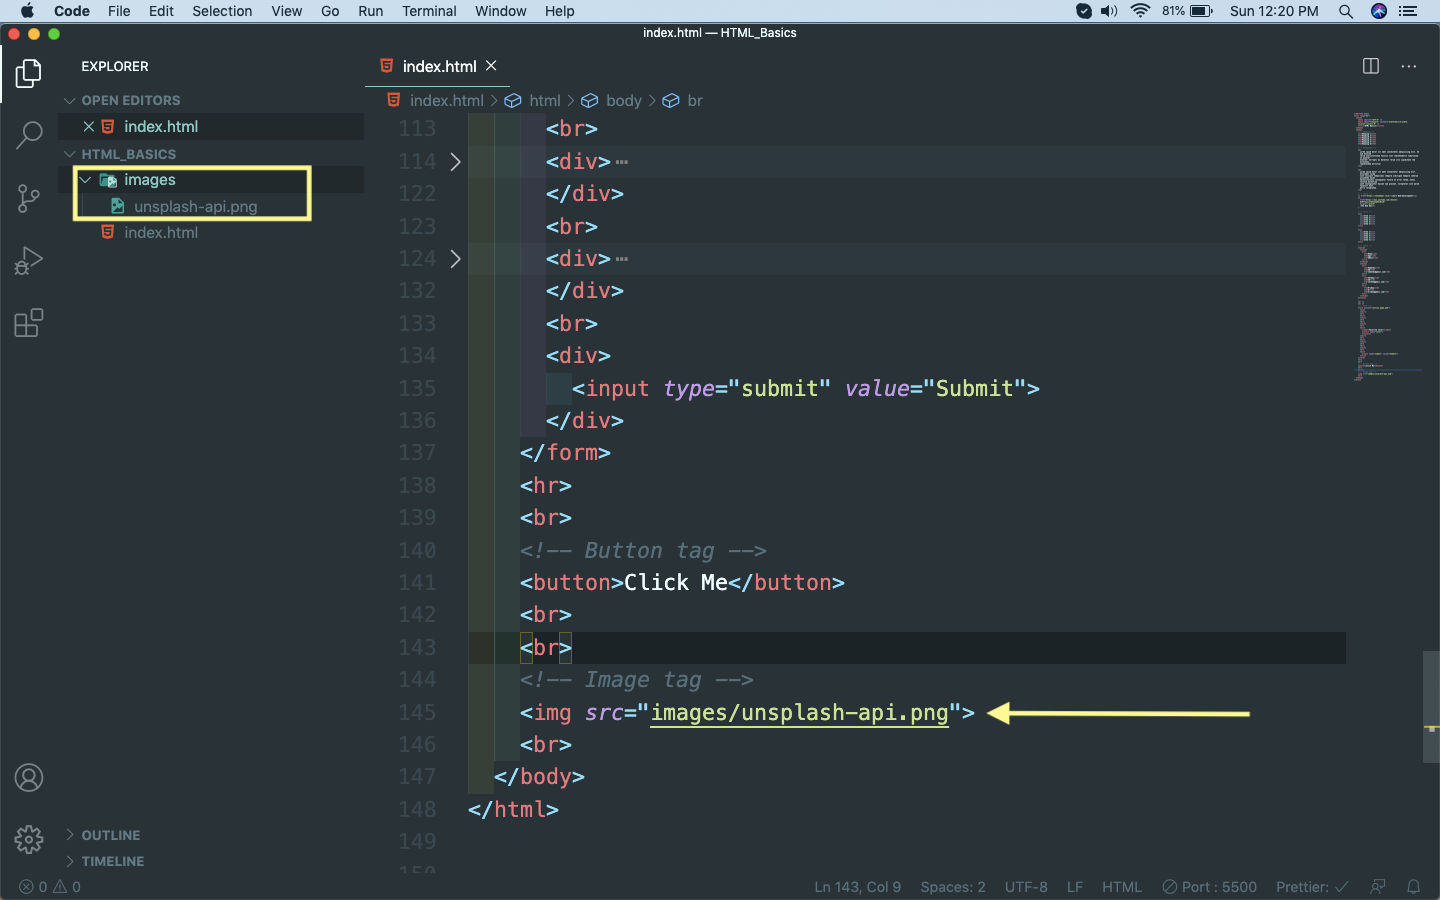
For this go ahead and create a folder images inside the root directory of the project and put a image file(jpg, jpeg, png) in it.
In the img tag we are just giving it’s path in the src attribute.
 Image
Image
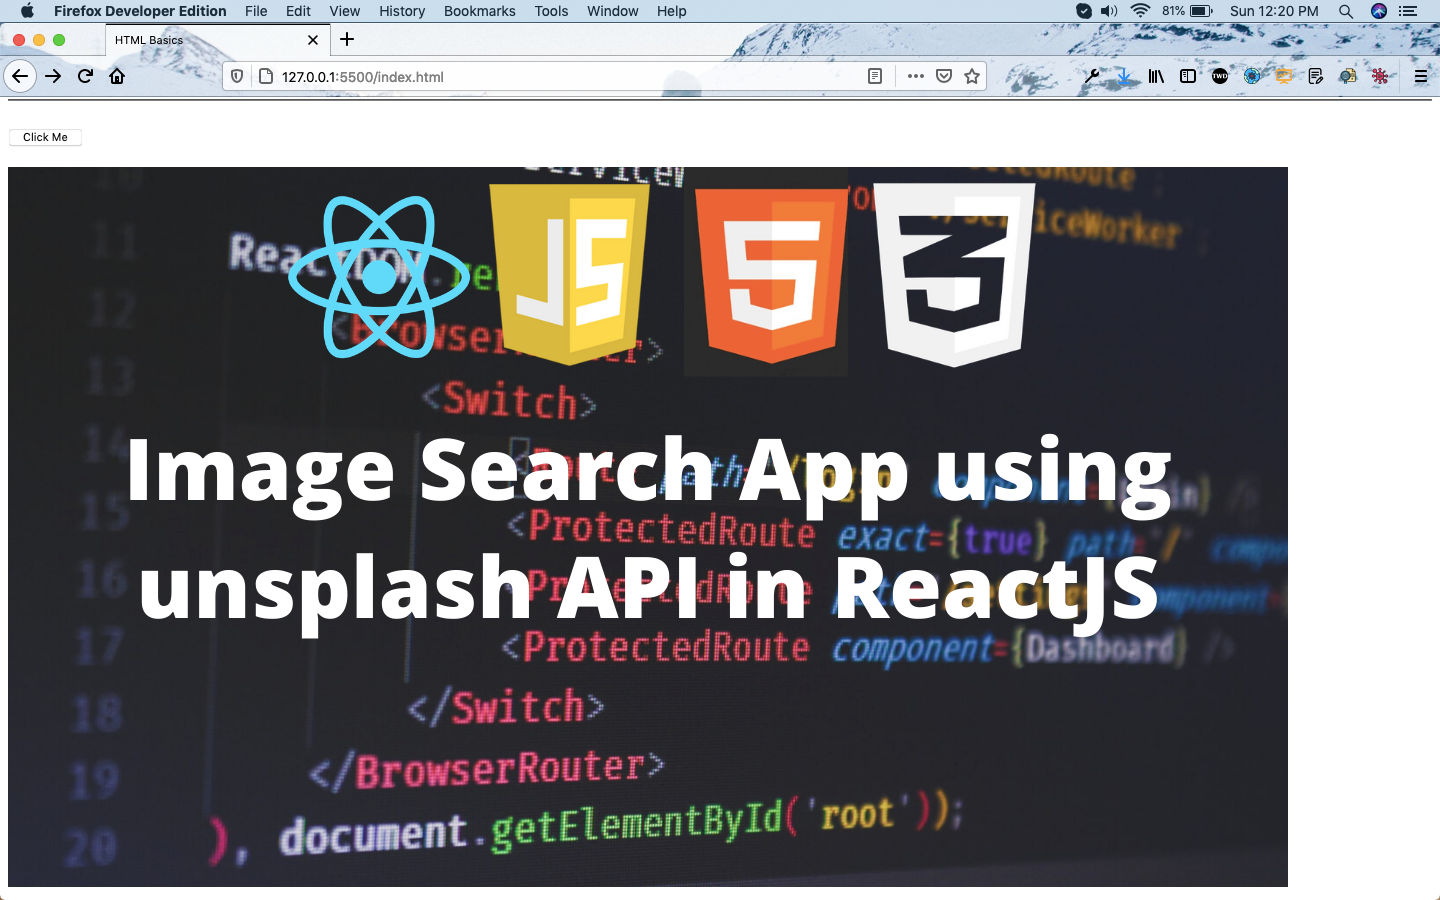
It will show the whole size image in the browser.
 Image
Image
We can also pass some additional attributes to the image tag. The first is alt, which is used to display text if some error in loading the image and also helpful for screen readers. The next two attributes are width and height, which are used to specify the width and height of image.
 alt, width and height
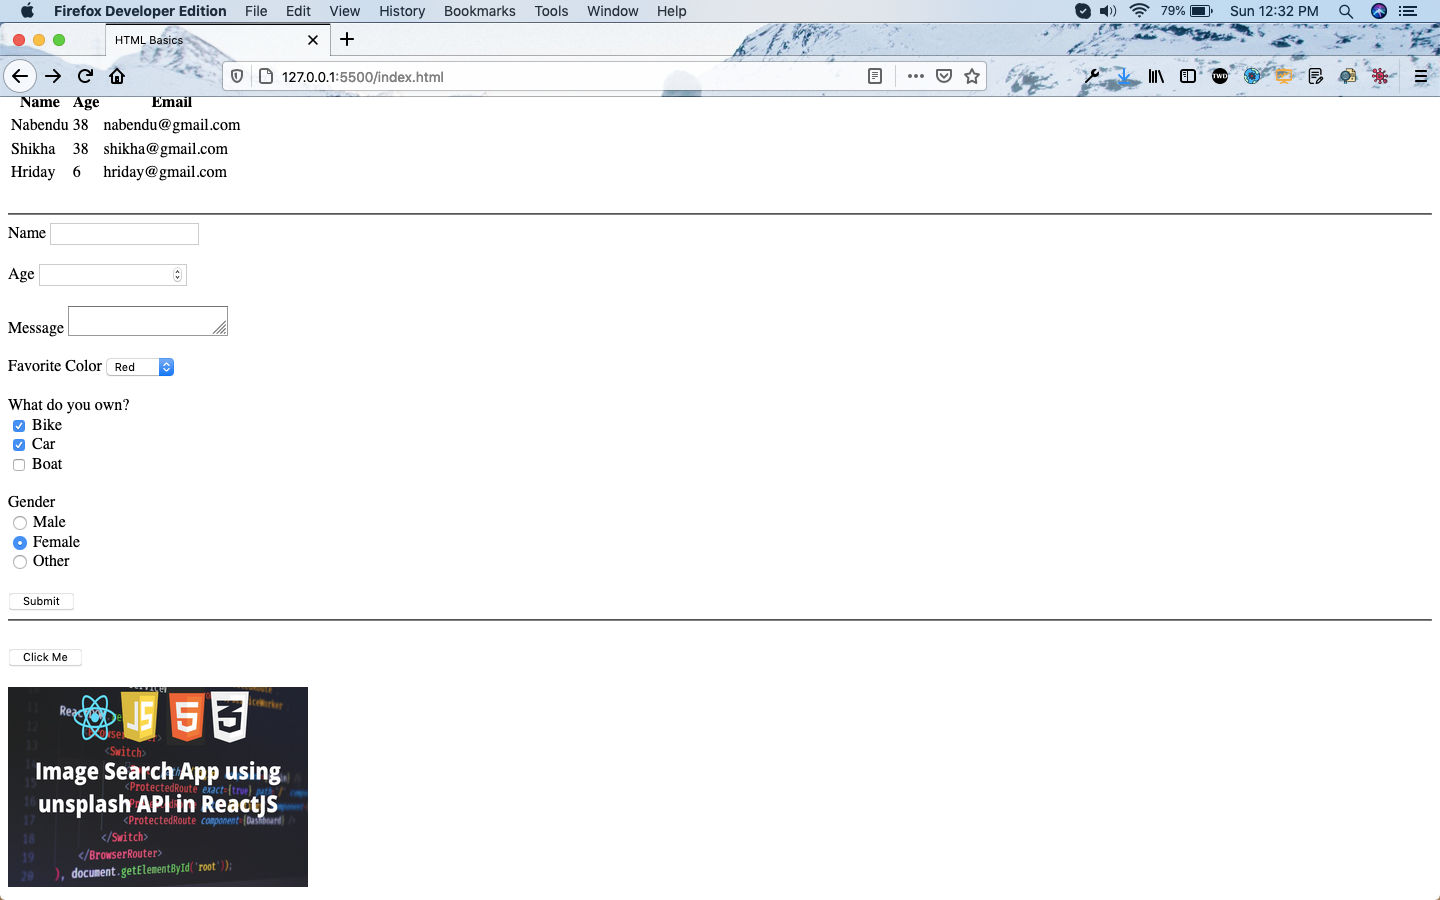
It will now show a smaller image with width 300px and height 200px.
 Smaller image
Quotations Tag
Now, we will learn about some quotation tags. We will first learn about the blockquote tag, which is used to show quote from another site. We need to give the source in a cite attribute.
 blockquote
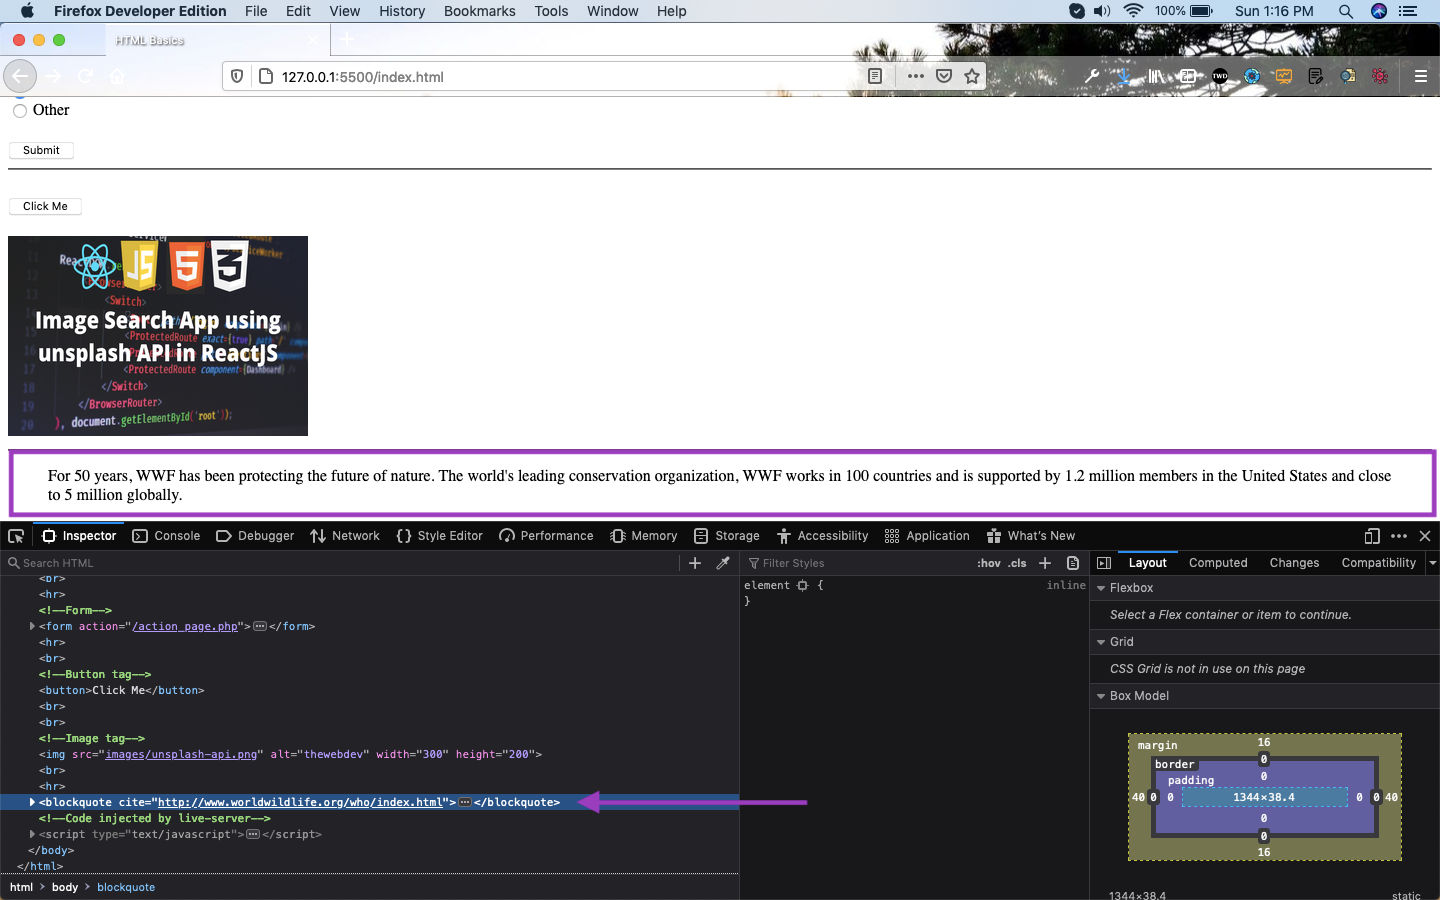
It will show the paragraph with some basic styling, but if we open the console it will show the source. So, this will help the google crawlers to know the original source.
 src
src
The next tag we will learn about is the Abbreviation tag(<abbr>), which is used to put hover help text on any text. So, whenever we take our mouse over the text, it will show the help text.
In the example we are wrapping the WWF with the abbr tag and giving the help text in the title attribute.
 title
title
So, it will show the text when we mouse our mouse over WWF.
 WWF
WWF
You can get the code used in this tutorial in this codepen. One thing to know is that the codepen doesn’t allow to store images, so i had given a reference to the cloud storage where i had stored the image. And also the codepen only contains the code inside the <body> tag.
This completes our HTML crash course. Hope you liked it and apply this to start creating websites. Don’t worry about the thousands of HTML tags, you need only the basics described in this tutorial. See you soon in CSS series, which will help you to develop complete websites.