Image Gallery with React and Tailwind CSS
by Nabendu Biswas / September 18th, 2021
#css #tailwind #react
In this post we will build a Image Gallery with ReactJS app with Tailwind CSS. We are also going to use Pixabay API to get the images.
So, open your terminal and create a new ReactJS application by using the command below.
npx create-react-app tailwindcss-gallery
Now, as per the instructions, change to the newly created folder. I have also opened the project in VS Code.
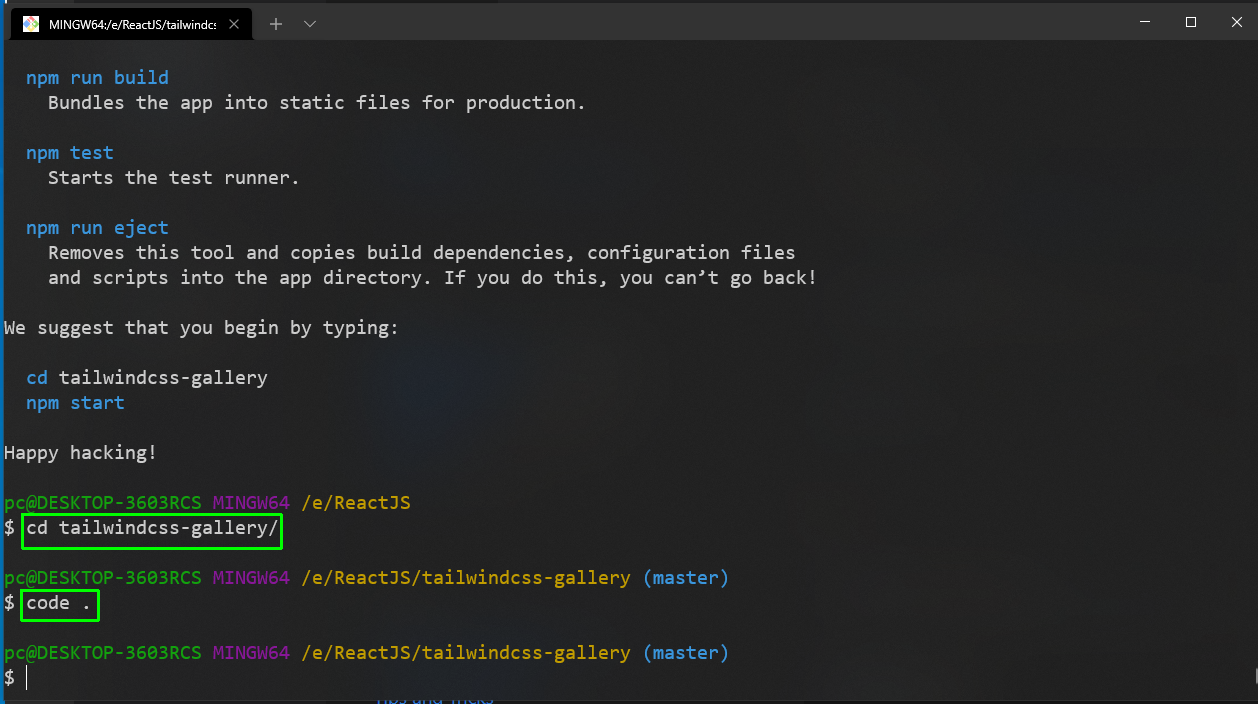 Initial Setup
The setup for tailwind in a React project, was followed from my earlier blog. I have also deleted the unnecessary files, which comes with a React setup.
After that started the app with npm start and updated the content of App.js, with a Tailwind CSS class to check if it’s working.
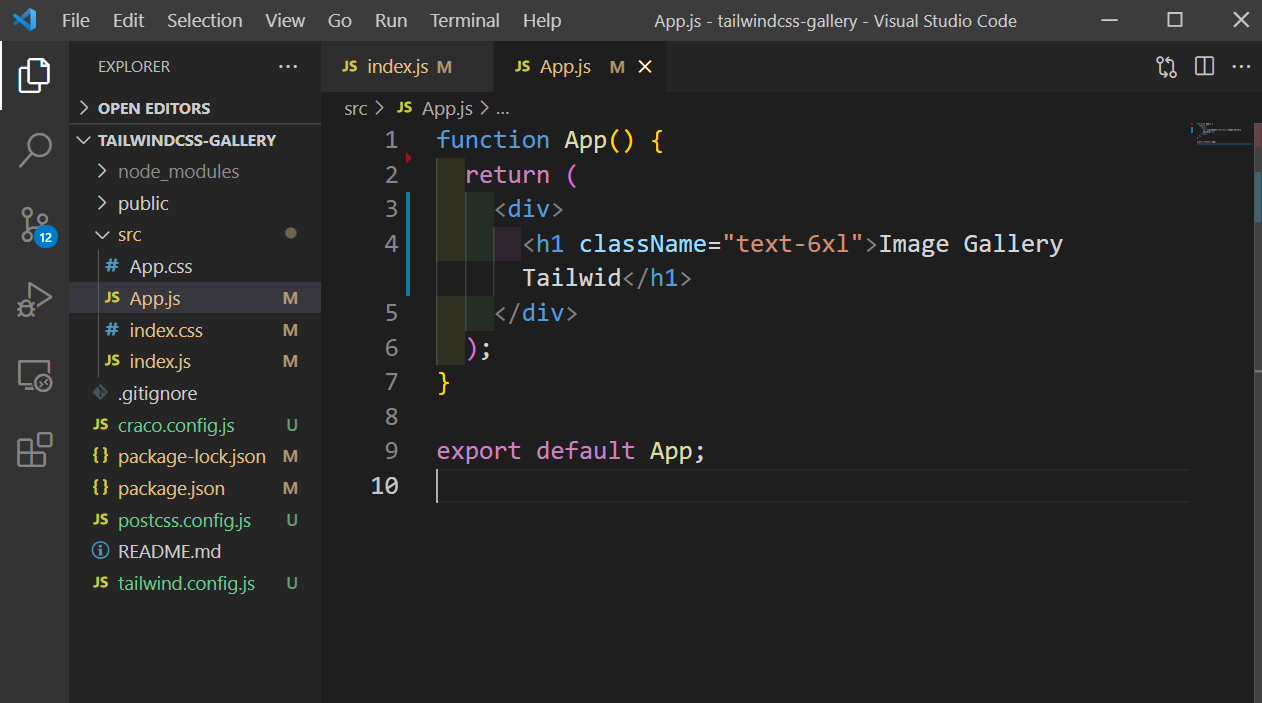 App.js
In http://localhost:3000/ we can see this big h1, which means tailwind css was setup properly.
 Tailwind
We will show a basic random image now in App.js, with tailwind css classes. It will also contain Views, Downloads, Likes and some tags. Later on, we will get all these from API.
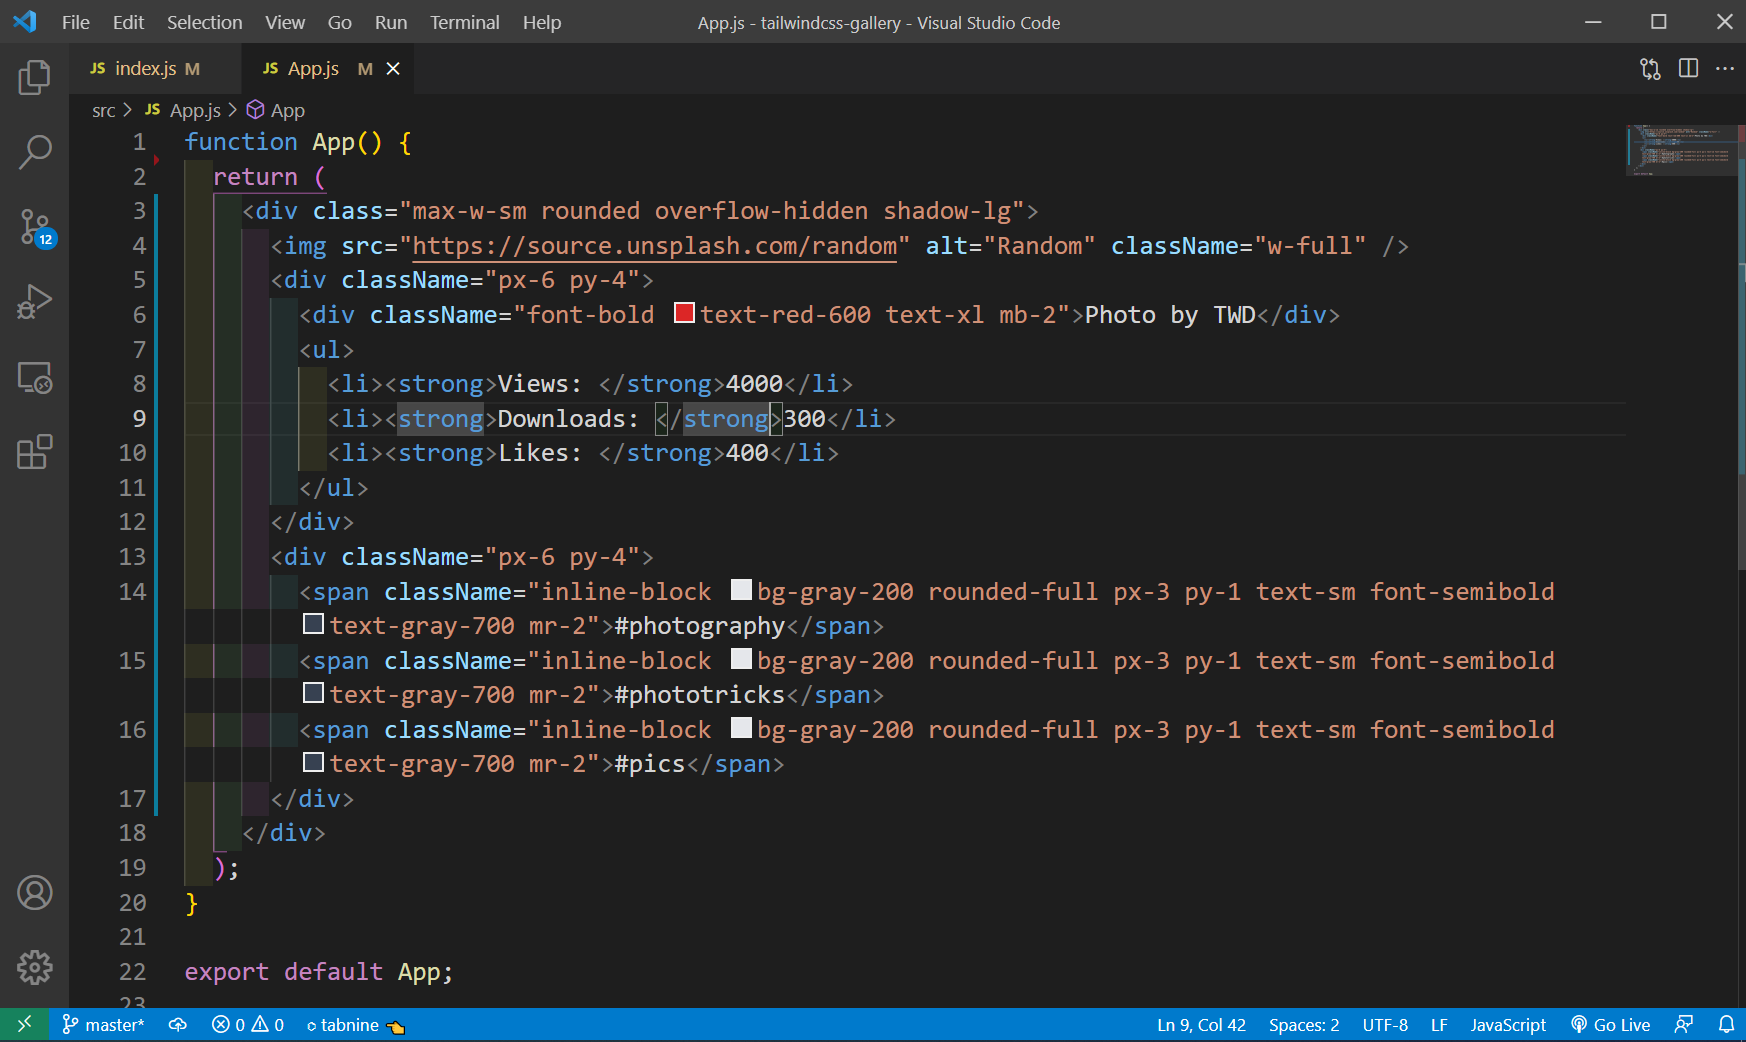 App.js
Now, our app looks like below.
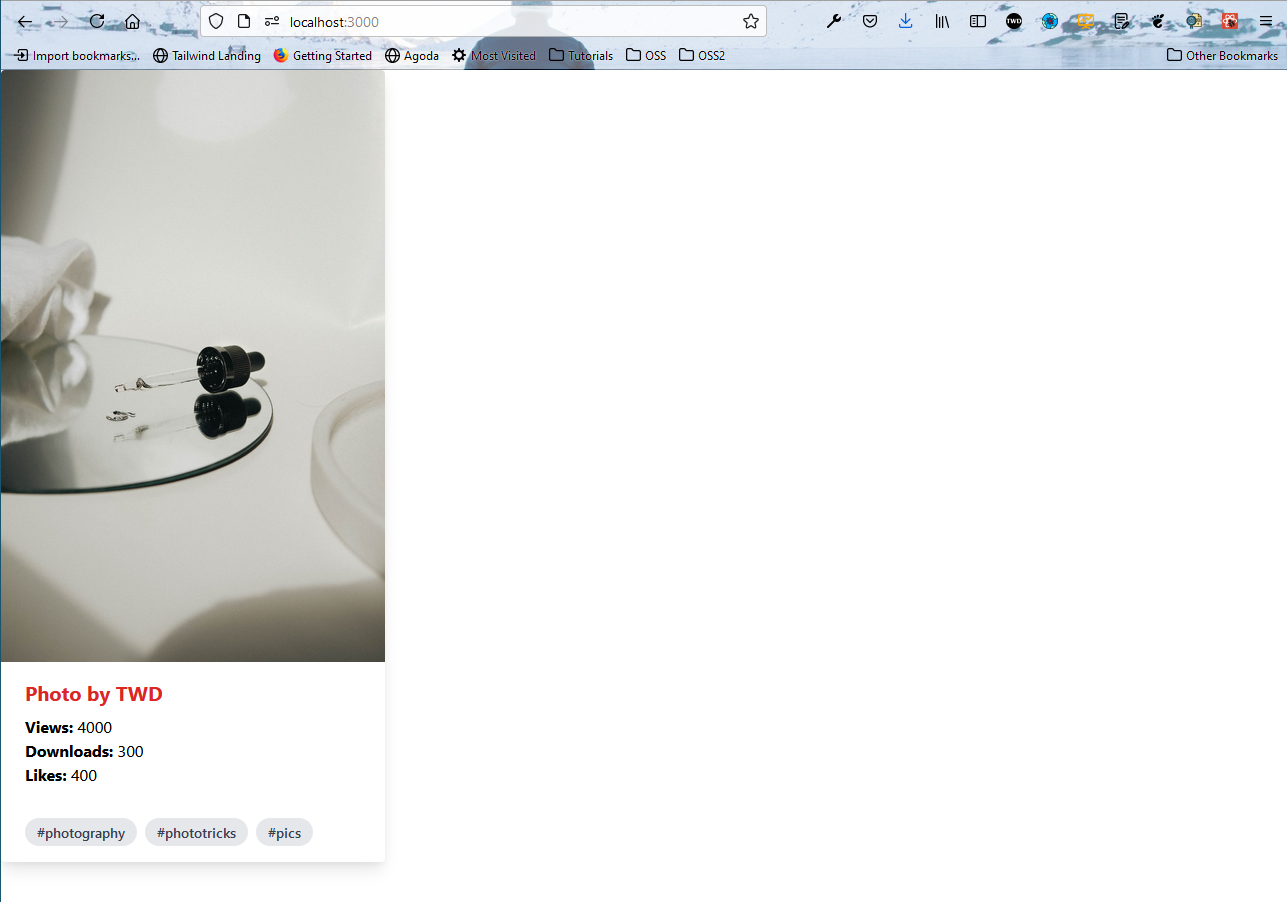 App
App
Now, we will use pixabay service in our app to get the images. We need to create and account in pixabay.com and we will get a API key, to get images.
After that go to https://pixabay.com/api/docs/ and scroll down and you will find your API keys.
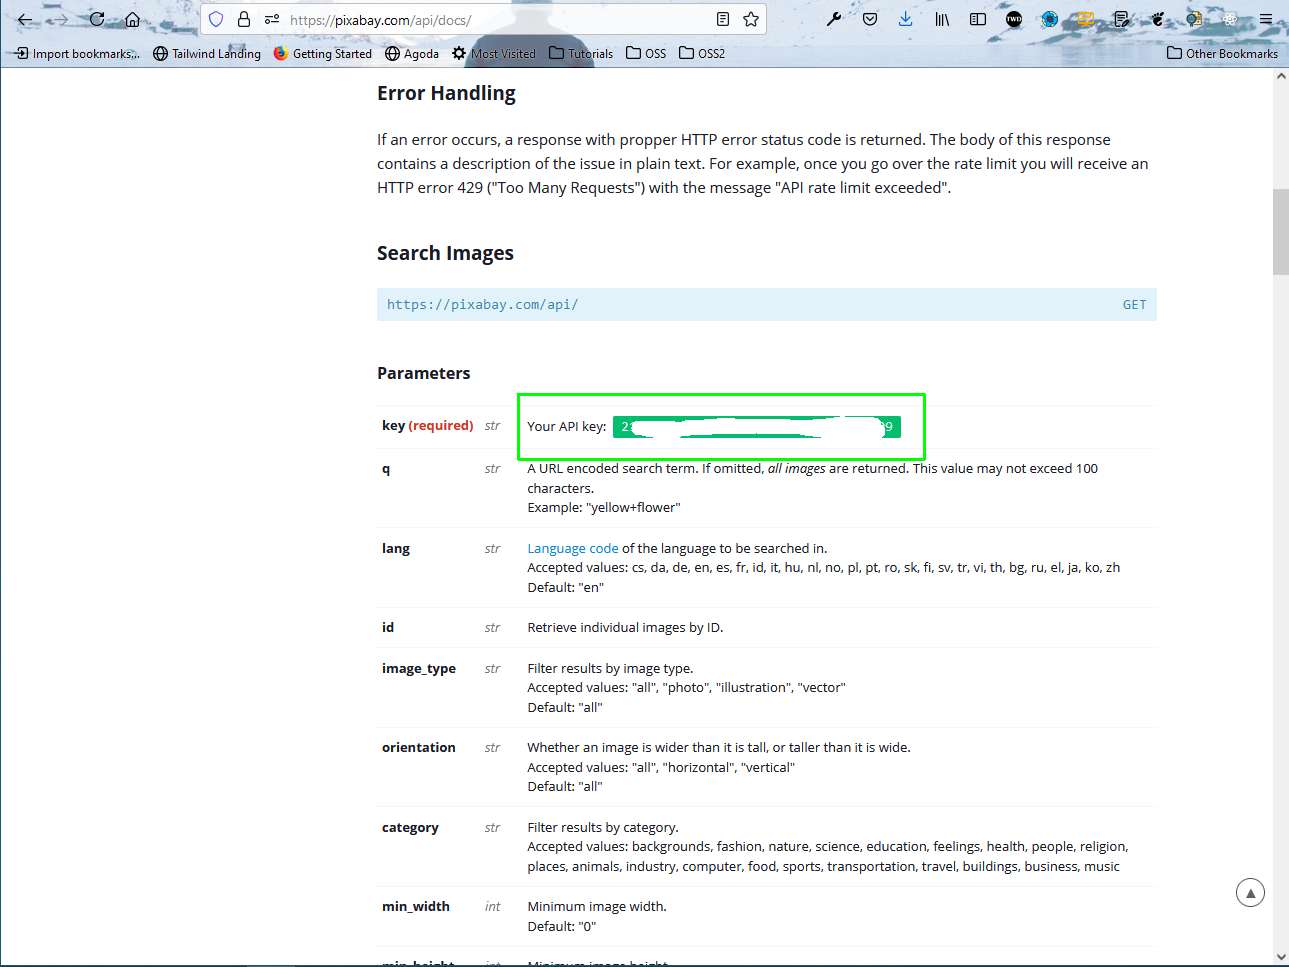 API Keys
After that create an .env file in the root directory and add a variable REACT_APP_PIXABAY_API to it. Now add you API key in it.
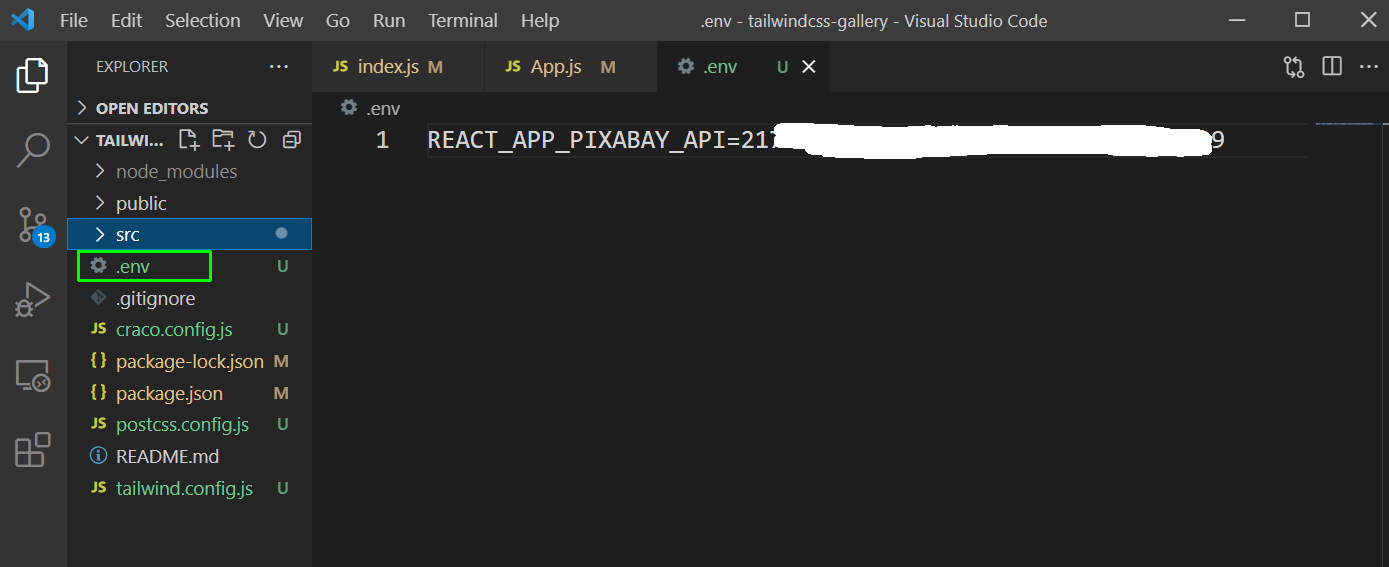 .env
.env
Next, in App.js file we will use three state variables and also will do a API call with useEffect.
Now, the data we are passing to another component ImageCard, by looping through it.
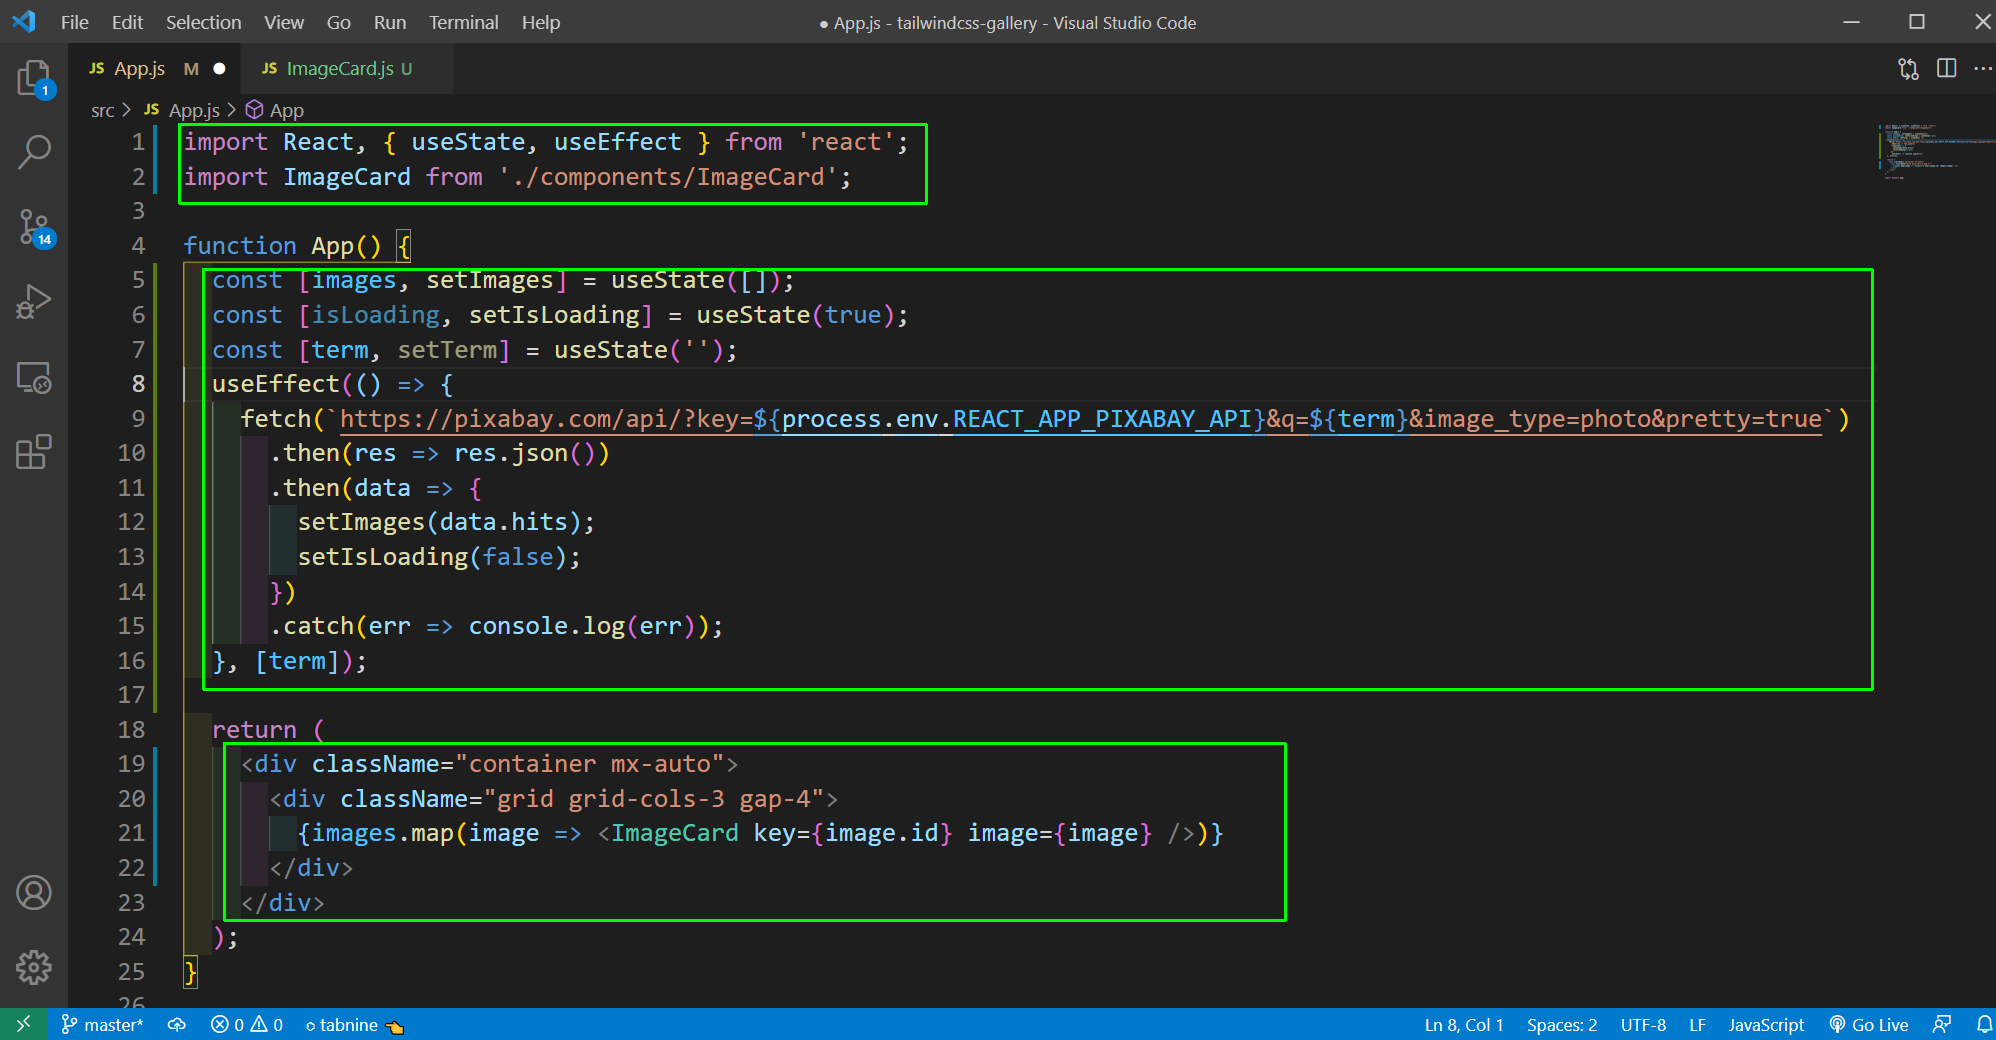 App.js
Create a folder components inside the src folder. Inside it create a file ImageCard.js.
Now, it will contain our earlier data from App.js, but we are updating the hard-coded thing to the data we got from API.
We were getting tags as comma separated value from the API, so we are using split to change it to an array.
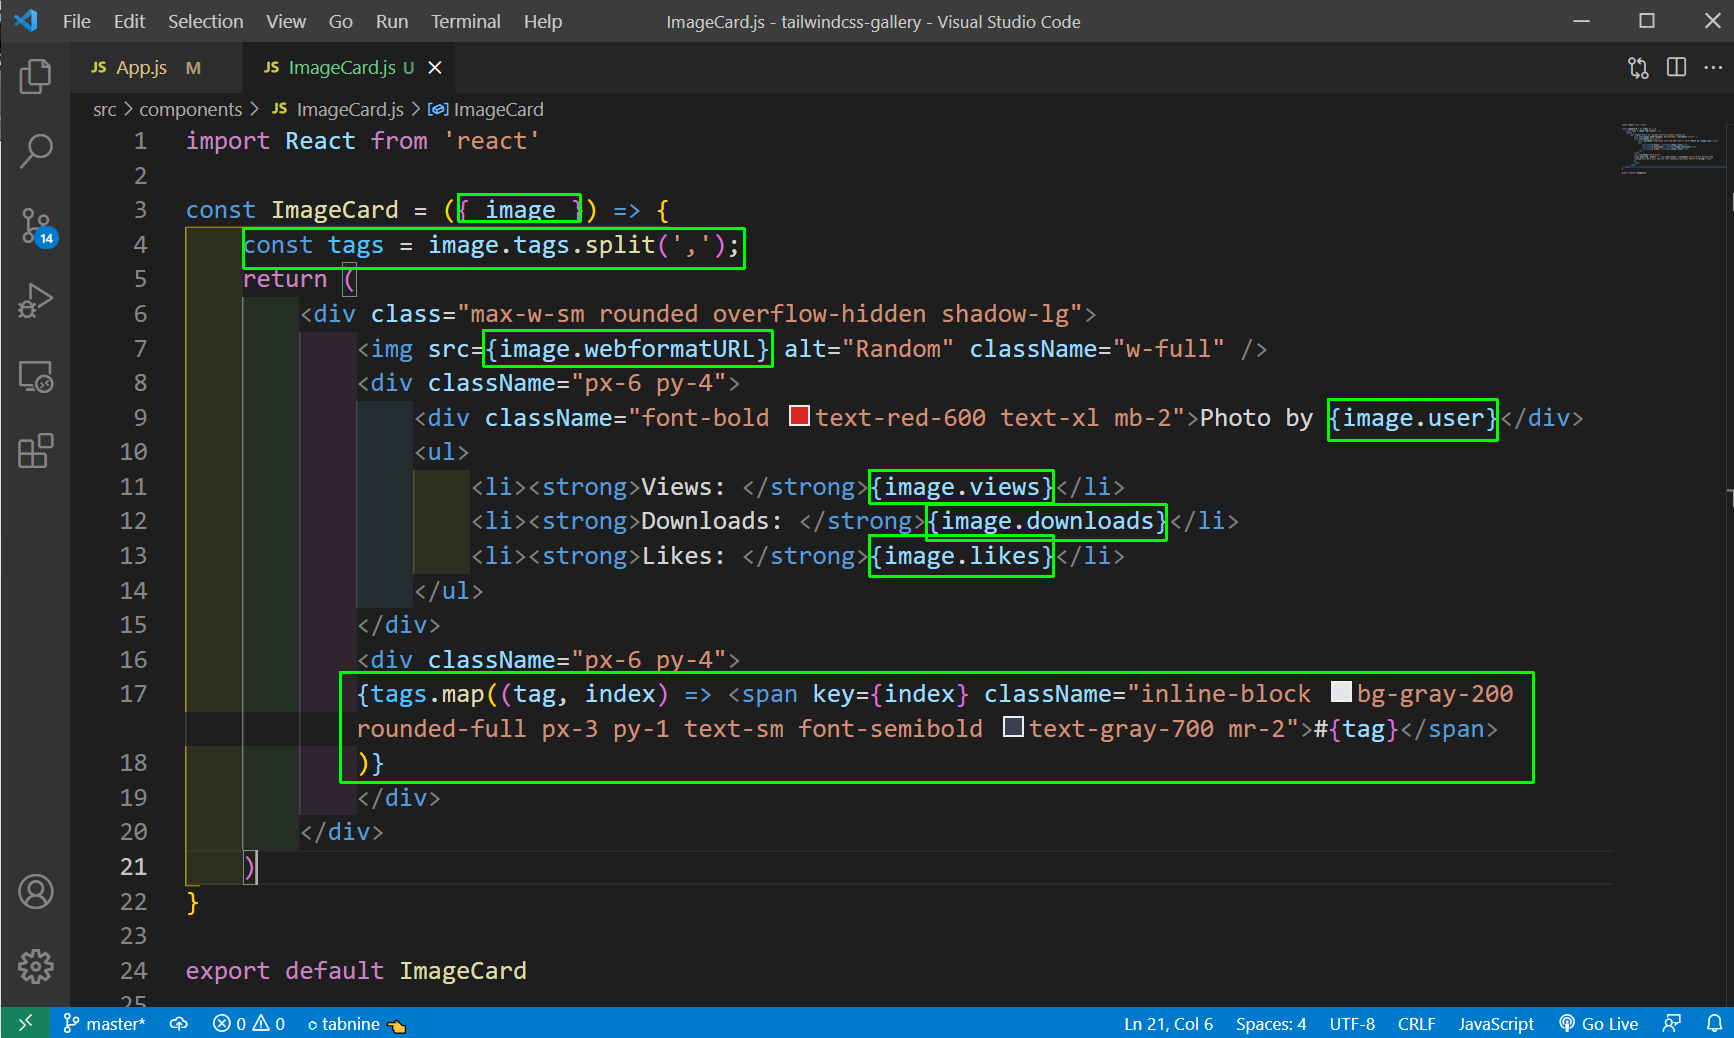 ImageCard.js
Now, our images are showing nicely with data from pixabay API.
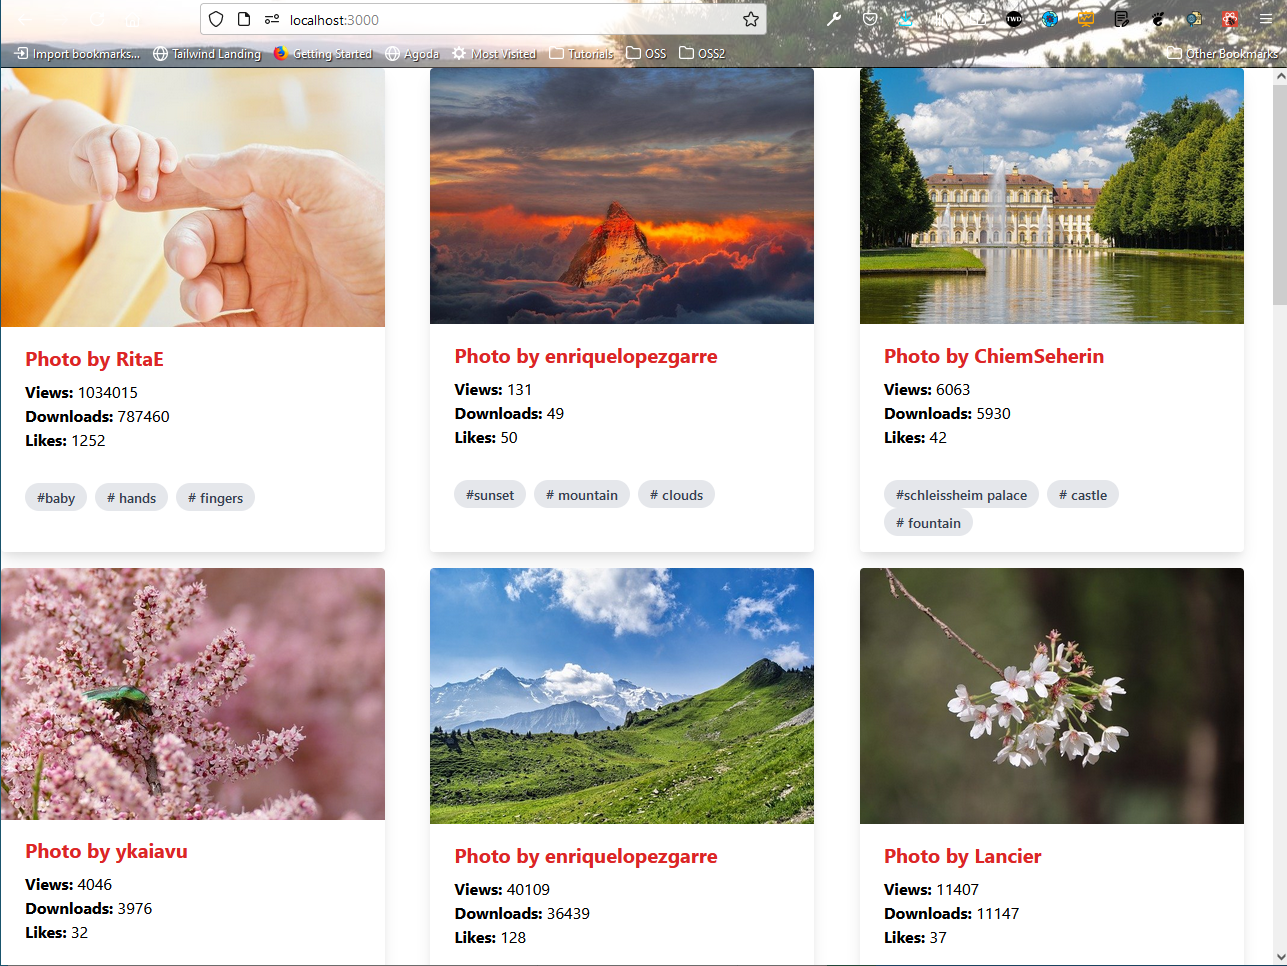 Pixabay API
Now, we want to show a Loading… text, when the image are been fetched from pixabay api. So, in App.js file we use ternary operator to do the same.
 App.js
Now, we will add the Search logic in our app. So create a file ImageSearch.js inside the components folder.
Now, it is a simple Search component, with a input box and button. The onSubmit sends the text as back by the prop searchText, by callback method.
import React, { useState } from 'react';

const ImageSearch = ({ searchText }) => {
    const [text, setText] = useState('');const onSubmit = (e) => {
        e.preventDefault();
        searchText(text);
    }

    return (
        <div className='max-w-sm rounded overflow-hidden my-10 mx-auto'>
            <form onSubmit={onSubmit} className="w-full max-w-sm">
                <div className="flex items-center border-b-2 border-purple-500 py-2">
                    <input onChange={e => setText(e.target.value)} className="appearance-none bg-transparent border-none w-full text-gray-700 mr-3 py-1 px-2 leading-tight focus:outline-none" type="text" placeholder="Search Image..." />
                    <button className="flex-shrink-0 bg-purple-500 hover:bg-purple-700 border-purple-500 hover:border-purple-700 text-sm border-4 text-white py-1 px-2 rounded" type="submit">
                        Search
                    </button>
                </div>
            </form>
        </div>
    )
}

export default ImageSearch;
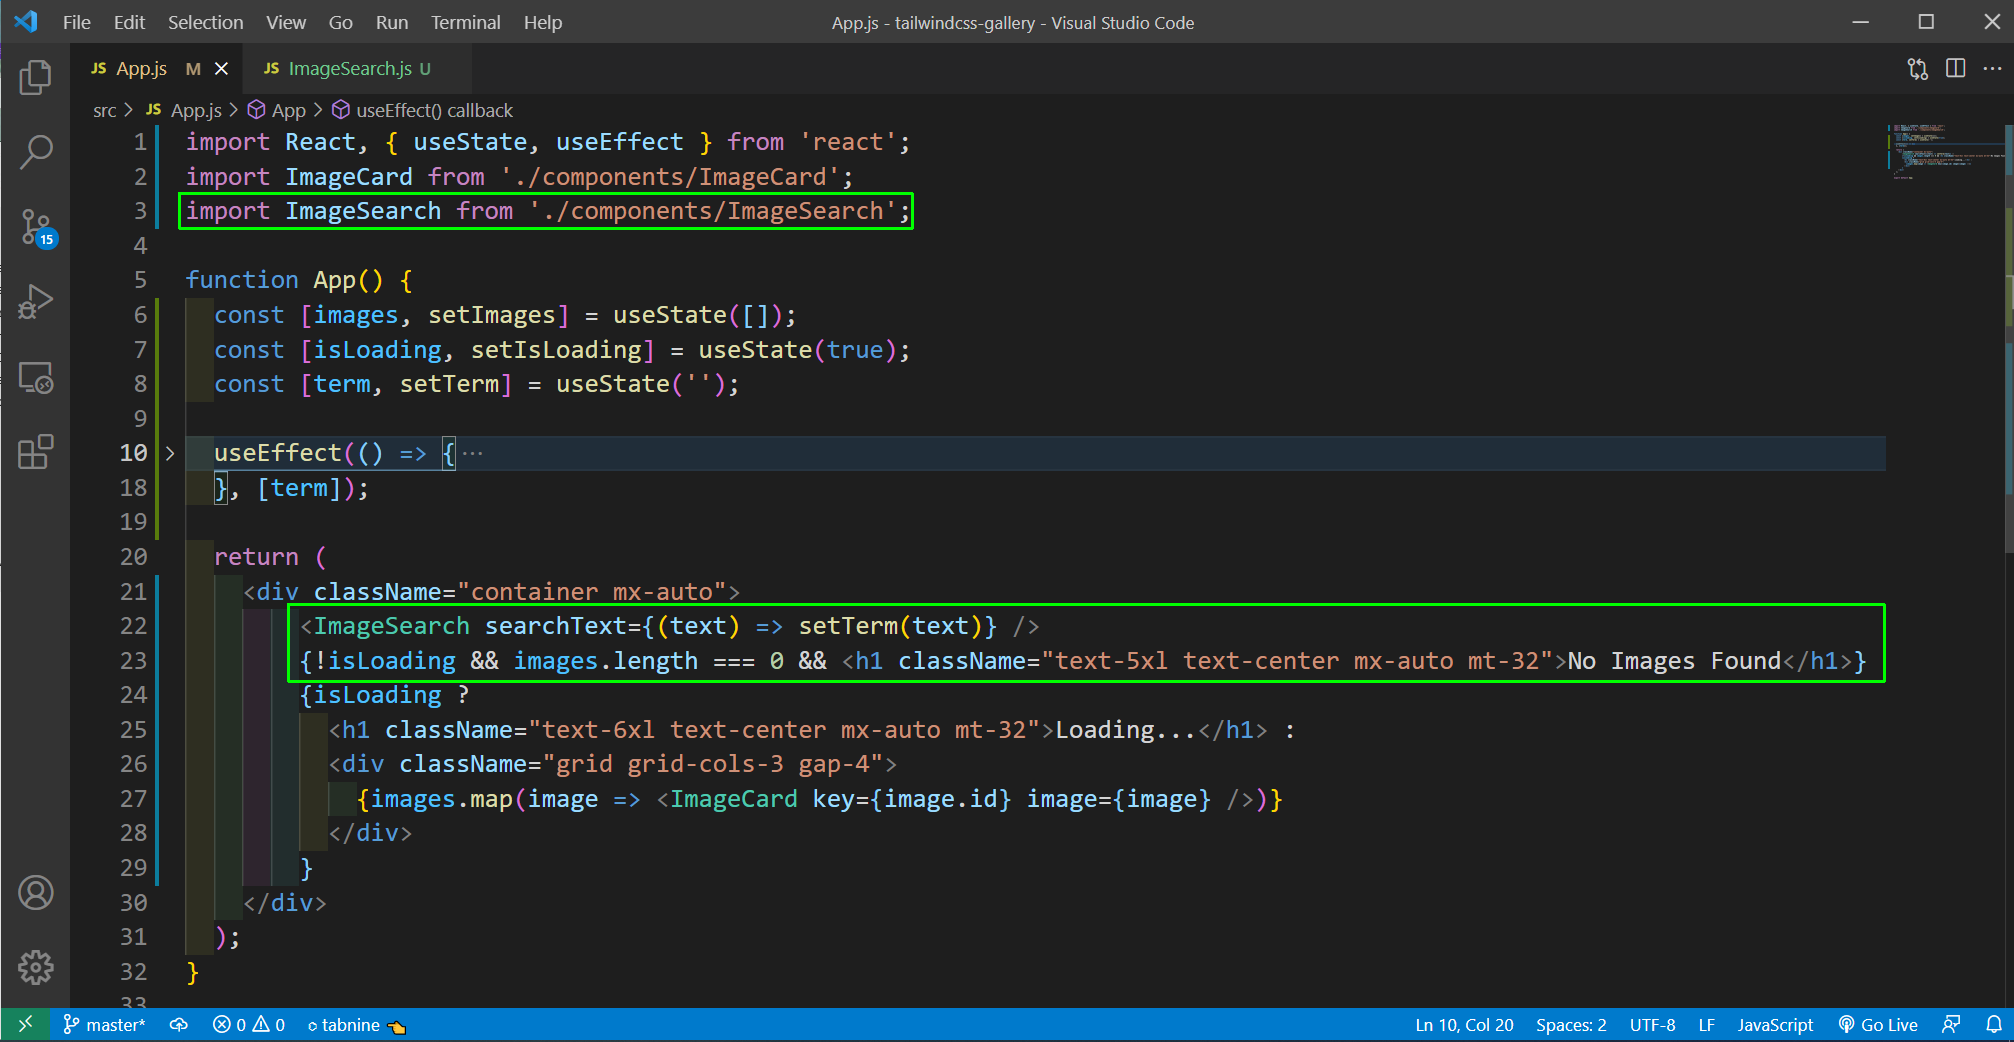
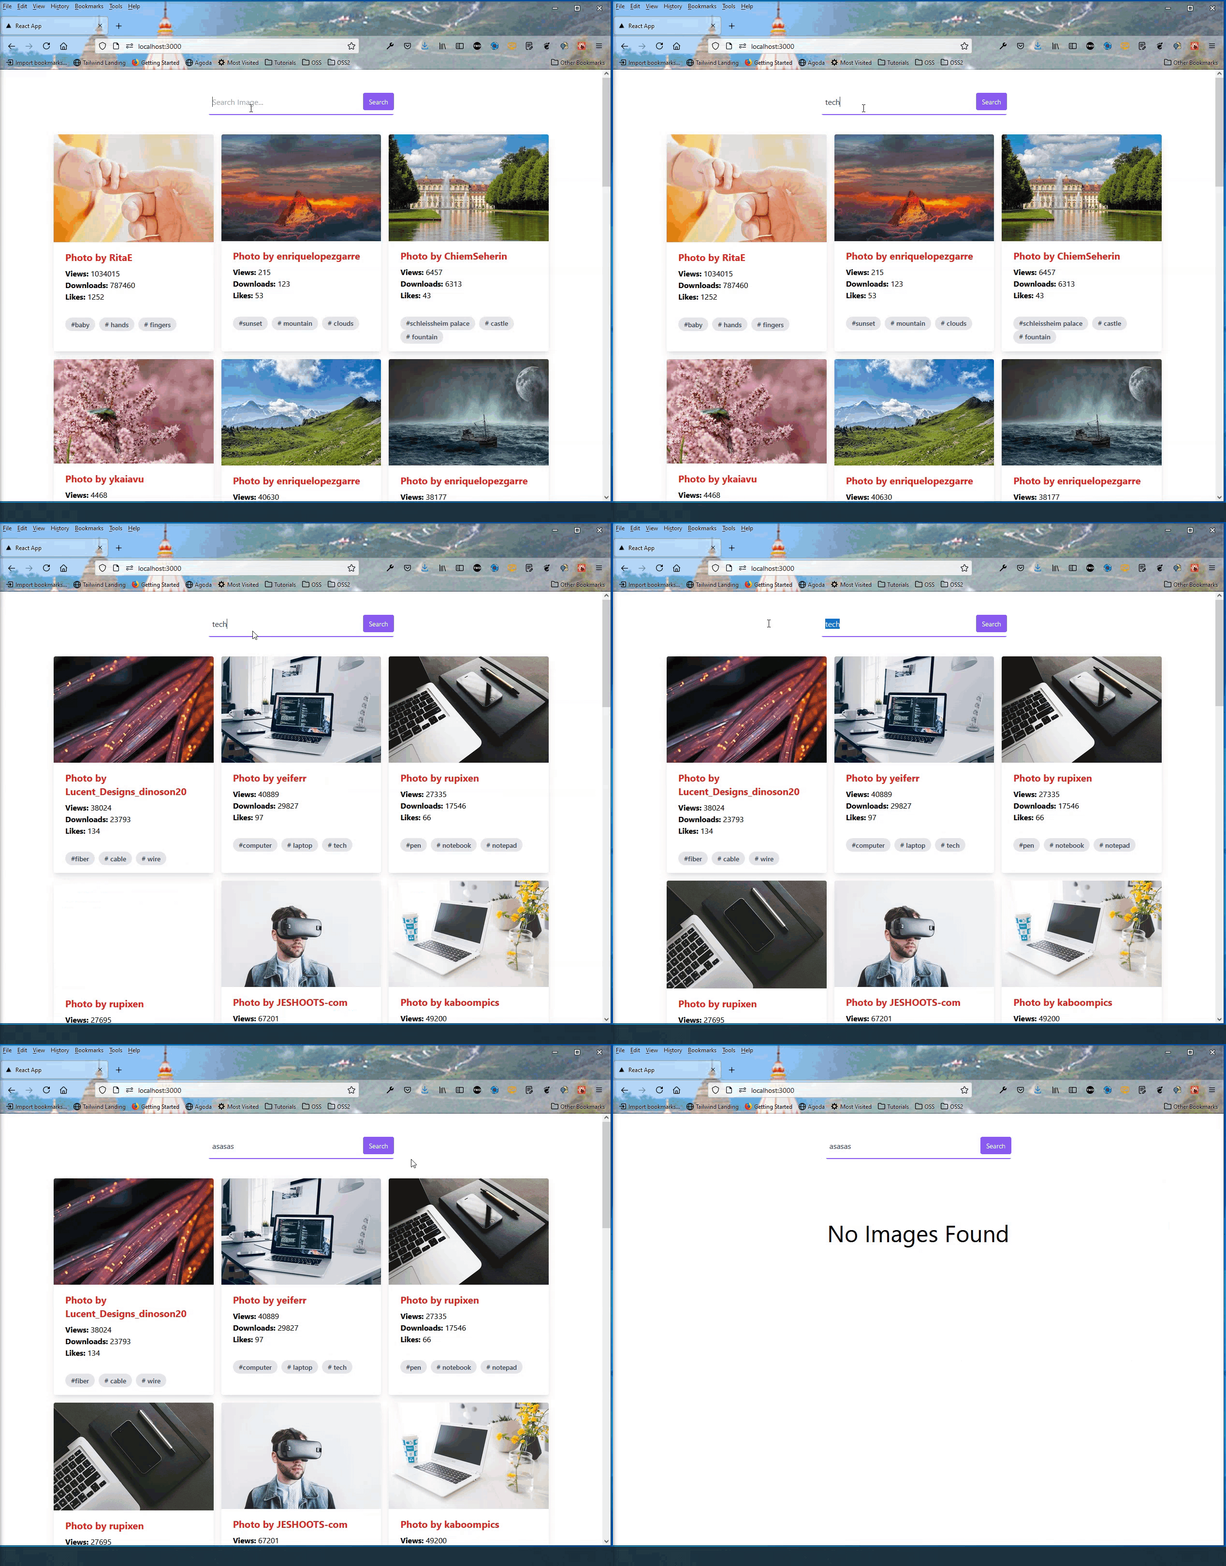
Now, back in App.js we will add the ImageSearch component and the props searchText, will update the term state variable. When the term state variable is updated the useEffect will run again and call the API, to get new data with the term.
Also, notice that if the search term is not found, we are showing No Images Found text.
 App.js
This completes our simple Image Gallery with ReactJS and Tailwind CSS. You can find the code for the same in this github repo.
 Complete App