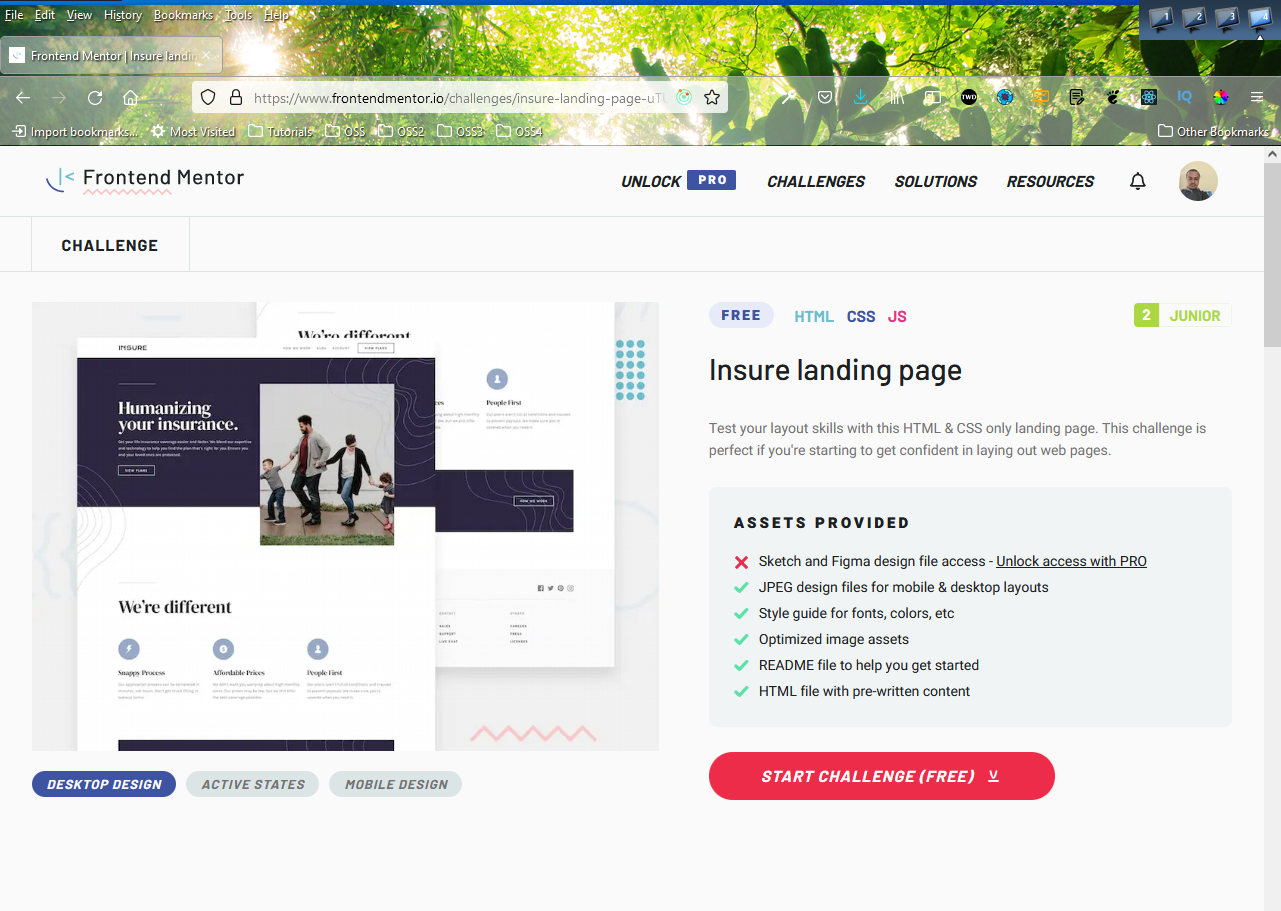
In this post we are going to create the Insure Landing Page from Frontend mentor.
 Insure
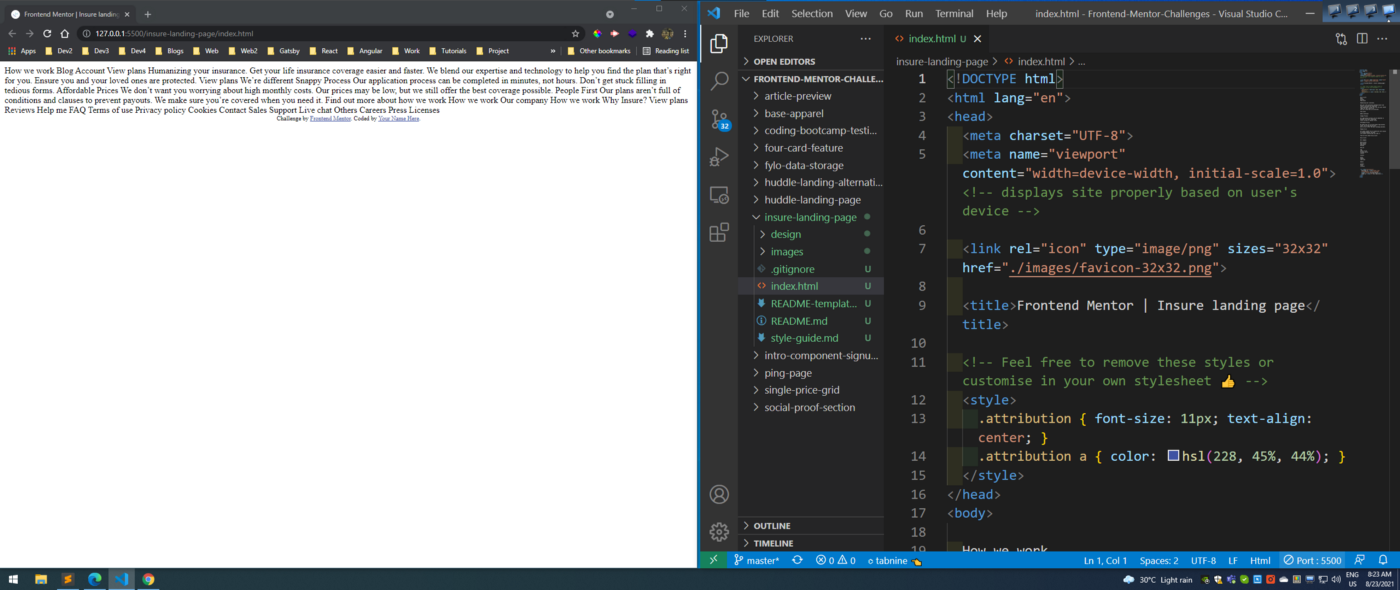
After downloading the resources, I had extracted the zip file and copied it in the Frontend-mentor-challenges folder. After that opened the index.html file with Live Server.
 Insure
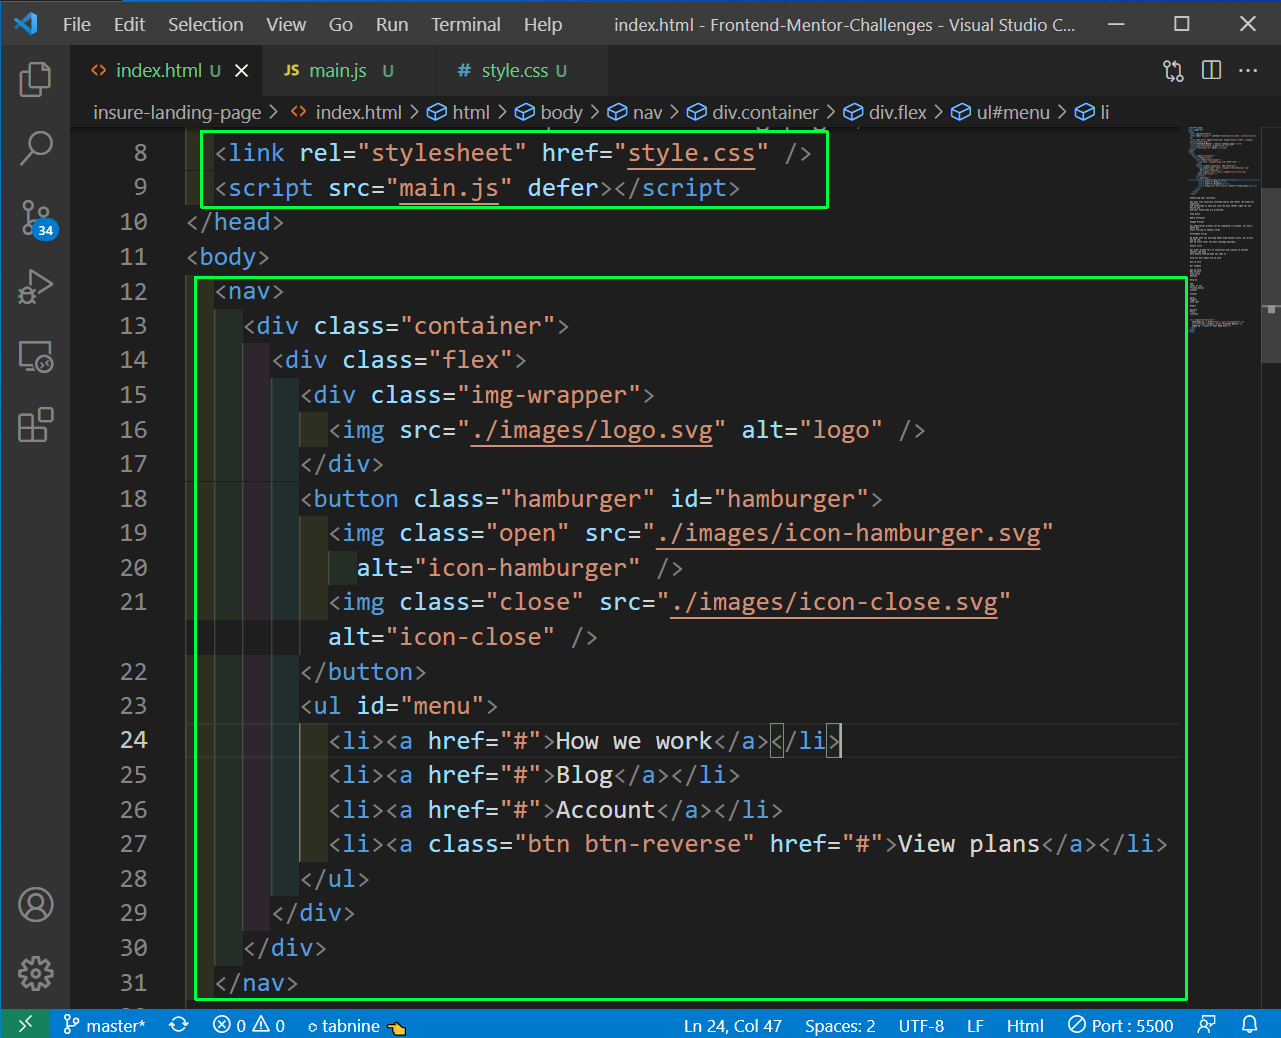
Next, we will be removing the unnecessary things from the index.html file and adding the structure. Since it have a lot of structure, we are adding the the navigation first.
 Navigation
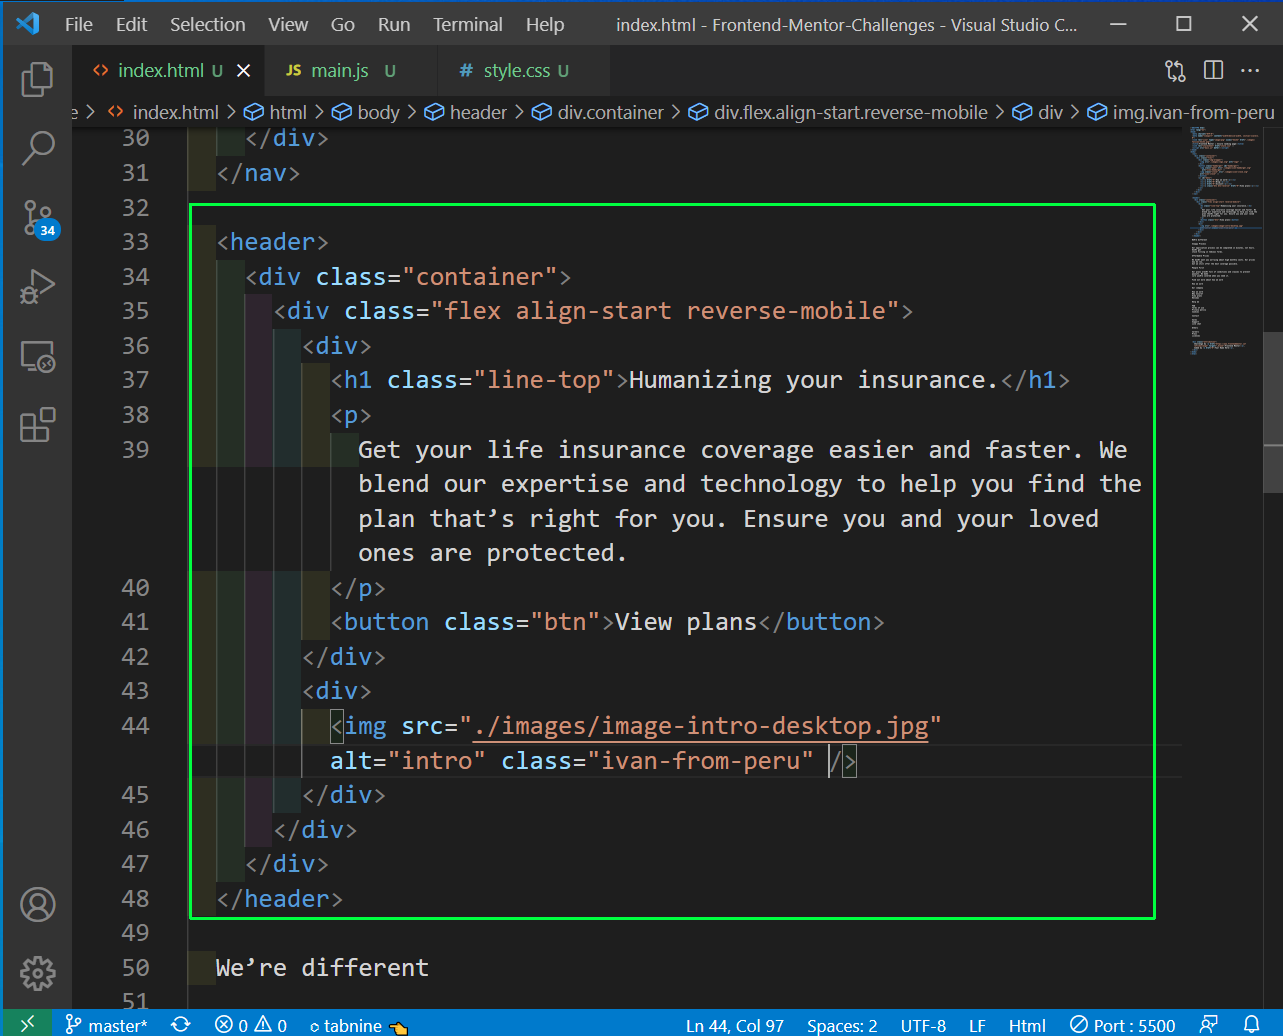
Next, we will put the structure for header.
 Header
Now, our site is taking some shape with these structured html.
 Structured
Next, we will create the structure for the first section for the site.
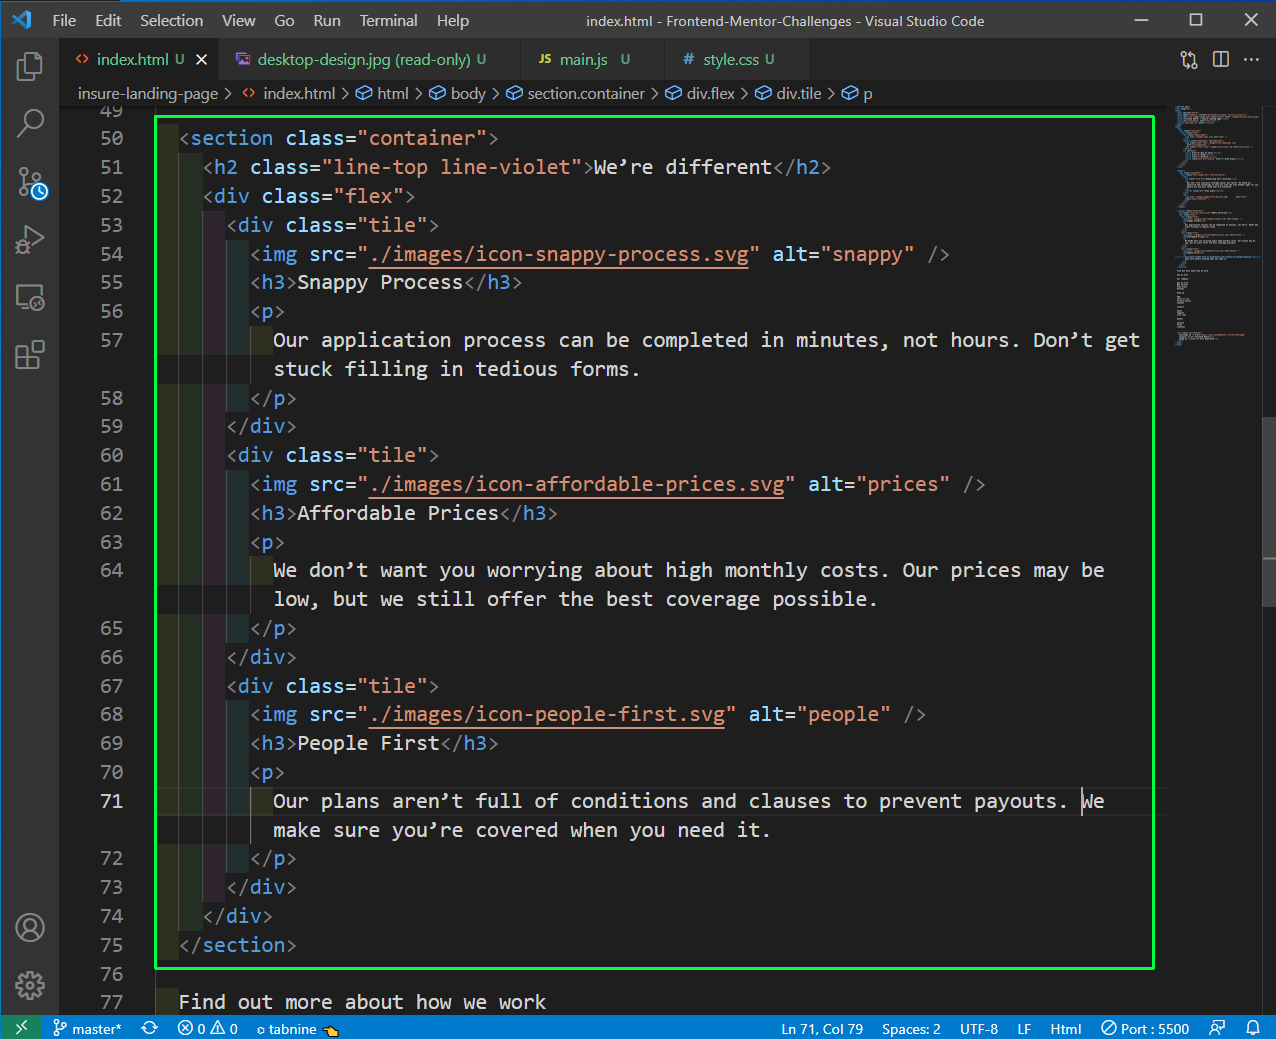 Section
And it is looking structured in localhost.
 Section
Next, we will write the structure for the last section and the footer.
<section class="container bg-violet">
    <div class="flex">
      <div>
        <h2>Find out more about how we work</h2>
      </div>
      <button class="btn">How we work</button>
    </div>
  </section>
<footer>
    <div class="container">
      <div class="flex border-bottom">
        <div>
          <img src="./images/logo.svg" alt="logo" />
        </div>
<ul class="flex">
          <li>
            <a href="#">
              <img src="./images/icon-facebook.svg" alt="facebook" />
            </a>
          </li>
          <li>
            <a href="#">
              <img src="./images/icon-twitter.svg" alt="twitter" />
            </a>
          </li>
          <li>
            <a href="#">
              <img src="./images/icon-pinterest.svg" alt="pinterest" />
            </a>
          </li>
          <li>
            <a href="#">
              <img src="./images/icon-instagram.svg" alt="instagram" />
            </a>
          </li>
        </ul>
      </div>
<div class="flex align-start">
        <div>
          <h4>Our company</h4>
          <ul>
            <li><a href="#">How we work</a></li>
            <li><a href="#">Why Insure?</a></li>
            <li><a href="#">View plans</a></li>
            <li><a href="#">Reviews</a></li>
          </ul>
        </div>
<div>
          <h4>Help me</h4>
          <ul>
            <li><a href="#">FAQ</a></li>
            <li><a href="#">Terms of use</a></li>
            <li><a href="#">Privacy policy</a></li>
            <li><a href="#">Cookies</a></li>
          </ul>
        </div>
<div>
          <h4>Contact</h4>
          <ul>
            <li><a href="#">Sales</a></li>
            <li><a href="#">Support</a></li>
            <li><a href="#">Live chat</a></li>
          </ul>
        </div>
<div>
          <h4>Others</h4>
          <ul>
            <li><a href="#">Careers</a></li>
            <li><a href="#">Press</a></li>
            <li><a href="#">Licenses</a></li>
          </ul>
        </div>
      </div>
    </div>
  </footer>
Now, our structure is complete and it’s looking structured.
 Structured
We will start with the basic CSS first and this time we are storing all colors in root variables. After that we are doing the styling for h1, h2, h3 and p.
@import url('https://fonts.googleapis.com/css?family=DM+Serif+Display|Karla:400,700&display=swap');
* {
 box-sizing: border-box;
}
:root {
 --dark-violet: hsl(256, 26%, 20%);
 --greyish-blue: hsl(216, 30%, 68%);
 --very-dark-violet: hsl(270, 9%, 17%);
 --dark-grayish-violet: hsl(273, 4%, 51%);
 --very-light-gray: hsl(0, 0%, 98%);
}
body {
 color: var(--dark-violet);
 font-family: 'Karla', sans-serif;
 margin: 0;
}
h1, h2, h3 {
 font-family: 'DM Serif Display', sans-serif;
}
h1, h2 {
 font-size: 4em;
 position: relative;
 letter-spacing: 2px;
 line-height: 1;
 margin: 0;
 padding-top: 50px;
}
h3 {
 font-size: 2em;
}
p {
 line-height: 1.7;
 opacity: 0.8;
}
Next, we will do the basic styling for most of the html, using flexbox.
.container {
 padding: 0 20px;
 margin: 0 auto;
 max-width: 100%;
 width: 1200px;
}
.flex {
 display: flex;
 align-items: center;
 justify-content: space-between;
}
.flex > div {
 flex: 1;
}
.align-start {
 align-items: flex-start;
}
Now, our layout have started to take shape and looking ok.
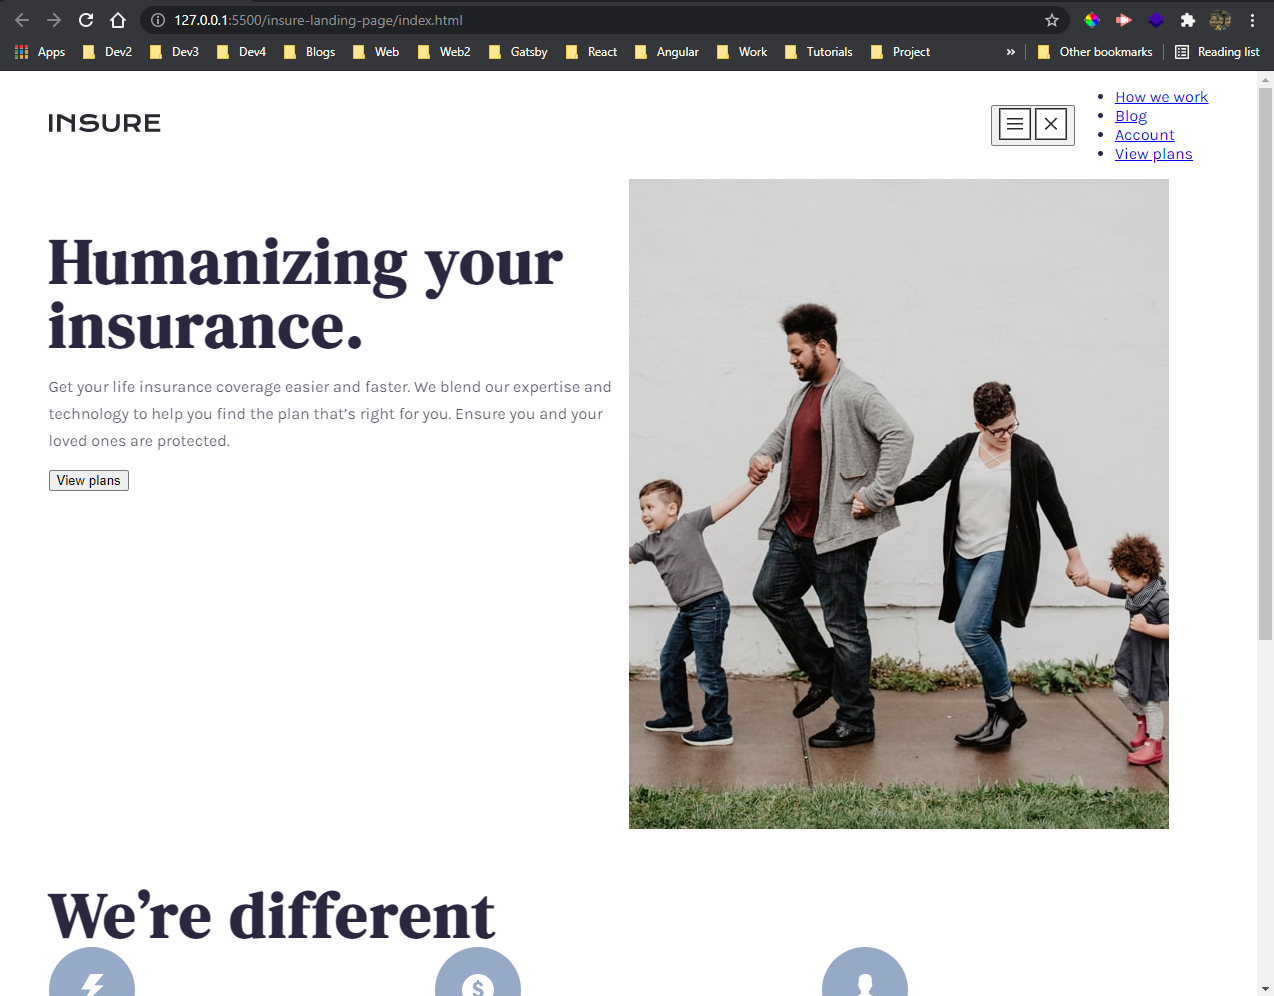 Looking good
Now, we will style the navbar with the styling.
nav {
 background-color: #fff;
 position: fixed;
 top: 0;
 left: 0;
 width: 100vw;
 z-index: 100;
}
nav .hamburger {
 display: none;
}
nav .hamburger:focus {
 outline: none;
}
nav ul {
 display: flex;
 align-items: center;
 list-style-type: none;
 padding: 0;
}
nav li {
 margin-left: 30px;
}
nav li a {
 color: var(--dark-grayish-violet);
 text-transform: uppercase;
 text-decoration: none;
}
Now, our navbar is looking perfect.
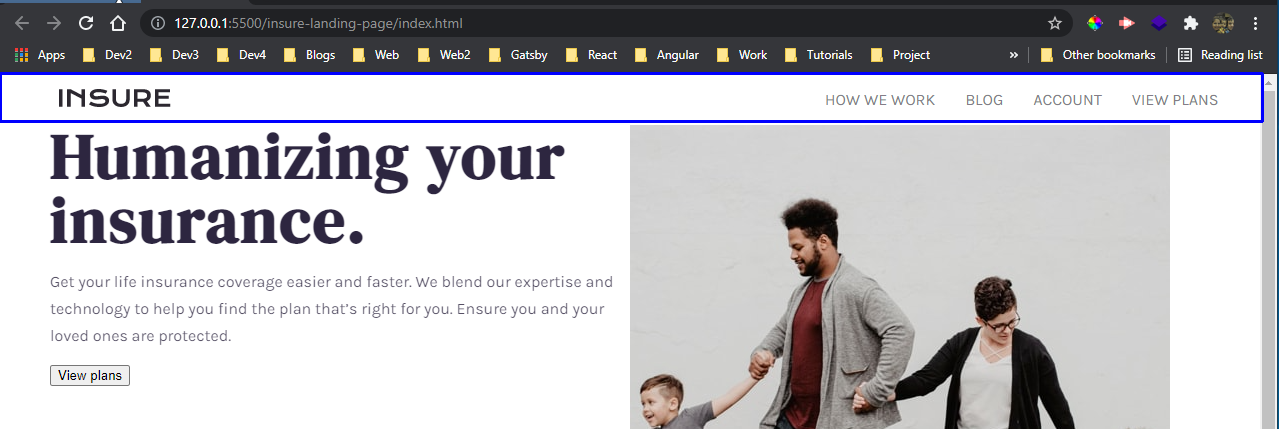 Navbar
Now, it’s time to style our header. It actually contains three images, so we are using pseudo elements here.
header {
 background-color: var(--dark-violet);
 color: #fff;
 padding: 100px 0;
 position: relative;
 margin-top: 80px;
 margin-bottom: 250px;
}
header * {
 z-index: 1;
}
header::after {
 content: '';
 background-image: url('./images/bg-pattern-intro-right-desktop.svg');
 background-repeat: no-repeat;
 background-position: top right;
 position: absolute;
 top: 0;
 right: 0;
 height: 100%;
 width: 50%;
 z-index: 2;
}
header::before {
 content: '';
 background-image: url('./images/bg-pattern-intro-left-desktop.svg');
 background-repeat: no-repeat;
 background-position: bottom left;
 position: absolute;
 bottom: -50%;
 left: 0;
 height: 100%;
 width: 100%;
 z-index: 0;
}
.intro-image {
 max-width: 100%;
 margin-bottom: -250px;
}
Also, give the style for the buttons.
.btn {
 background-color: transparent;
 border: 2px solid #fff;
 display: inline-block;
 color: #fff;
 cursor: pointer;
 padding: 15px 25px;
 letter-spacing: 2px;
 text-transform: uppercase;
}
.btn-reverse {
 border-color: var(--dark-violet);
 color: var(--dark-violet);
}
Now, our header and button are looking awesome.
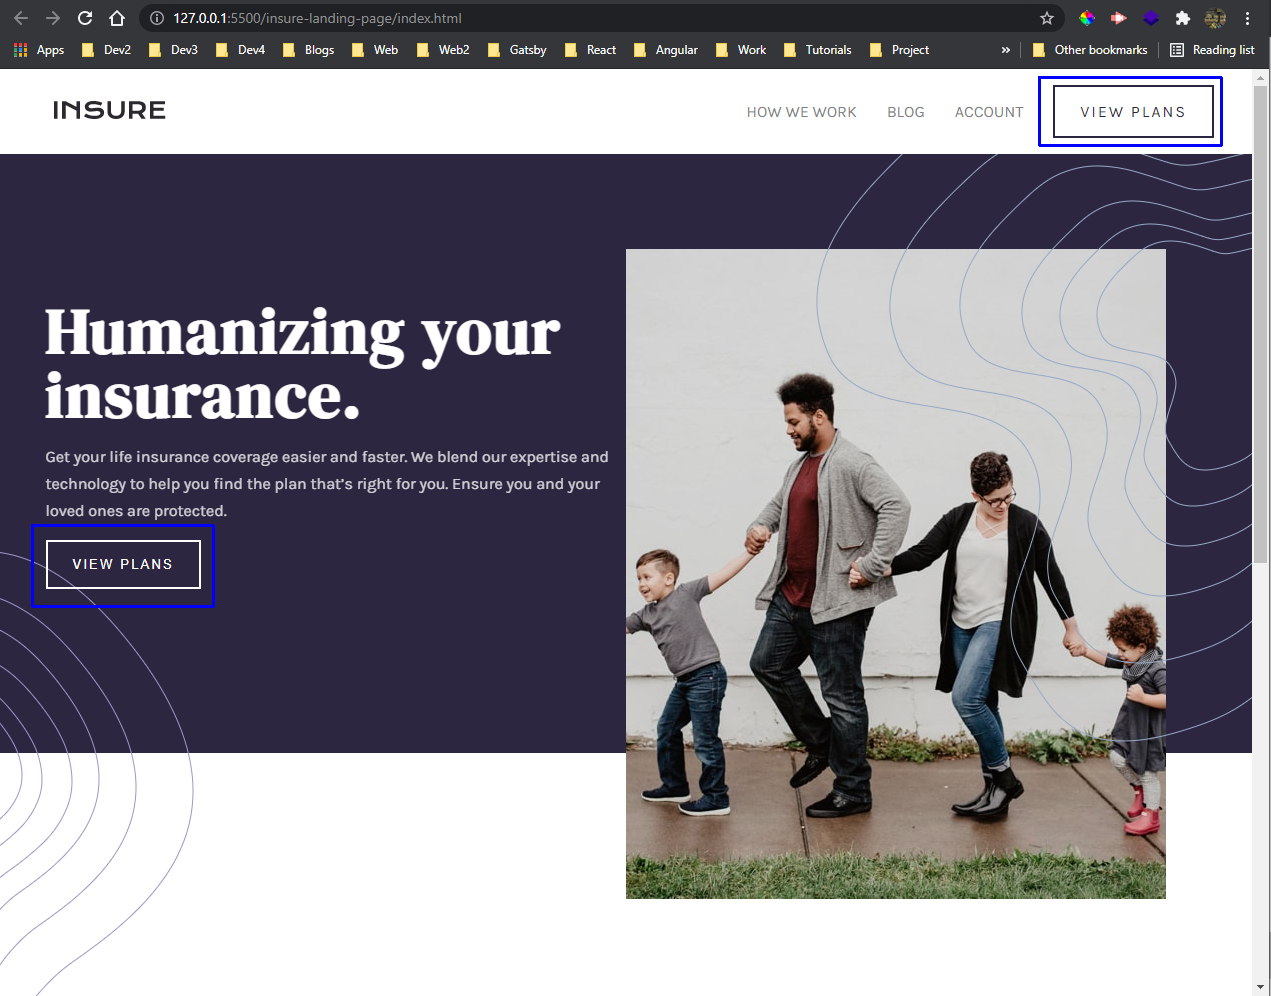 Looking awesome
We will write the styling for section and lines next.
/* Section styling */
.bg-violet {
 background-color: var(--dark-violet);
 background-image: url('./images/bg-pattern-how-we-work-desktop.svg');
 background-repeat: no-repeat;
 background-position: top right;
 background-size: 50% 100%;
 padding: 70px;
 margin: 100px auto;
}
.bg-violet h2 {
 color: #fff;
 font-size: 3em;
 padding: 0;
 width: 60%;
}
.tile {
 margin-top: 80px;
}
/* lines */
.line-top::before {
 content: '';
 background-color: #fff;
 position: absolute;
 top: 0;
 left: 0;
 height: 1px;
 width: 150px;
}
.line-violet::before {
 background-color: var(--dark-violet);
}
Now our section and lines are showing perfect in localhost.
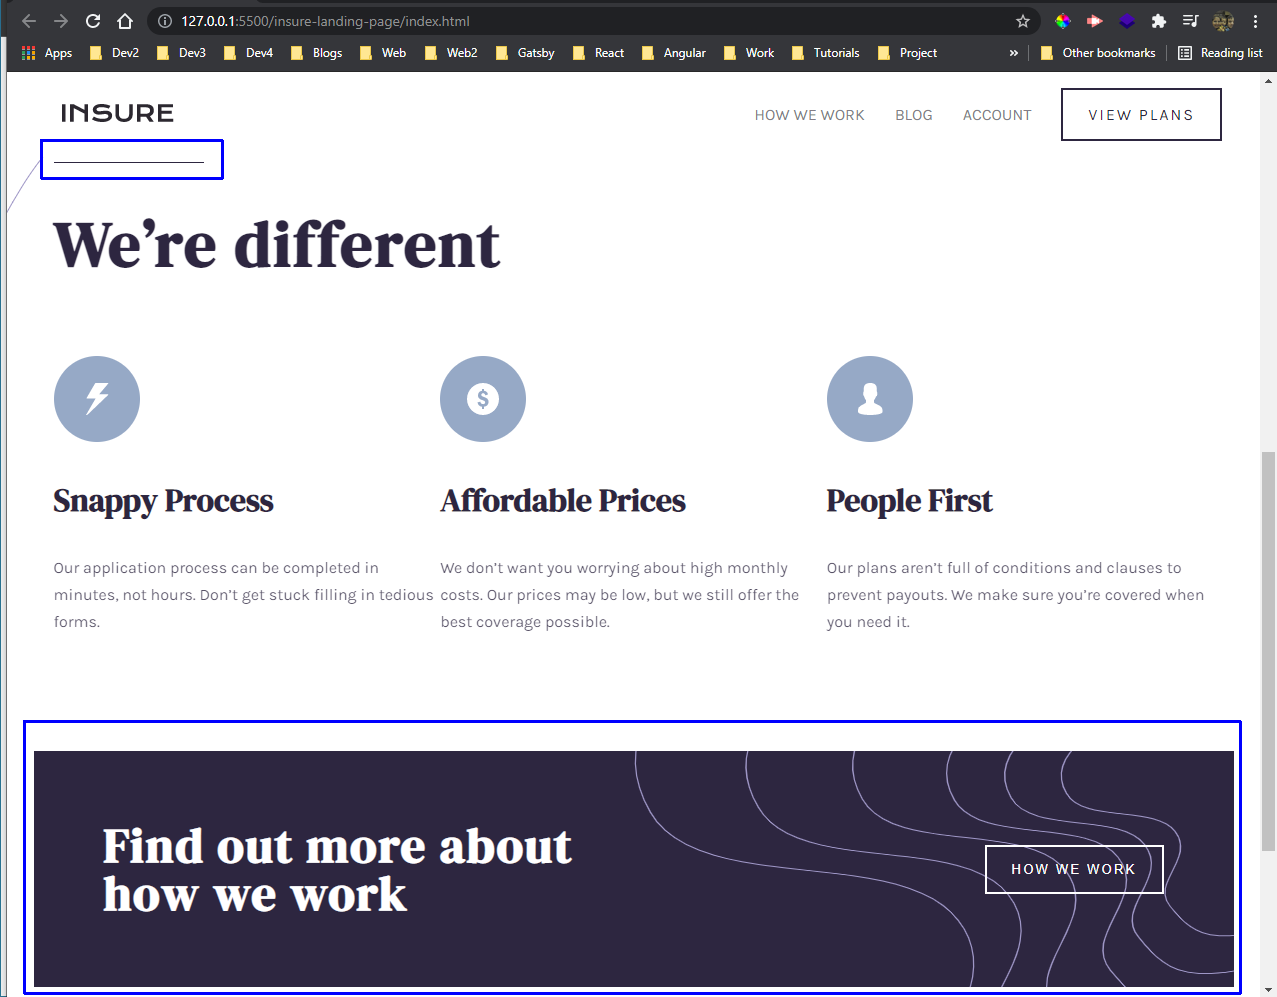 localhost
Now, it’s time to move to the footer, where again we are using a background image to give a cool pattern.
/* Footer styling */
footer {
 background-color: var(--very-light-gray);
 background-image: url('./images/bg-pattern-footer-desktop.svg');
 background-repeat: no-repeat;
 background-position: top left;
 padding: 60px 0 30px;
}
footer h4 {
 color: var(--dark-grayish-violet);
 text-transform: uppercase;
}
footer ul {
 padding: 0;
 list-style-type: none;
}
footer ul.flex li:not(:first-child) {
 margin-left: 15px;
}
footer li {
 margin-bottom: 10px;
}
footer li a {
 color: var(--dark-violet);
 text-transform: uppercase;
 text-decoration: none;
}
.border-bottom {
 border-bottom: 1px solid var(--greyish-blue);
 margin-bottom: 30px;
}
Now, our footer is looking perfect in localhost.
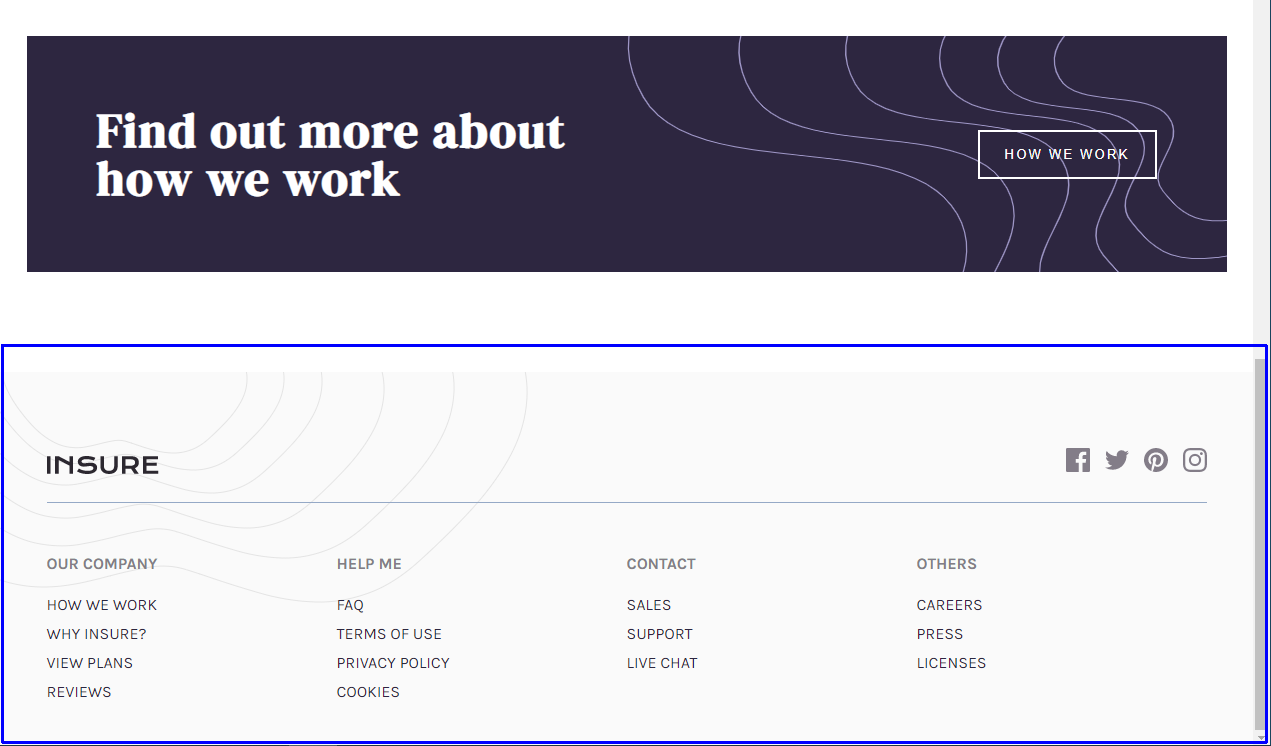 Footer
Now, our desktop view is done and we will start with our mobile view. We will first start with our basic styling and footer.
 Mobile view
Next, we will put the code for the next section for mobile and it is looking good.
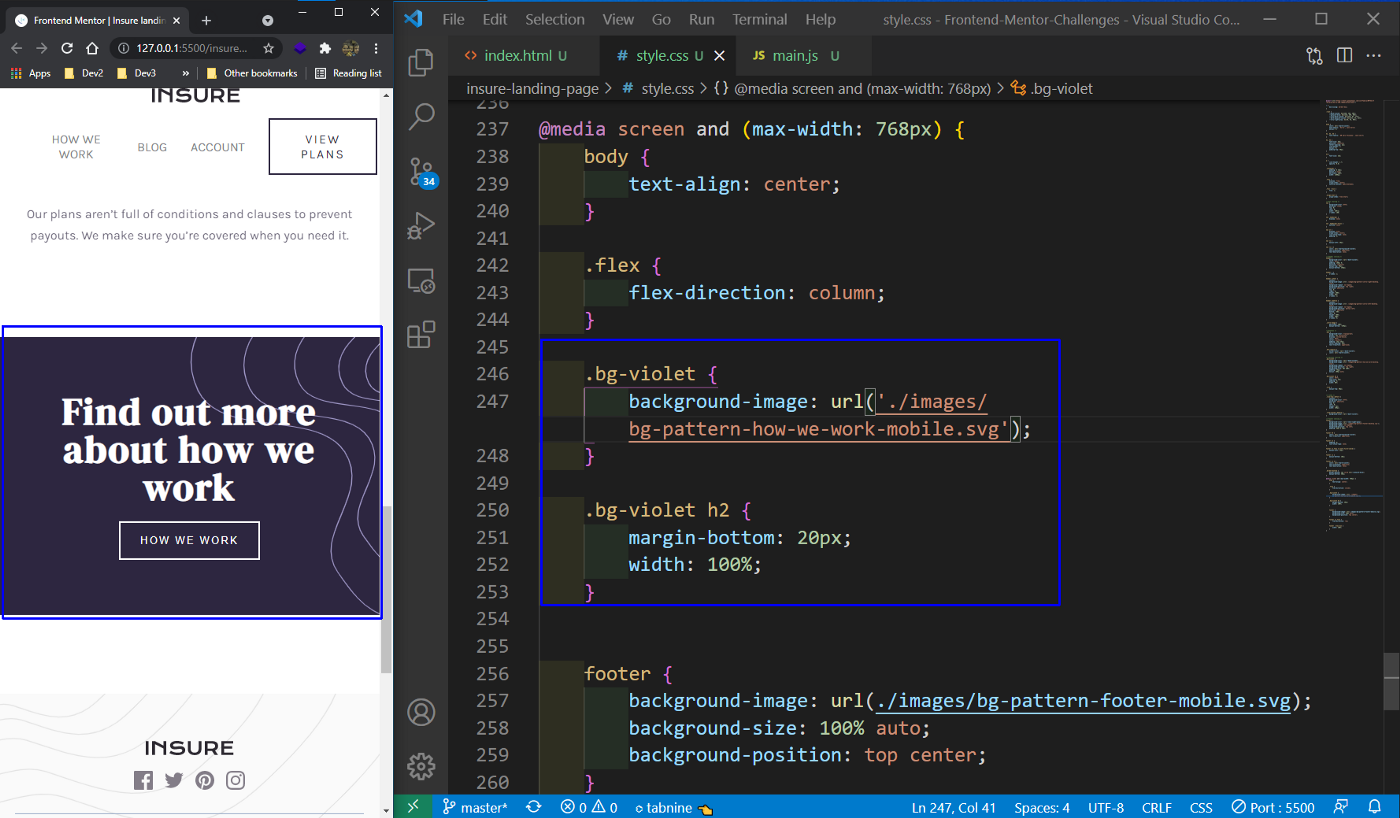 Next section
We will now fix the header, which contains our big image and text.
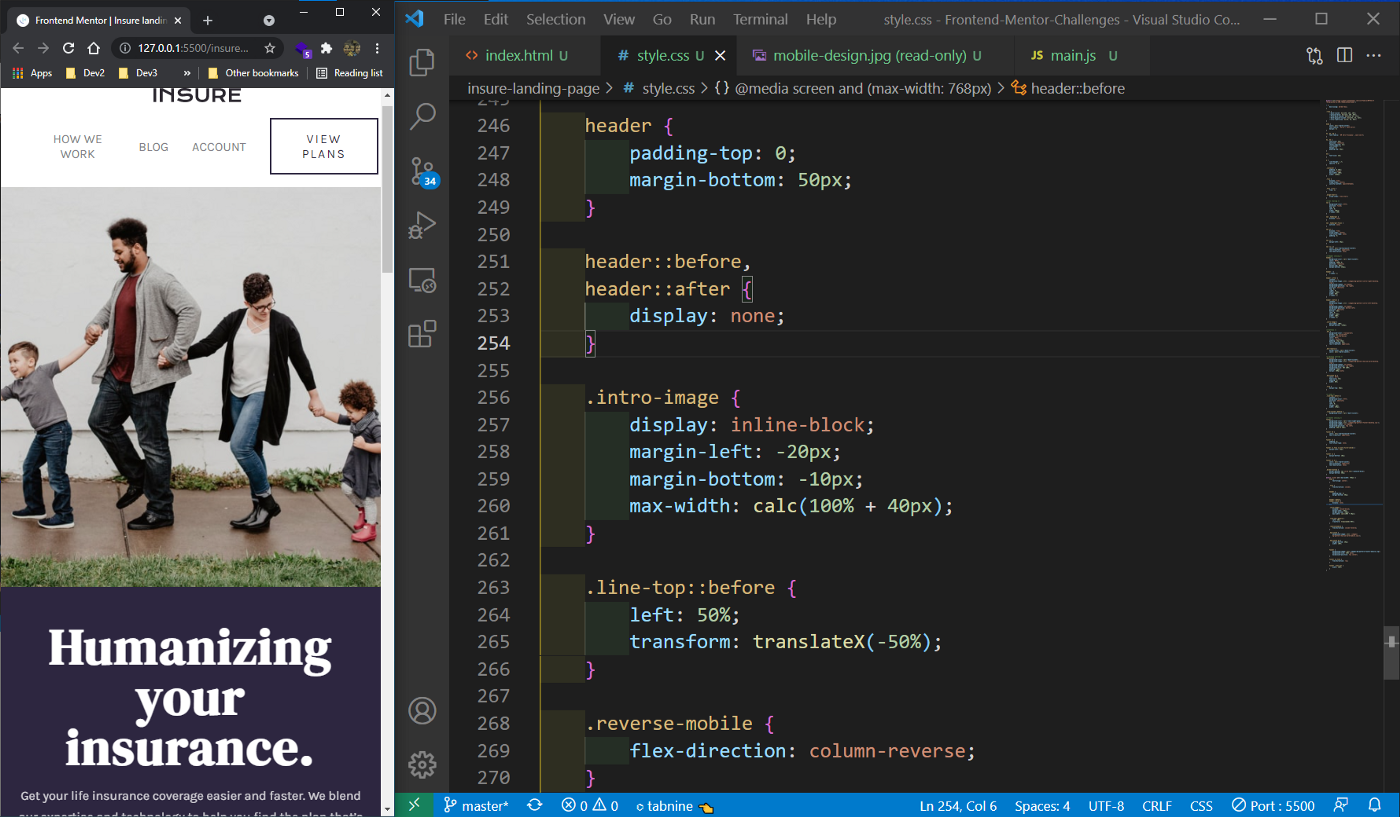 Header with image
Now, we will be adding the code for the hamburger menu used in navigation for our mobile screen.
nav {
  padding: 20px 0;
 }
nav .hamburger {
  background-color: transparent;
  border: 0;
  cursor: pointer;
  display: flex;
 }
nav .hamburger .close {
  display: none;
 }
nav .hamburger.show .open {
  display: none;
 }
nav .hamburger.show .close {
  display: block;
 }
nav .flex {
  flex-direction: row;
 }
nav .img-wrapper {
  text-align: left;
 }
nav ul {
  display: none;
 }
nav ul.show {
  background-color: var(--very-dark-violet);
  display: flex;
  flex-direction: column;
  position: fixed;
  padding-top: 30px;
  margin: 0;
  top: 70px;
  left: 0;
  width: 100vw;
  height: calc(100vh - 70px);
  z-index: 100;
 }
nav ul li {
  margin: 20px 0;
 }
nav ul a {
  color: #fff;
 }
.btn-reverse {
  border-color: #fff;
  color: #fff;
 }
For the hamburger menu to work, we need to add the code for toggle in main.js file.
 main.js
Now, our app is complete and looking awesome in both view. You can find the code for the same here.
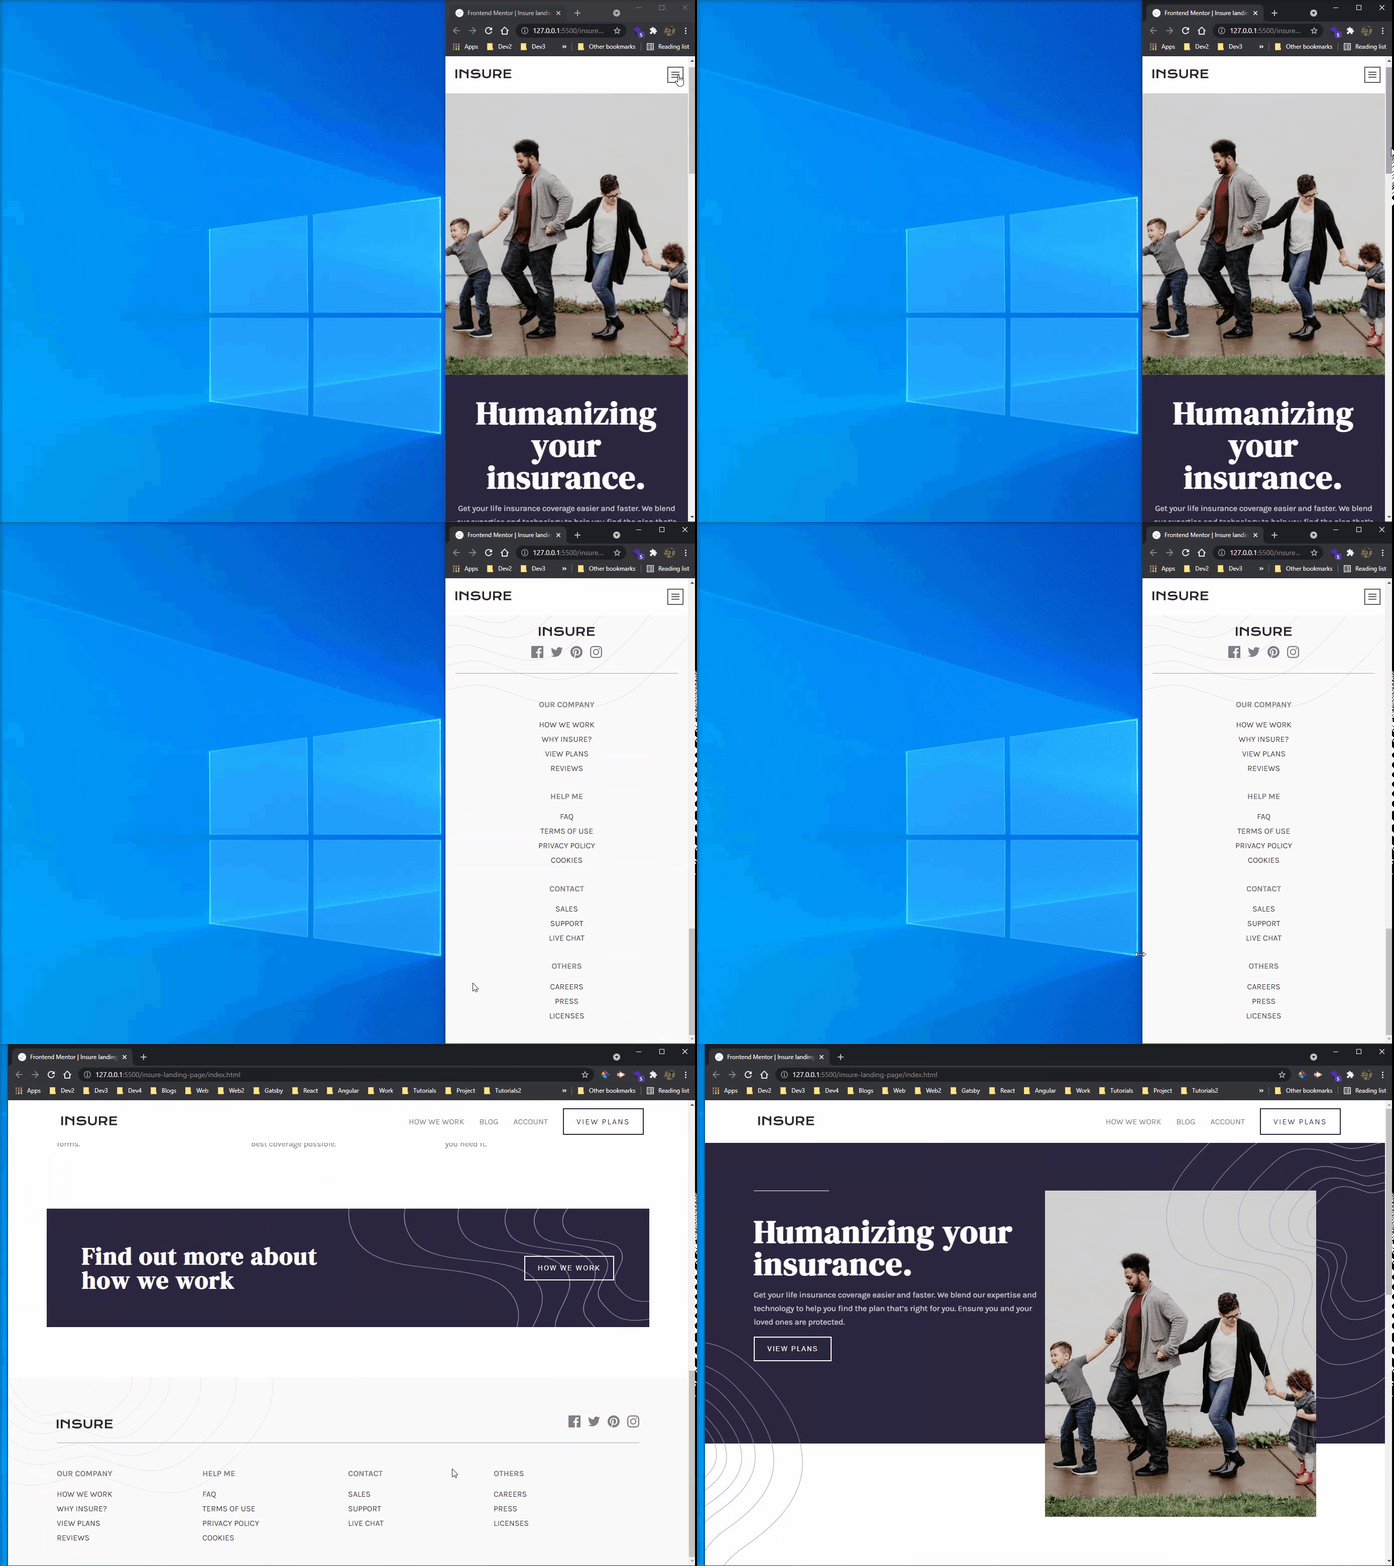 Both views