Build a Blog Site App with Next.js and Ghost
by Nabendu Biswas / April 30th, 2021
#nextjs #react #beginners
Series: NextJS
Continuing our Next.js journey, the next application which we will build is a blog. We will use Ghost CMS for our blogs and Next.js for the frontend.
So, open your terminal and create a new Next.js application by using the command below.
npx create-next-app ghost-nextjs
Now, as per the instructions, change to the newly created folder. I have also opened the project in VS Code. After that, run npm run dev to start the project.
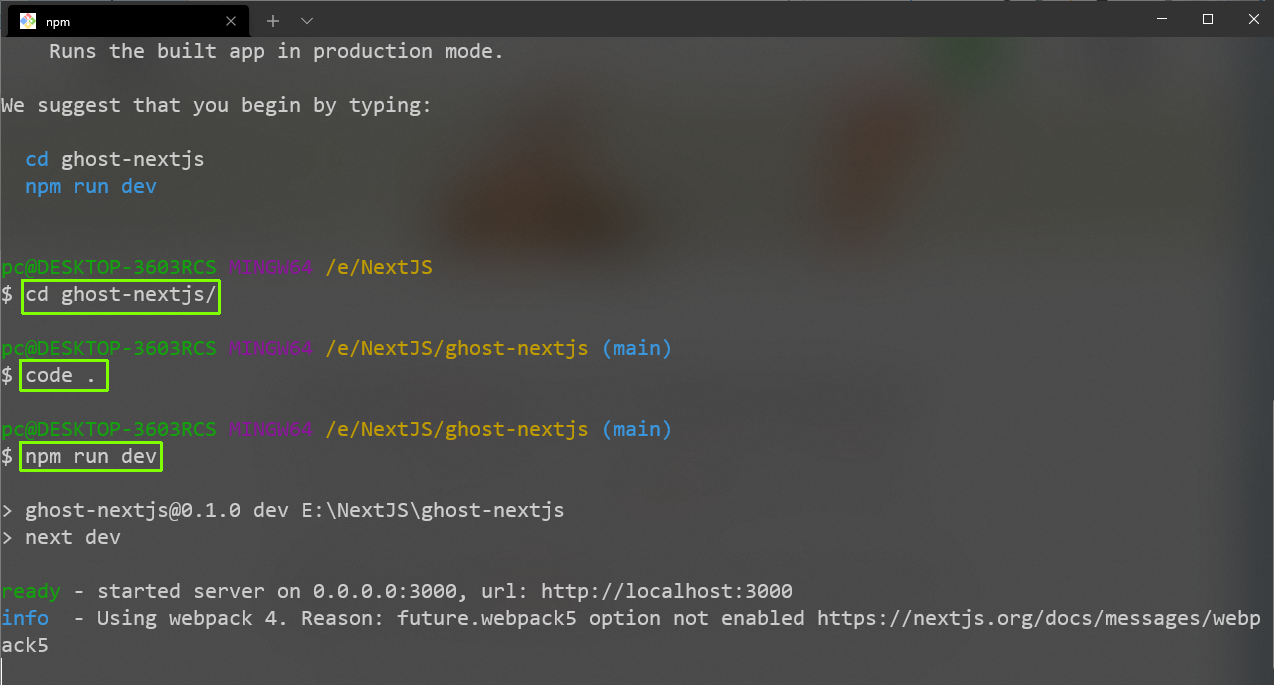 initial
We will convert this project into a TypeScript project by installing the dependencies. We are also installing sass into the project.
npm install typescript @types/react @types/node sass
Next, we will rename the files to having TypeScript and sass extensions.
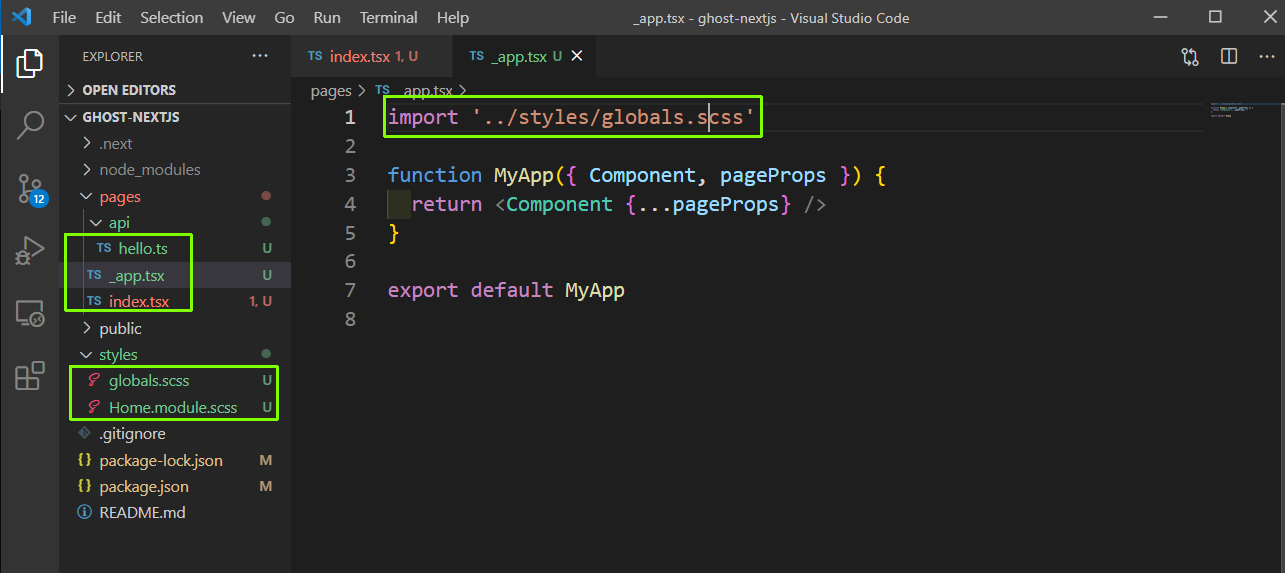 Convert
Then, run npm run dev from the terminal again. You should get no error now.
 npm run dev
We will install the Ghost CMS on Heroku to use it. So, open the link here and log in with your Heroku account.
Click on the Deploy to Heroku button.
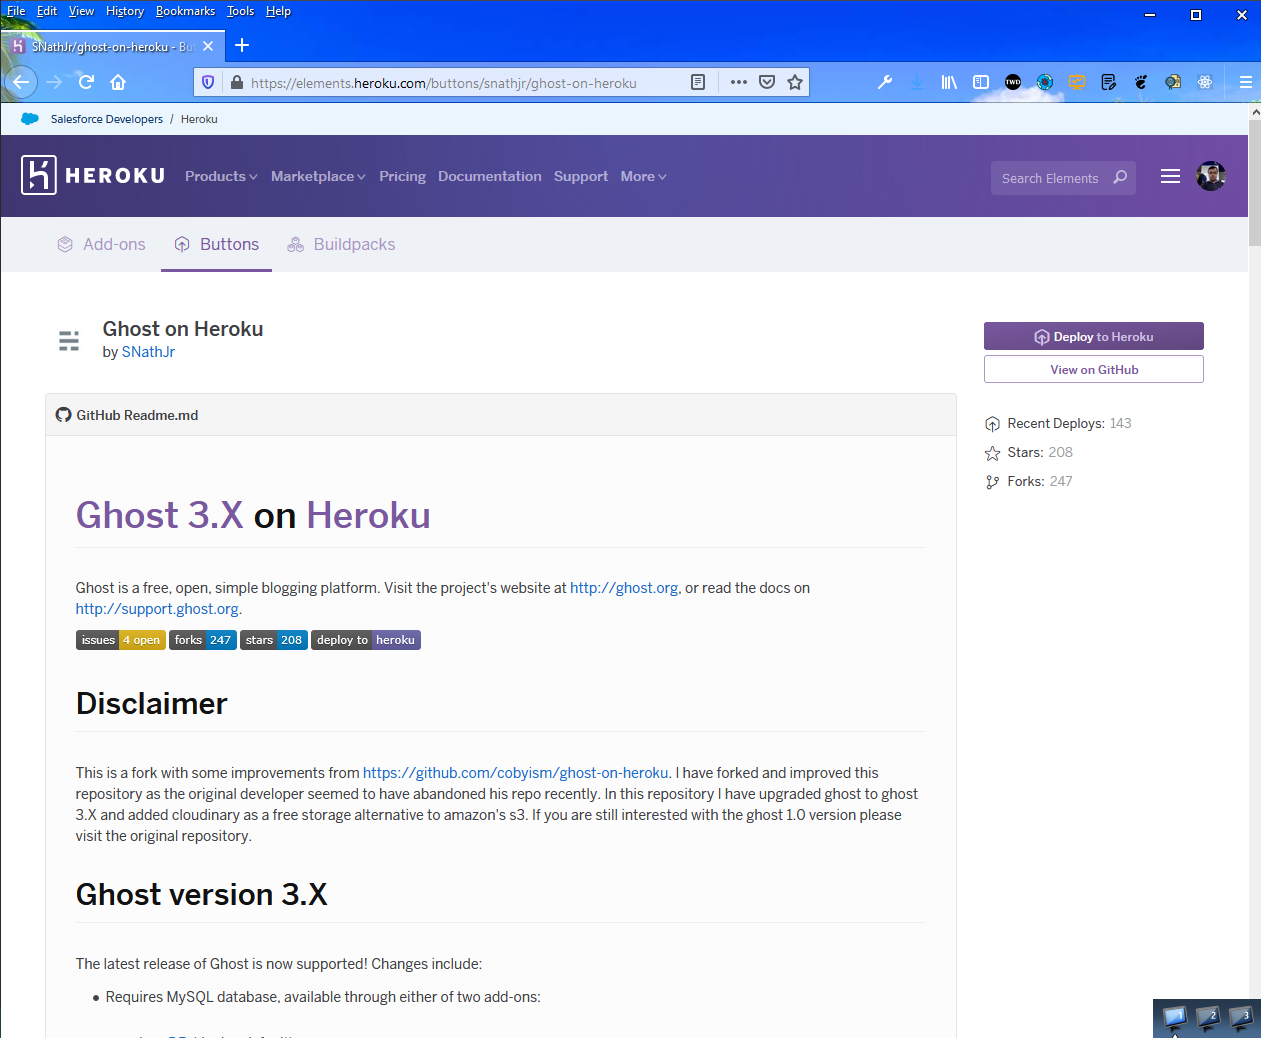 Deploy on heroku
In the next screen, give the app a name and also the same name as the URL. Scroll down and click on the Deploy app button.
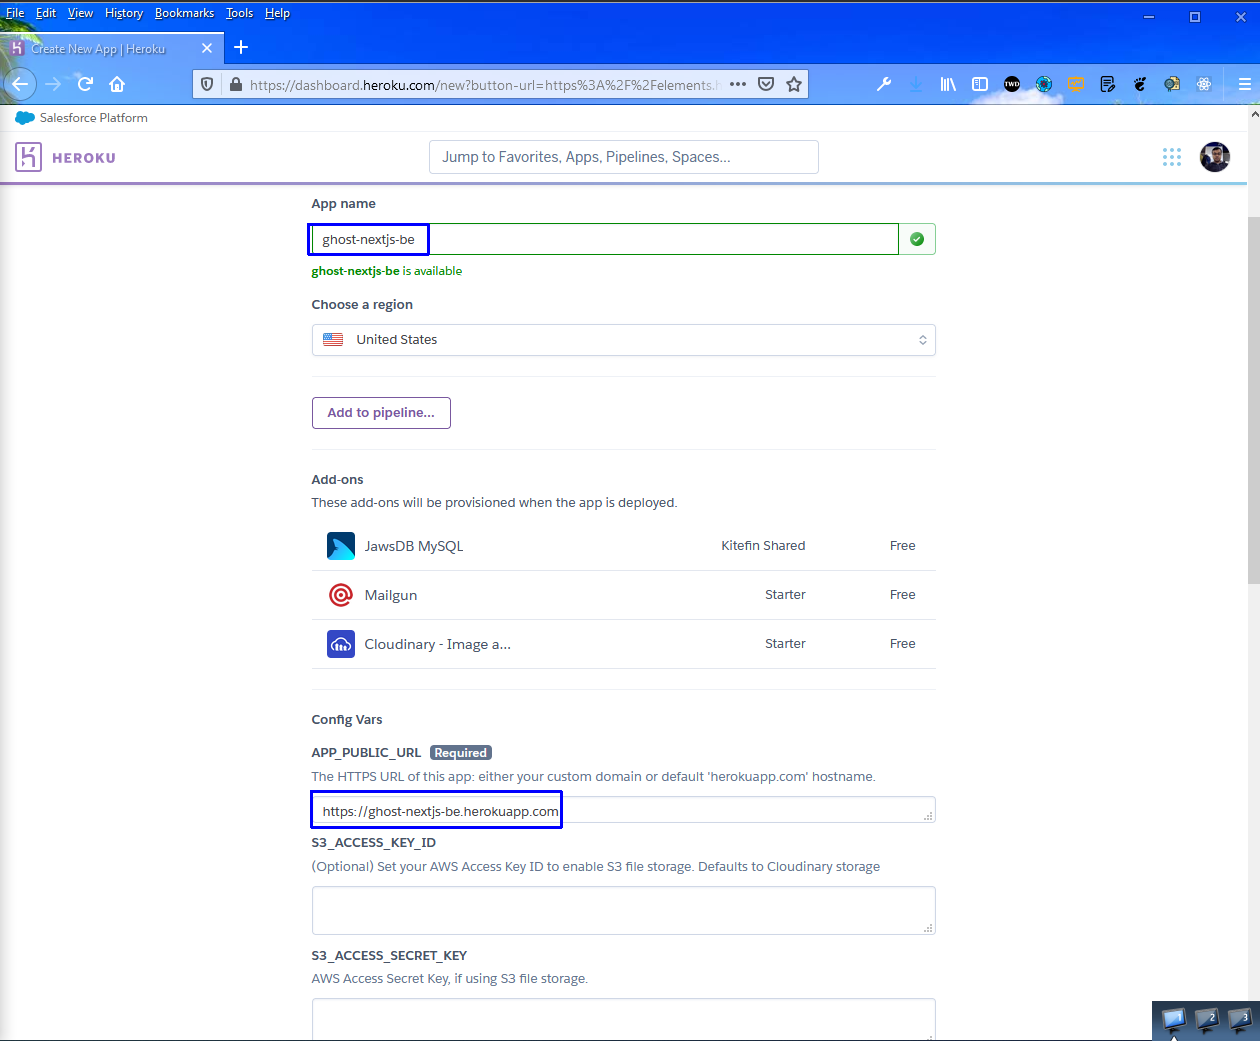 Deployment
After some time, the app will be deployed. So, click on the View button.
 View
View
Since I didn’t have a Ghost account, I was taken to this screen. Here, click on Create your account button.
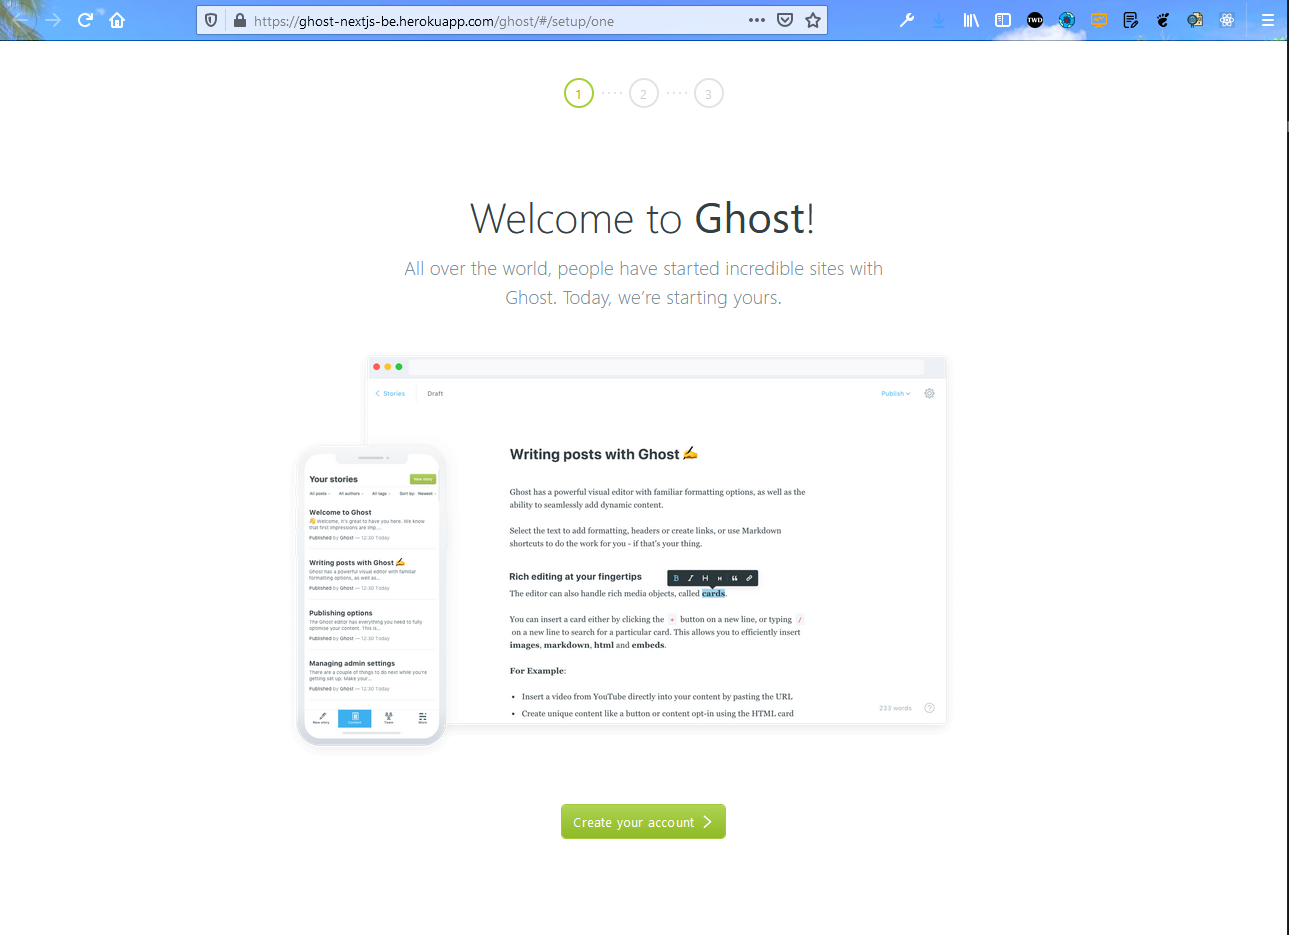 Create Account
Next, give your credentials and click on the Last step button.
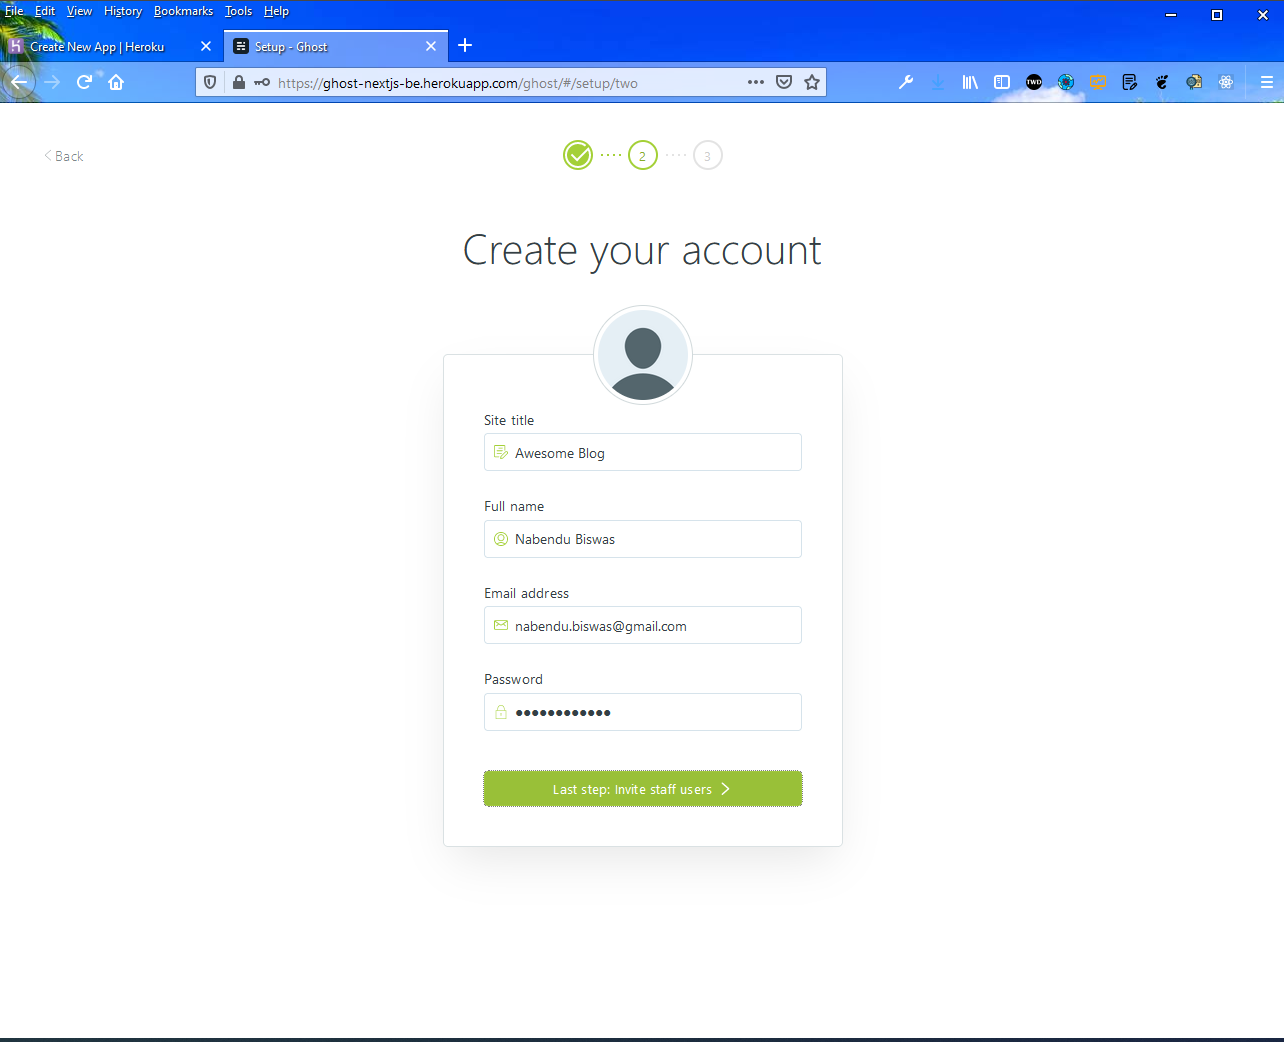 Create Account
Now, we can skip this by clicking on the small I’ll do it later, take me to my site! text.
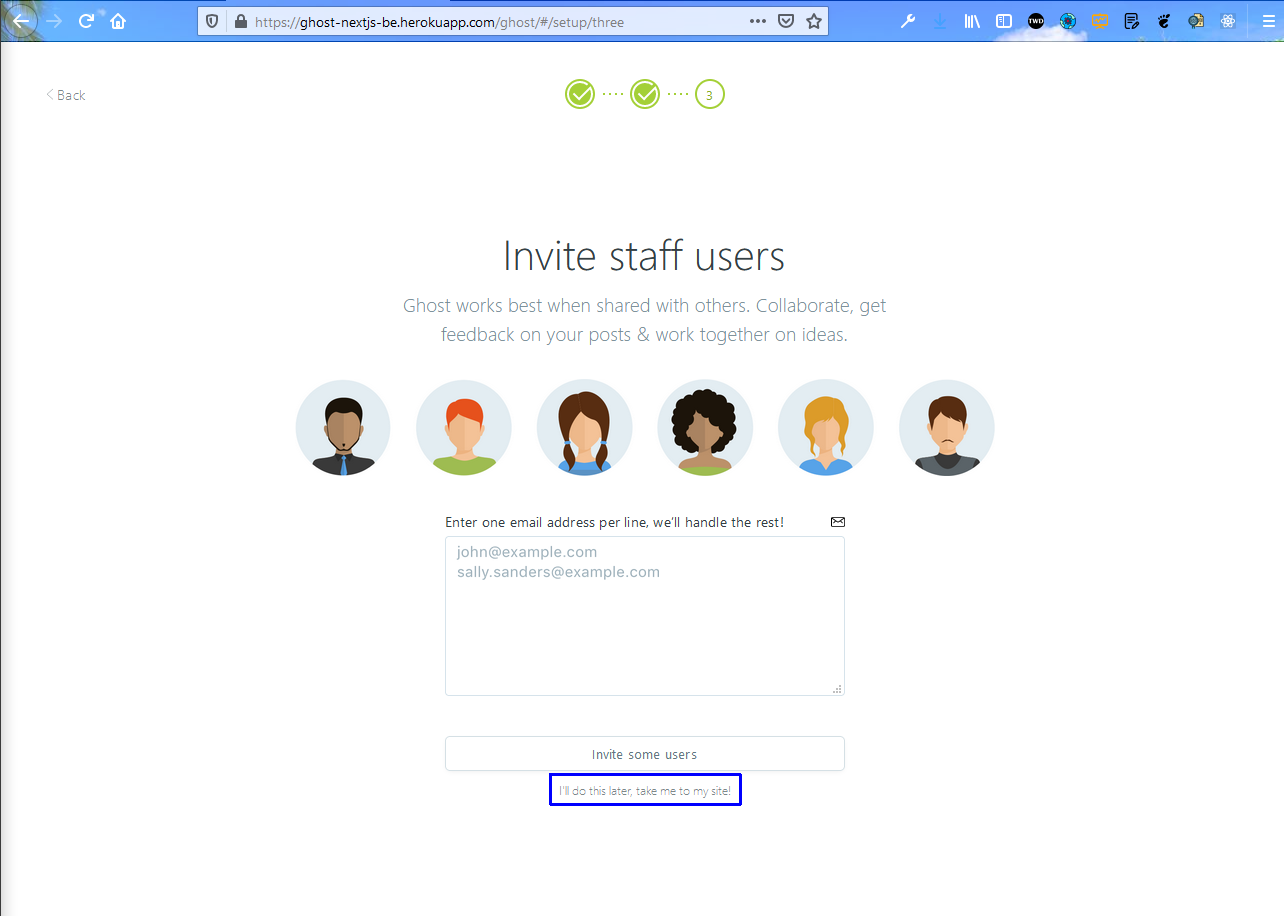 Later
Later
Now, we will be taken to our own Heroku-hosted Ghost CMS.
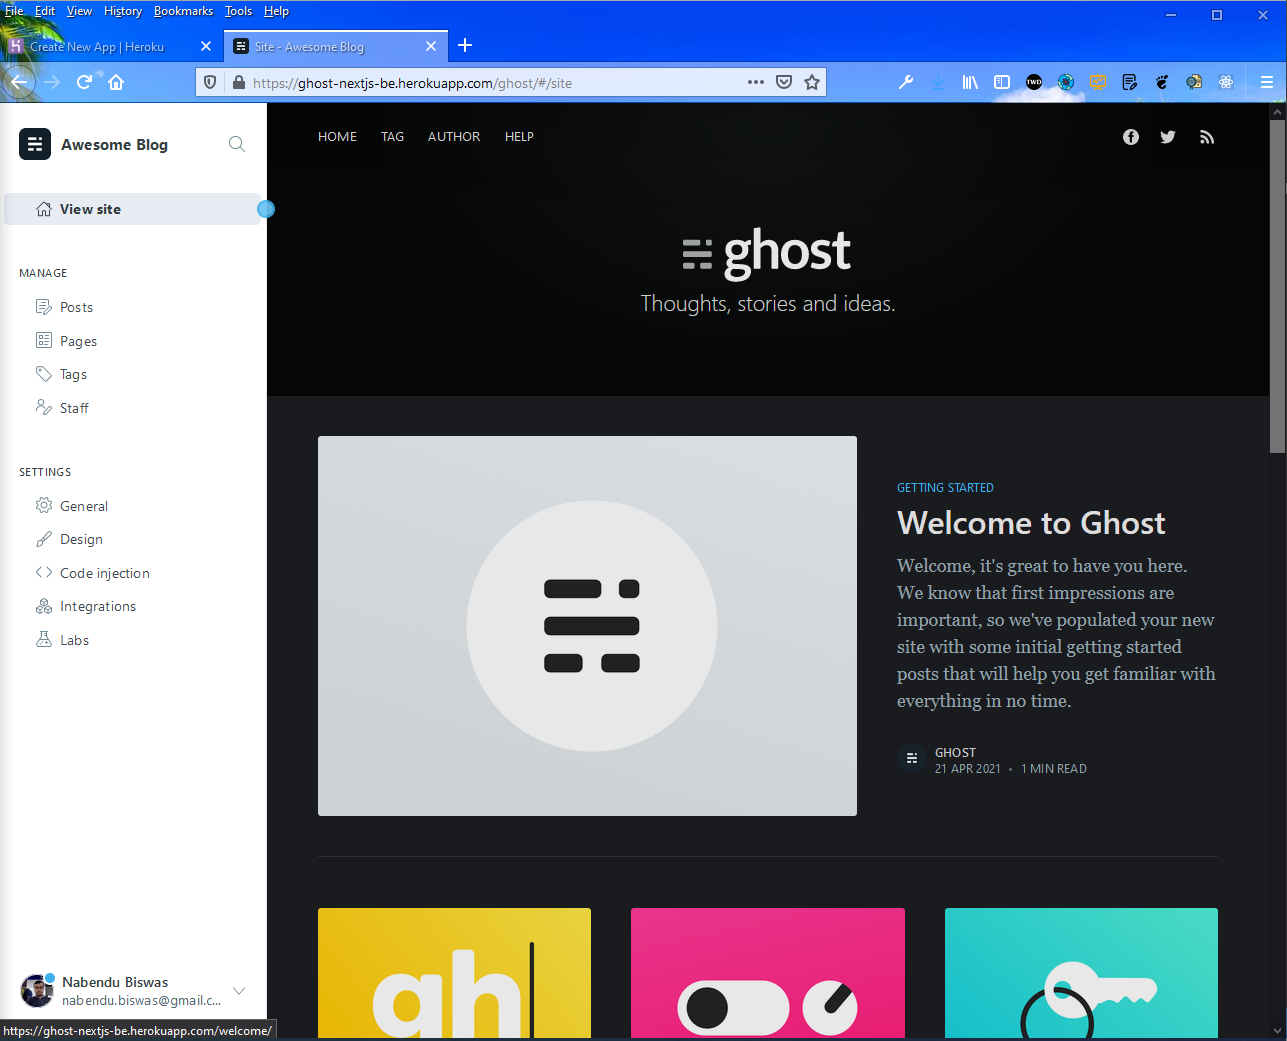 Ghost Site
Here, click on the Integrations tab and then the +Add custom integration text. It will open a pop-up, in which you can give any Name and click on the Create button.
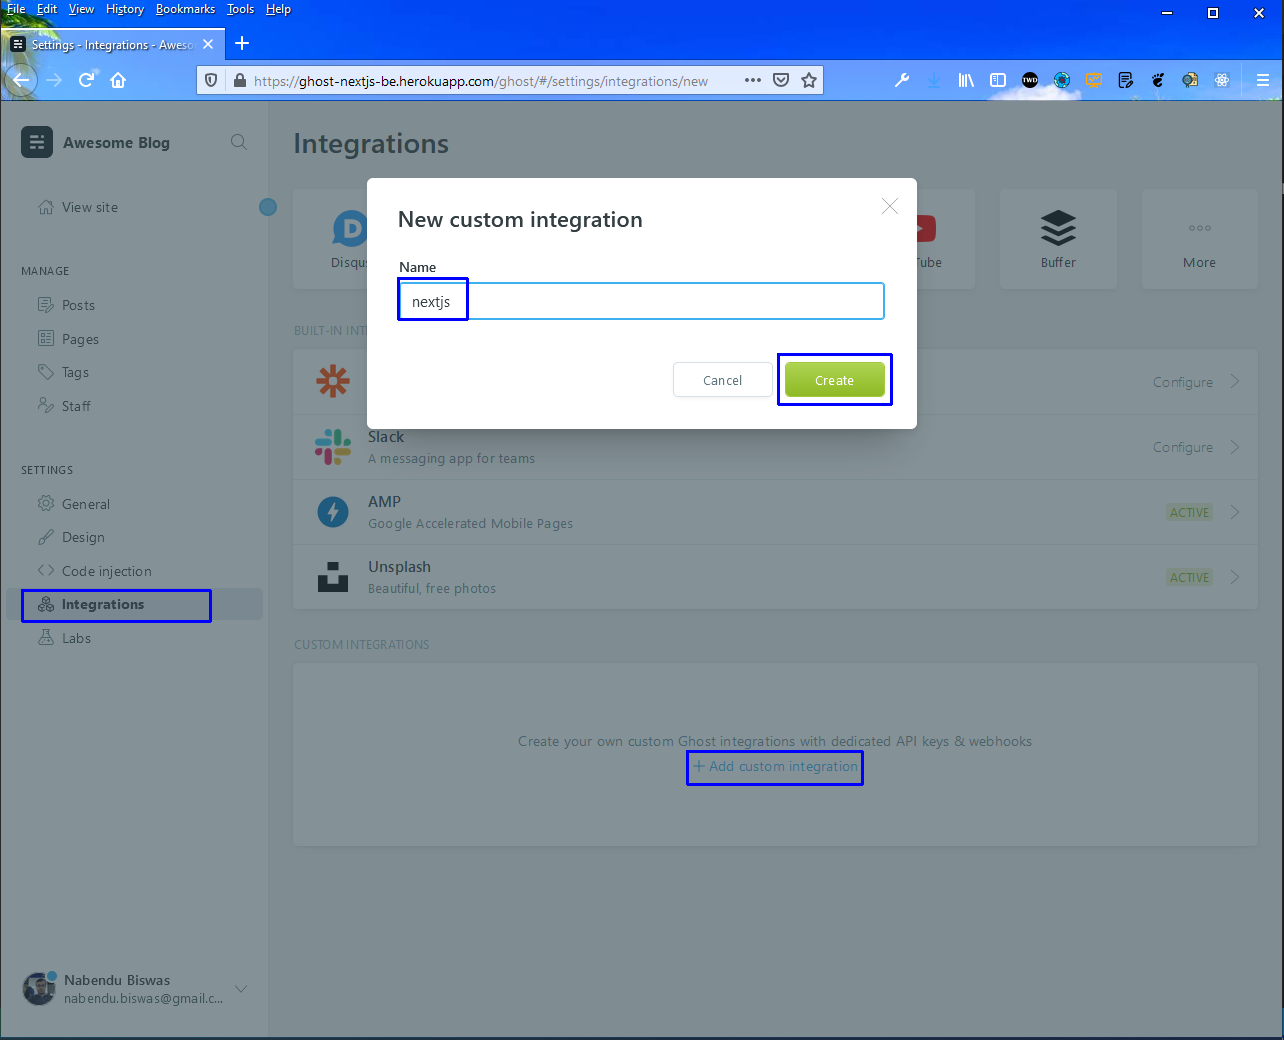 Integration
In the next screen, we will get our secret API key and API URL.
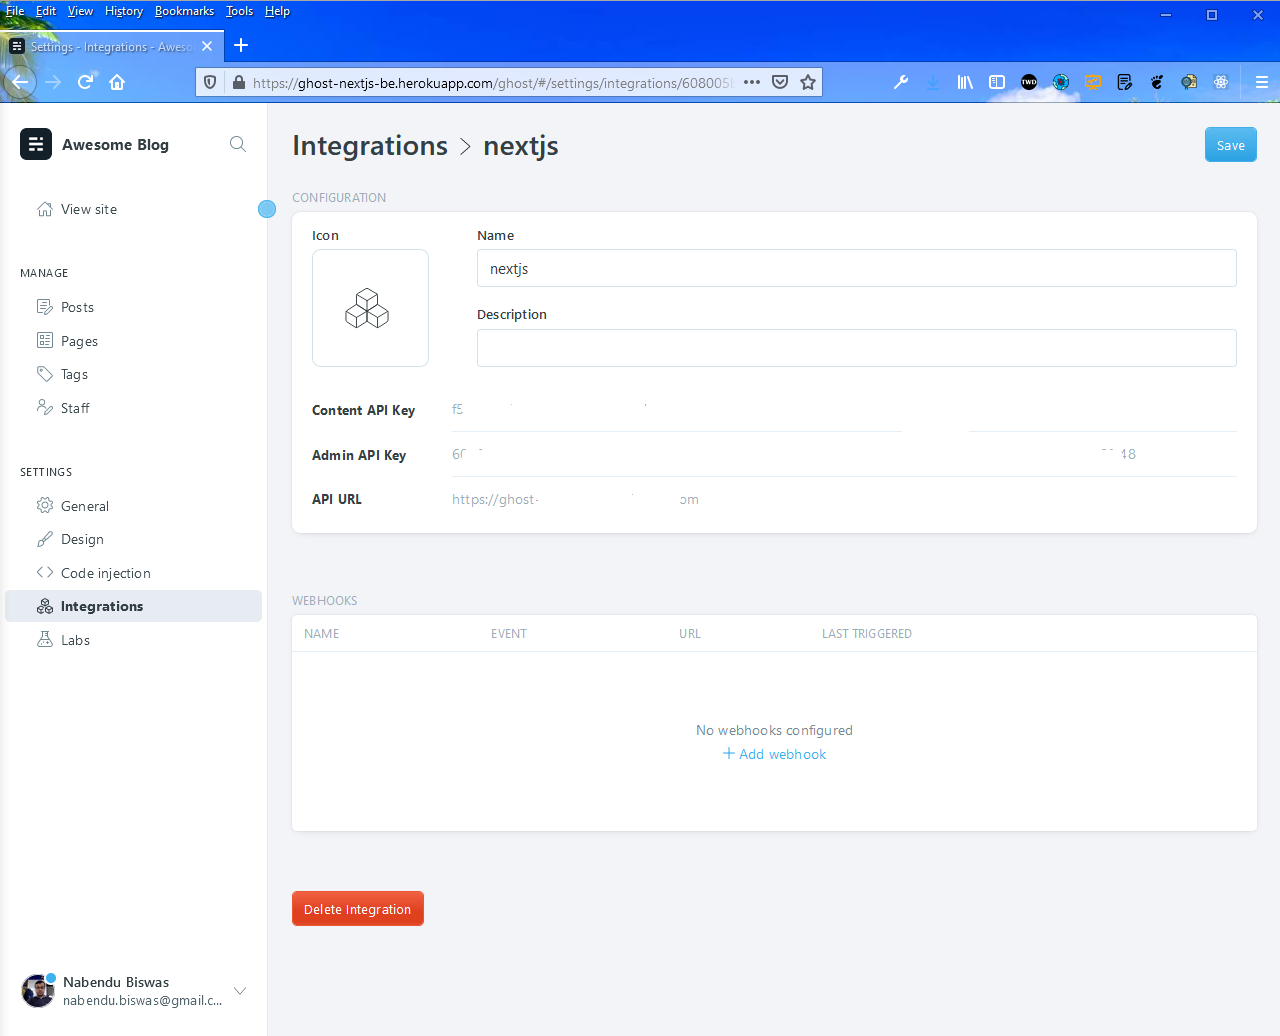 API
API
Lastly, click on the General tab and enable the radio button to make the site private.
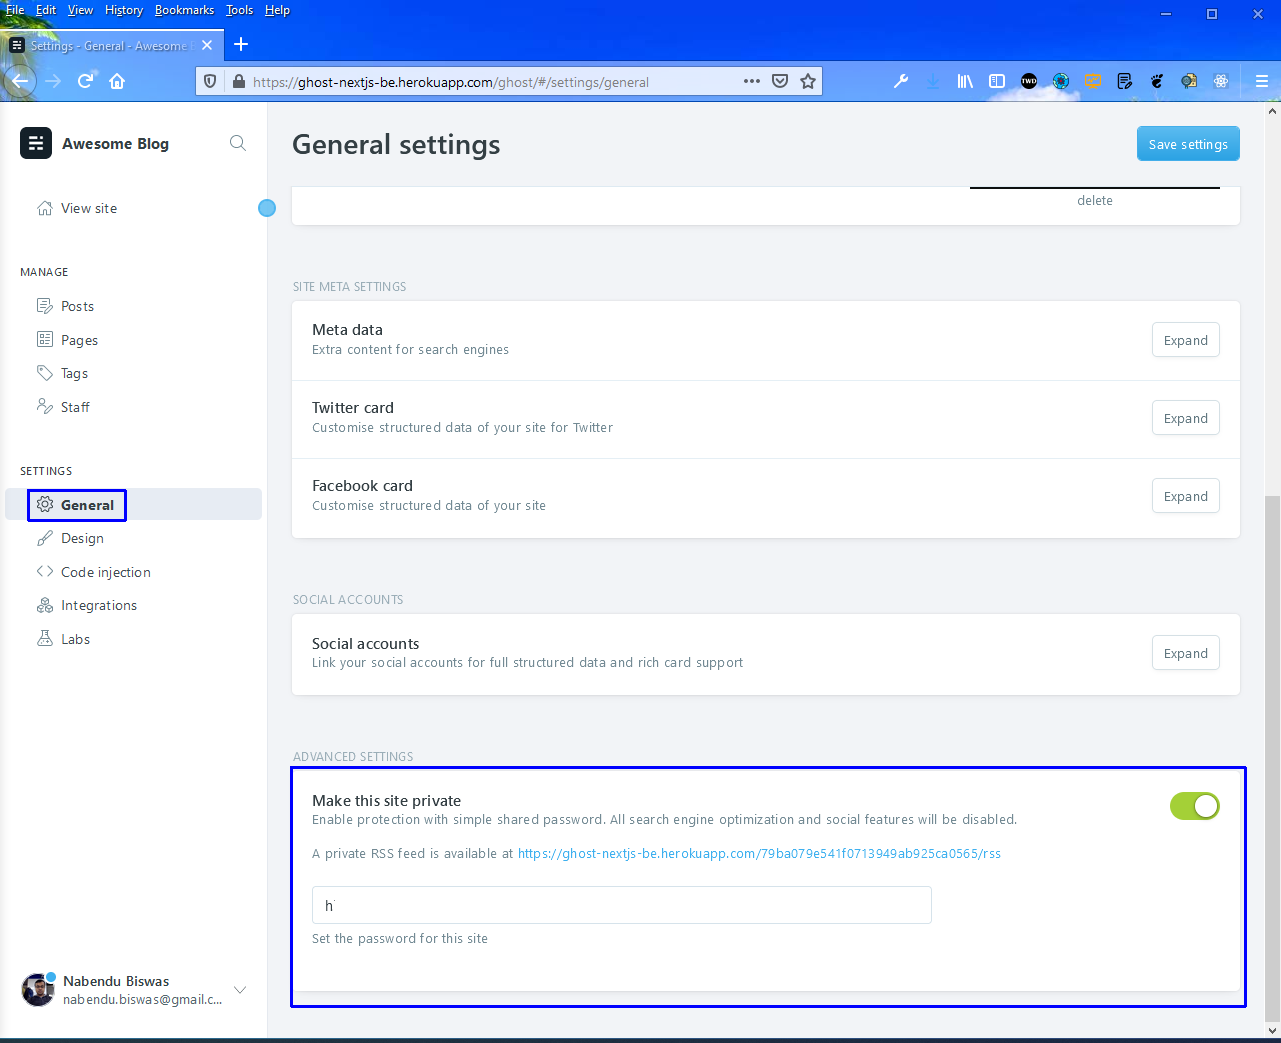 Site Private
Also, click on the Save settings at the top right corner after this. Now, we will start with our Next.js setup.
In the index.tsx file, put the content provided below. Here, we are using the getStaticProps() to get all our posts. We have to add our private URL and API keys to the endpoint.
    import styles from '../styles/Home.module.scss'
    import Link from 'next/link'

    const { BLOG_URL, CONTENT_API_KEY } = process.env

    type Post = {
        title: string
        slug: string
        custom_excerpt: string
        feature_image: string
    }

    async function getPosts() {
    const res = await fetch(
        `${BLOG_URL}/ghost/api/v3/content/posts/?key=${CONTENT_API_KEY}&fields=title,slug,custom_excerpt,feature_image`
    ).then((res) => res.json())

    const posts = res.posts
        return posts
    }

    export const getStaticProps = async () => {
        const posts = await getPosts()
        return {
            revalidate: 10,
            props: { posts }
        }
    }

    const Home: React.FC<{ posts: Post[] }> = (props) => {
        const { posts } = props
        console.log(posts)

    return (
        <div className={styles.container}>
            <h1>My blog</h1>
        </div>
        )
    }

    export default Home
Next, create an .env file in the root directory and add the API key and your endpoint.
    BLOG_URL=https://yourendpoint.herokuapp.com
    CONTENT_API_KEY=fxxxxxxxxxxxxxxxxxxxxxx1
Also, add the .env file to the .gitignore file, so that we don’t push it to Github.
 .gitignore
Now, restart the server and open the console in localhost and we will see posts from Ghost.
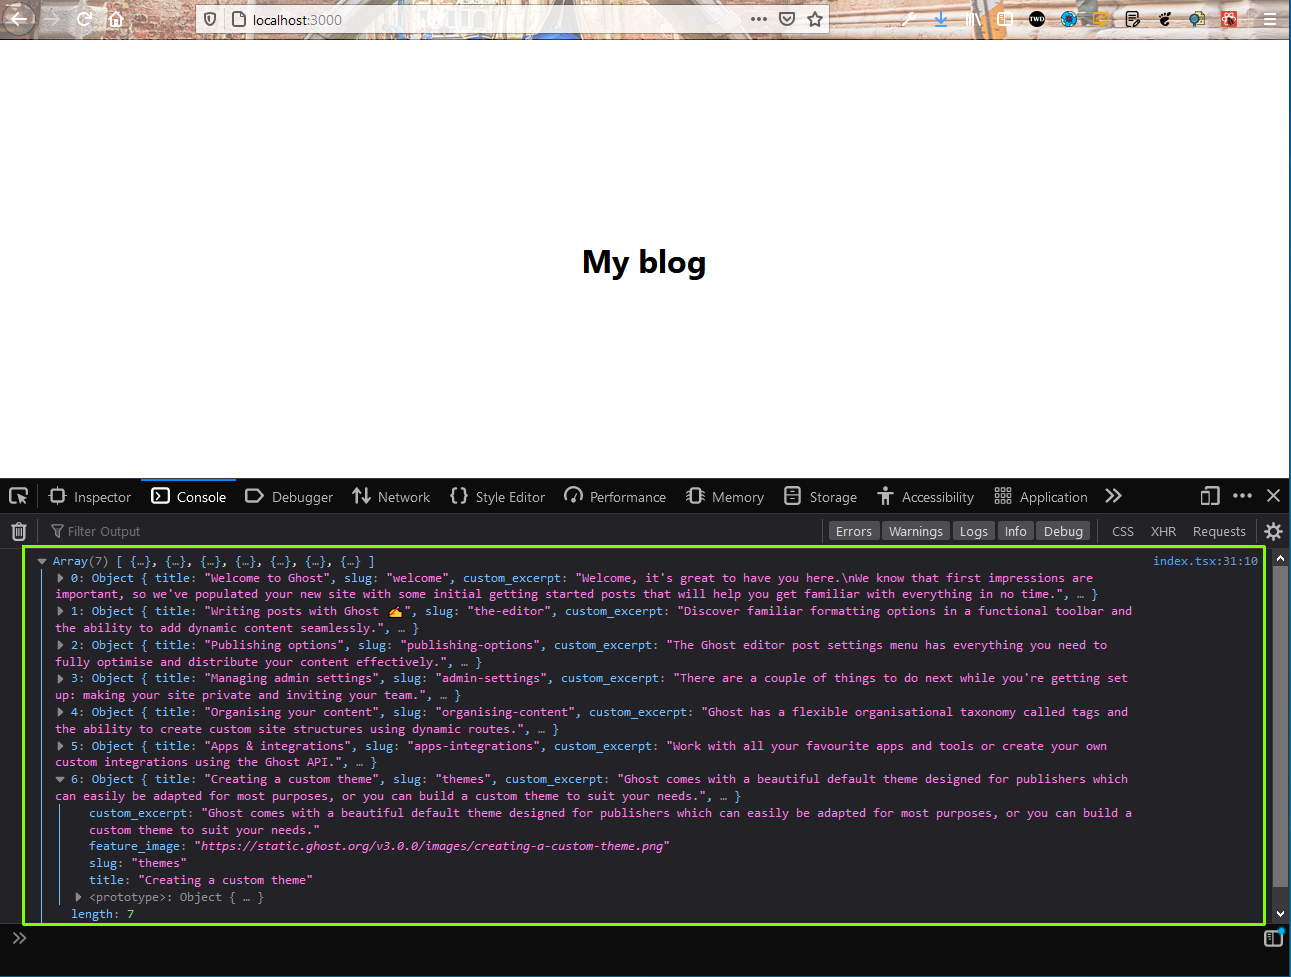 localhost
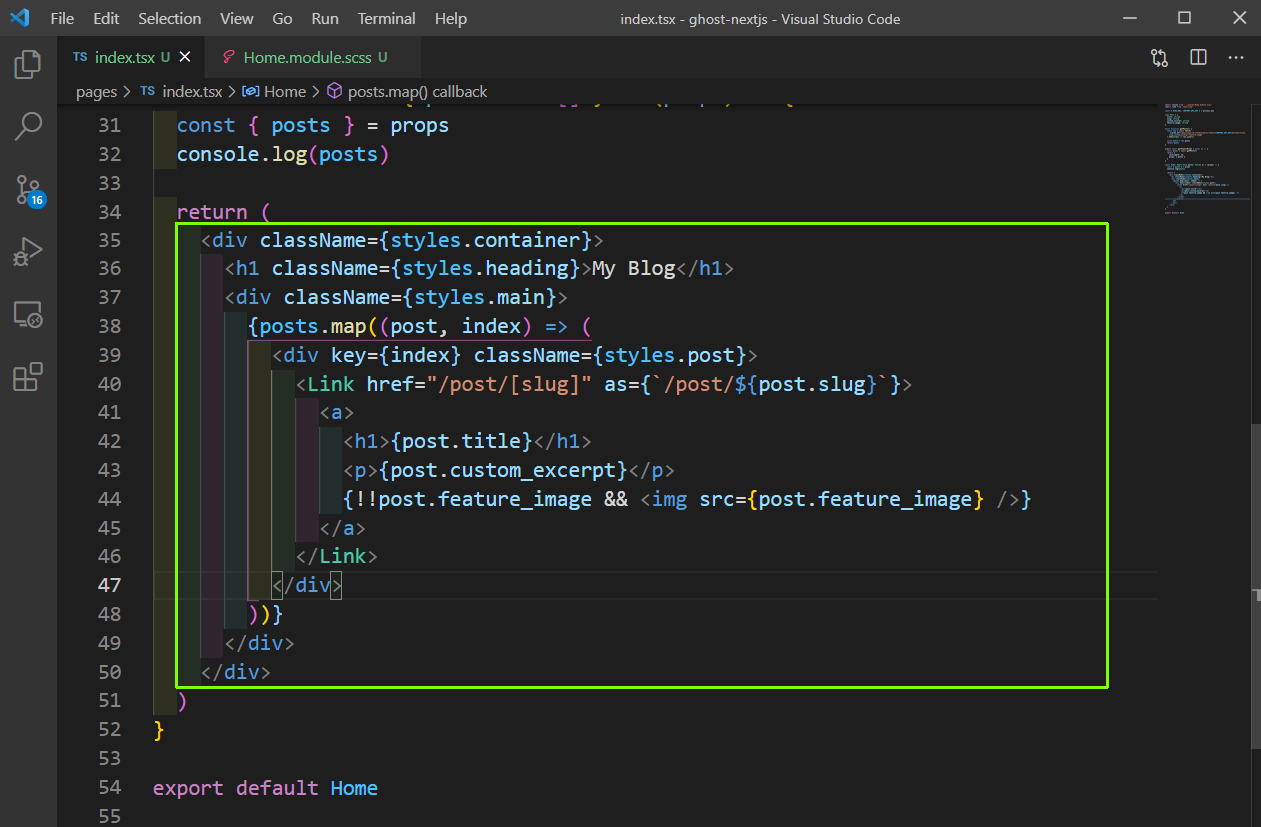
Now, we are receiving the data, so it’s time to display it. So, we are adding the HTML for the same, with styles class. We are also adding a Link tag around our post.
Now, it takes the slug and goes to the link.
 index.tsx
Now, we will create the styles for our home page in Home.modules.scss in the styles folder.
    .container {
        display: flex;
        height: 100vh;
        flex-direction: column;
    }

    .heading{
        align-self: center;
        font-family: "Arial Black", sans-serif;
        font-size: 4.5em;
        letter-spacing: -1px;
        background-color: black;
        color: white;
        padding: 10px 10px;
    }

    .main {
        display: flex;
        margin-top: 50px;
        align-items: center;
        flex-direction: column;
    }

    .post {
        width: 800px;
        margin-bottom: 25px;
        padding-bottom: 25px;
        border-bottom: 1px solid black;
    }

    .post img {
        width: 100%;
    }

    .post h1 {
        font-size: 32px;
        cursor: pointer;
        text-align: center;
    }
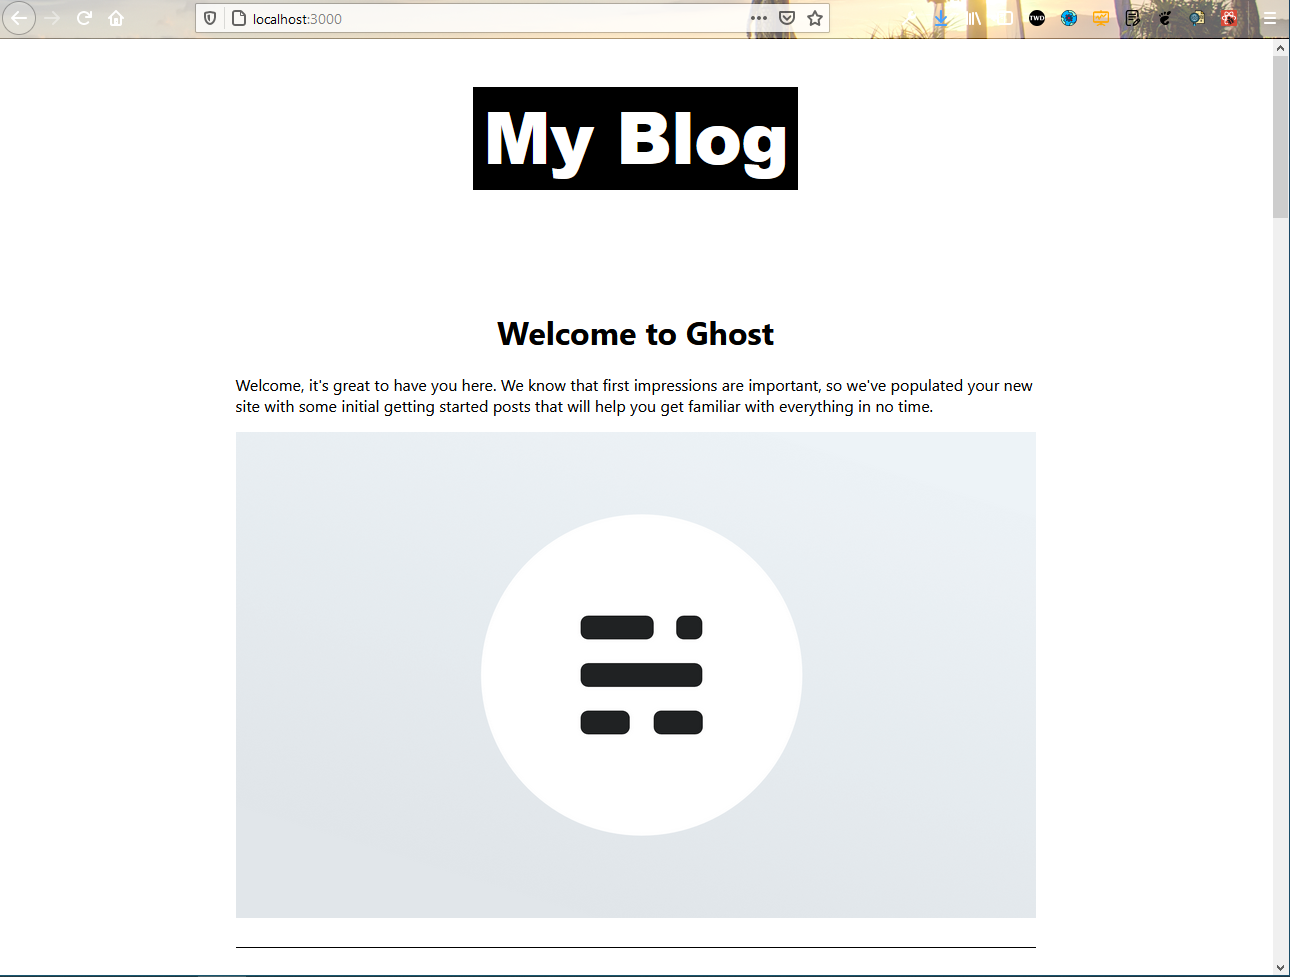
Now, our home page looks like this below.
 Home Page
Next, create a folder post inside pages and a file [slug].tsx inside it. Put the content provided below in it.
Here, we are using the same type of endpoint as in index.tsx, but getting title, slug, and HTML. We are also returning a single post.
We are using getStaticProps and getStaticPaths, which are used for our blog site to work as static. So, there will be only one API call and all the data will be received at the client machine.
We also need to use the useRouter, because, for the first time when the post will be fetched, we will show Loading. Without this, our application will crash.
    import Link from 'next/link'
    import { useRouter } from 'next/router'
    import styles from '../../styles/Post.module.scss'

    const { BLOG_URL, CONTENT_API_KEY } = process.env

    async function getPost(slug: string) {
        const res = await fetch(
            `${BLOG_URL}/ghost/api/v3/content/posts/slug/${slug}?key=${CONTENT_API_KEY}&fields=title,slug,html`
        ).then((res) => res.json())

    const posts = res.posts

    return posts[0]
    }

    export const getStaticProps = async ({ params }) => {
        const post = await getPost(params.slug)
        return {
            props: { post },
            revalidate: 10
        }
    }

    export const getStaticPaths = () => {
        return {
            paths: [],
            fallback: true
        }
    }

    type Post = {
        title: string
        html: string
        slug: string
    }

    const Post: React.FC<{ post: Post }> = (props) => {
        console.log(props)
        const { post } = props
        const router = useRouter()

    if (router.isFallback) {
        return <h1>Loading...</h1>
    }

    return (
        <div className={styles.container}>
        <p className={styles.goback}>
            <Link href="/">
            <a>Go back</a>
            </Link>
        </p>
        <h1>{post.title}</h1>
        <div dangerouslySetInnerHTML={{ __html: post.html }}></div>
        </div>
    )
    }

    export default Post
Now, we will create the styles for the same in Post.module.scss in the styles folder.
    .container{
        margin: 0 20px;
        .goback a{
            width: 60px;
            height: 20px;
            background-color: aqua;
            padding: 10px 8px;
            border-radius: 5px;
            font-weight: bold;
        }
        img {
            height: auto;
            width: 100%;
        }
    }
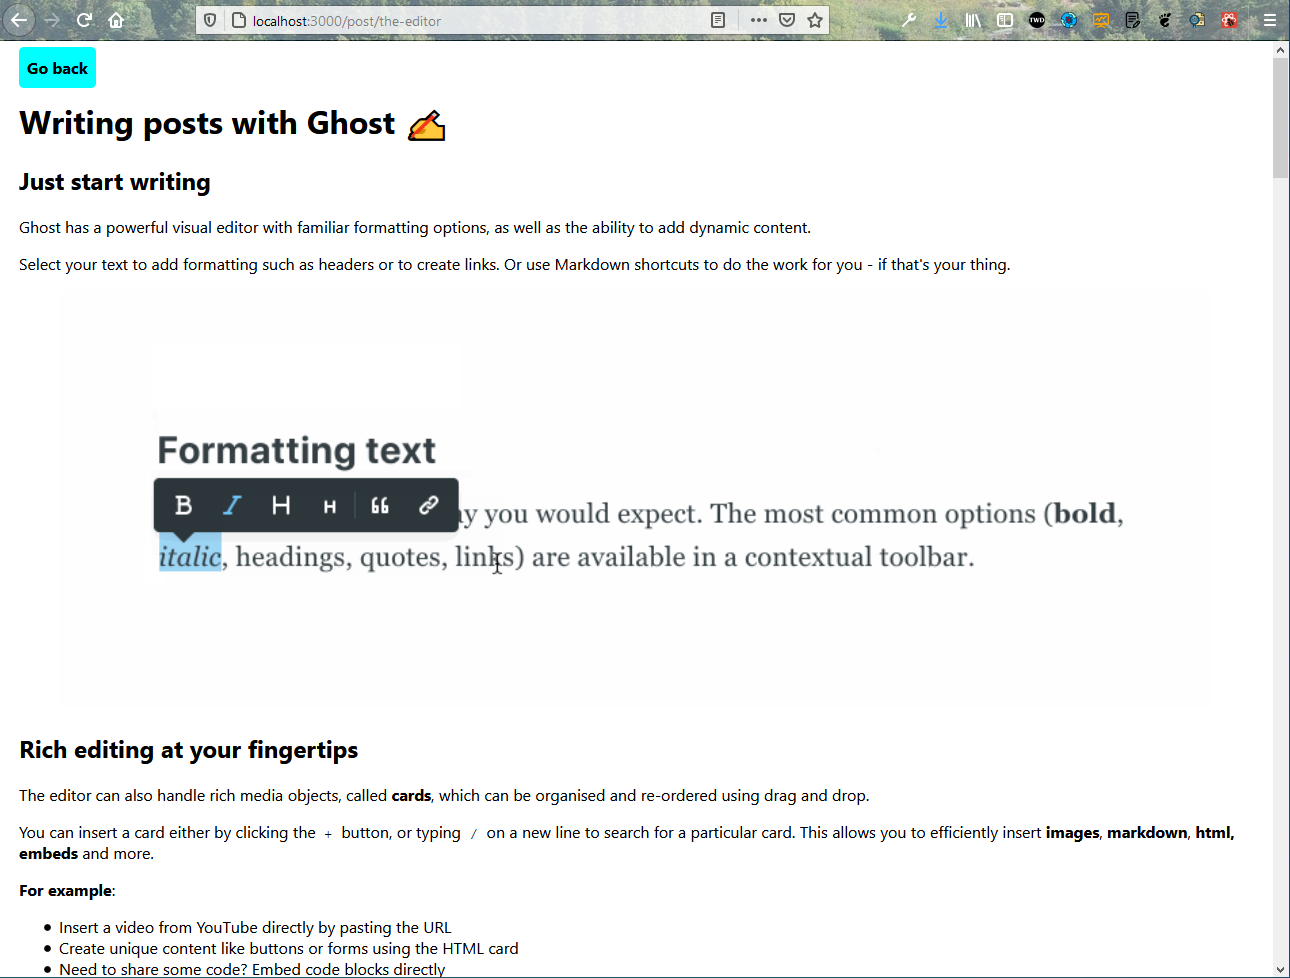
Now, our posts are also looking perfect, and there is a Go Back button also.
 Post
Post
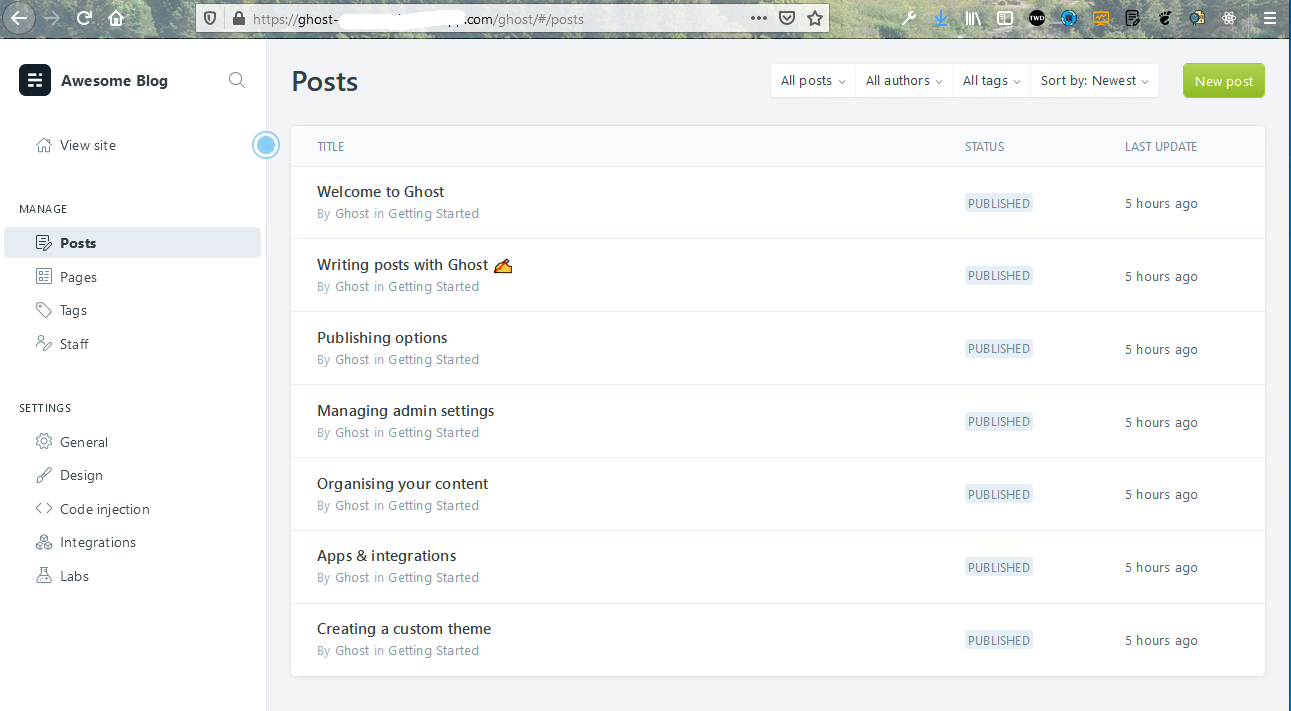
One thing worth mentioning is that we are getting all these posts from our Ghost backend, which we can use to edit, delete, update, and also add a new post.
 Posts
Posts
I have uploaded the code to Github and it can be found here.
We will also deploy the same in Vercel and to do that, follow the instructions from my earlier blog post here.
Also, don’t forget to add the BLOG_URL and CONTENT_API_KEY in the last step before deployment.
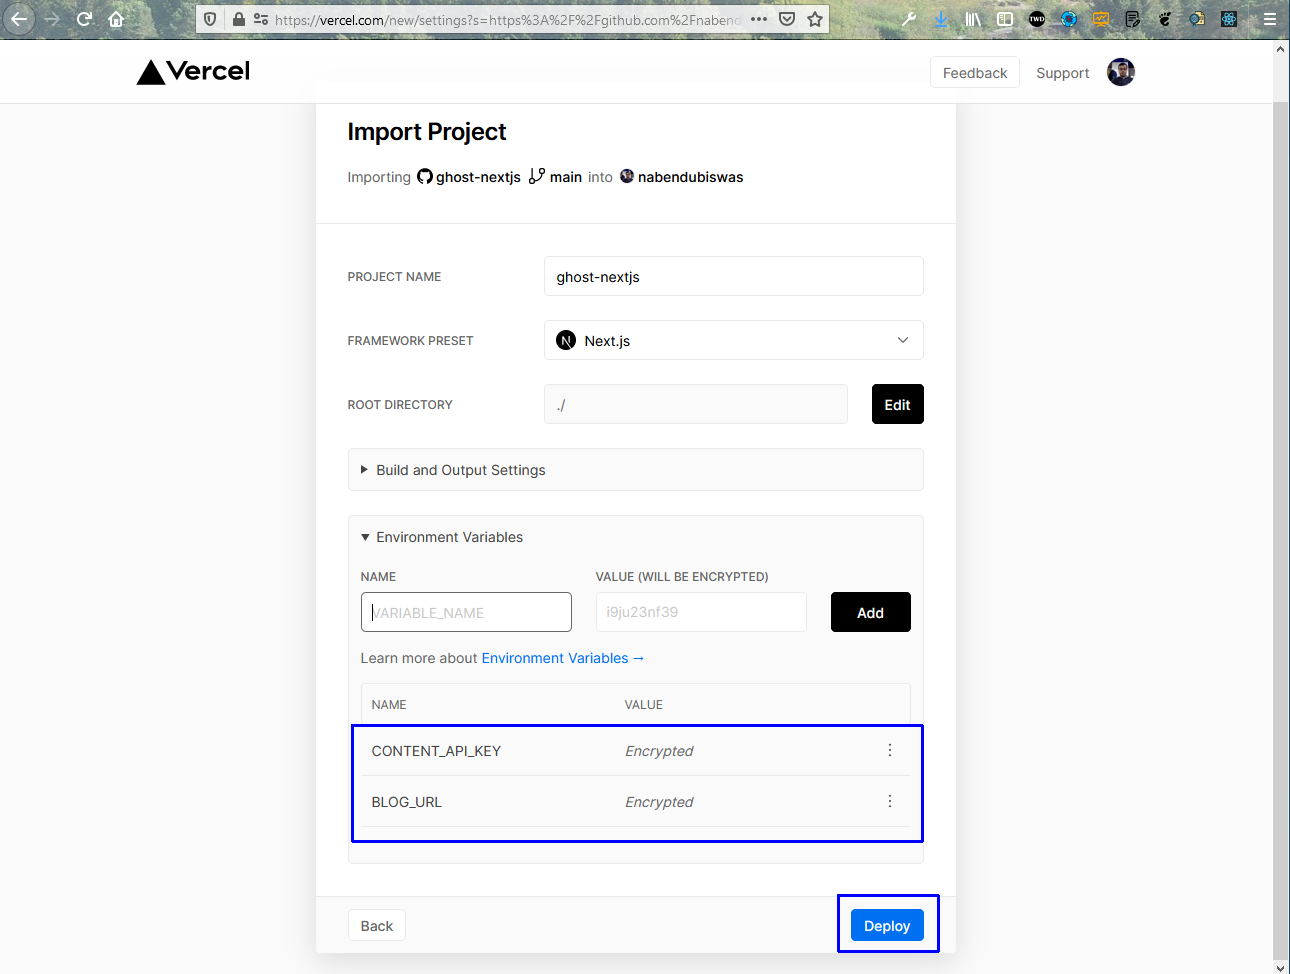 Last step
Our site got deployed properly and is working fine.
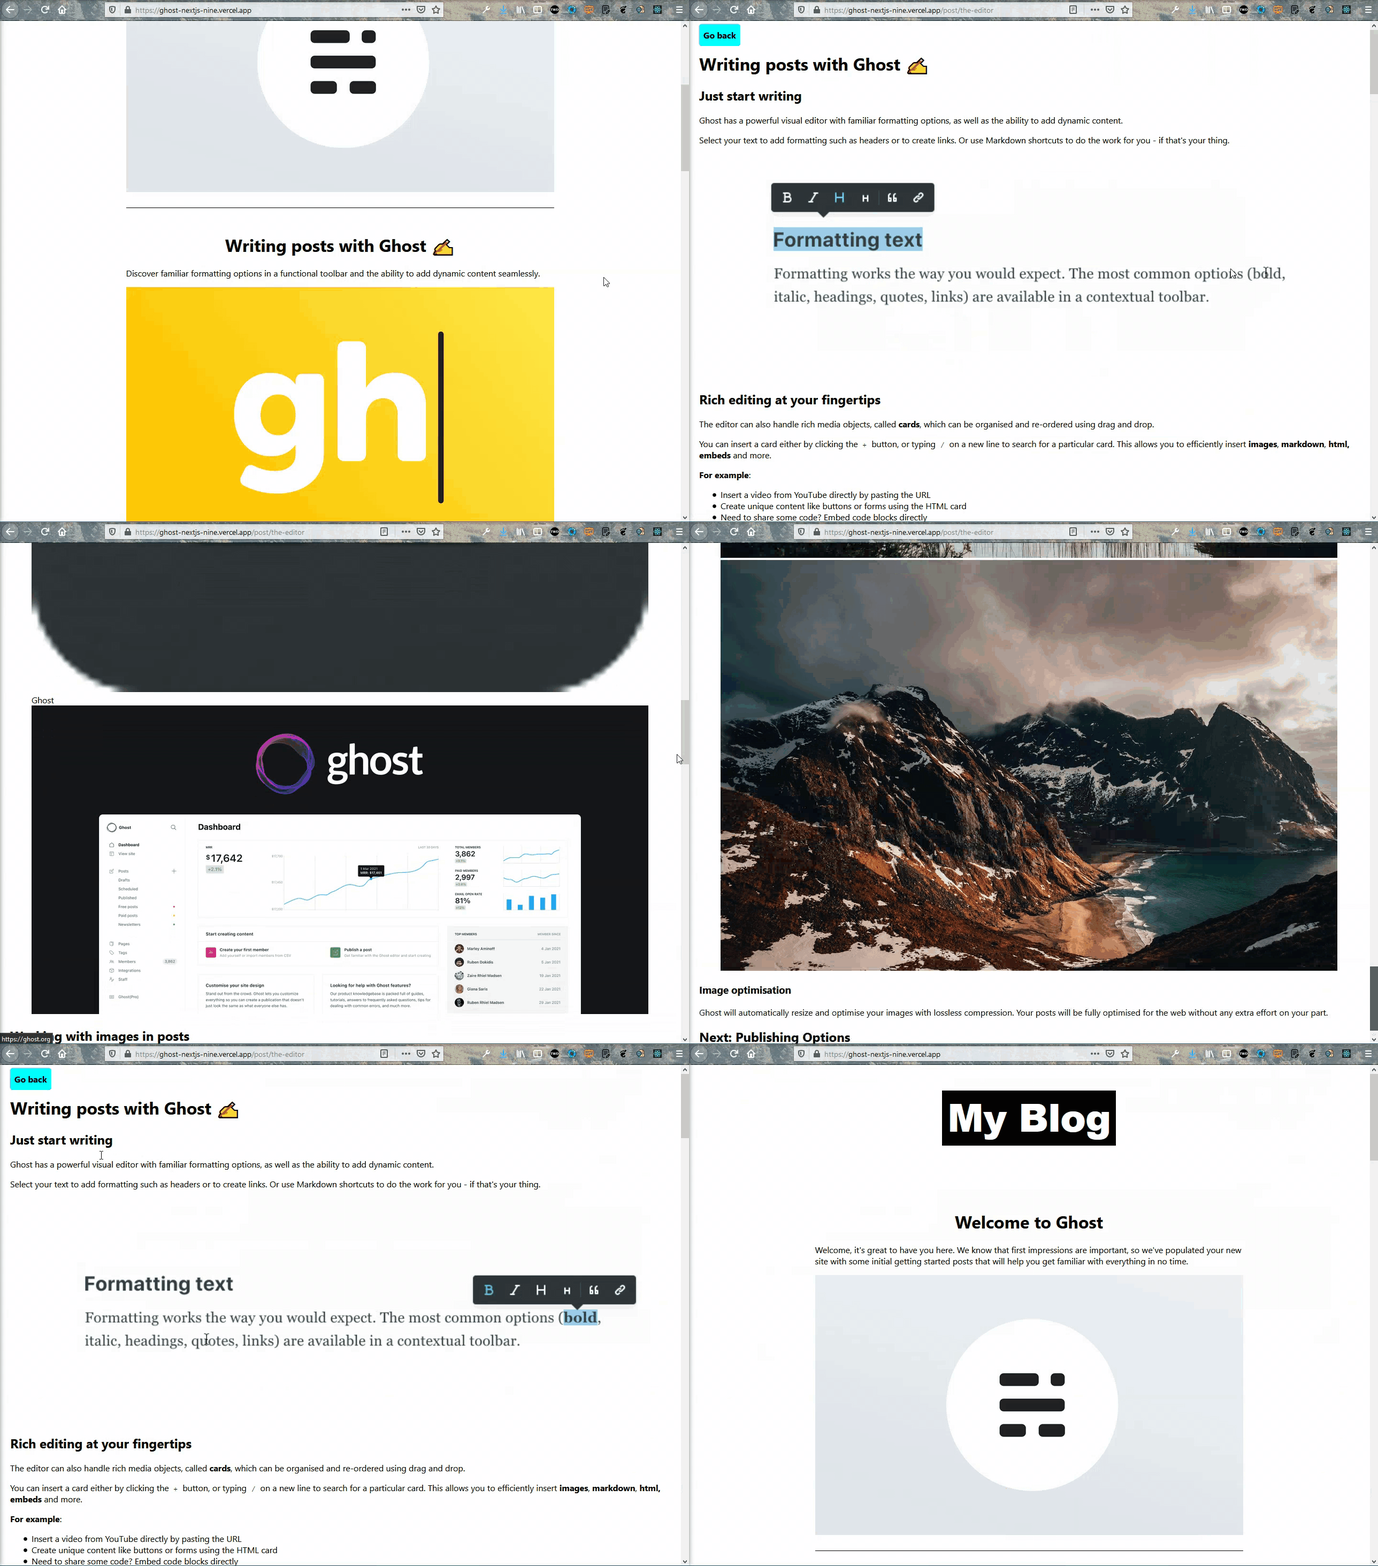 Working great