We are going to create photo gallery using React and firebase in this post.
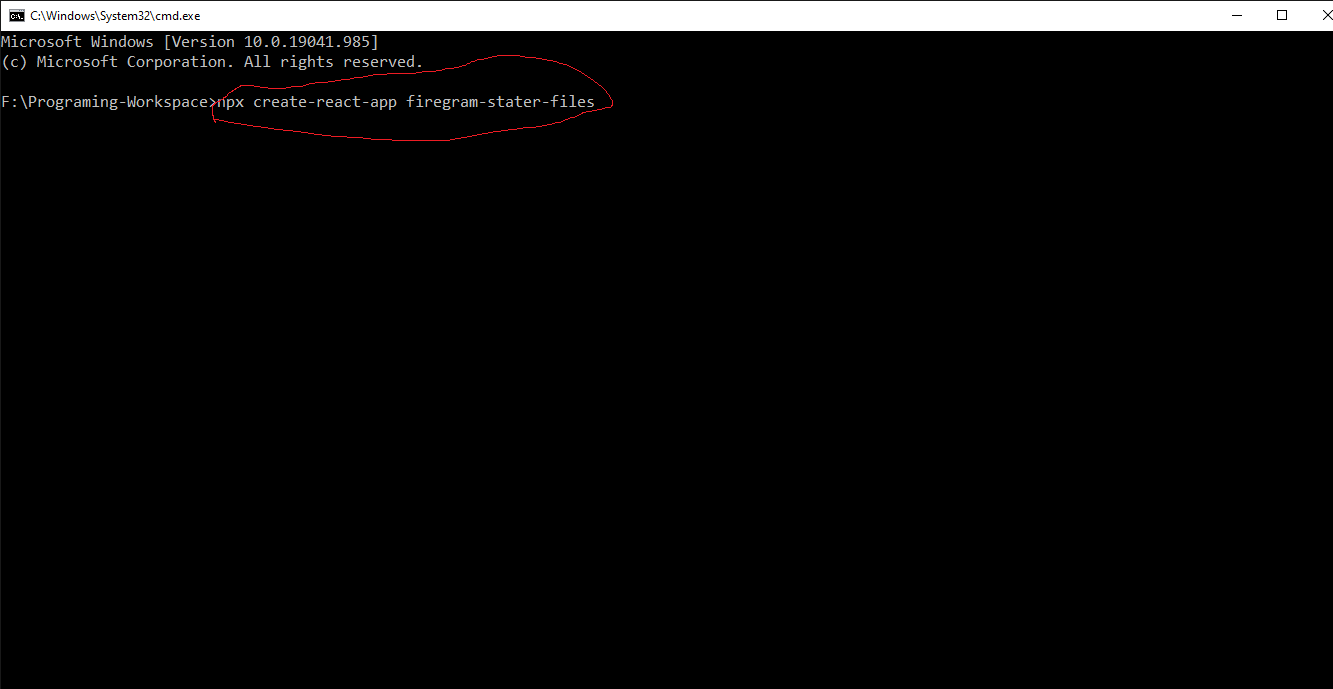
So use create-react-app command in your folder to create a new app called firegram-starter-files.
npx create-react-app firegram-stater-files
It will take some time that depends on our internet speed
 HTML File
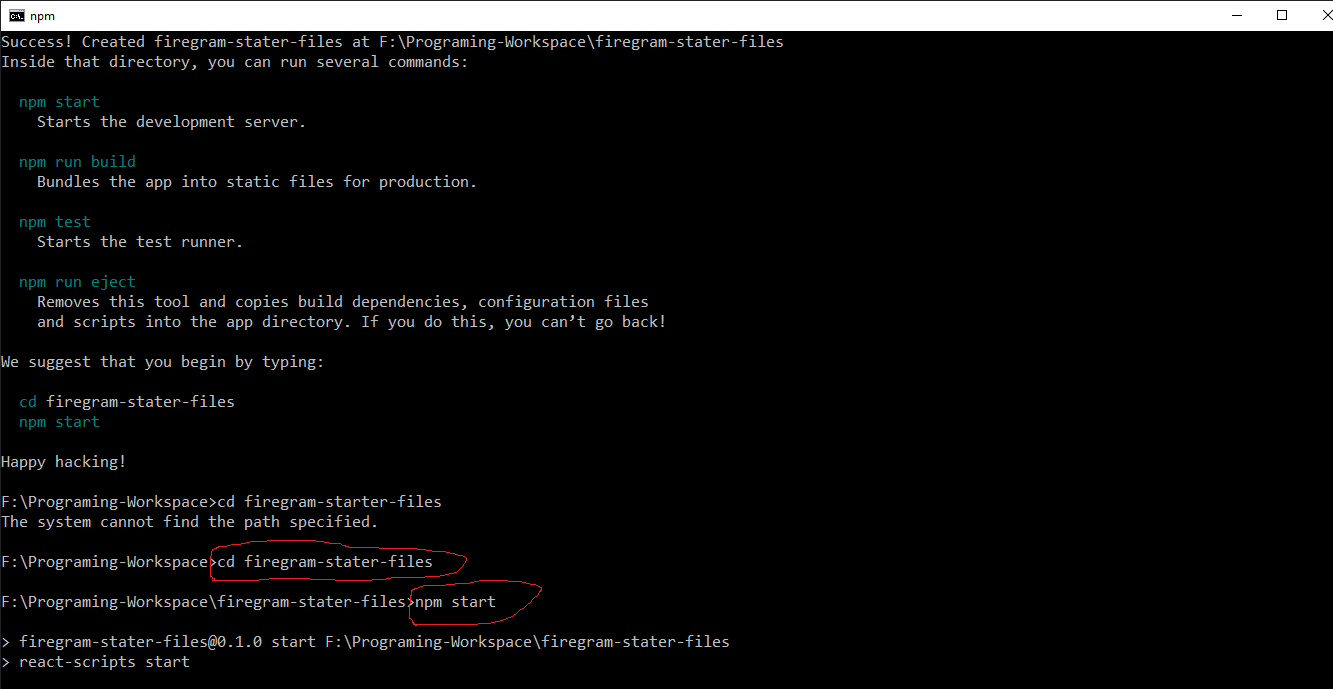
Next we have to go inside project folder using
cd firegram-stater-file
Next we will run our app using
npm start
 HTML File
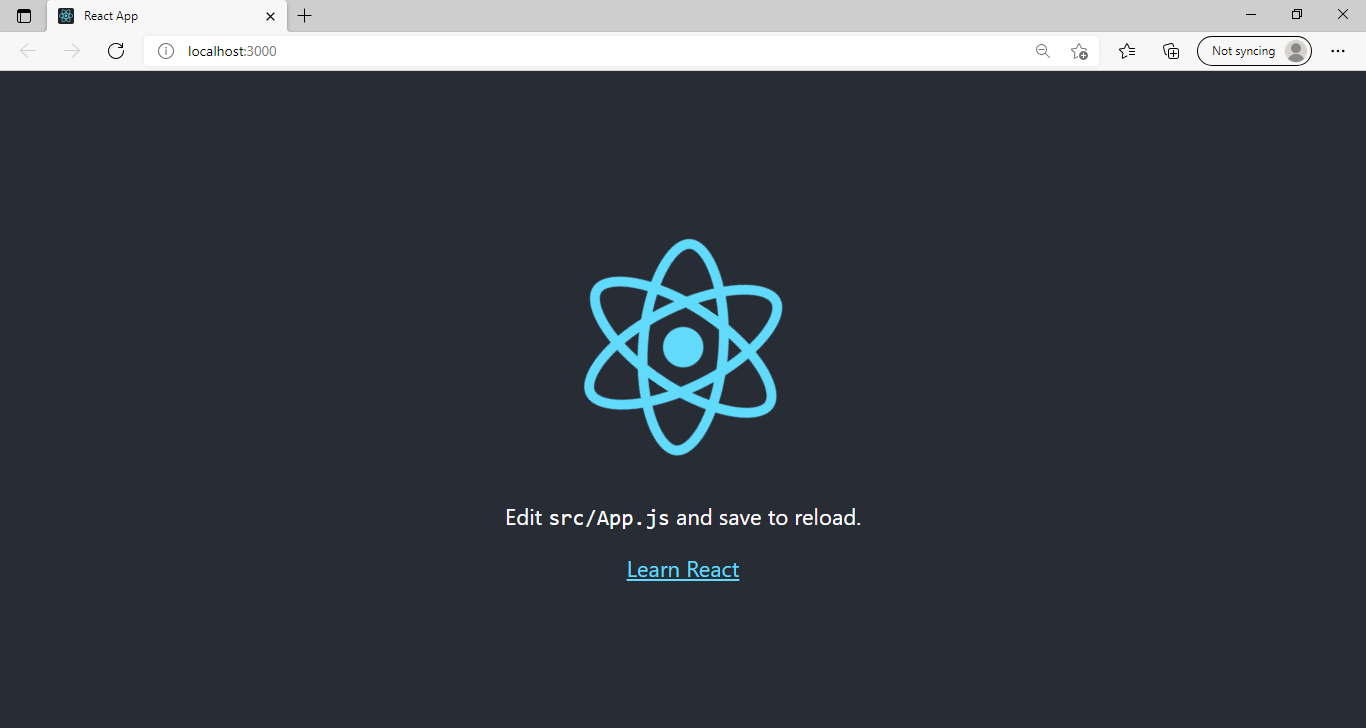
When we use npm start it will start our app automatically in our system browser.
 HTML File
Now we will do firebase setup for backend service. Go to firebase.com click on first link and click on get started
 HTML File
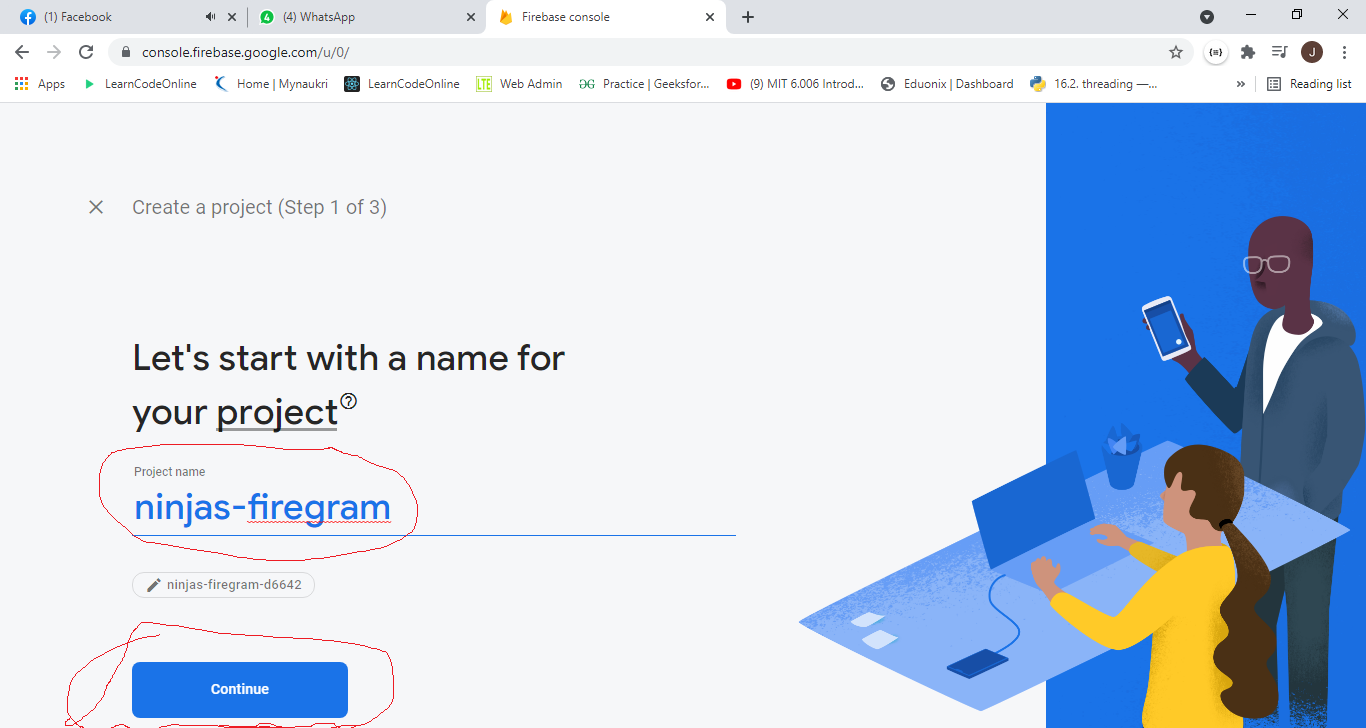
After that click on get started and enter your project name and click on Continue
 HTML File
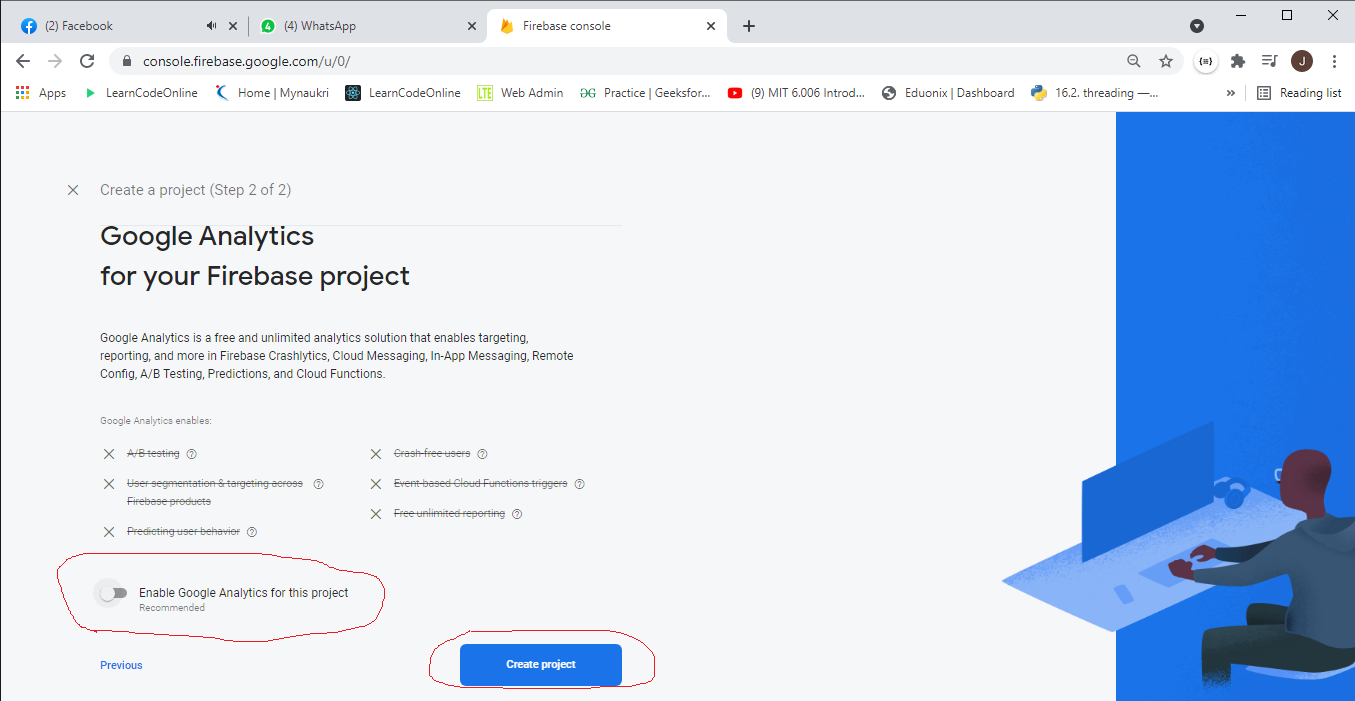
Next click on radio button and click on create Project
 HTML File
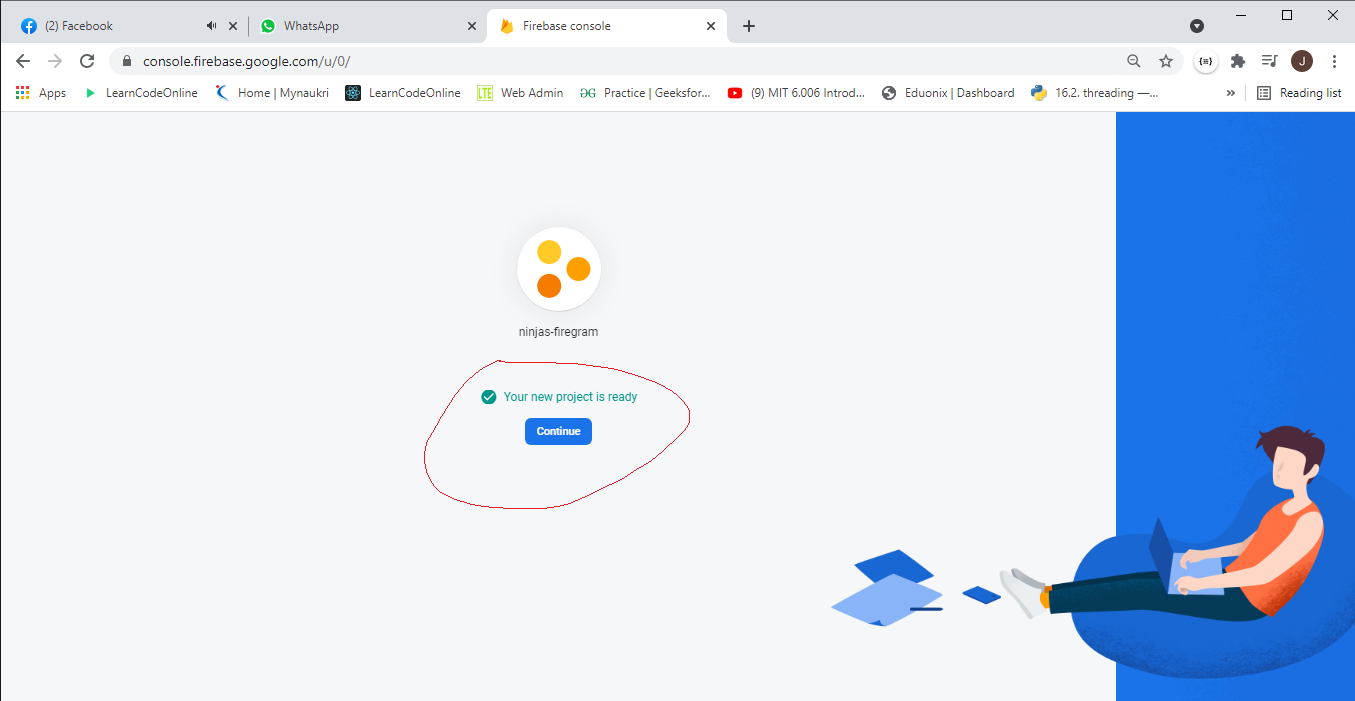
Next click on continue.
 HTML File
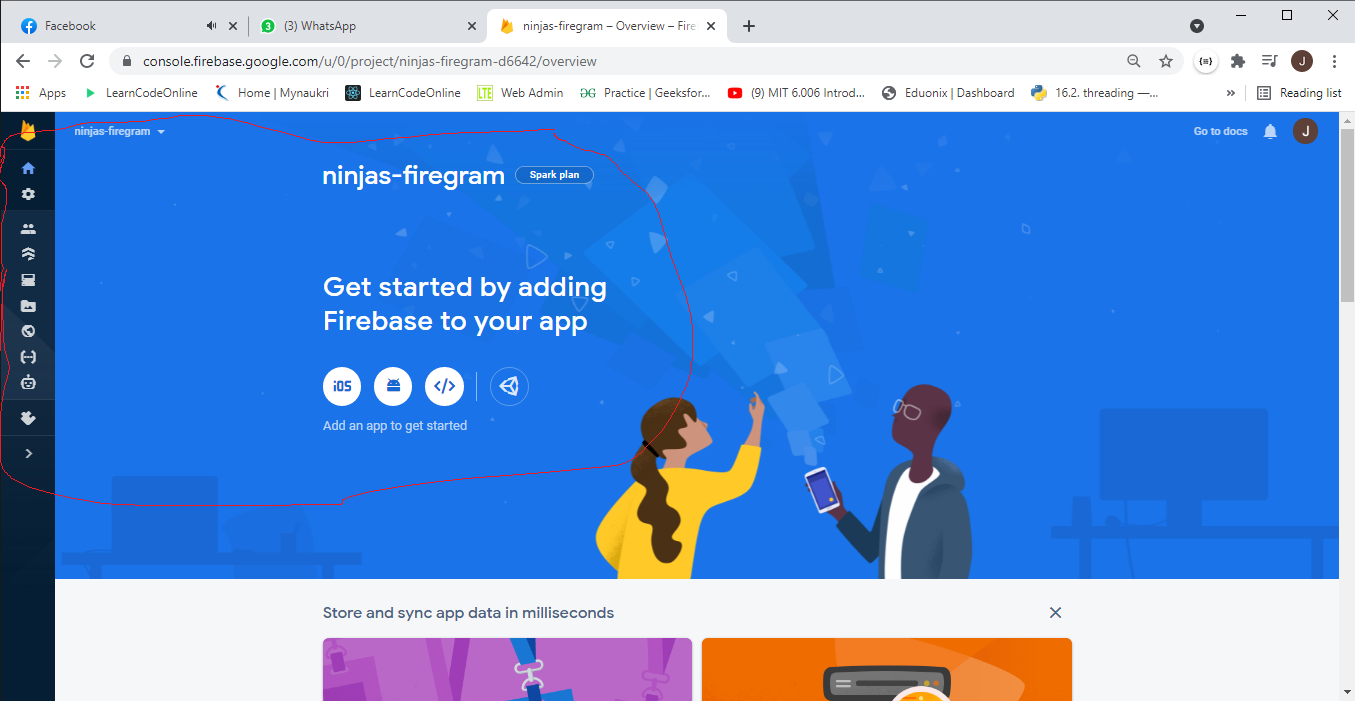
We will get the project dashboard screen.
 HTML File
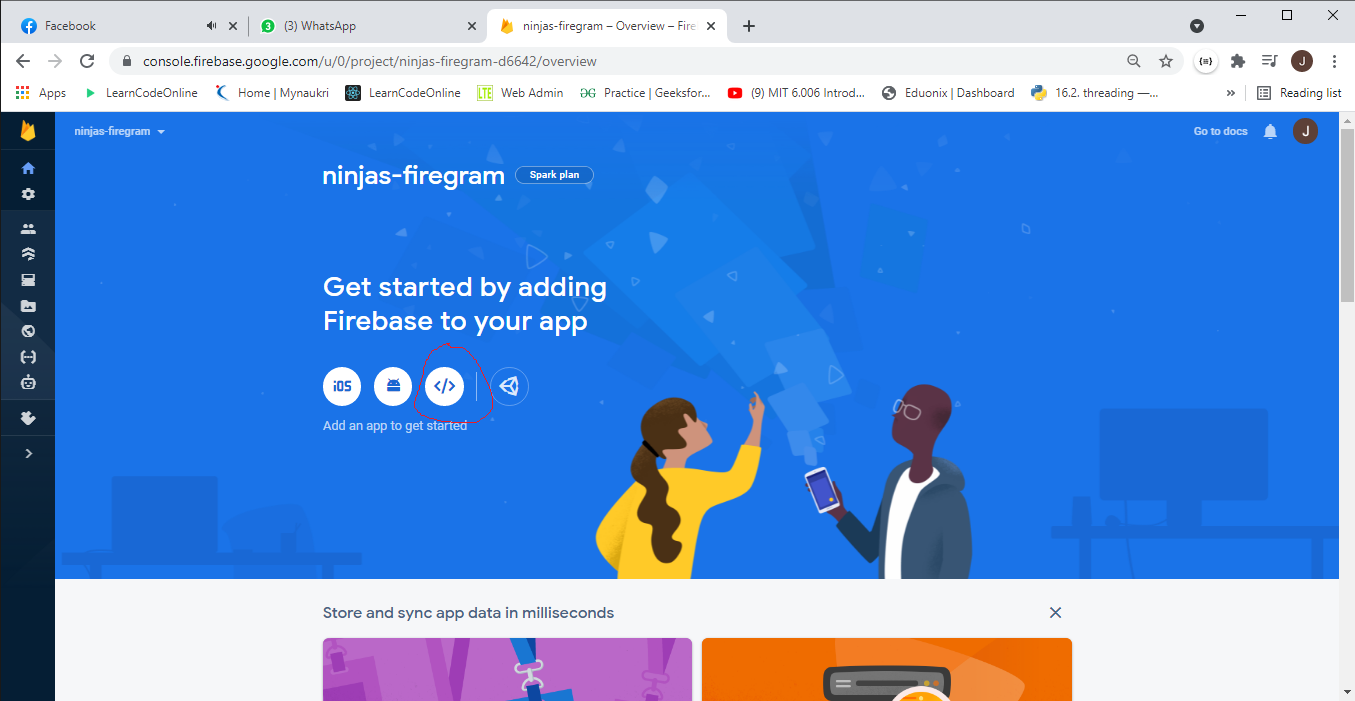
Next click on web app icon for creating frontend web app for storage
 HTML File
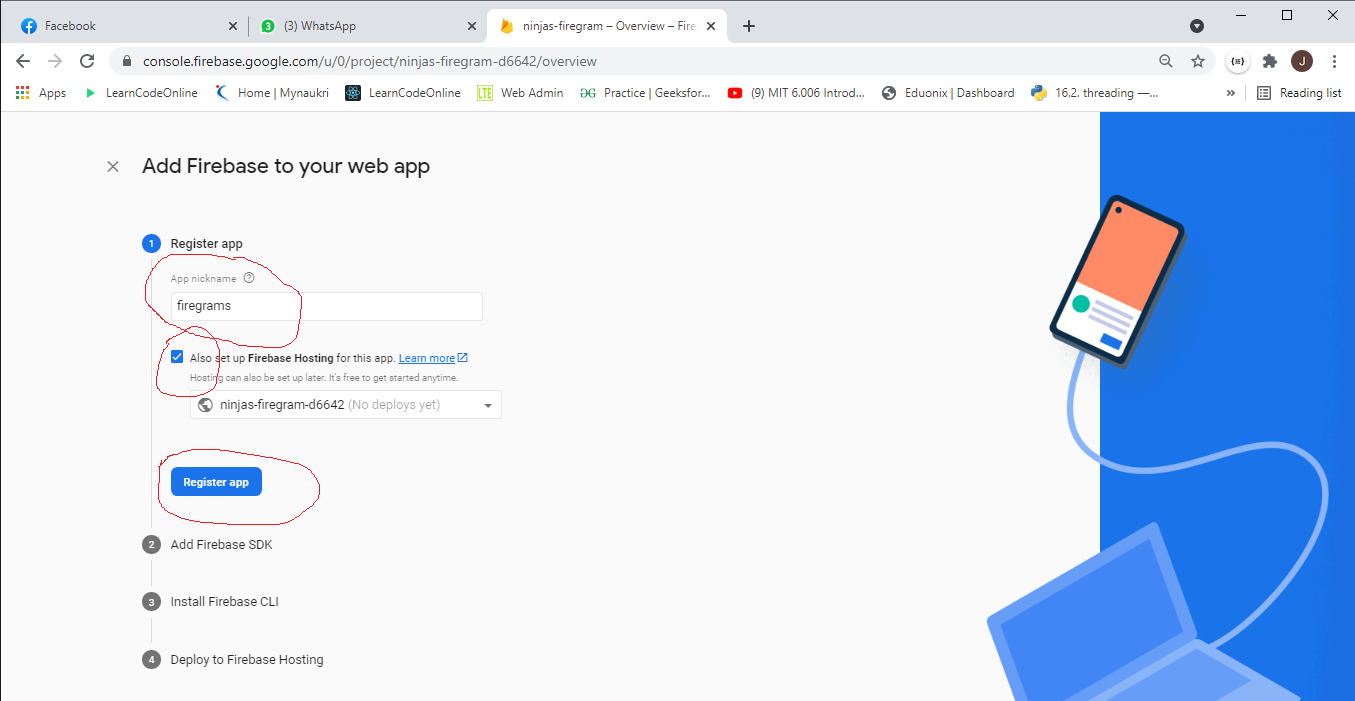
Next enter project name and click on checkbox and click on register app
 HTML File
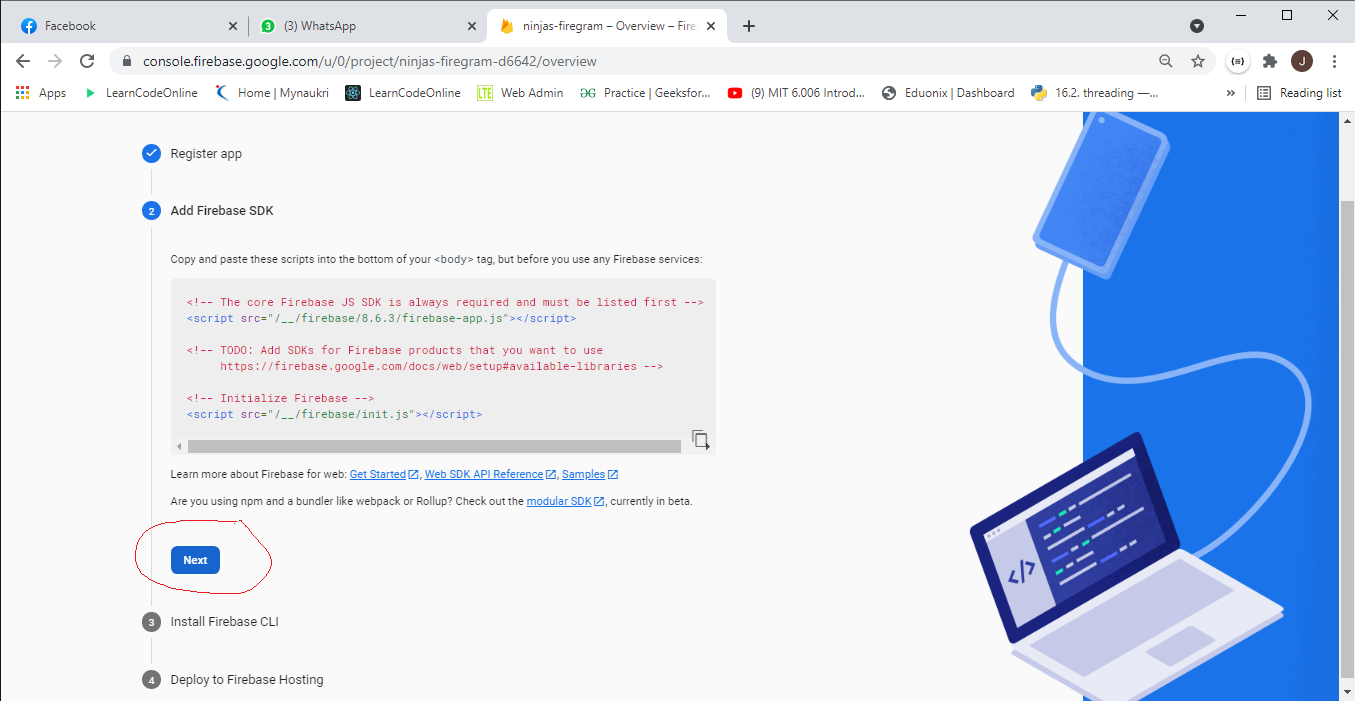
Again click on next
 HTML File
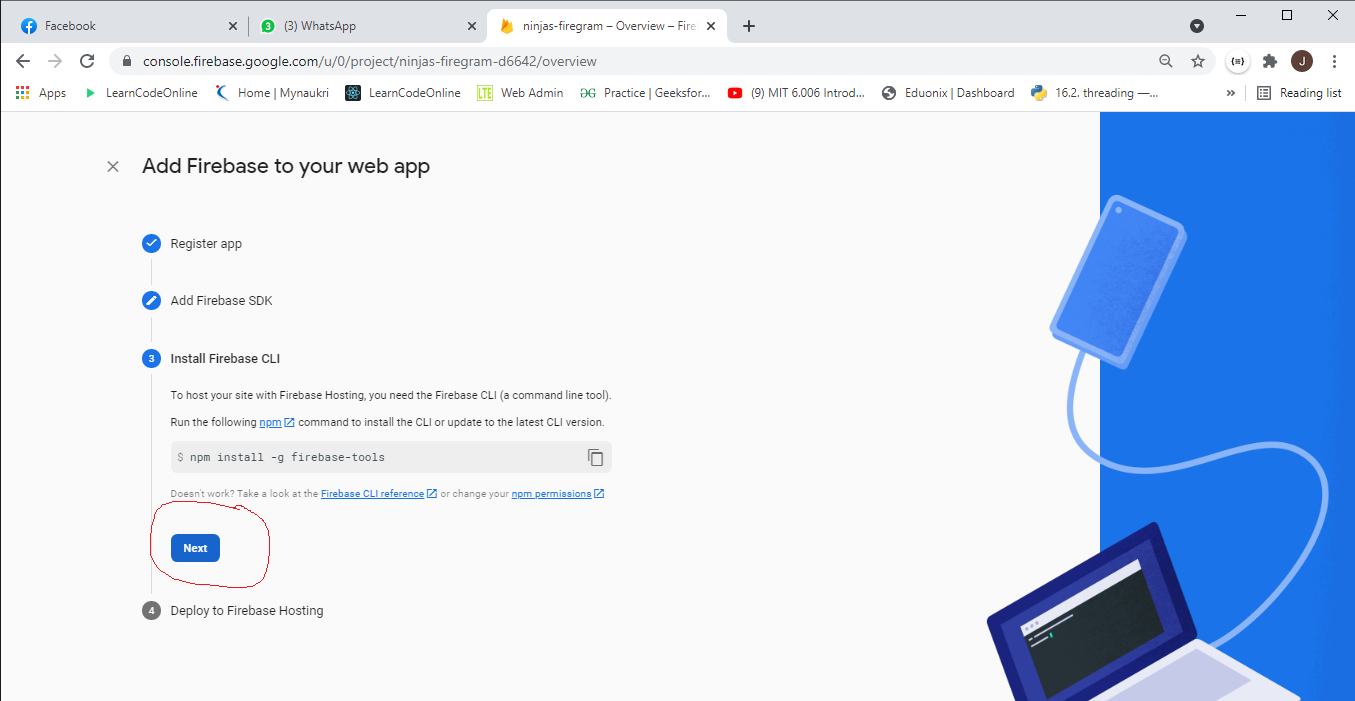
Install firebase-tools globally using the given command. Then click on next
 HTML File
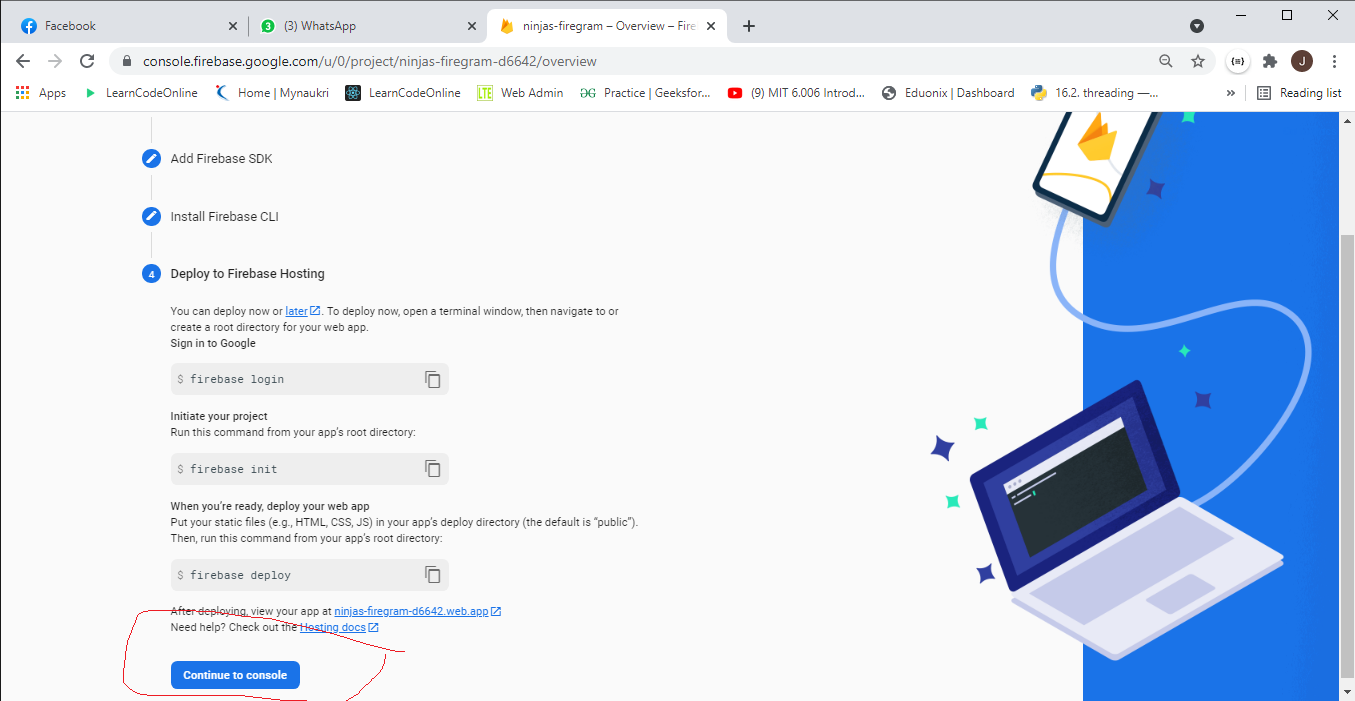
Again click on continue to console
 HTML File
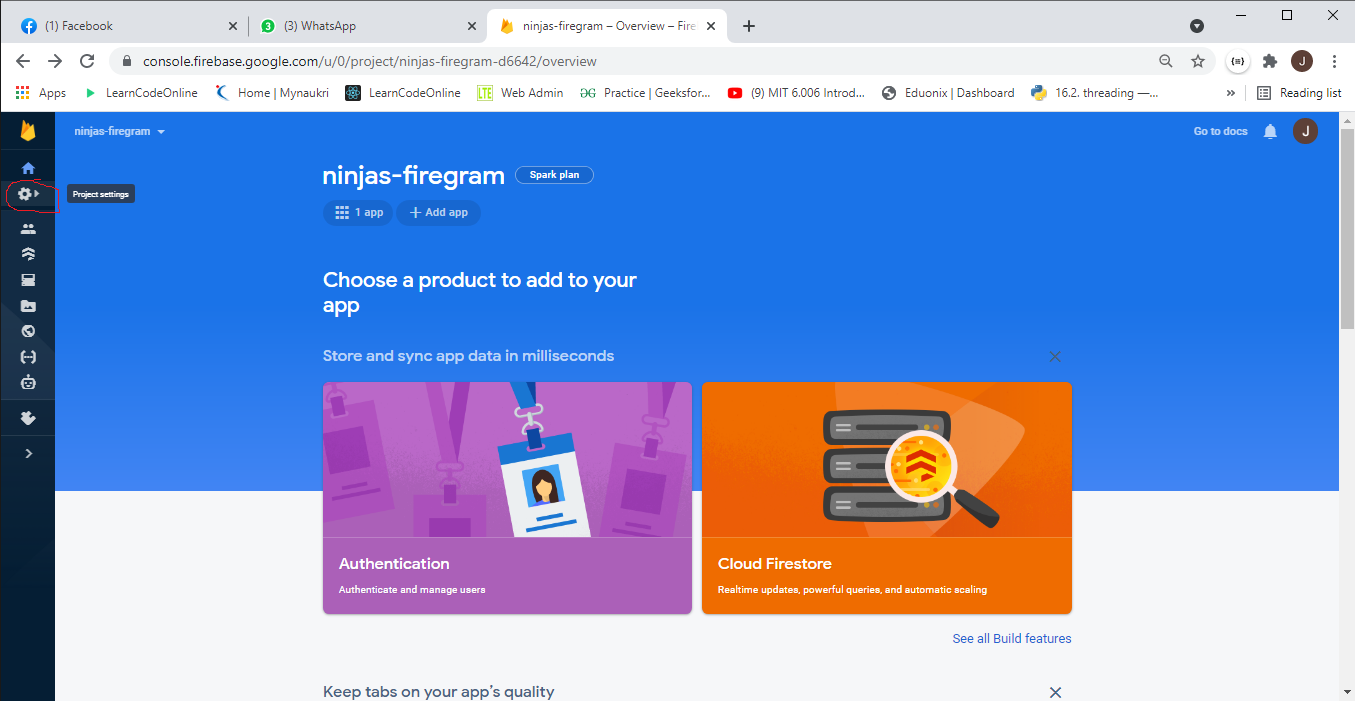
Browser will redirect to project dashboard screen. Click on setting icon and again click on project setting
 HTML File
We will reach to project setting page.
 HTML File
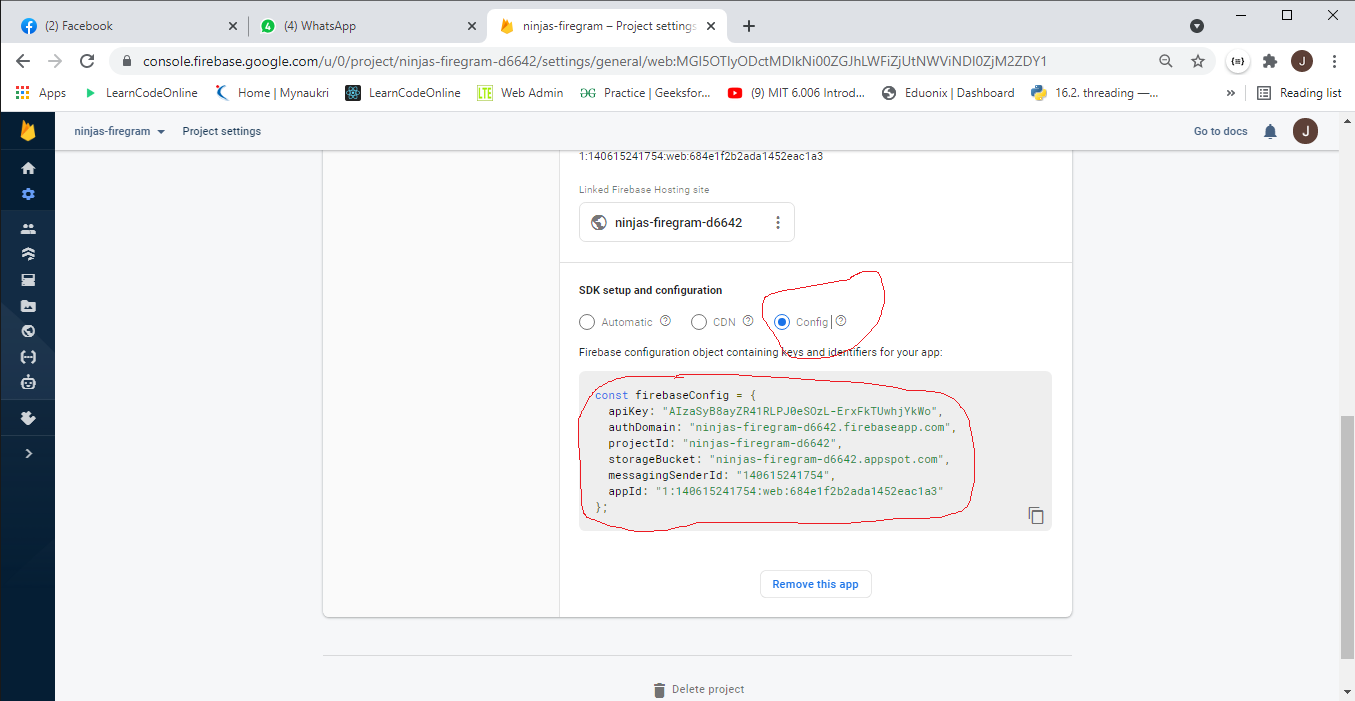
Scroll down page click on config radio button copy below code.
 HTML File
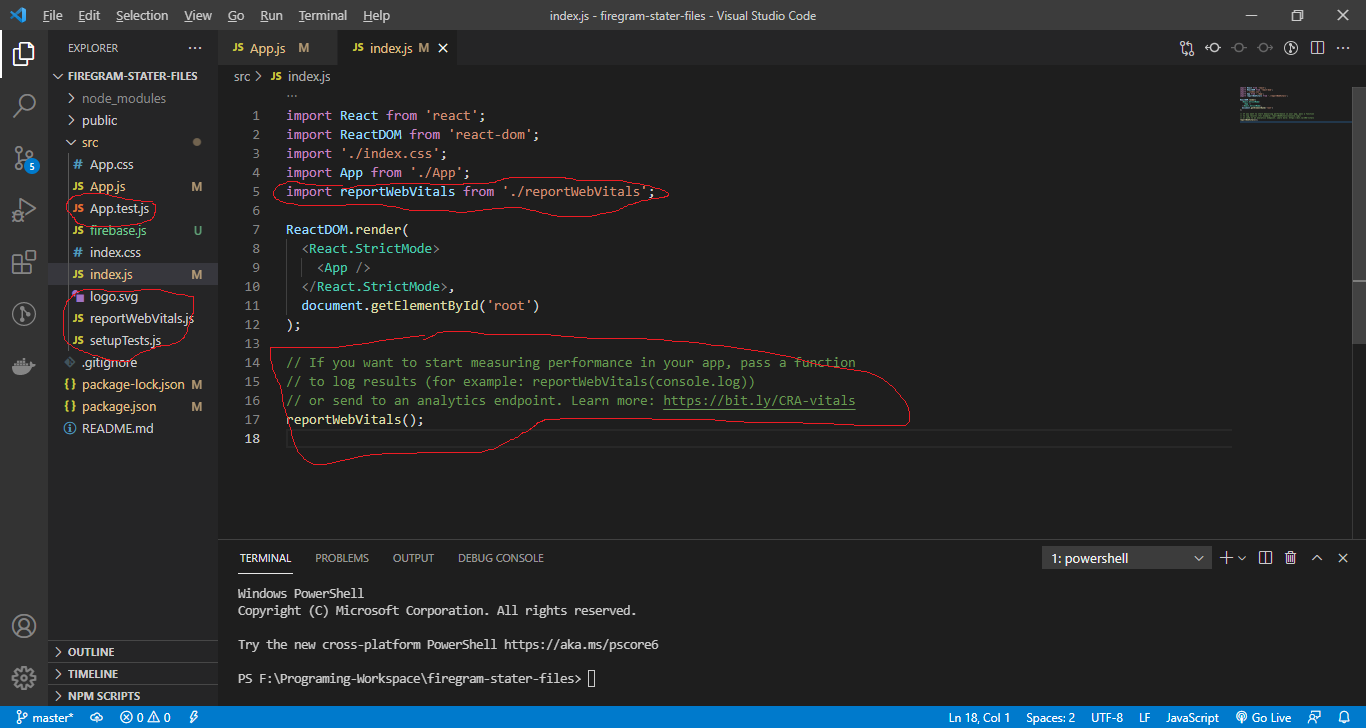
Next open your project in VS code and delete below files from project
 HTML File
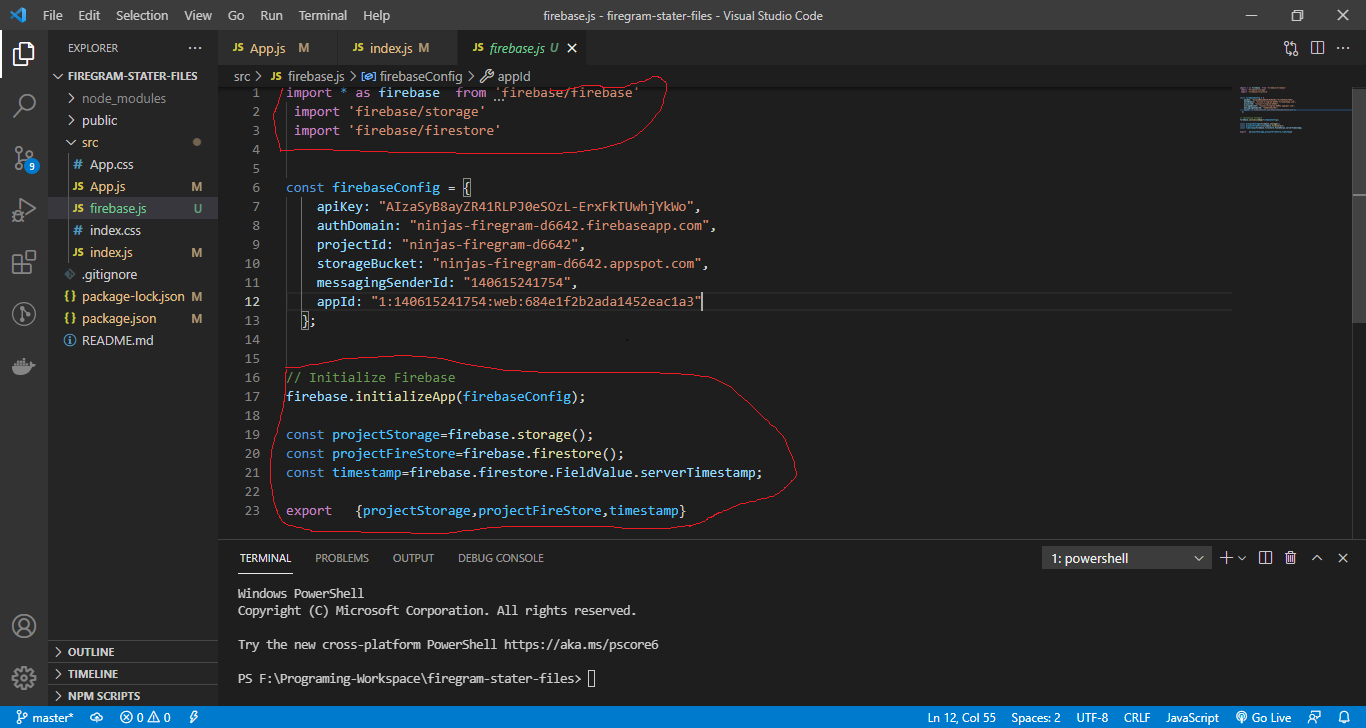
Next create one file inside src folder with name firebase.js.Paste the code, which we have copied from firestore project.
 HTML File
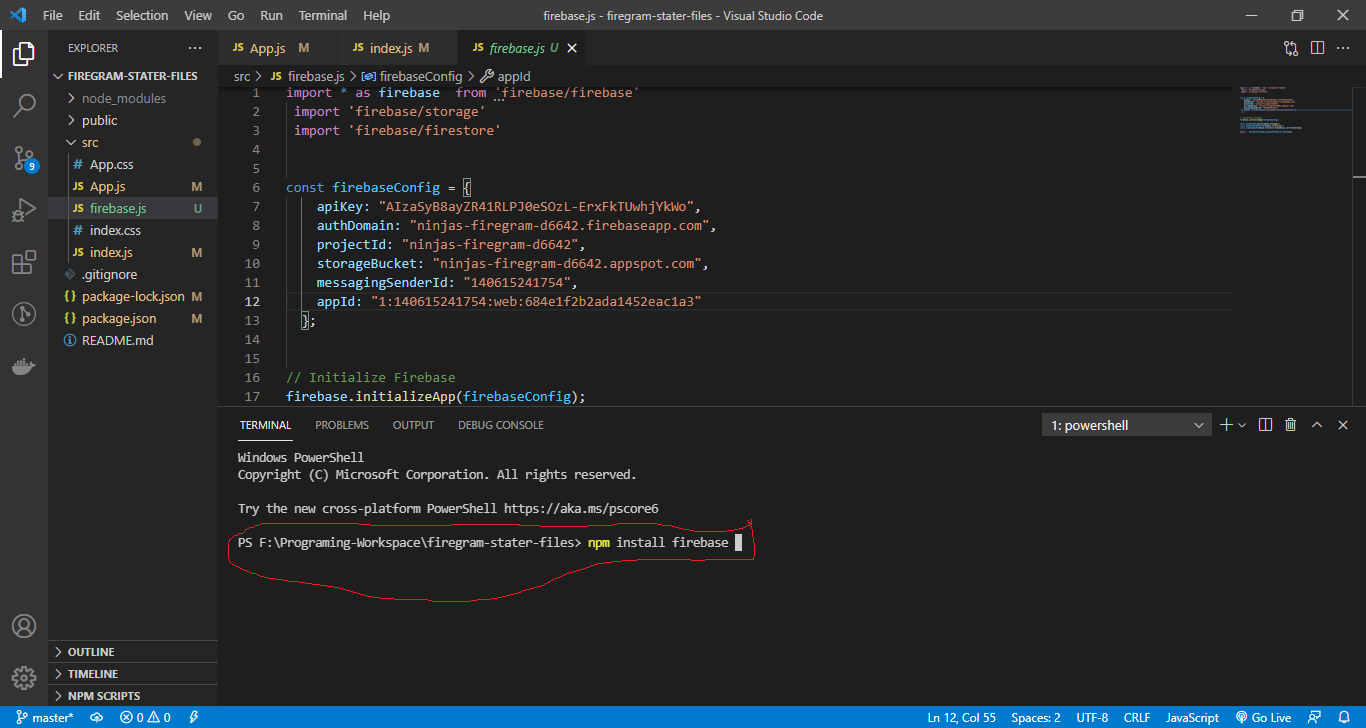
Next we Install firebase in our project using Command.
npm install firebase
Open the Integrated terminal with ctrl+j
 HTML File
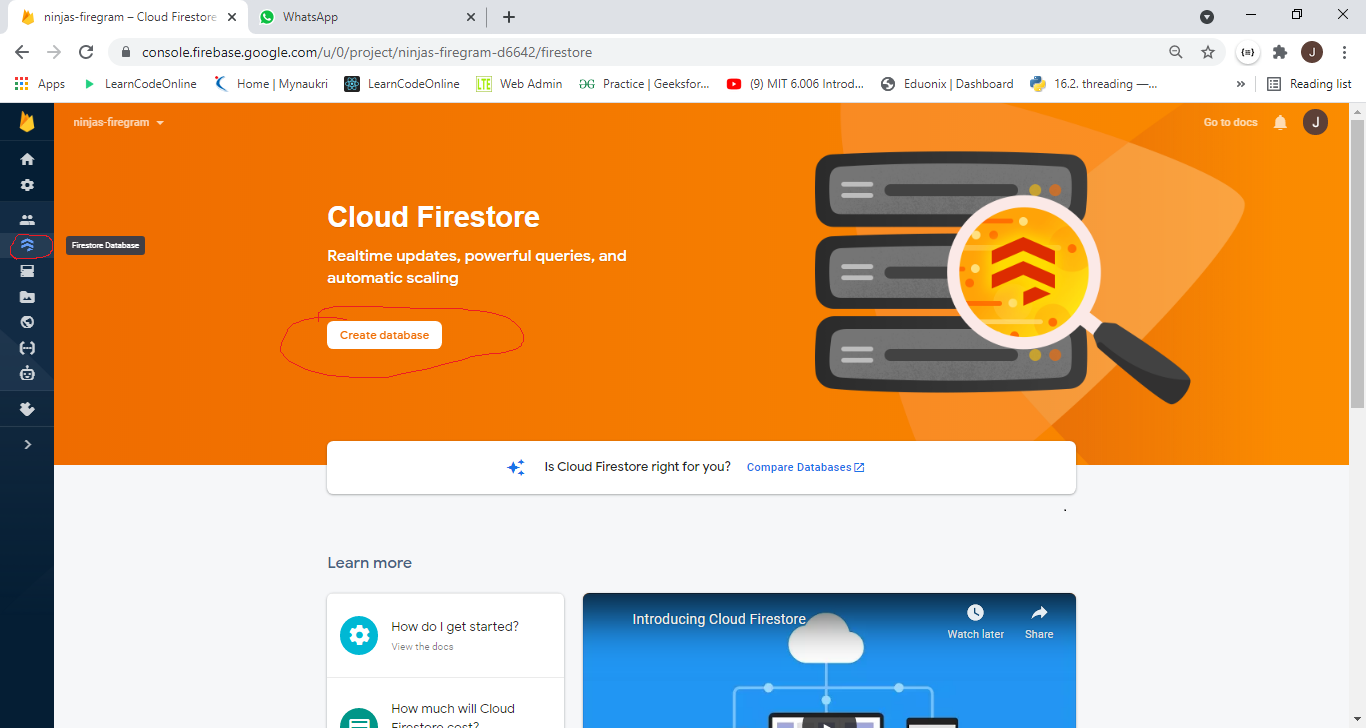
Next go to browser firebase project dashboard screen. Click on firebase database.Next click on start in test mode radio button and click on next button
 HTML File
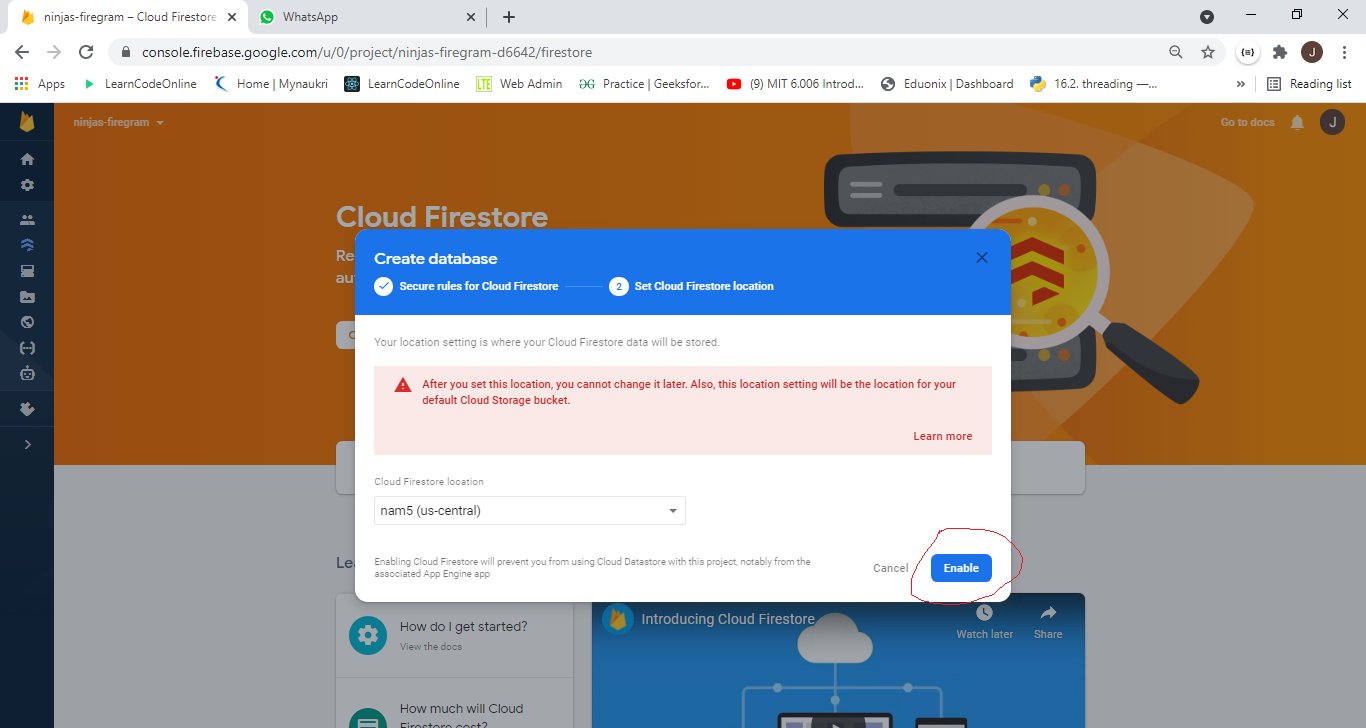
Next click on enable button
 HTML File
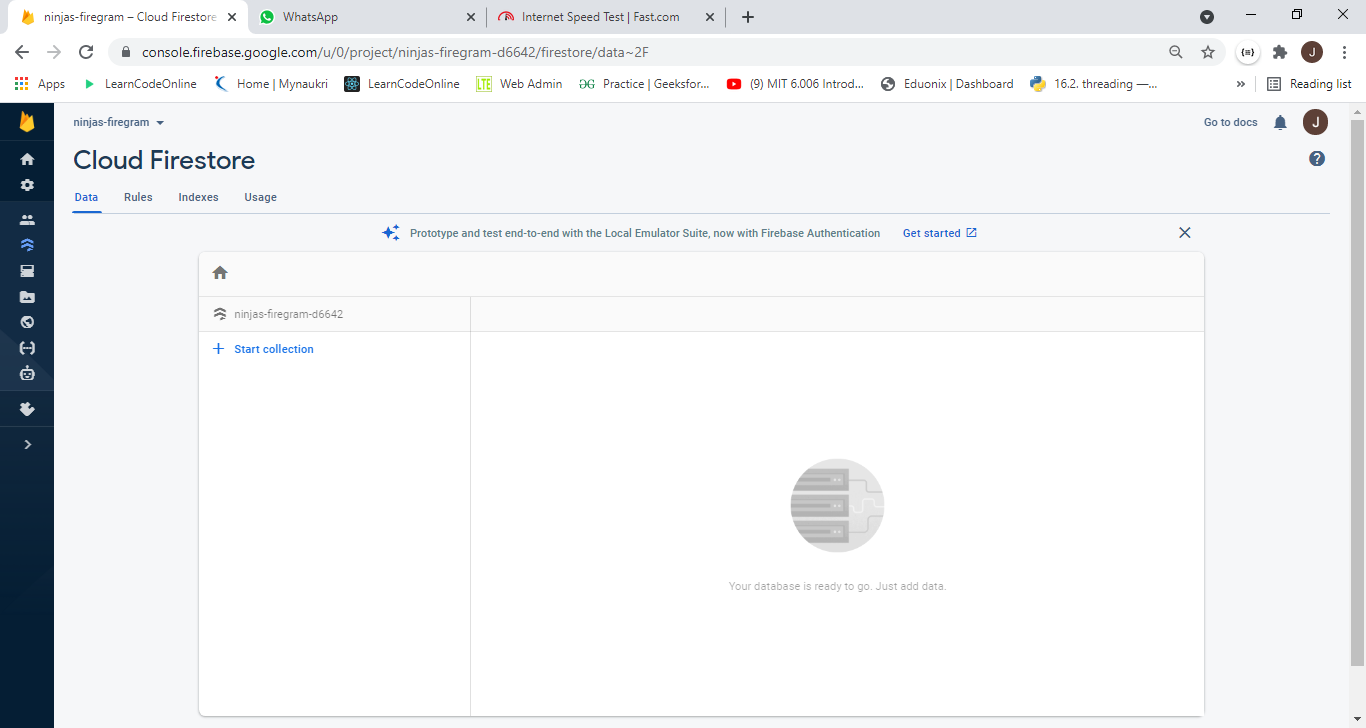
Now our database is ready to store data
 HTML File
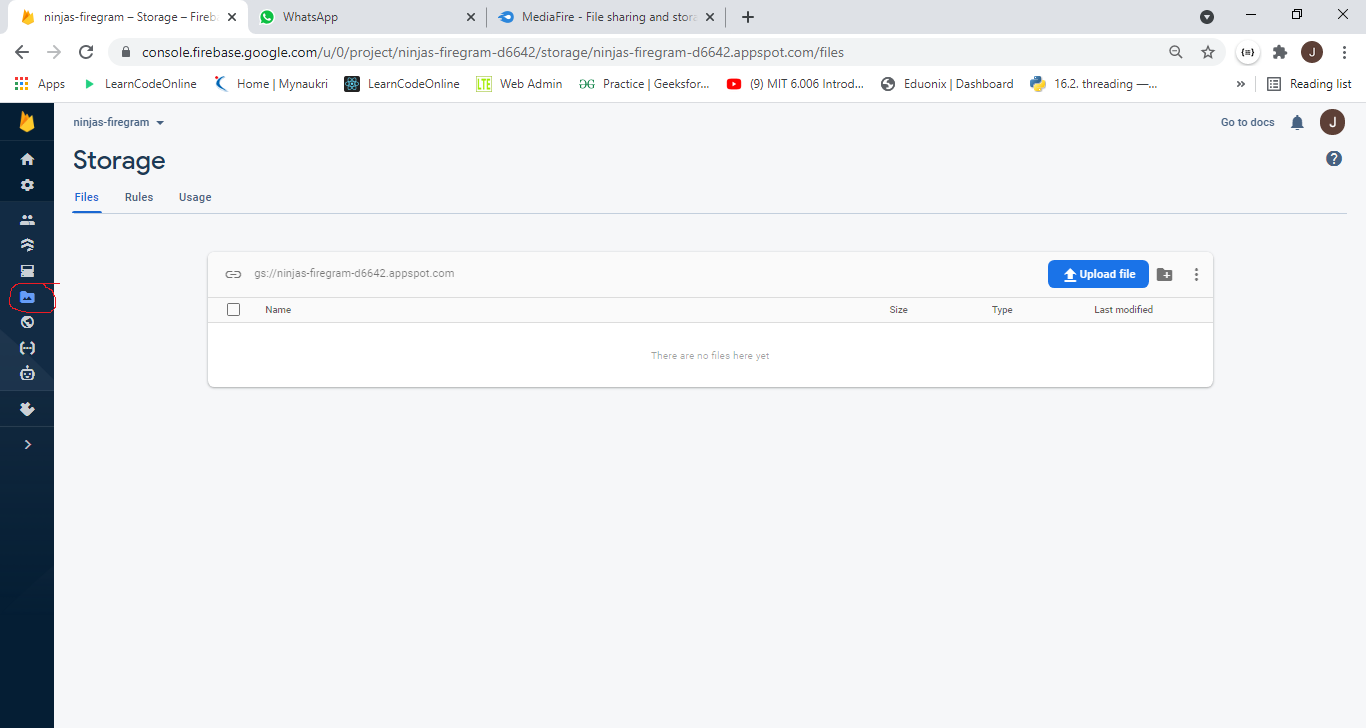
Next click on Storage icon and click on get started
 HTML File
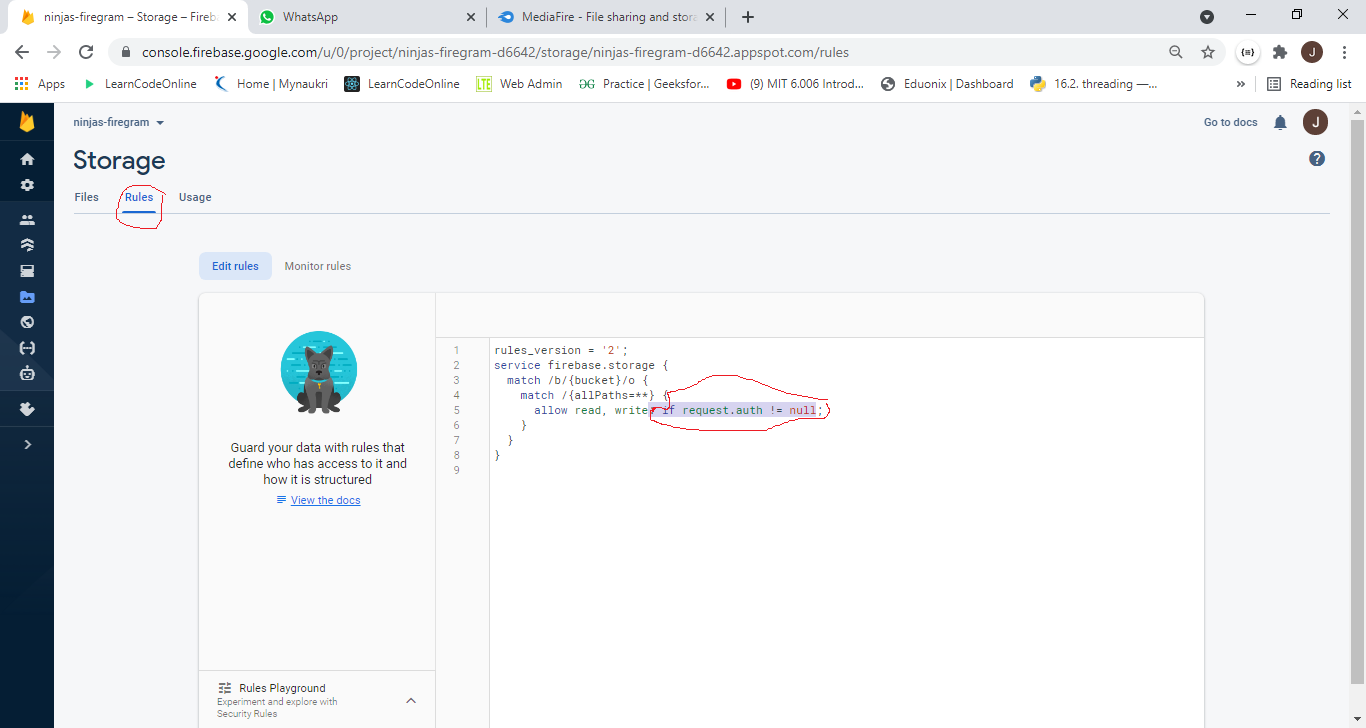
Next click on rules and delete statement after write
 HTML File
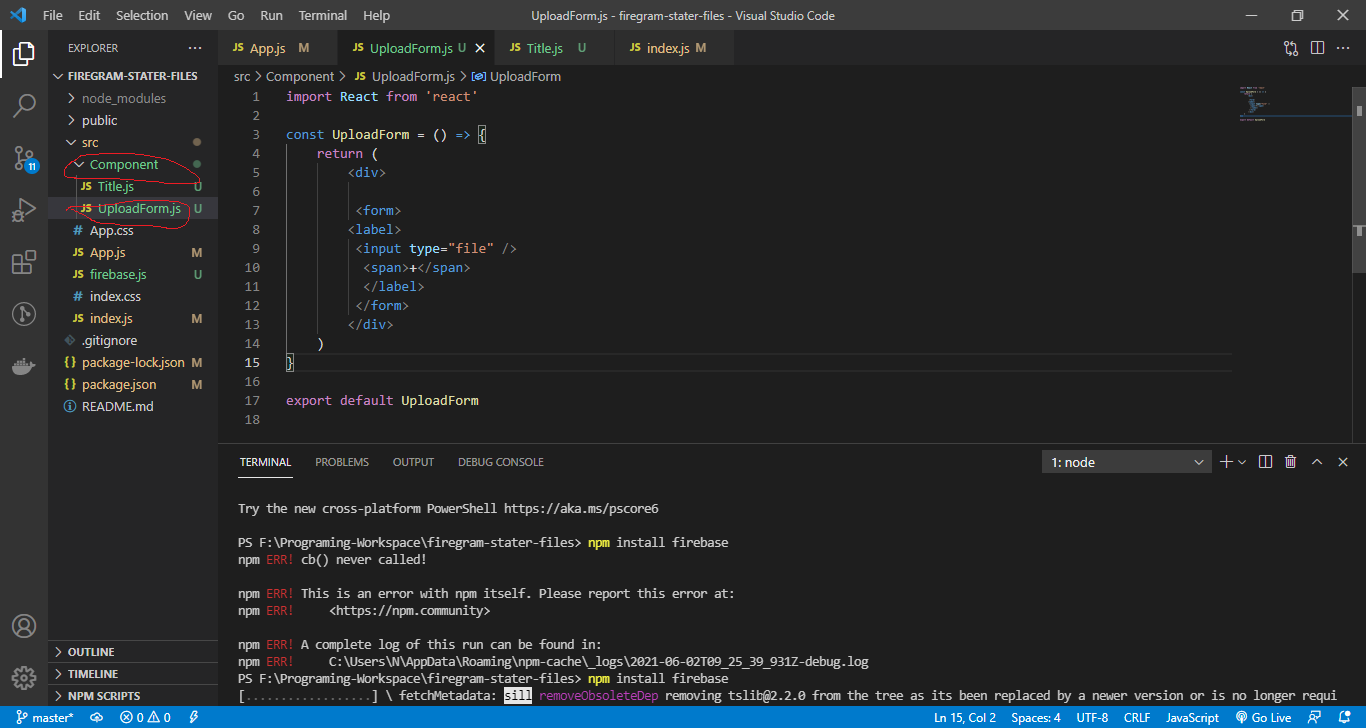
Next create one folder inside src called Component. Inside the folder create one file UploadForm.js
 HTML File
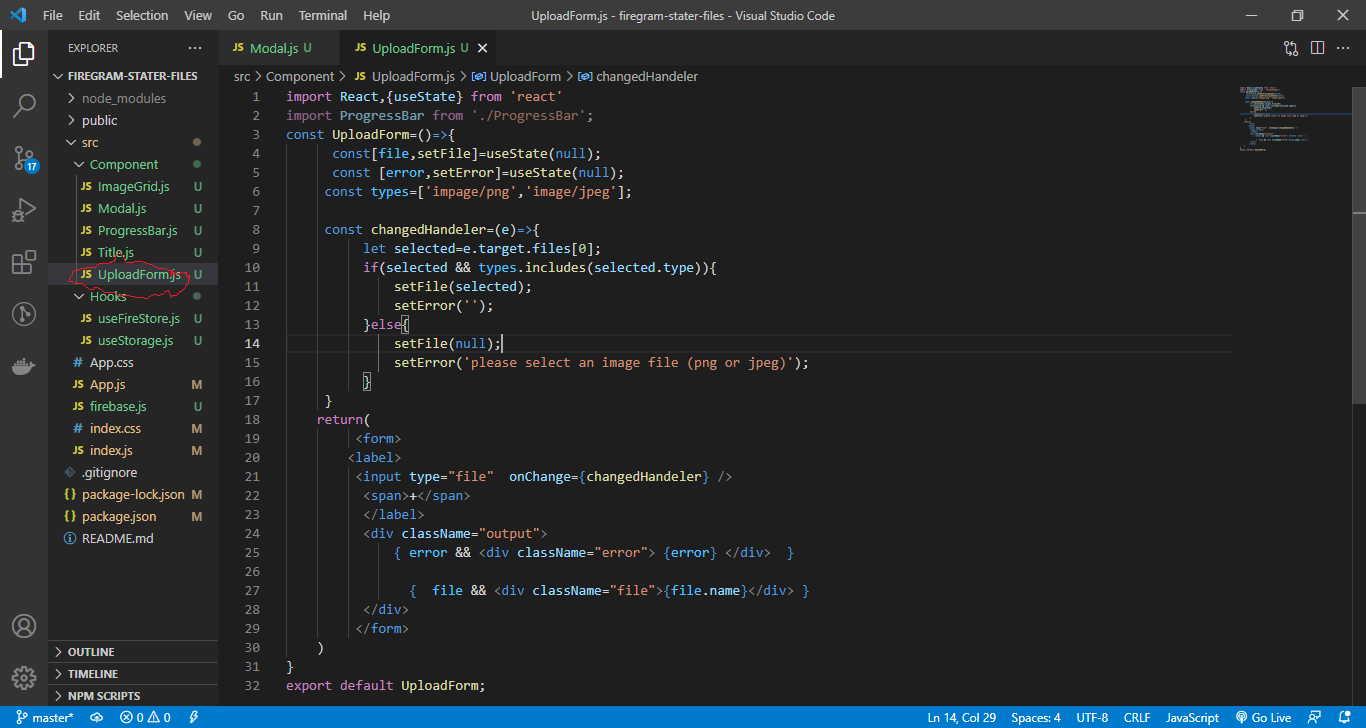
Next we will write code to Upload image and we using onChange event. We will validating that the image is png or jpeg and displaying that image name below input button.
 HTML File
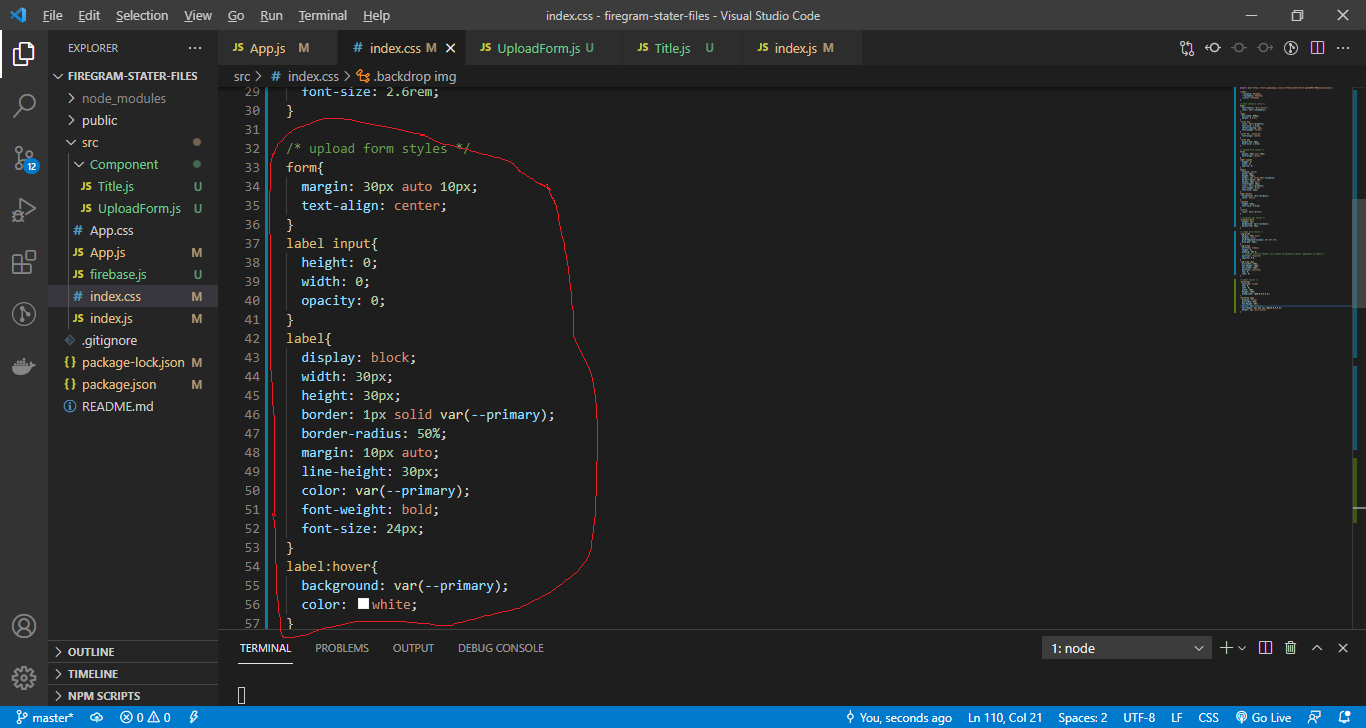
Next we will add the styles for Upload form in *index.css
 HTML File
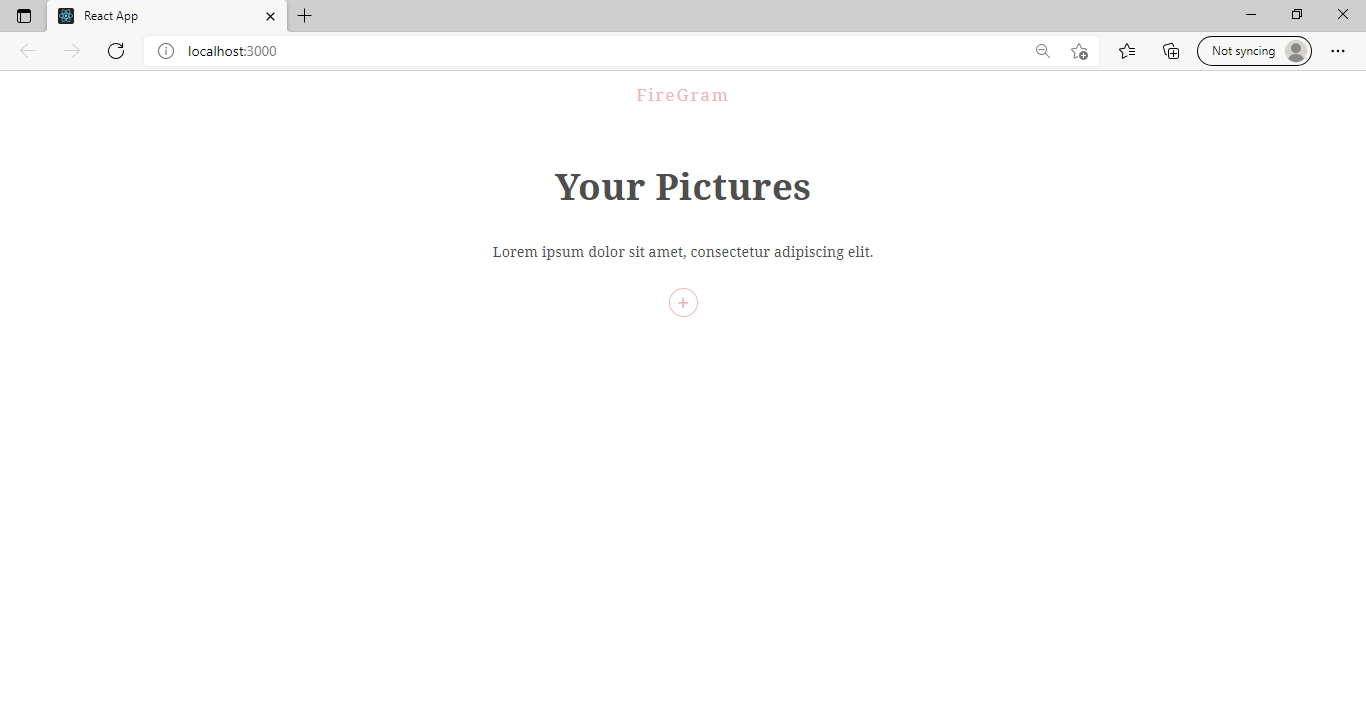
Our Upload Form will look like below.
 HTML File
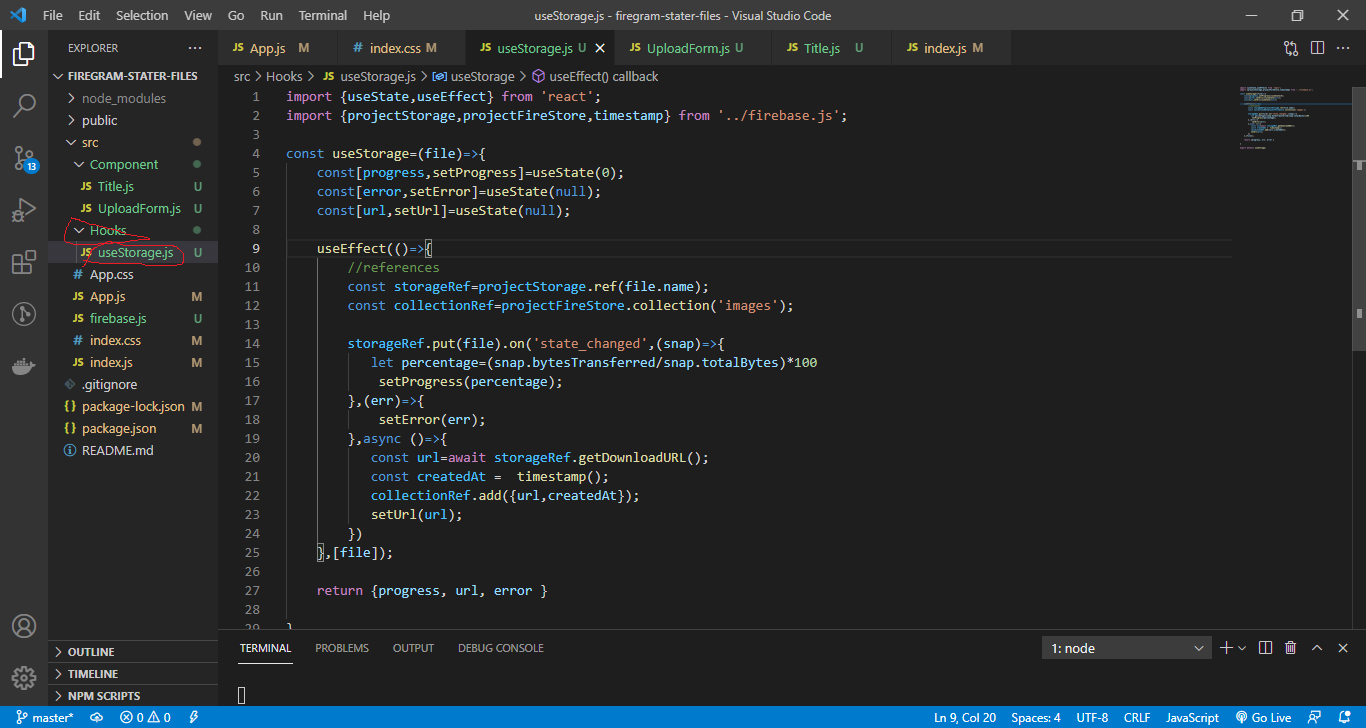
Next we will create one folder inside src folder called Hooks.Inside Hooks folder we will create useStorage.js file for storing image in database.We will use customHooks inside that file
 HTML File
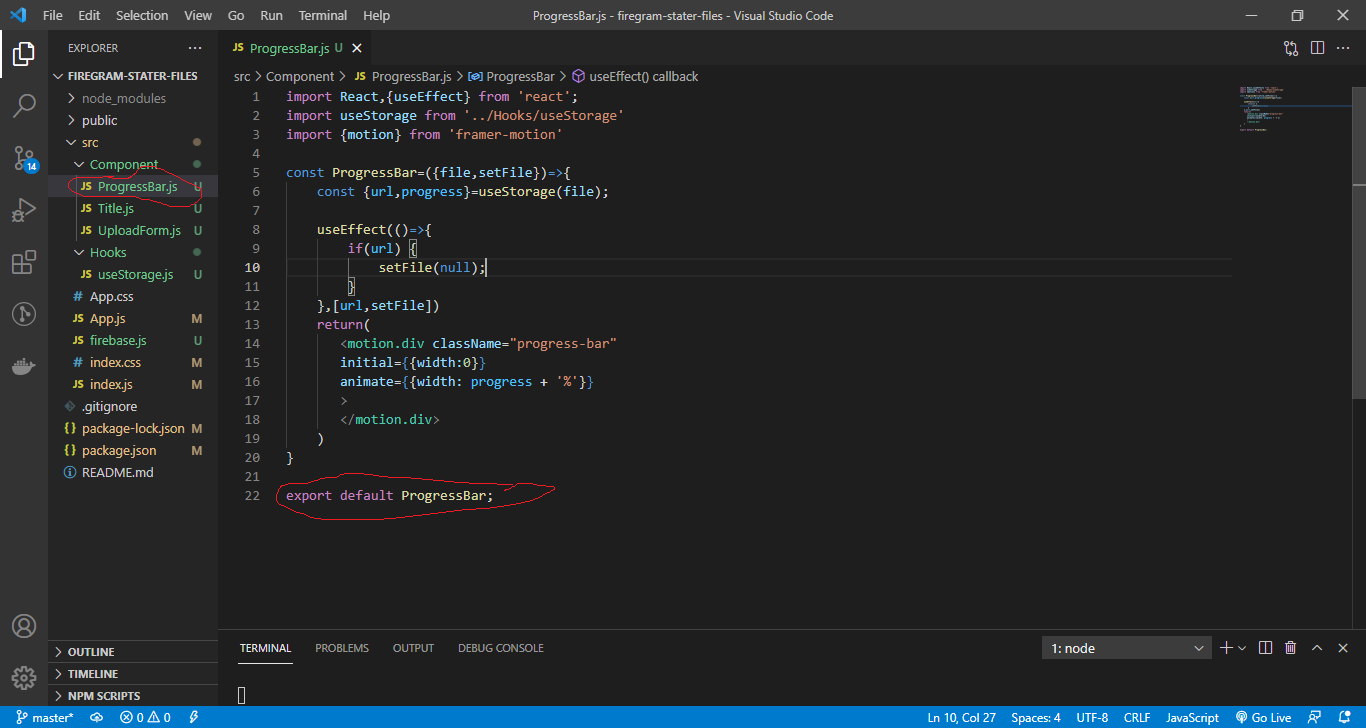
Next we have to create a file inside component folder with name ProgressBar.js. This file will display progress Bar on our project screen. We are using animation framer motion package that will create our page attractive. We can install in our project using
npm install framer-motion
 HTML File
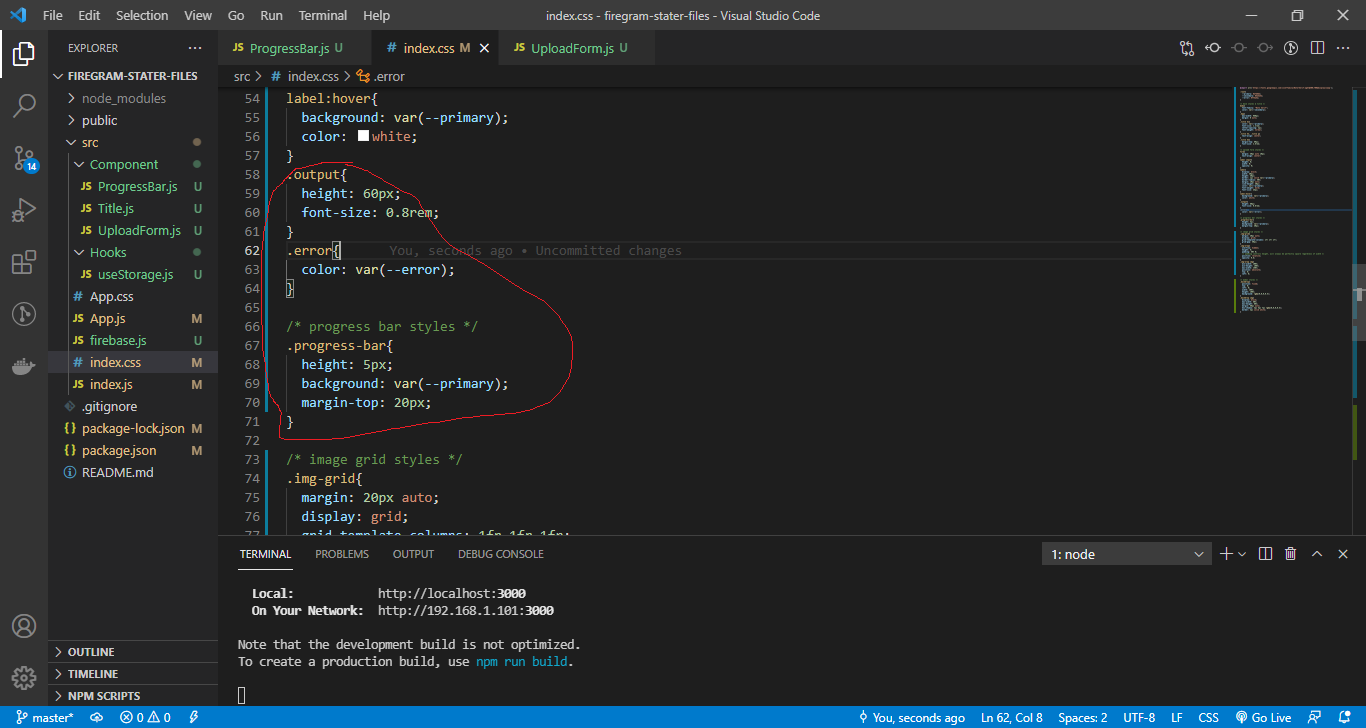
Next we will design the progress bar in index.css file.
 HTML File
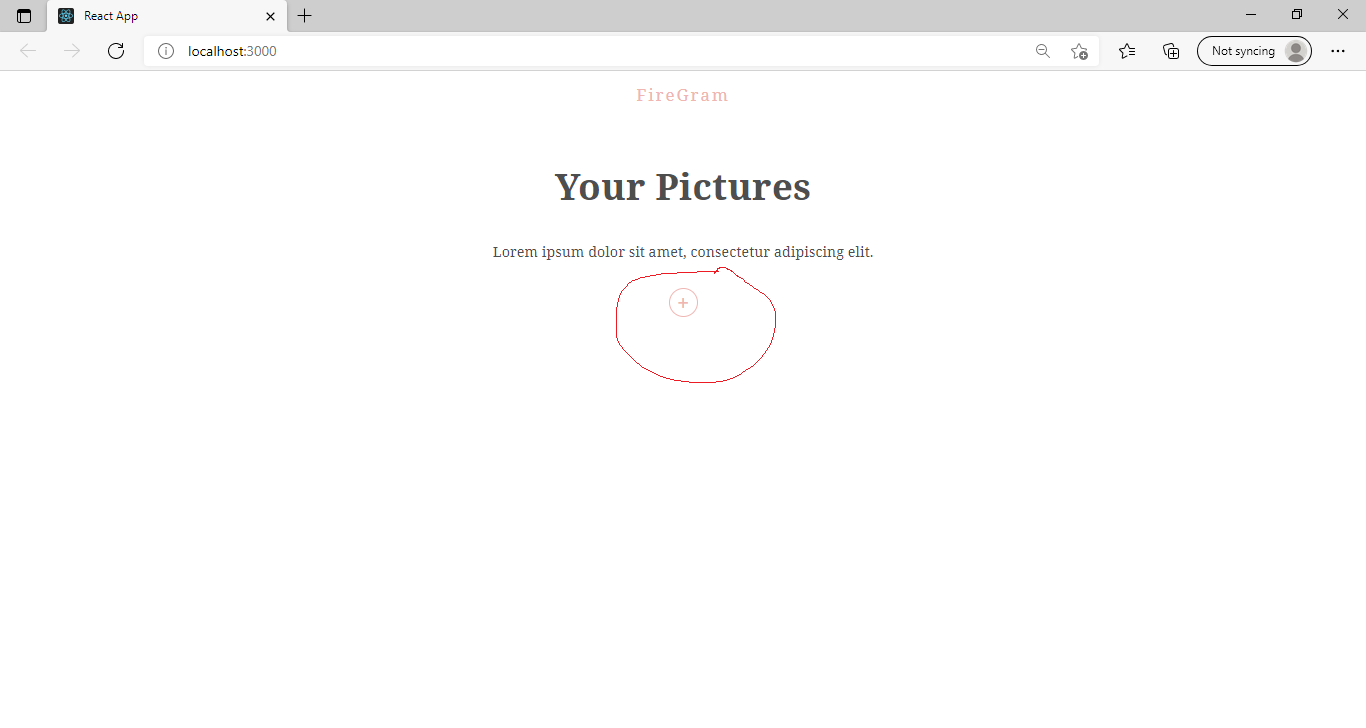
Go to the browser and click on plus icon and choose any picture and it will be uploaded.
 HTML File
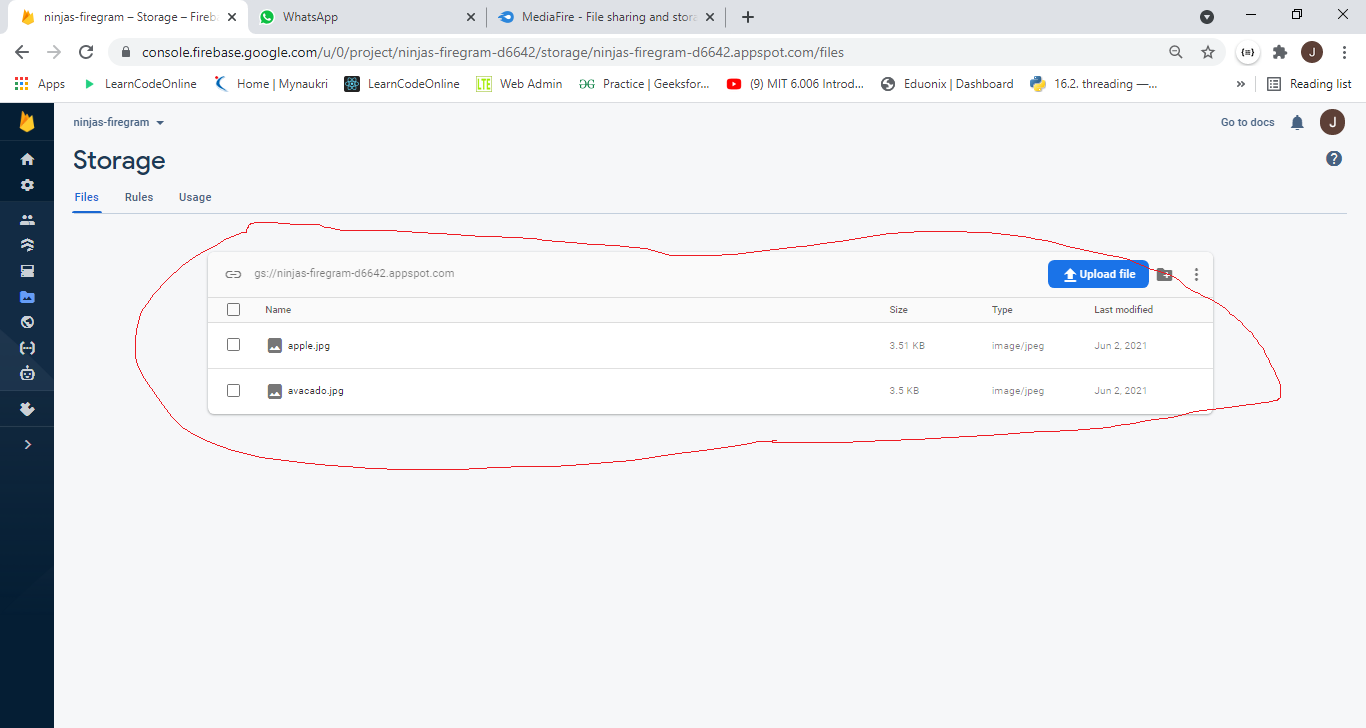
Our data is saved in firebase storage. We can check the same.
 HTML File
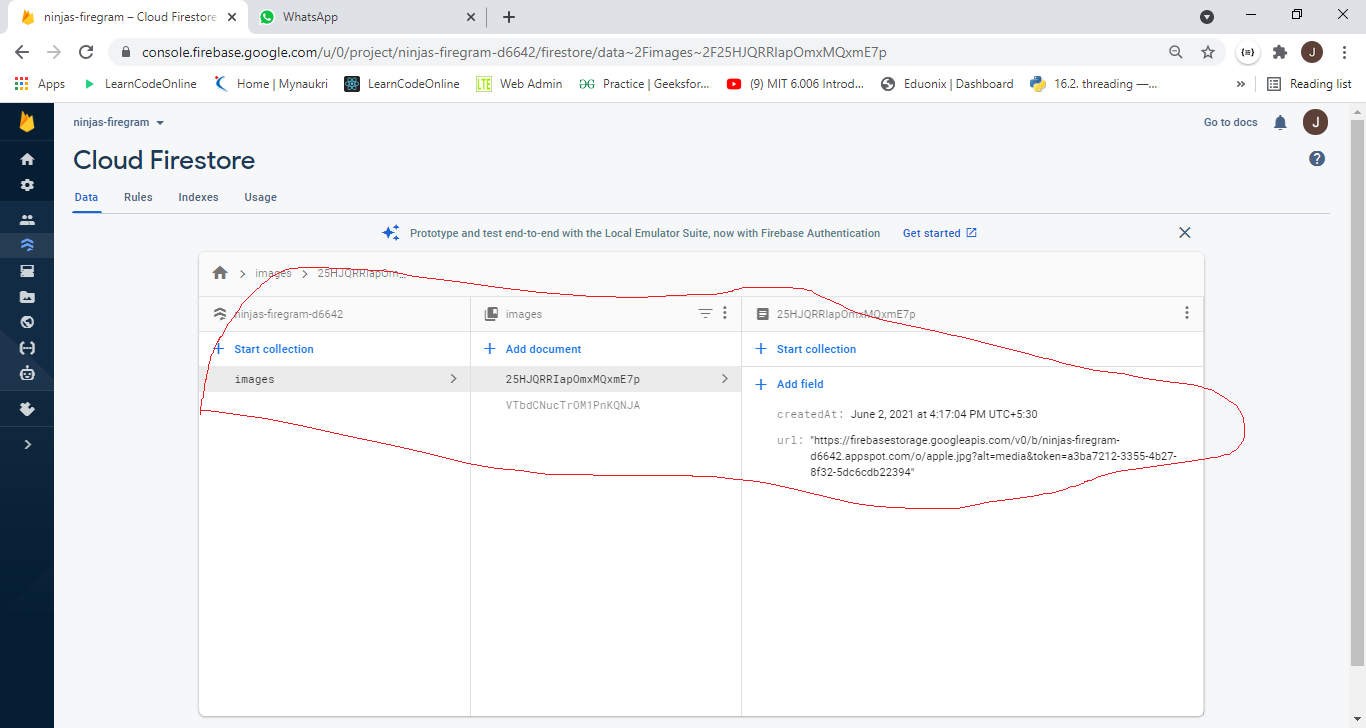
The image url and date are also saved in firebase database
 HTML File
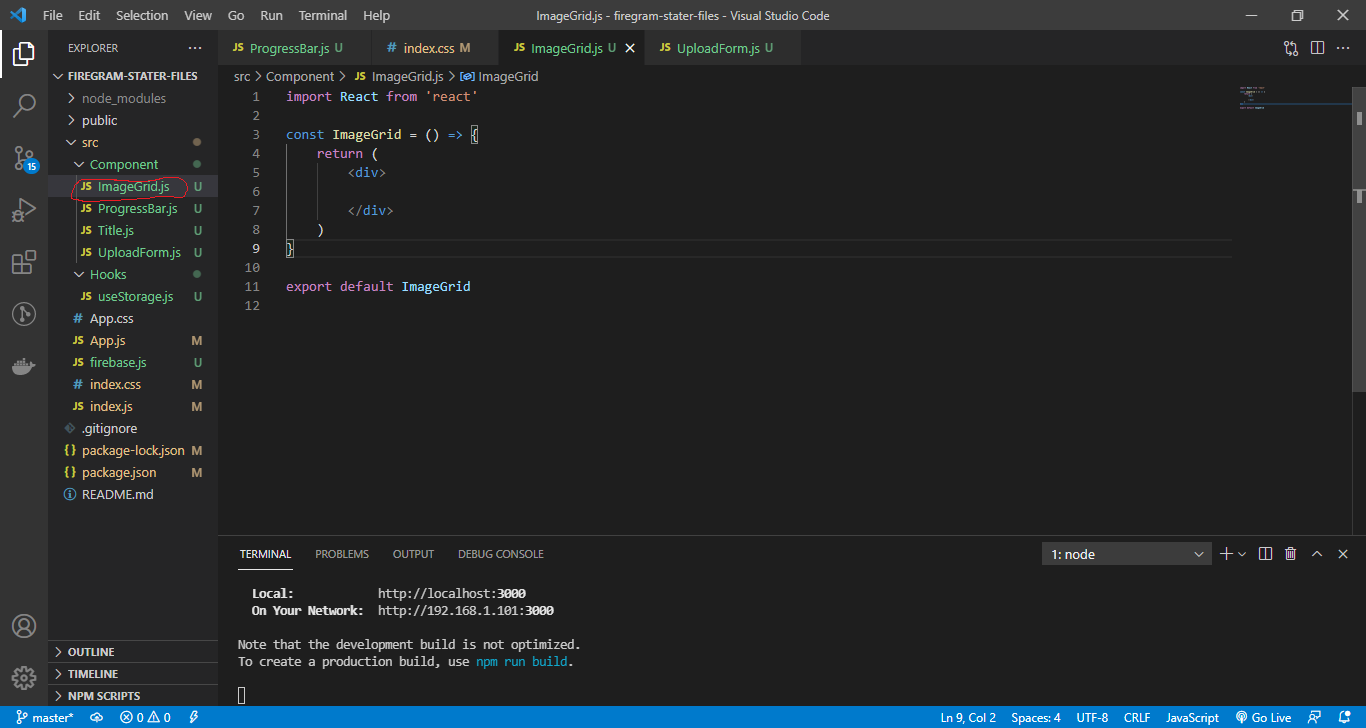
Next we want to create connection between our fire storage and app. For that we have to make one file Inside component folder and that will be imageGrid.js.
 HTML File
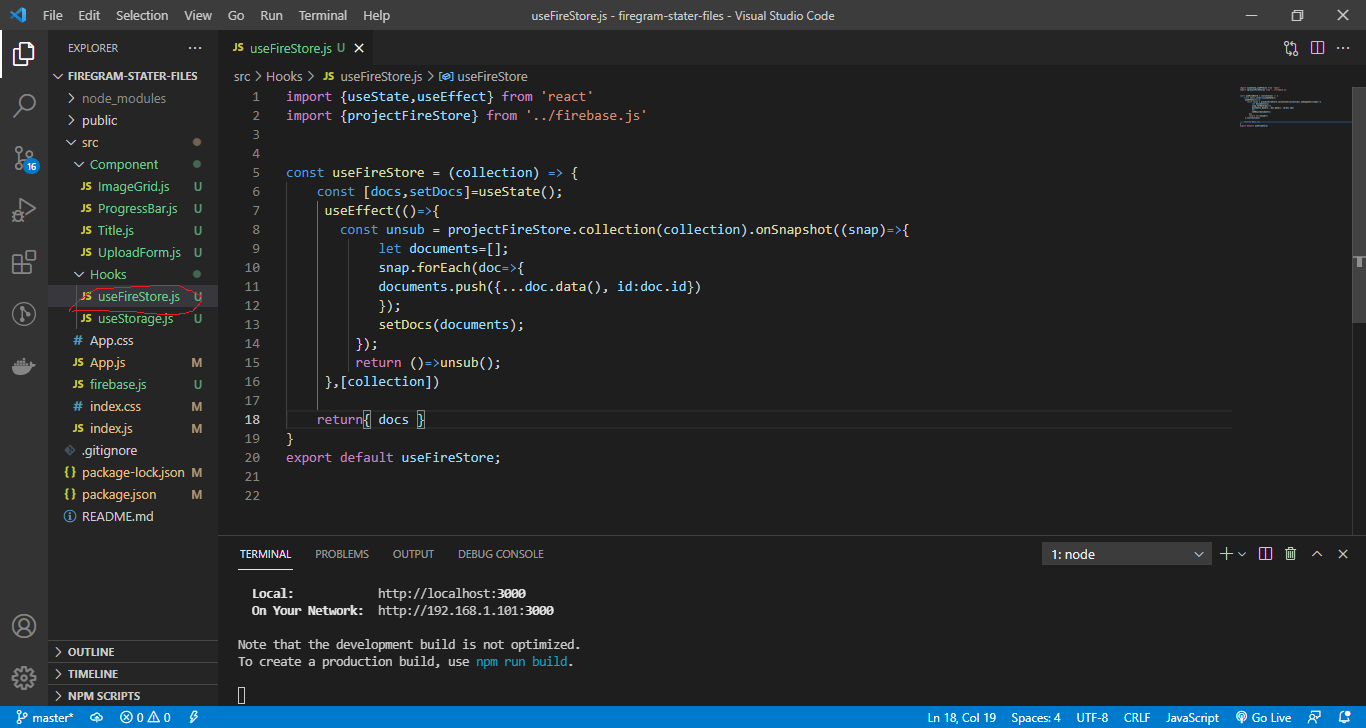
Again we will create reusable component for collecting collection from firestore.Create useFireStore.js inside Hooks folder. The useFireStore will collect the data from fireStrore
 HTML File
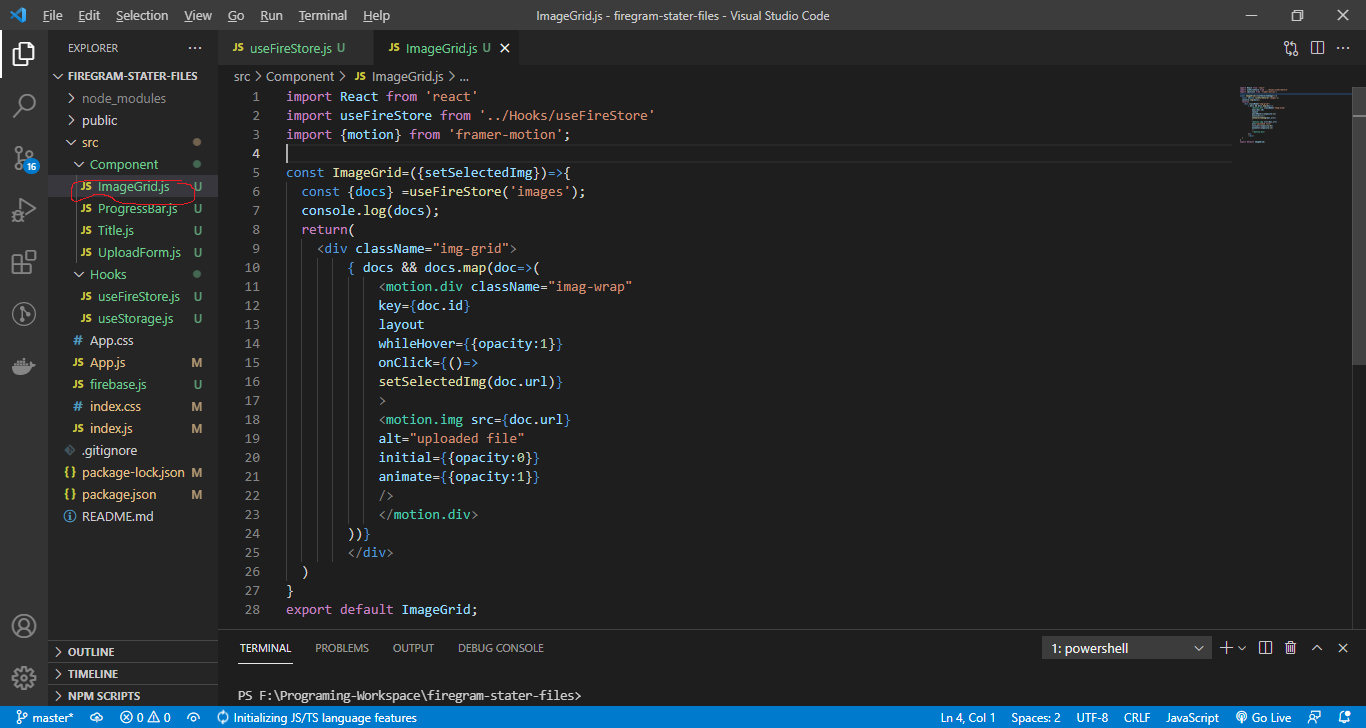
Next we will fetch data from firebase storage in ImageGrid.js
 HTML File
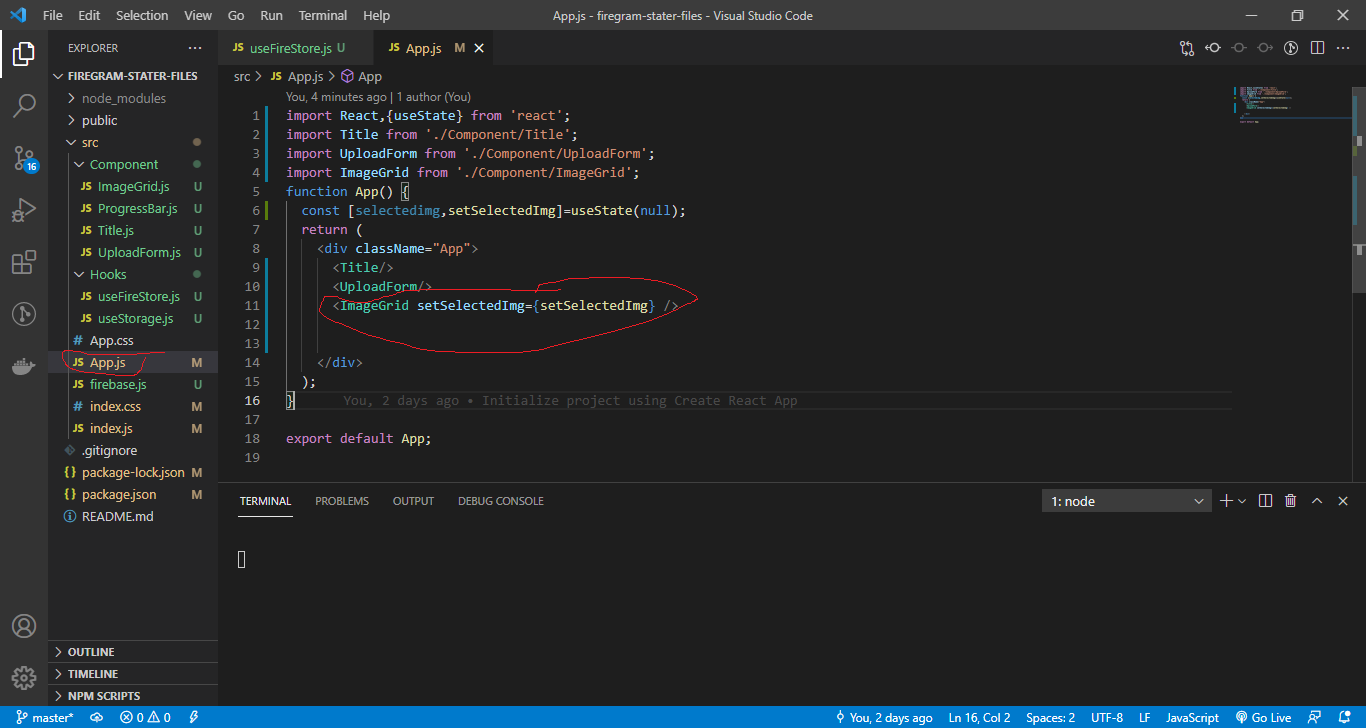
Next import ImageGrid.js in App.js. We are using useState and passing props in imageGrid. We successfully fetched our data from database.
 HTML File
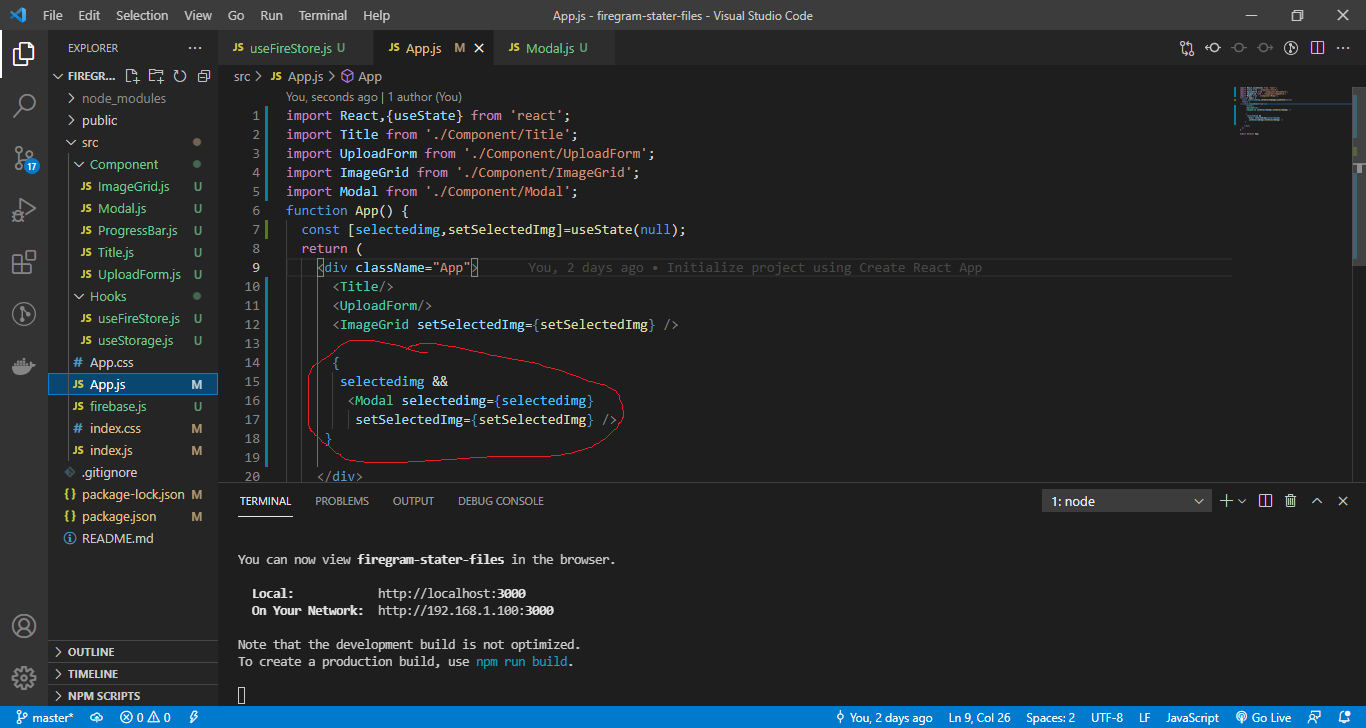
Next we want to click on the image and it will display like popup.First we have to create one file inside component folder called Modal.js .
We will import the Modal.js in App.js file. And will be sending Props in Modal.js.
 HTML File
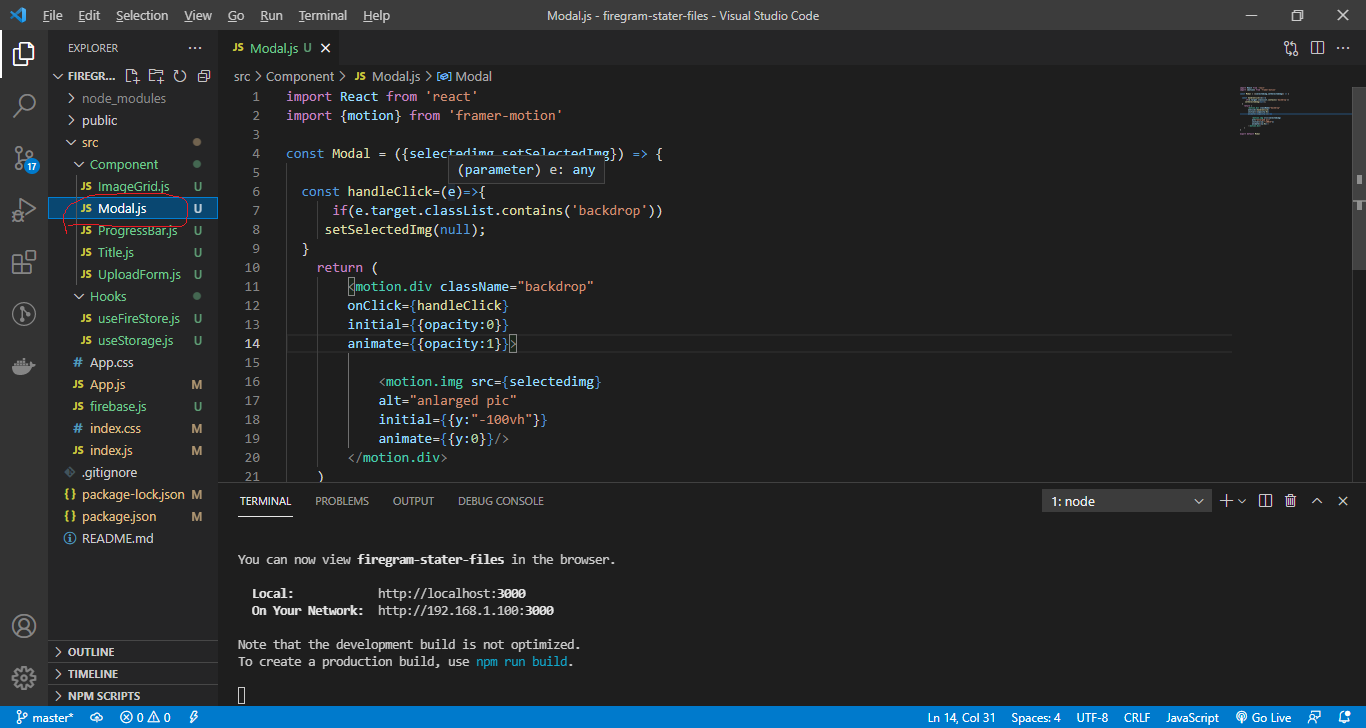
Next we will add code for showing Image in browser.
 HTML File
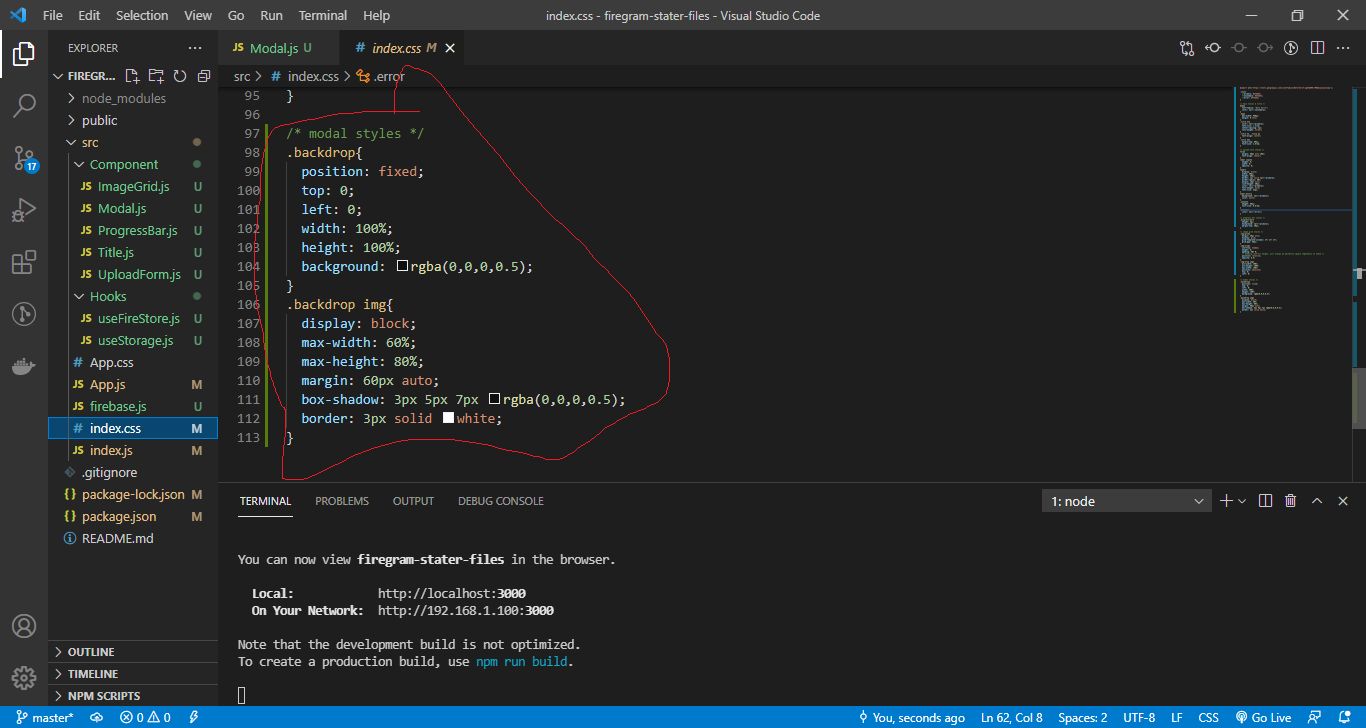
Next, we will add the styles in index.css file
 HTML File
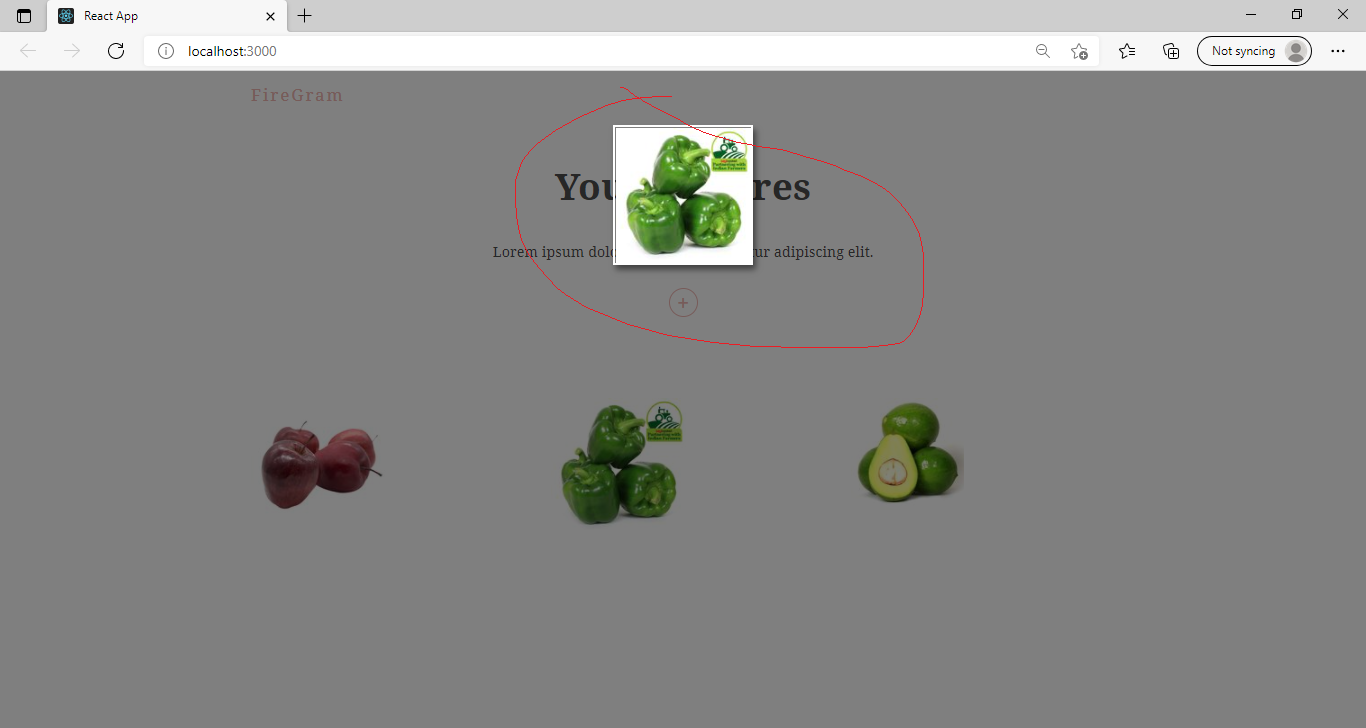
We have completed image gallery successfully. You can find the code for the same here
 HTML File