PhotoShop for Web-developers — 1
by Nabendu Biswas / April 8th, 2019
#design #beginners #webdev
Series: Photoshop
For i a long time i postponed learning PhotoShop and instead learnt the other skills in programming. If anyone have created small portfolio websites or freelance websites or any website, photo editing is a must skills. You need to crop a picture, downsize a picture. I was doing most of the photo-editing through CSS properties, or doing a bad job through the Preview editor in Mac.
It was finally time to learn the photoshop skills, so i searched Youtube first but was not able to find any complete course. Then i searched Udemy and found a great course by Dan. Most of the things in this blog are from his teachings.
I have PhotoShop CS5 and this blog is based on that. Let’s first learn how to fix pictures. If we get them from places like pexels or unsplash, they hardly need fixing. But sometimes we use images from mobile phones on a website and that is the time, these skills comes into handy.
Fixing image using Levels
Let’s start to fix an image using an Adjustment in photoshop called Levels. So, fire up your PhotoShop and open any image. I will be using the below image.
 By Matthew-hamilton unsplash
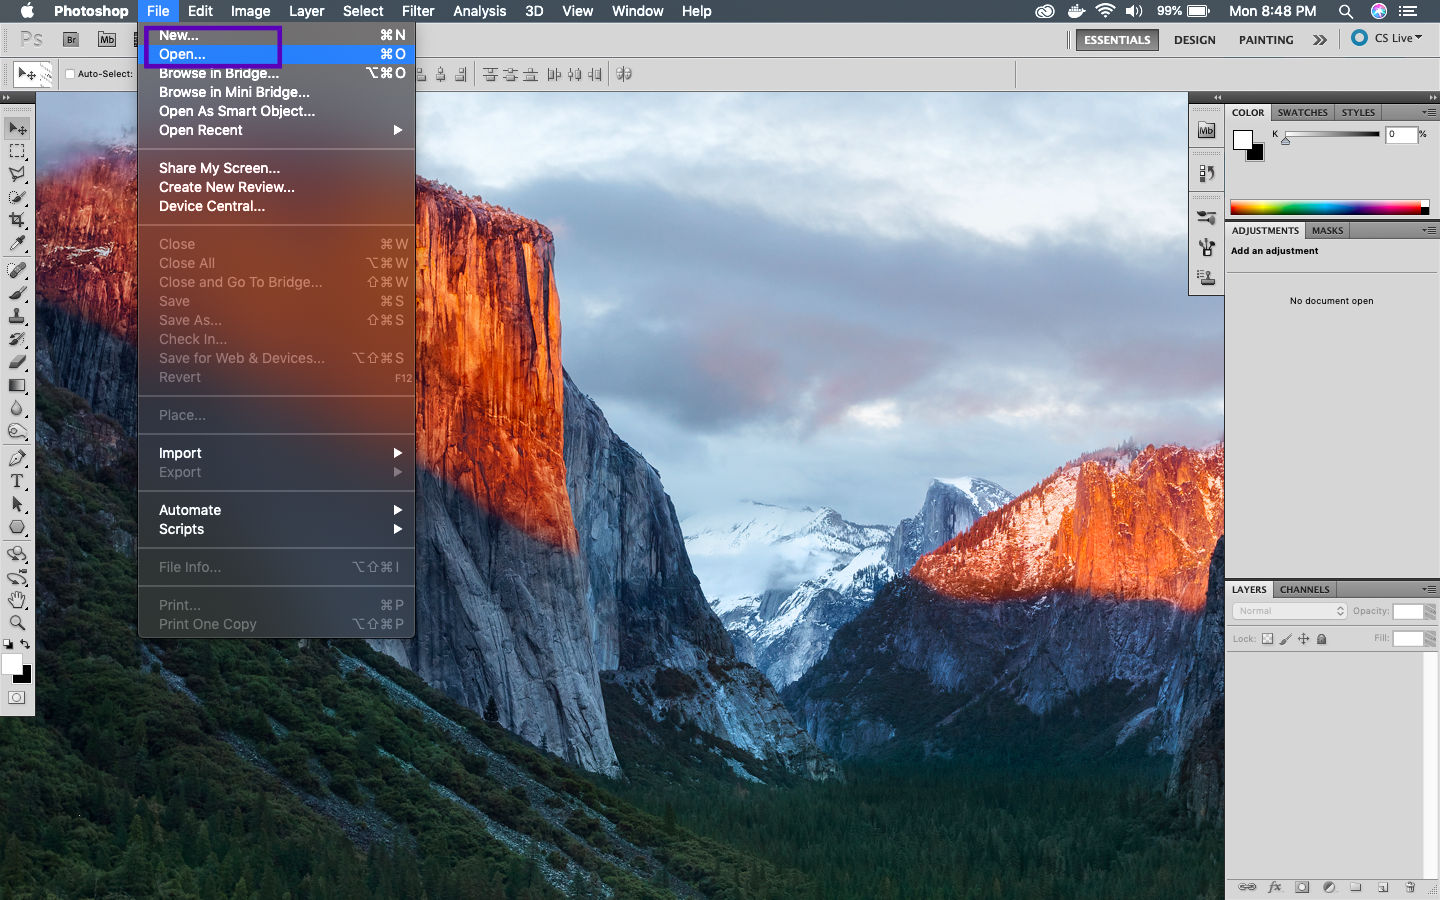 Open the Image
Now click on the Adjustment tab and then the spikey thing shown in the screenshot below. When you hover mouse over it, Levels will be shown.
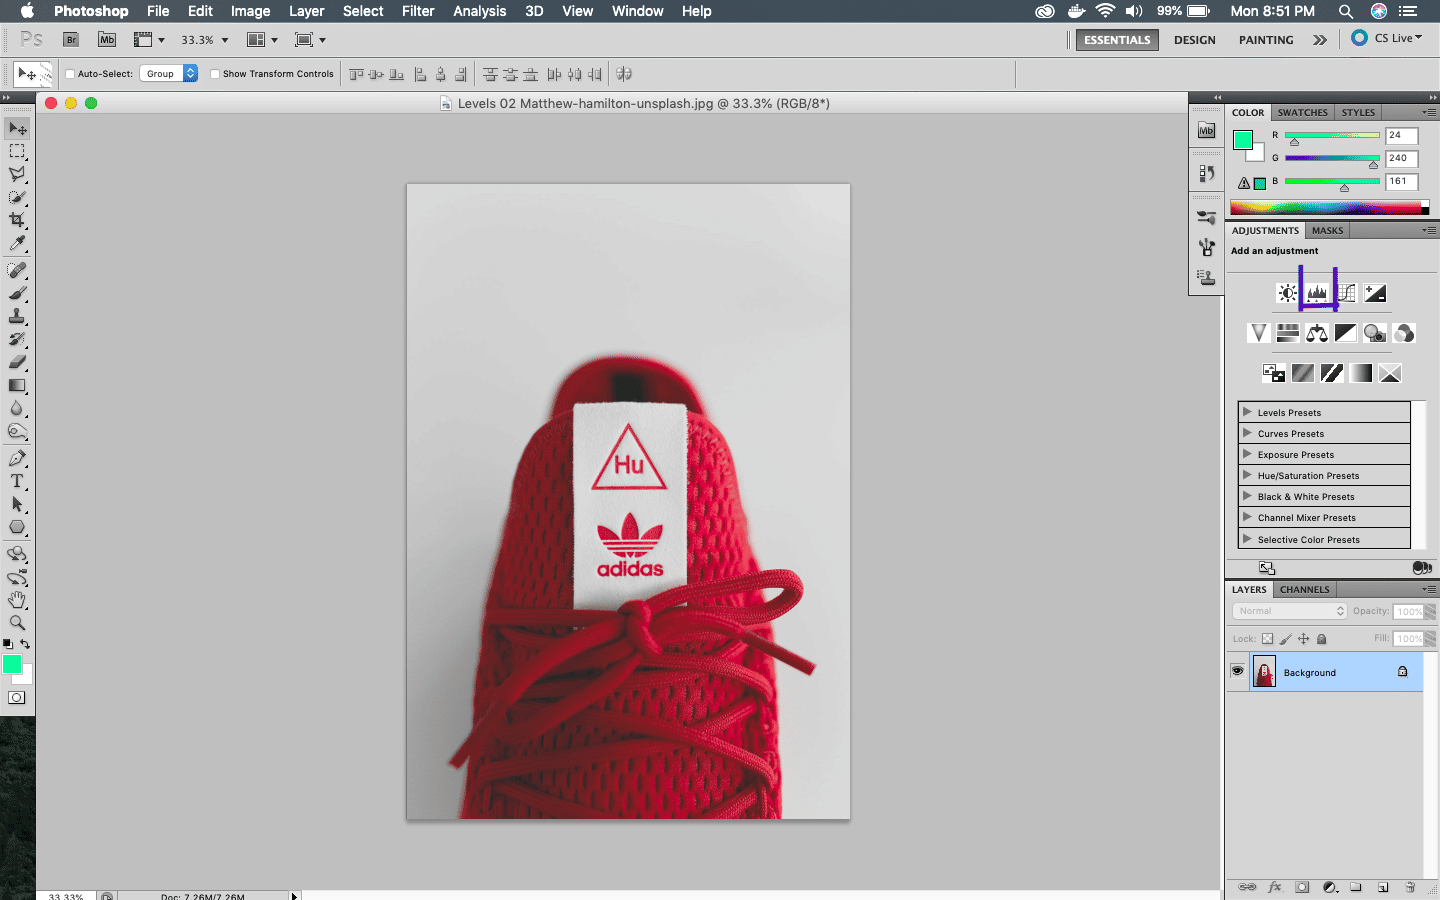 Levels
Once clicked a new Layer will form in the layer tab and also the Adjustment tab will show the Spike Graph.
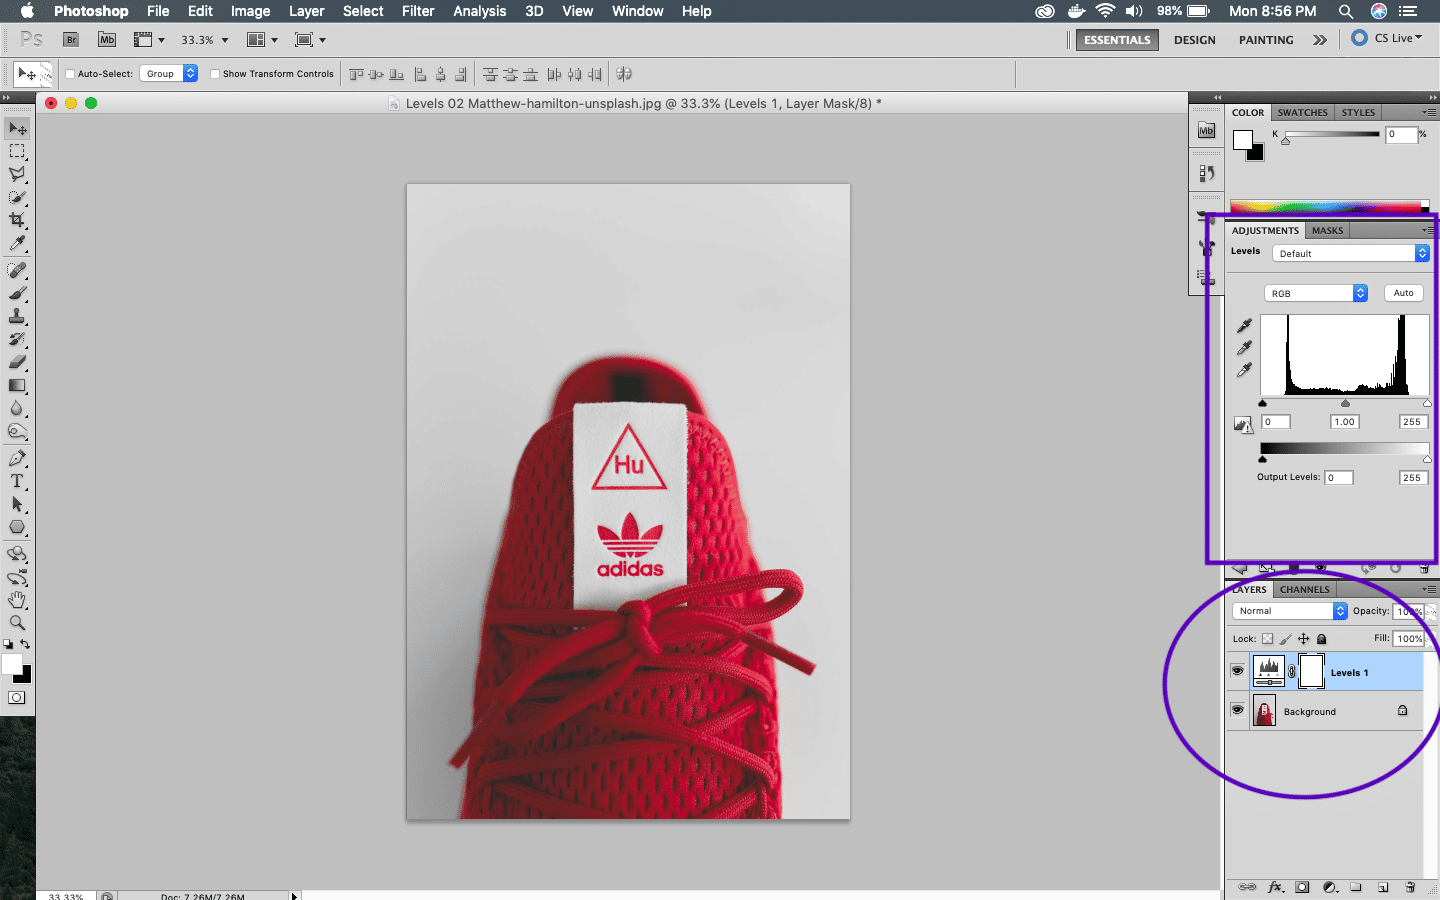 Levels opened
Now, in the Levels graph there are three sliders. The black(or white) graph represents the image. Drag the Outer two sliders to the place where the graph starts or a bit more. You will instantly see sharpness increases in your image.
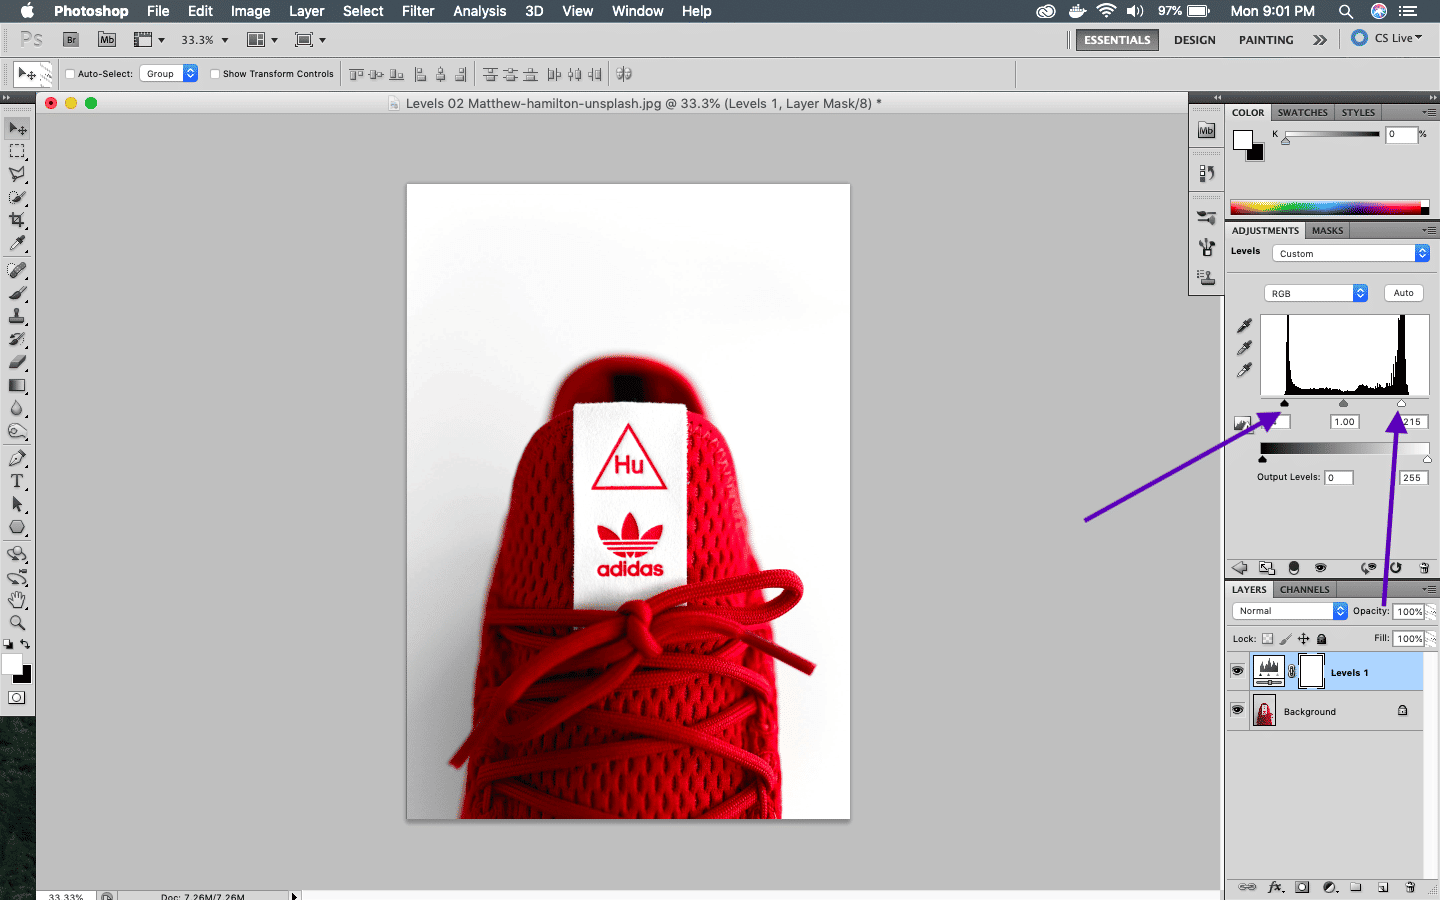 Increase in sharpness
Next drag the middle slider to the left or right and see the magic. Drag it to a point which you like.
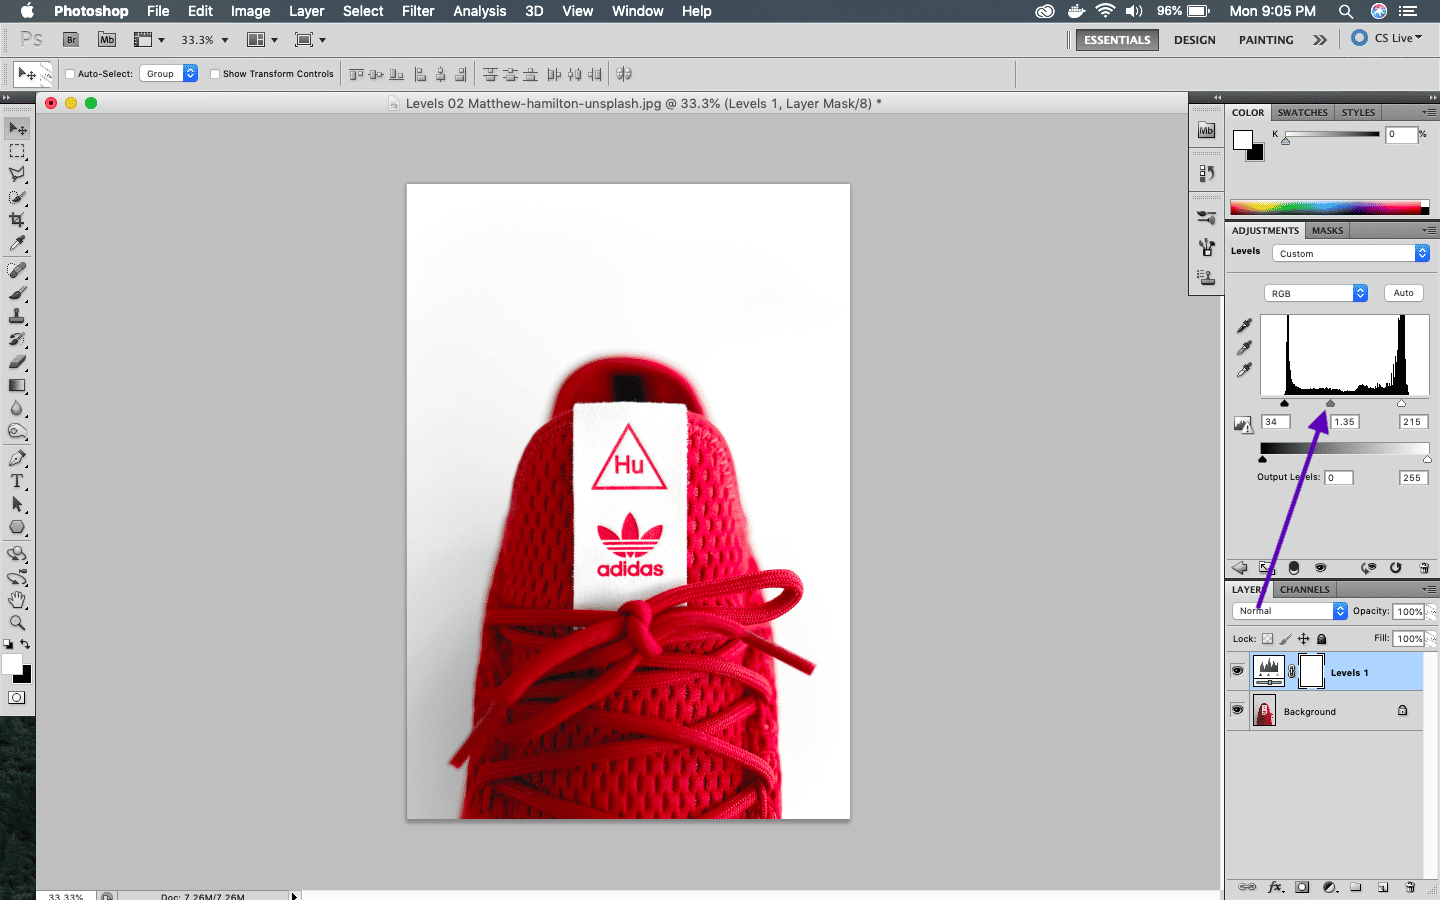 Middle slider
You can always check the original image and the magic, which you have just done by clicking the eye on the Levels layer. Turn off to see the original image and Turn on to see your masterpiece.
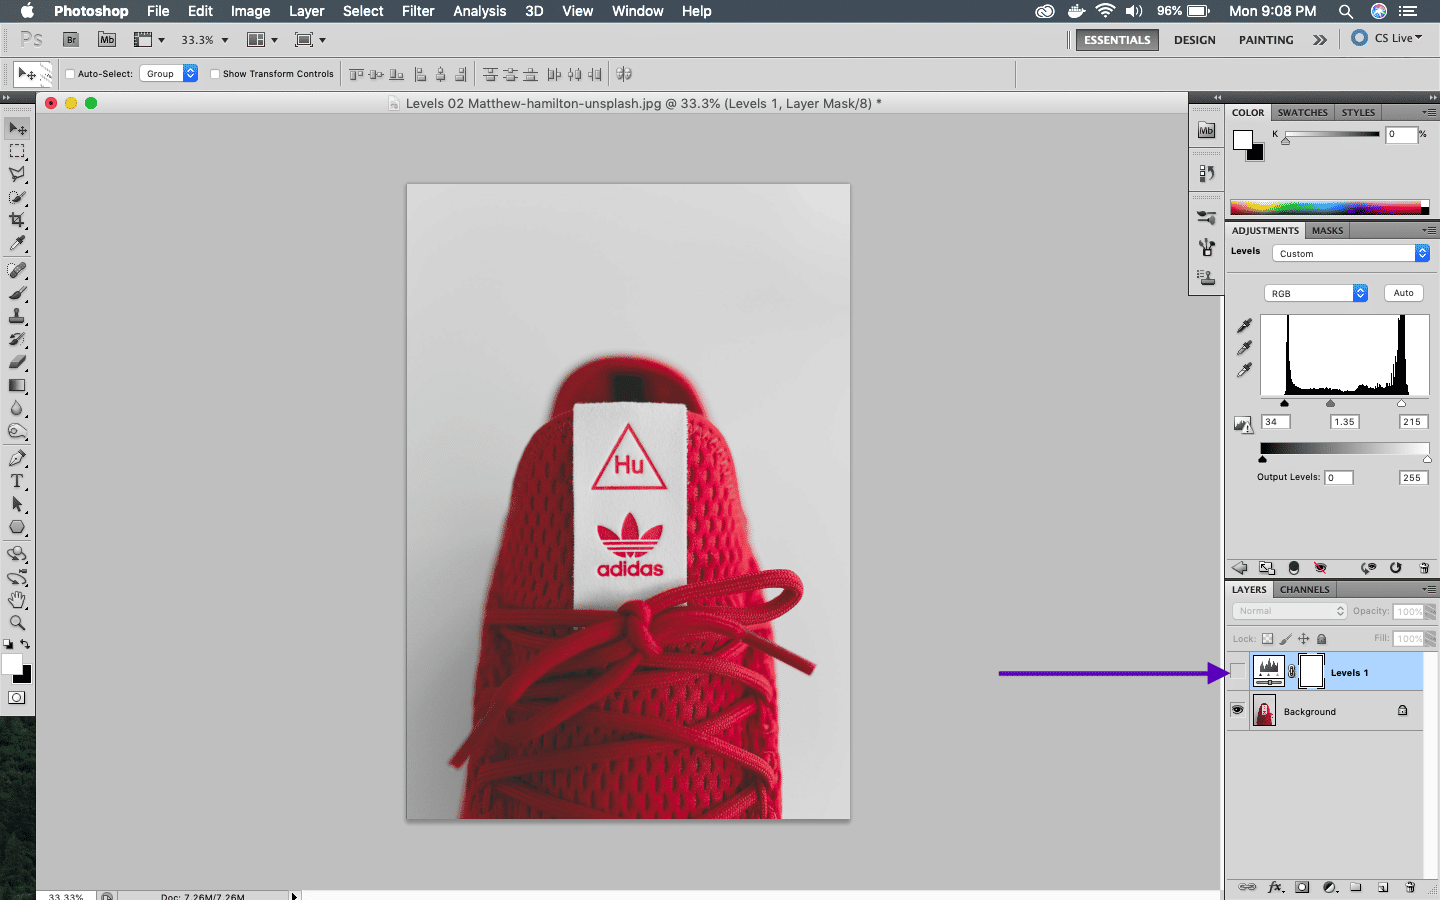 Layer on/off
Time to save your masterpiece. Remember to turn on the Levels eye in the Levels layer. Click on File -> Save As. By default, it will ask to save as PhotoShop, but as we know most images needs to be JPEG or PNG to be used.
But first save it as Photoshop(psd) file as we can edit it later.
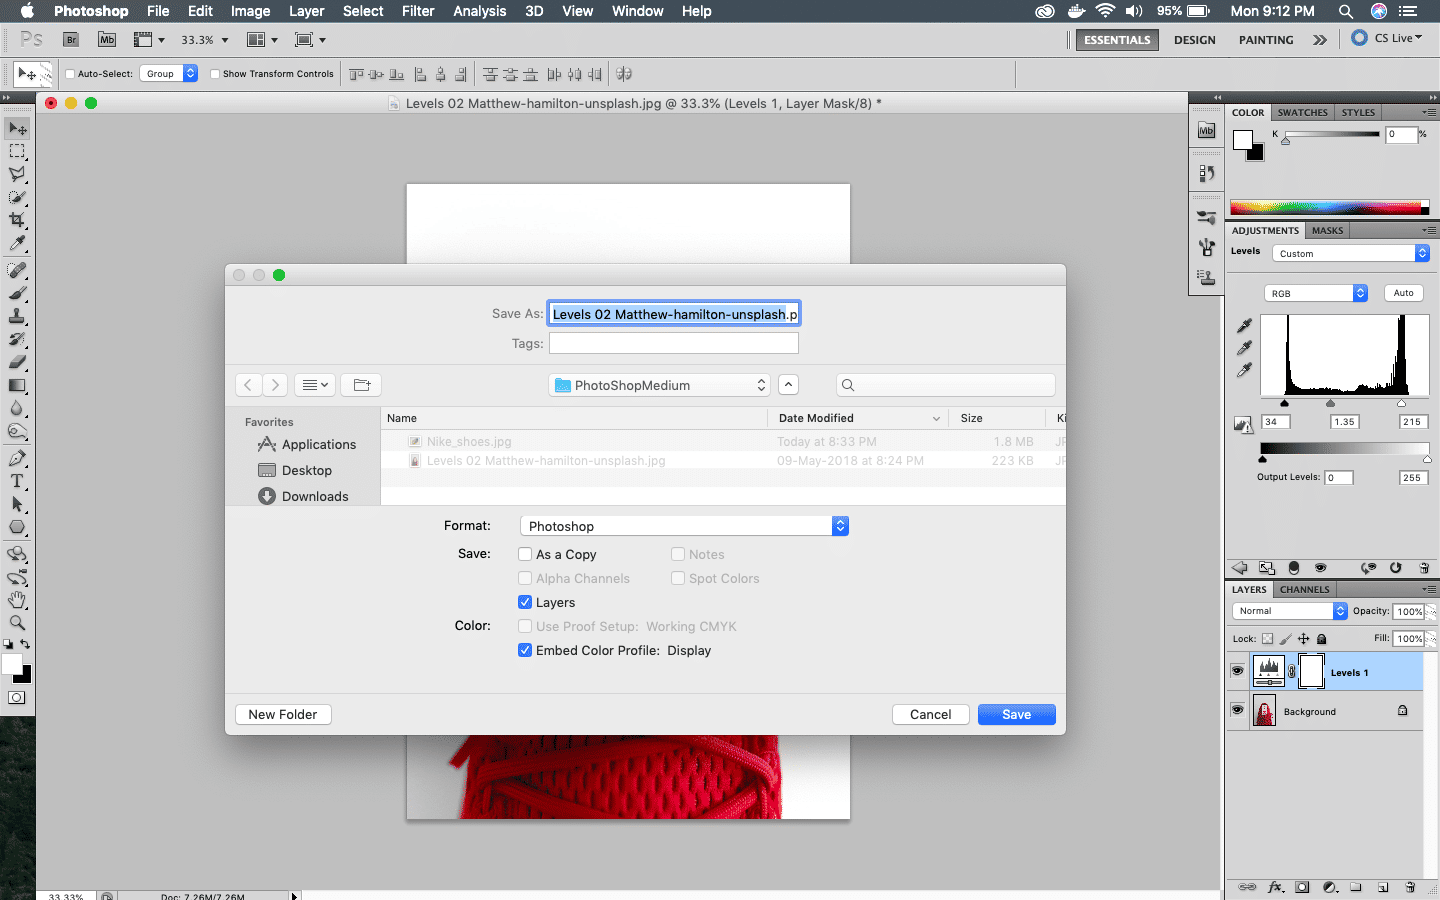 Save as psd
Now again click on File -> Save As and save as jpeg.
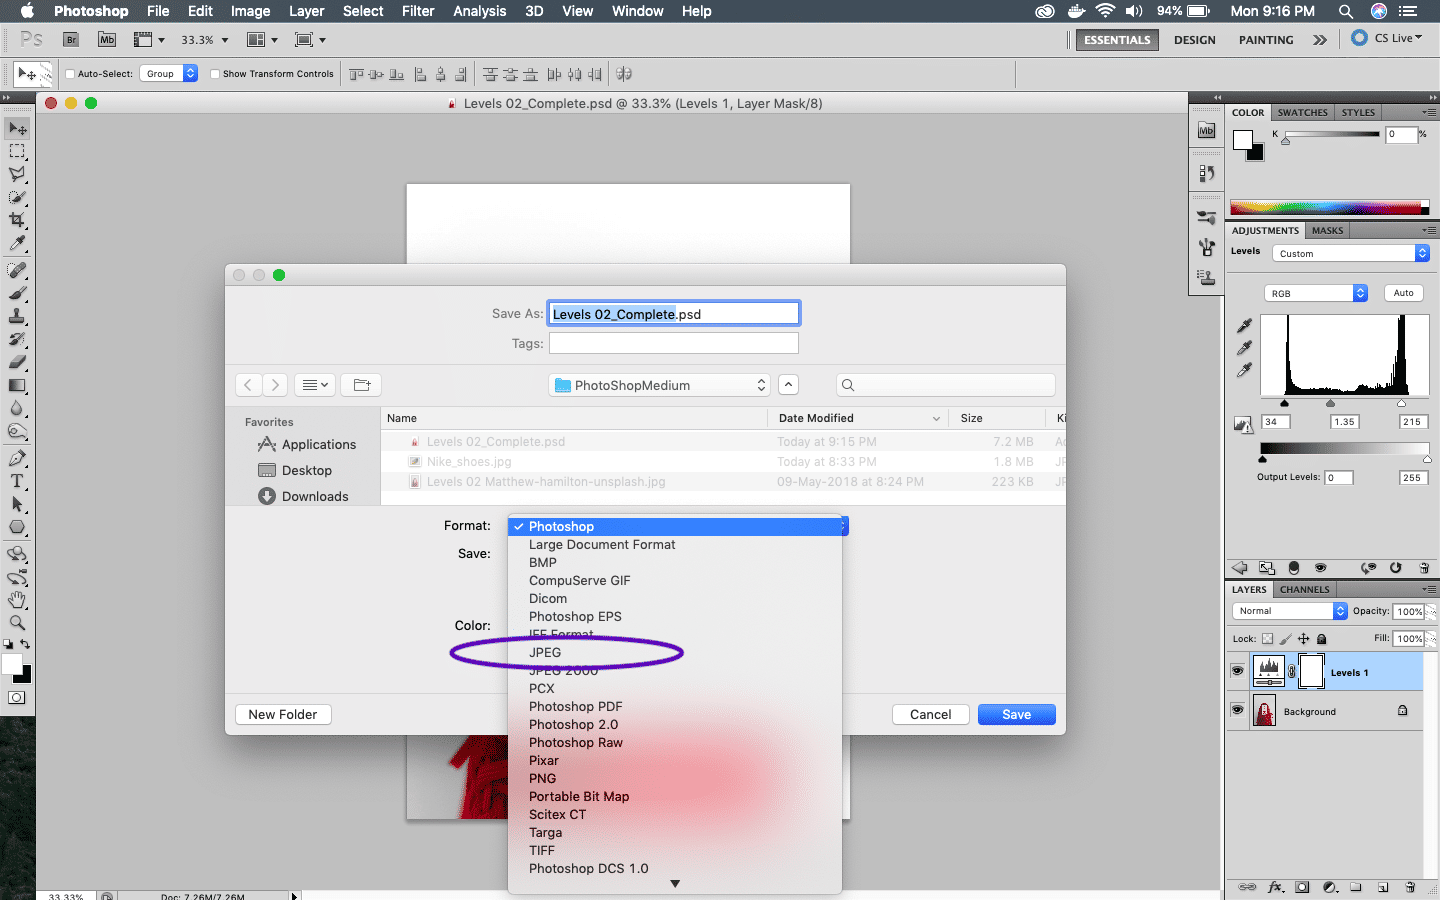 Save as JPEG
Enhance Colors using Vibrance
Next we will learn how to enhance colors in an image using Vibrance. Let’s first open an image in Photoshop.
This is the original image which was taken by me on a recent Goa trip.
 Goa Beach
Opening it now in PhotoShop.
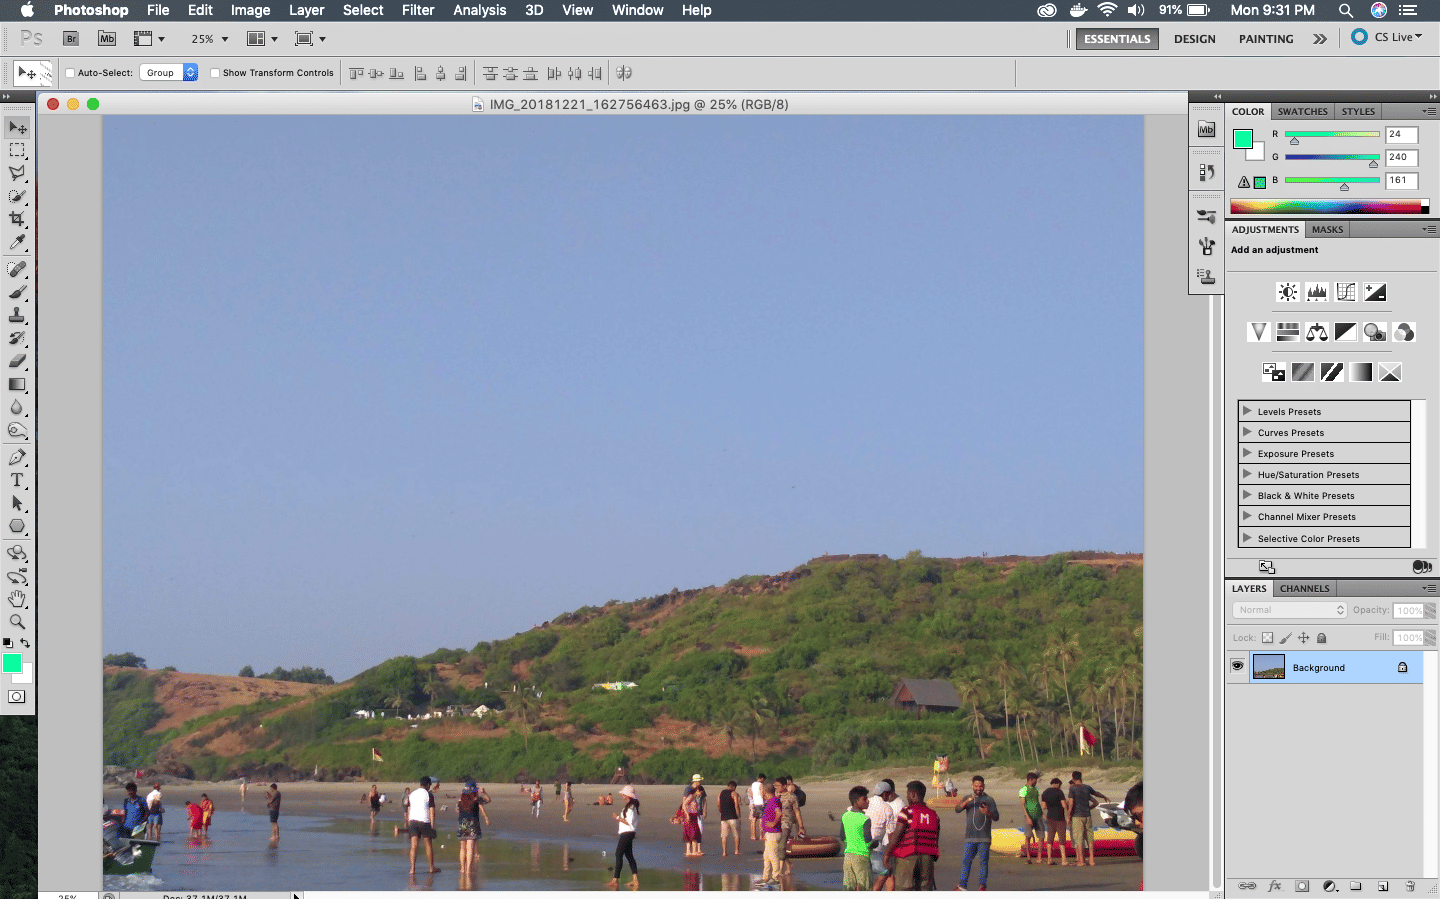 Opening in PhotoShop
Next move the mouse over the Inverted Triangle, which will show Vibrance.
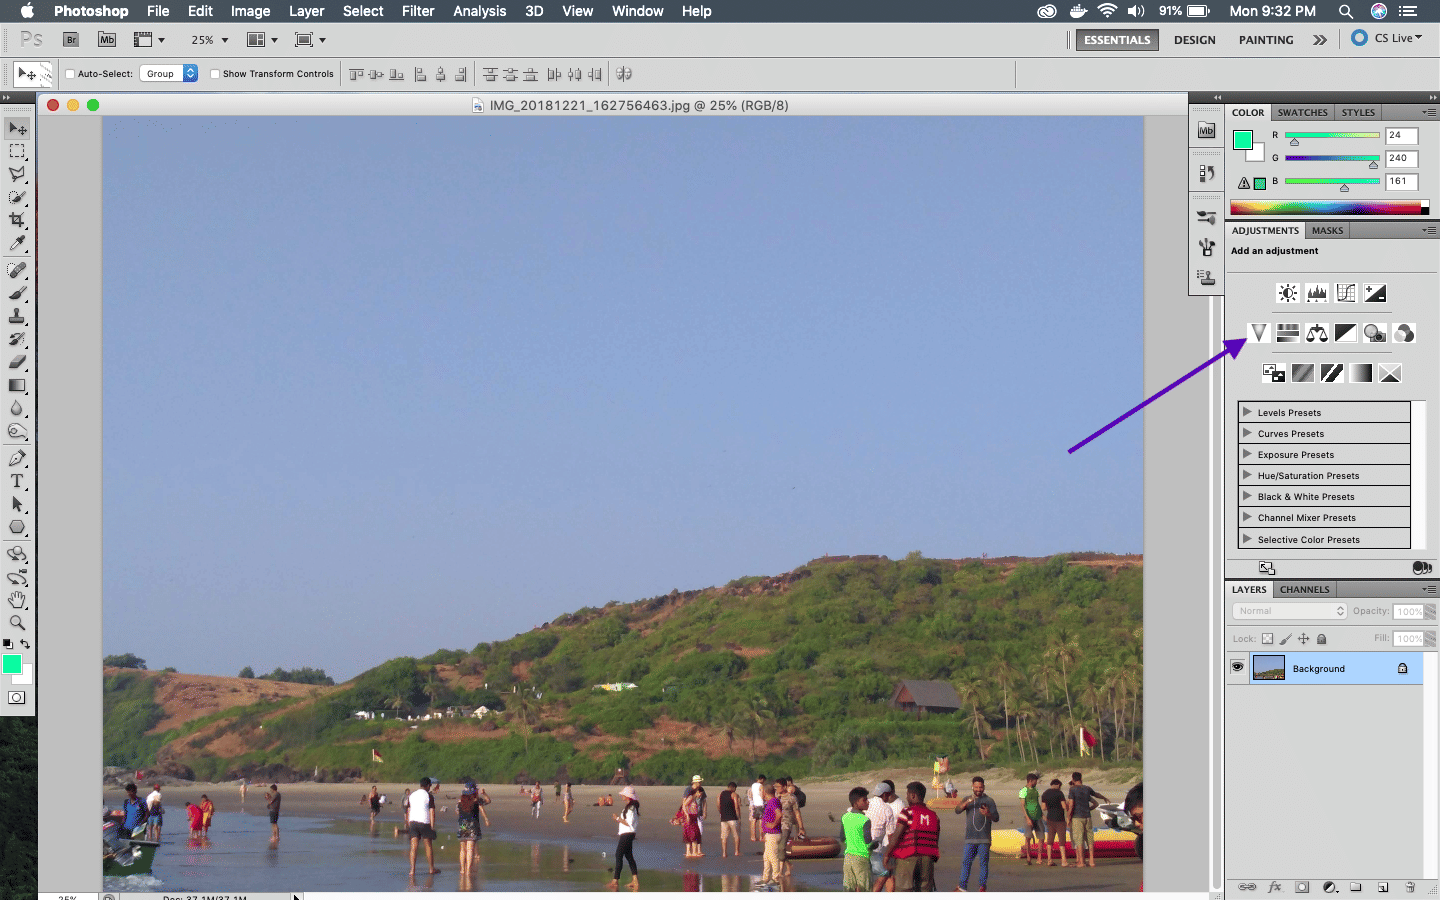 Vibrance
Now, the Vibrance window have two fields — Vibrance and Saturation. If you slide Saturation, you will notice that it enhances colors of everything. But if you slide Vibrance, it enhances colors only of dull items and leaves already enhanced colors.
We silde the Vibrance slider and the dull colors in the image enhances.
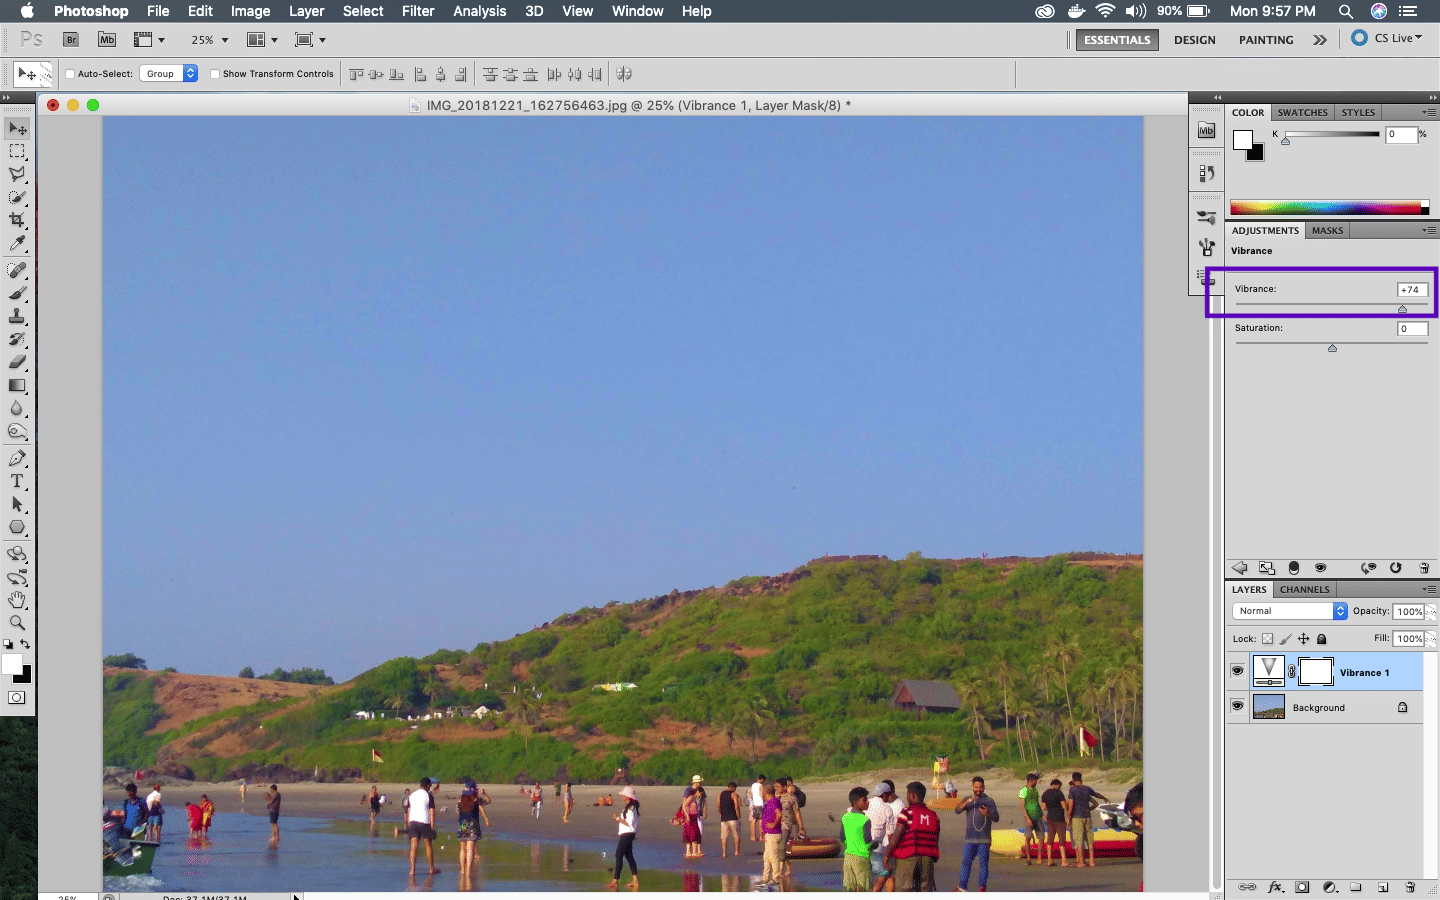 Vibrance at its best
Save the images as both psd and jpeg and also don’t forget to see the before and after effect by clicking on the eye in the Vibrance layer.