PhotoShop for Web-developers — 3
by Nabendu Biswas / April 10th, 2019
#design #beginners #webdev
Series: Photoshop
Welcome to Part-3 of the series. Most of the things in this series are from the great Photoshop course on Udemy by Dan.
Make image Black and White
This one is the classic and used very often. Many time websites require Black and white large pictures to blend with the site. We then go out in google and find this nice image but it’s colored. We can turn it into black and white by below method.
We will use this beautiful picture from my Goa trip and make it black and white.
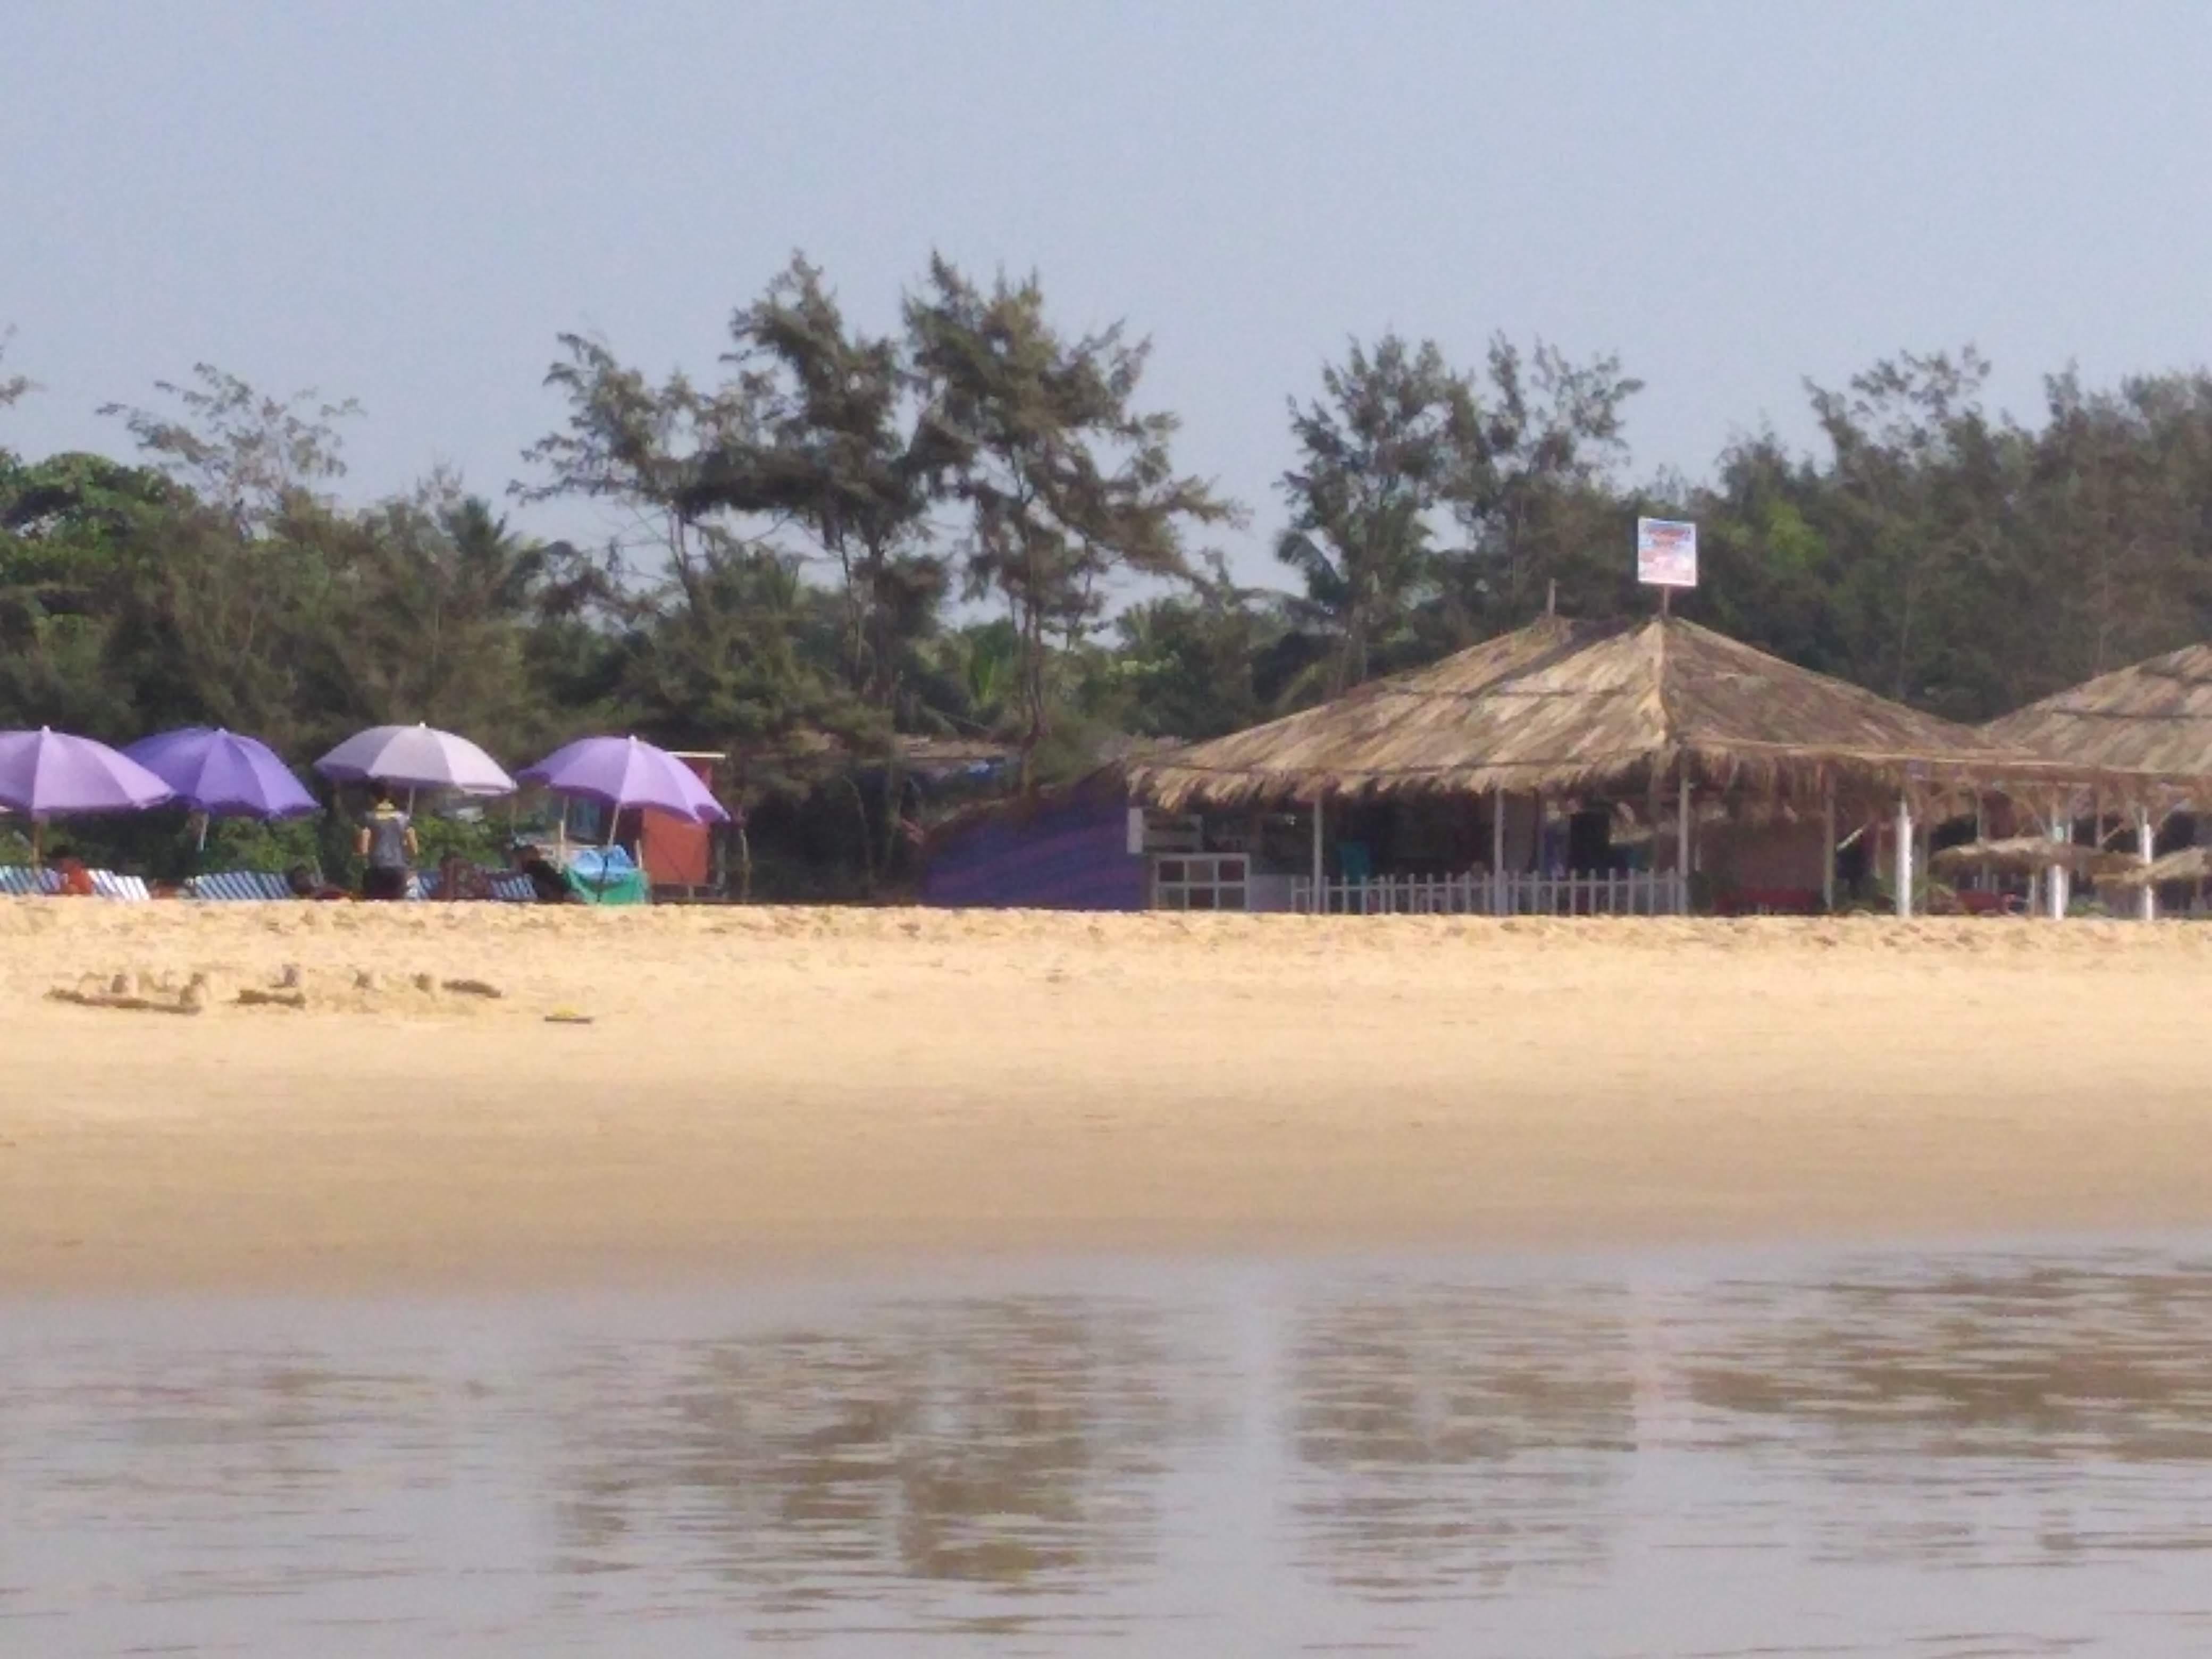 Goa beach
First open the image in PhotoShop and click on the Black & White icon in Adjustment tab.
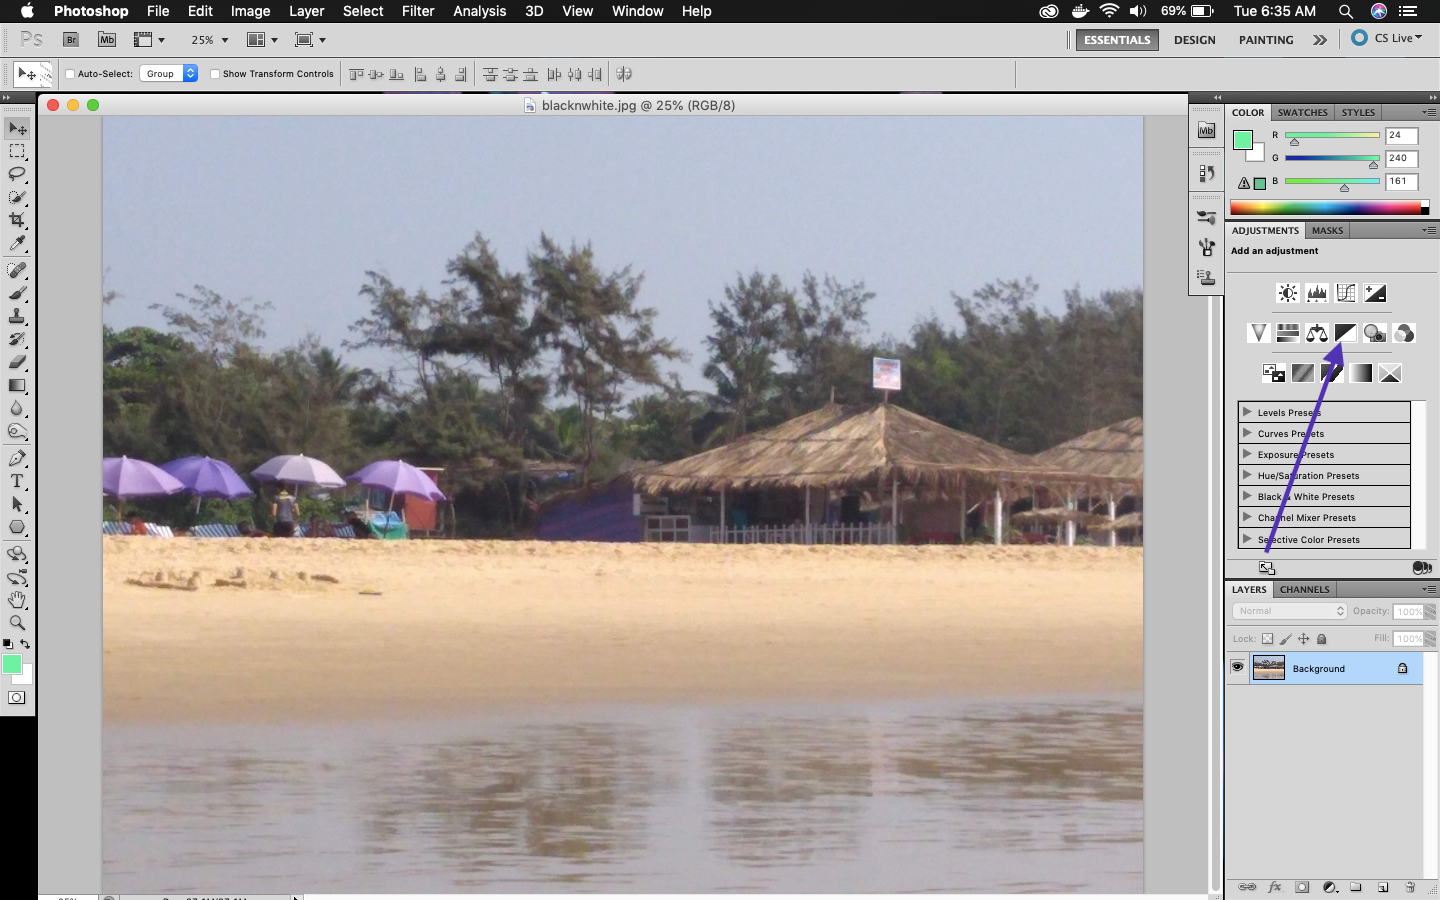 Black & White
The moment you click on it the image will become Black & White. If you are happy with it, you can skip the rest of this part. But if you want to make it more classic then follow along.
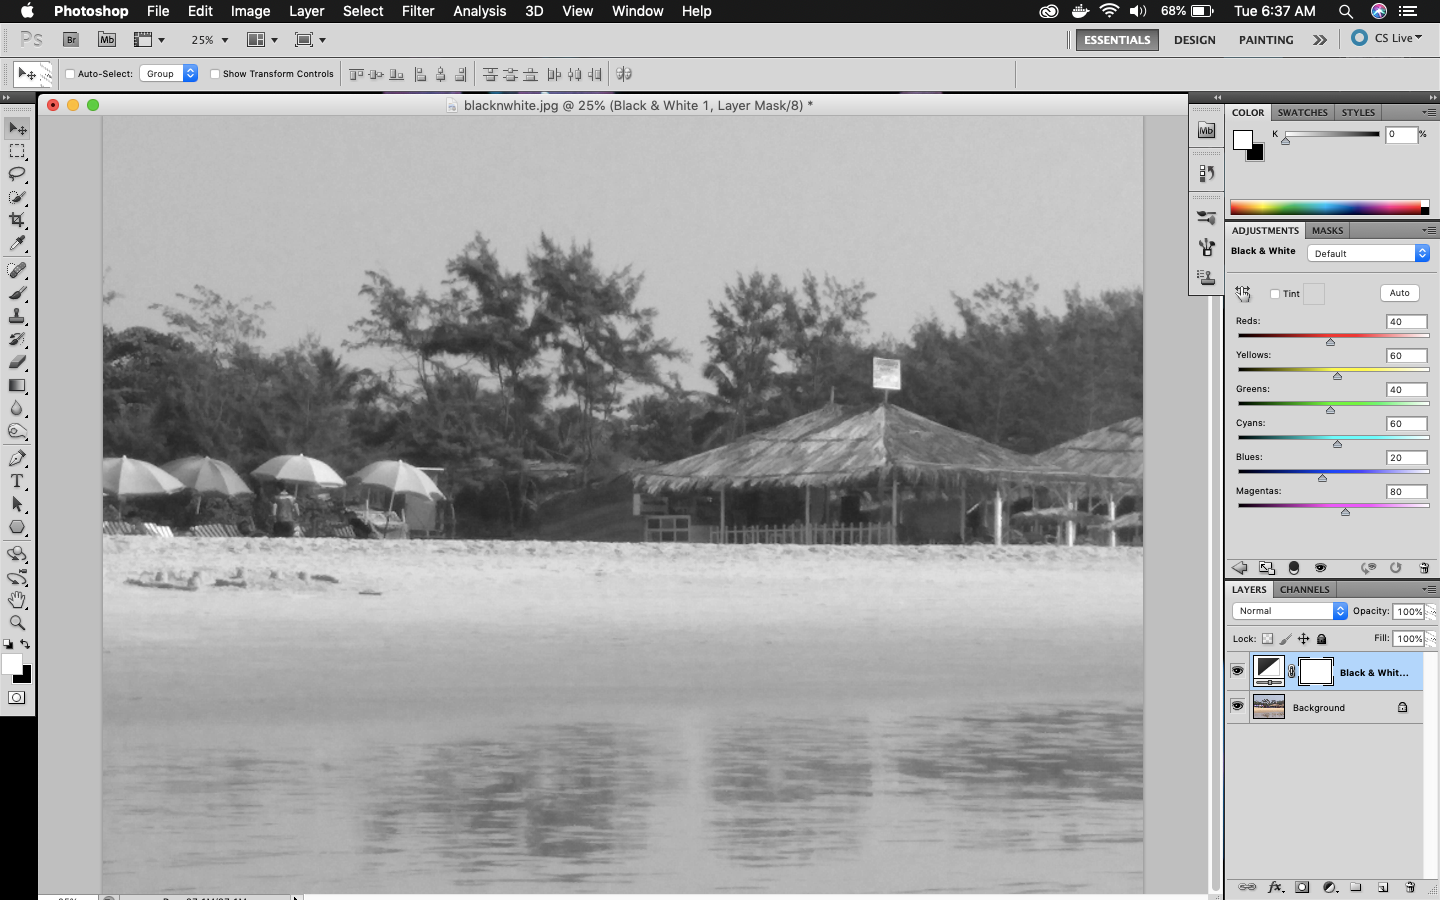 The Black & White
You can see many sliders for different colors in Black & White tab. They are actually the colors from you picture. Turn-off the eye from your Layer for Black & White to see the original picture. We can see a Red cabin in the picture and also the sky is blue.
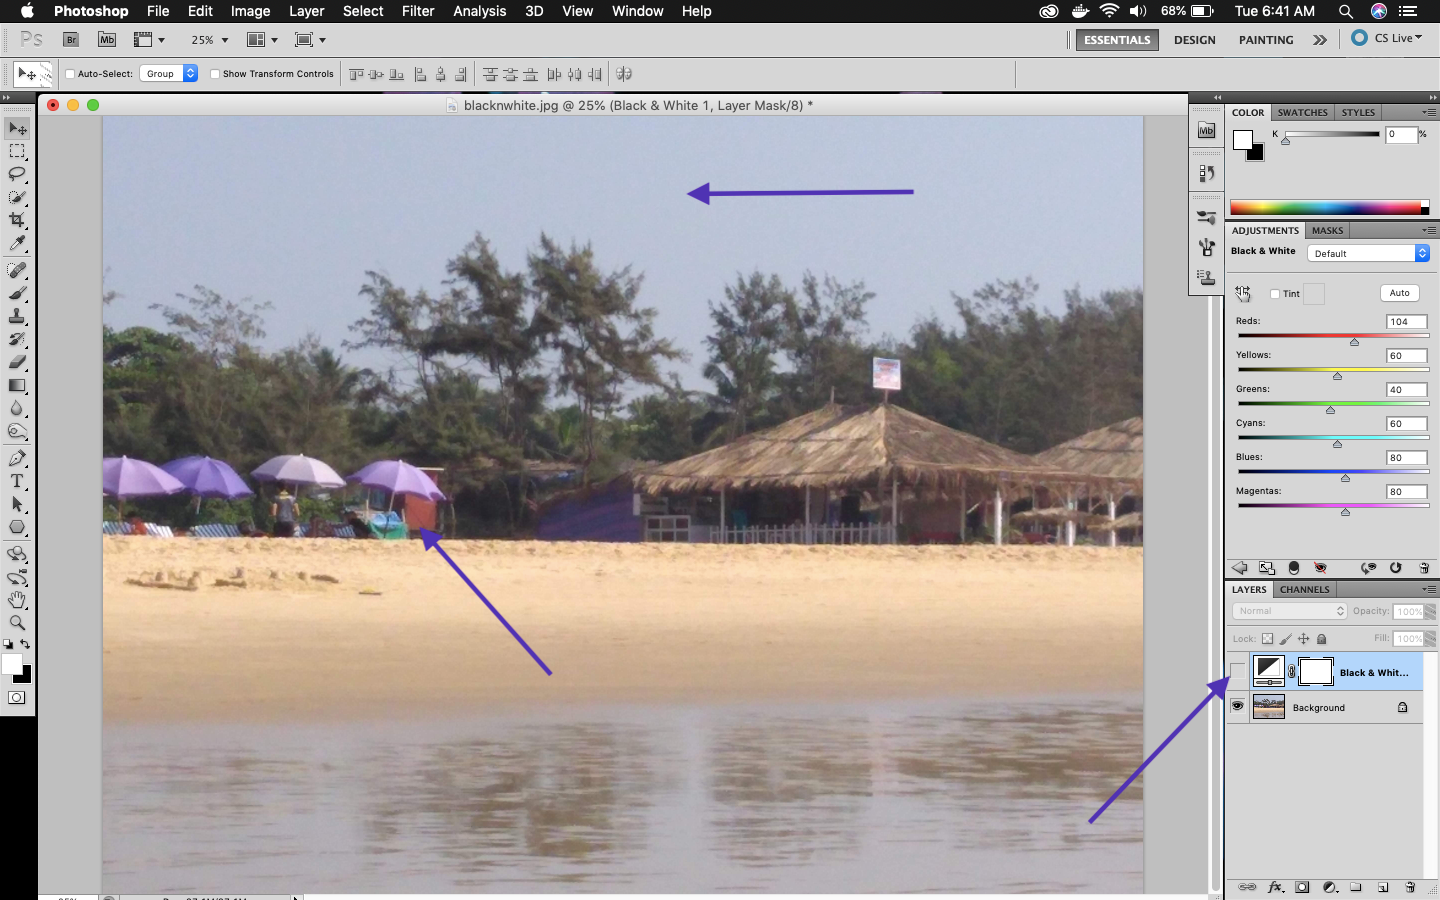 Sky is Blue
So, we turn-on the Eye again and drag the slider for Red and Blue, till we find it good.
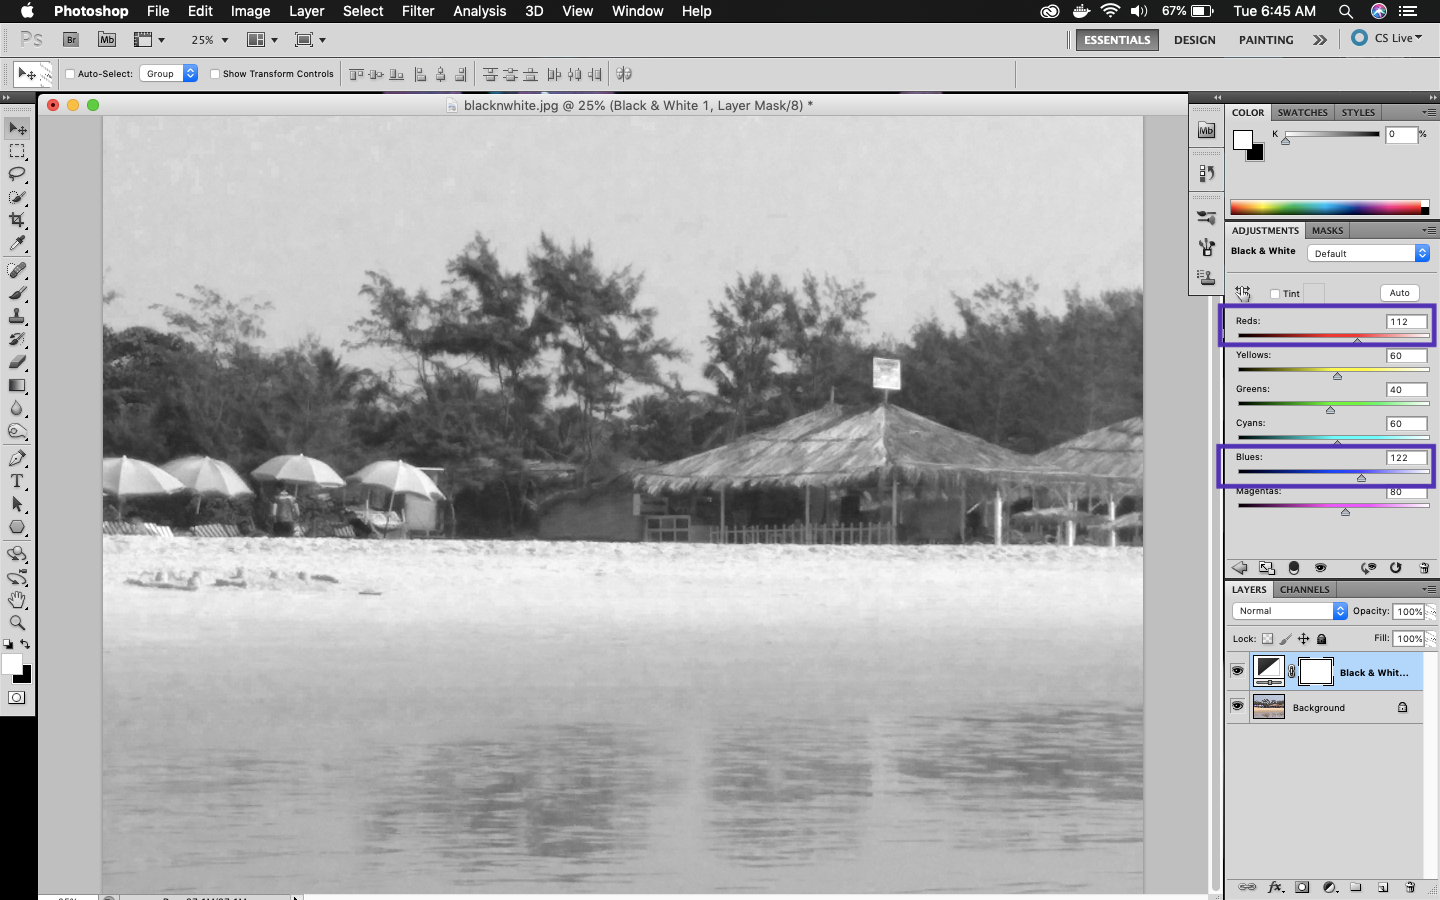 Red and Blue
There is another way to darken or lighten black and it is by the Finger and Arrow icon. Click on it and take it to the image and hold the mouse left button and drag in that part, either right or left. We want to change the Green trees in the picture, so we drag over them.
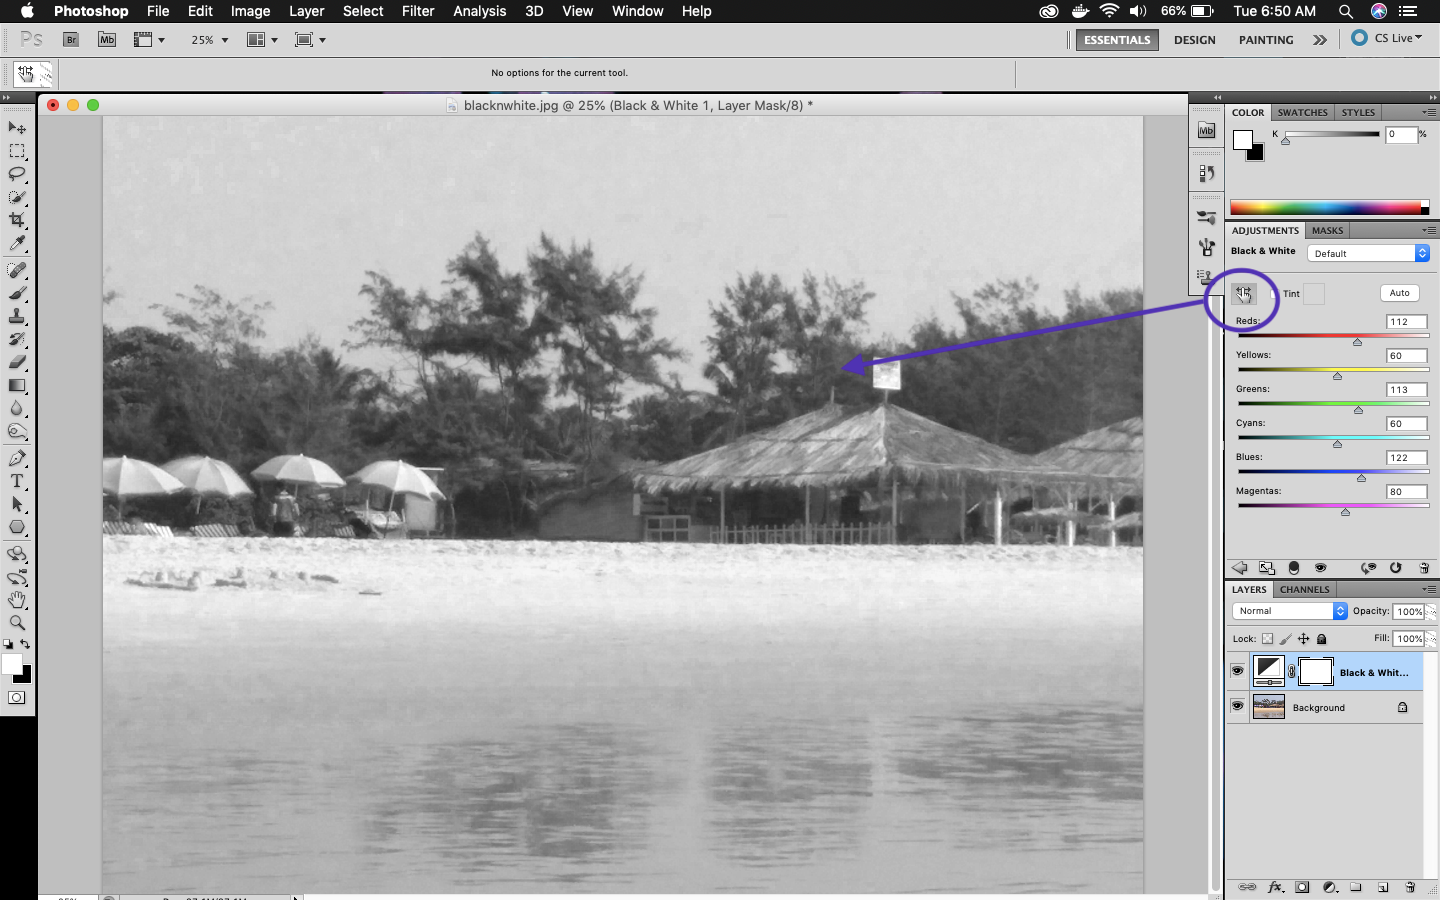 Drag to change
We will next work the below ink splash and make it classic black and white and more.

Photo by Engin Akyurt from Pexels
We follow our usual procedure for black and white for this image.
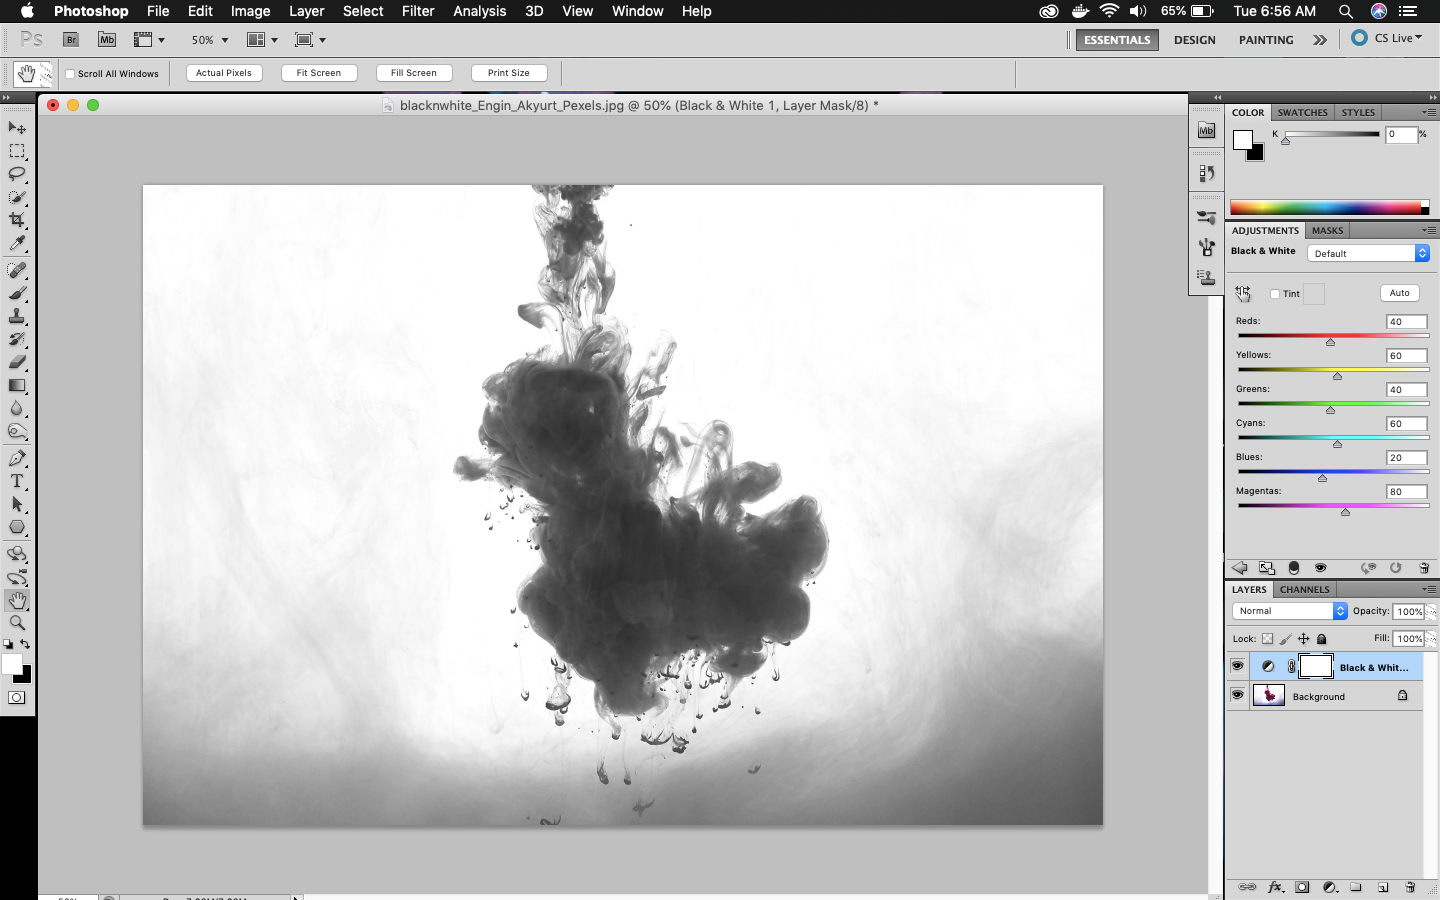 Classic Black and White
We can do the stuff which we did with earlier beach picture, like adjusting the Red, Yellows and Cyans. If you want then change the Magentas as the ink is mainly Magenta.
But we will learn how to create a tint color from this Black & White image. Click on the Tint, which is next to the hand and it’s changes to a beautiful shade of yellow. We will adjust the Magentas a bit, as you remember our image was originally Magenta.
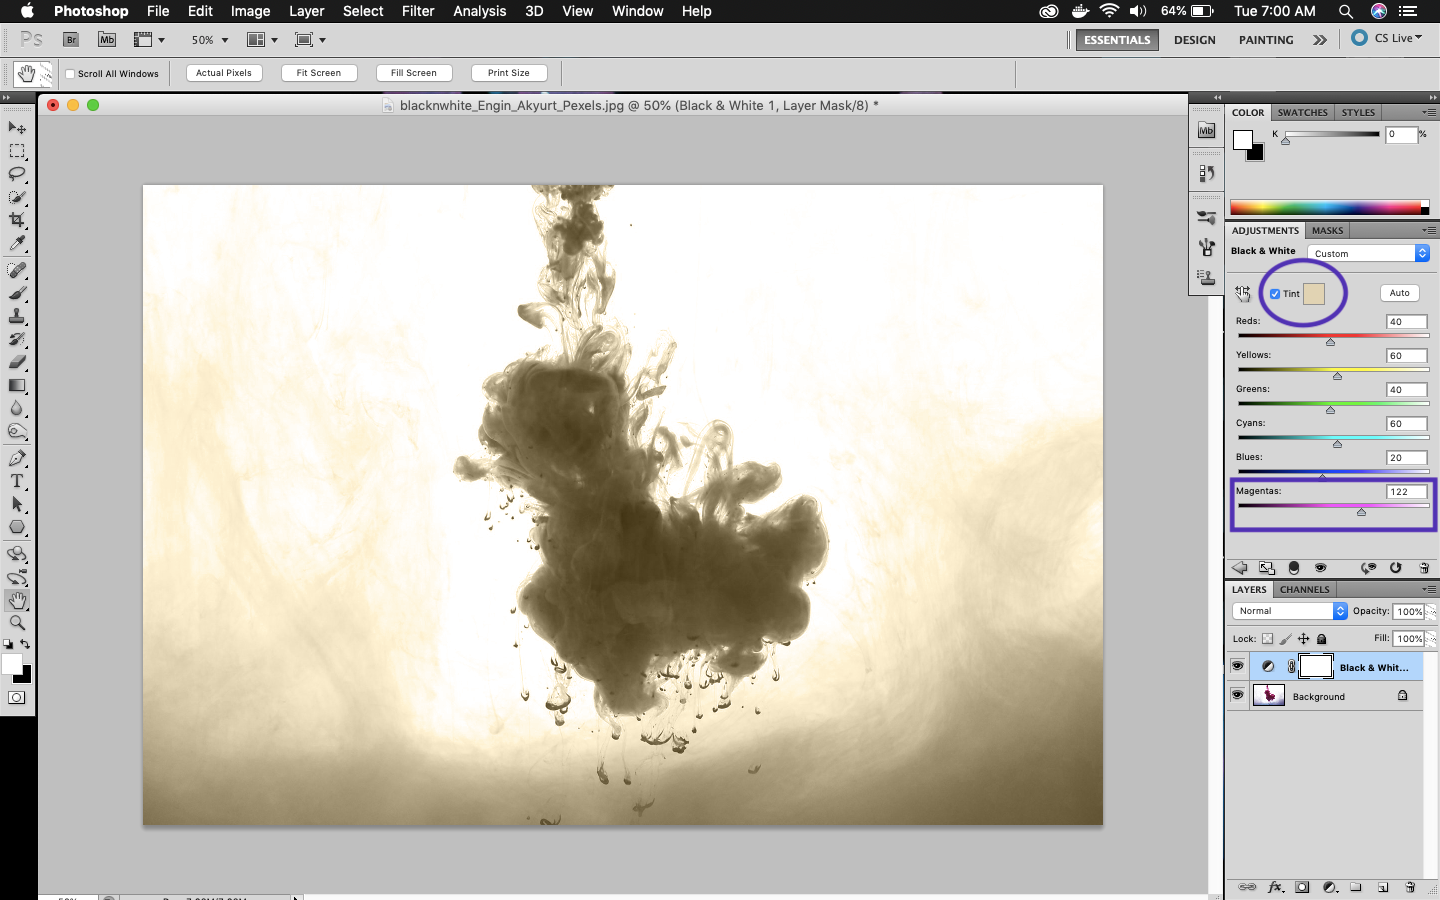 The Yellow effect
We can also change this color, by clicking on the color next to Tint. It will open a color palette to choose.
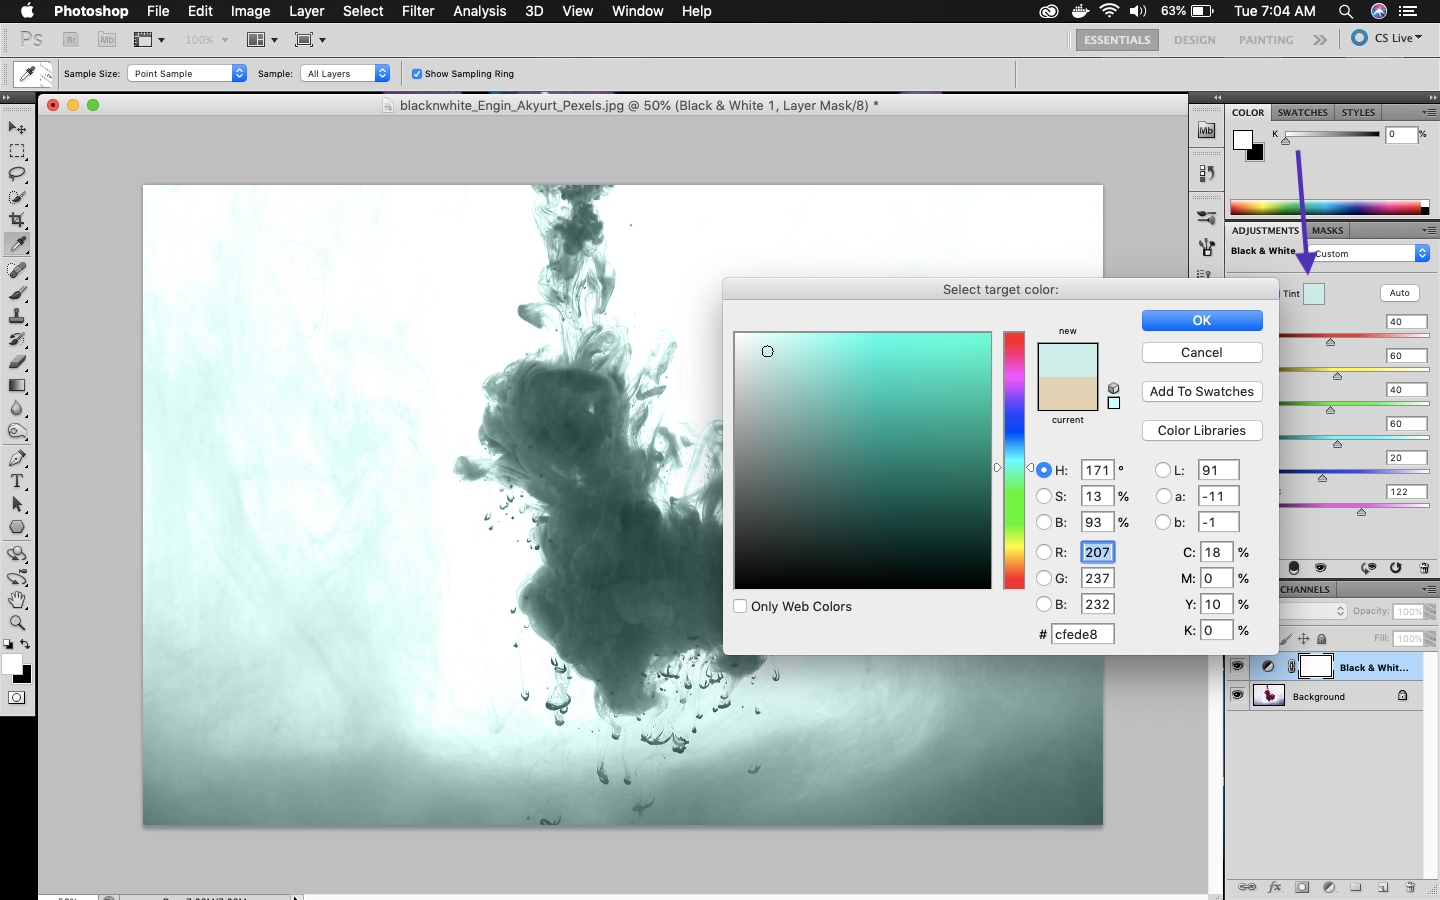 The Blue effect
This concludes part-3 of the series. See you soon.