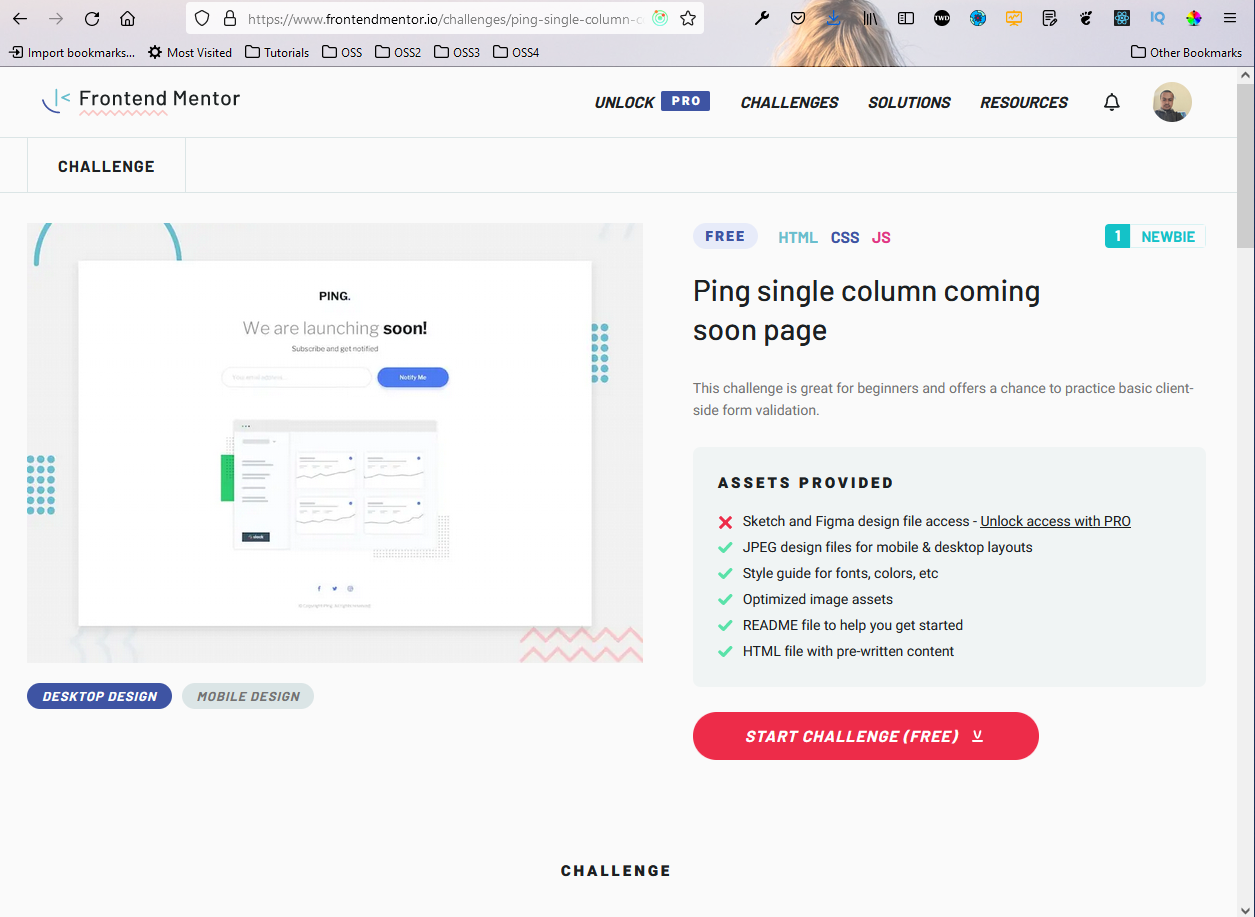
In this post we are going to create the Ping — Single Column Coming Soon Page from Frontend mentor.
 Ping
Ping
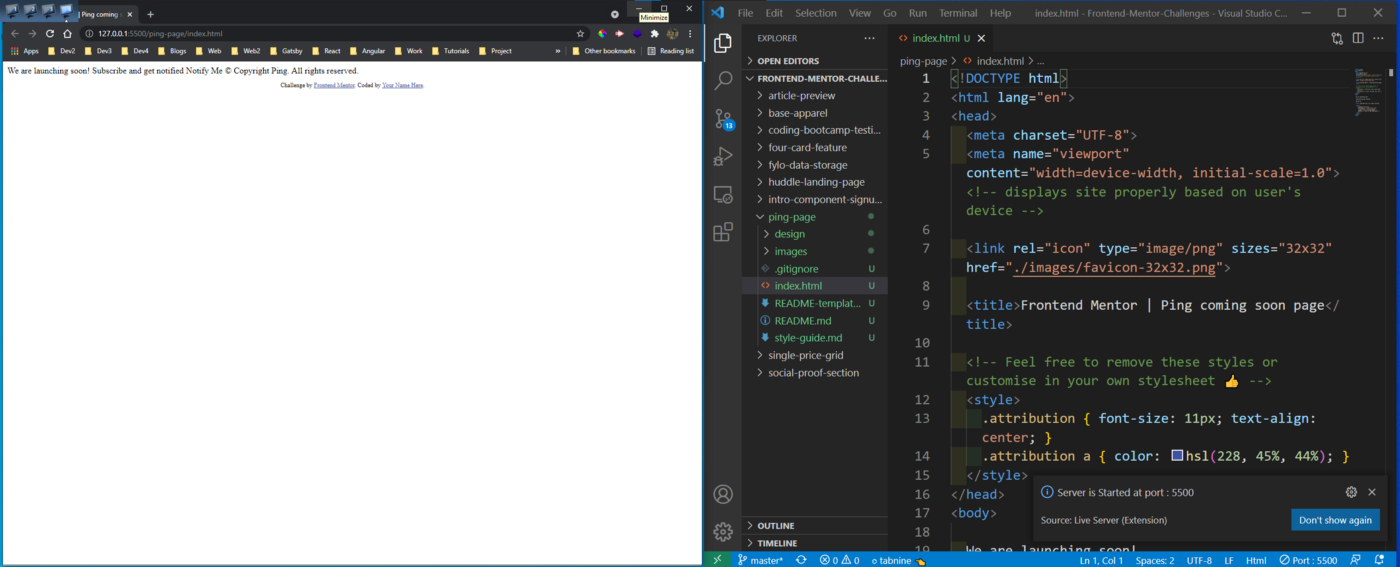
After downloading the resources, I had extracted the zip file and copied it in the Frontend-mentor-challenges folder. After that opened the index.html file with Live Server.
 Basic folder
Next, we will be removing the unnecessary things from the index.html file and adding the structure. We have also included font-awesome in our project.
<!DOCTYPE html>
<html lang="en">
<head>
<meta charset="UTF-8">
<meta name="viewport" content="width=device-width, initial-scale=1.0">
<link rel="icon" type="image/png" sizes="32x32" href="./images/favicon-32x32.png">
<title>Frontend Mentor | Ping coming soon page</title>
<link rel="stylesheet" href="style.css">
<link rel="stylesheet" href="https://cdnjs.cloudflare.com/ajax/libs/font-awesome/5.12.1/css/all.min.css" />
</head>
<body>
<main>
<img src="./images/logo.svg" alt="logo" class="logo" />
<h1>We are launching soon!</h1>
<h2>Subscribe and get notified</h2>
<form>
<input type="email" id="email" placeholder="Your email address..." />
<button>Notify Me</button>
</form>
<img src="./images/illustration-dashboard.png" alt="illustration" class="illustration" />
<footer>
<ul class="social-list">
<li><a href="#"><i class="fab fa-facebook-f"></i></a></li>
<li><a href="#"><i class="fab fa-twitter"></i></a></li>
<li><a href="#"><i class="fab fa-instagram"></i></a></li>
</ul>
<p>
© Copyright Ping. All rights reserved.
</p>
</footer>
</main>
</body>
</html>
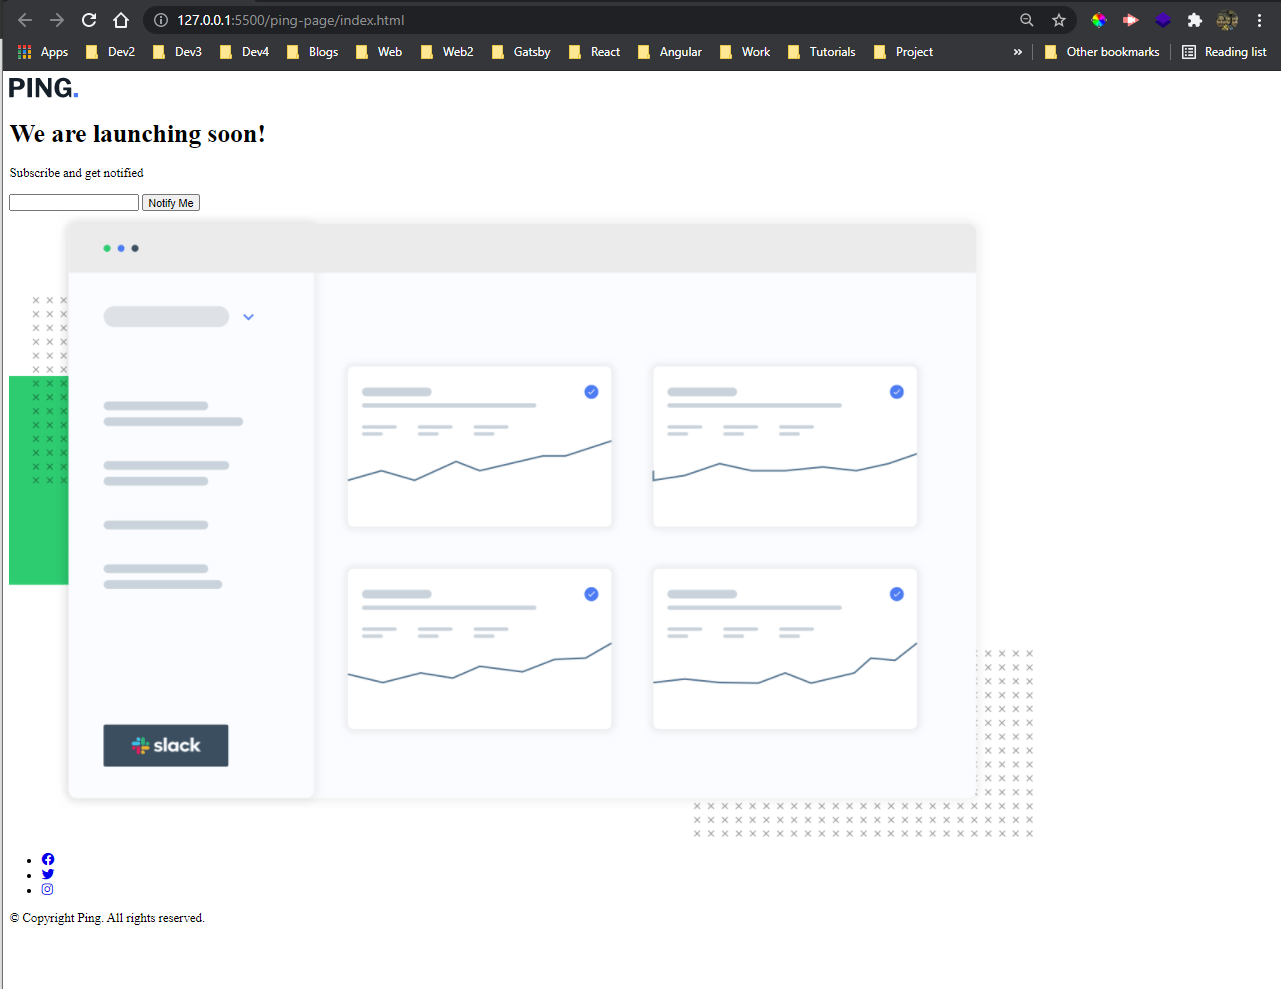
Now, our site looks like below.
 Ping
Ping
Now, we will write the styles in style.css file. We have been given the Libre Franklin font to be used in, style-guide.md file.
We are doing the basic styling for main, h1, h2 and the image first.
@import url('https://fonts.googleapis.com/css?family=Libre+Franklin:300,600,700&display=swap');
* {
 box-sizing: border-box;
}
body {
 font-family: 'Libre Franklin', sans-serif;
}
main {
 max-width: 650px;
 margin: 40px auto;
 padding: 20px;
 text-align: center;
}
h1 {
 color: hsl(0, 0%, 59%);
 font-weight: 300;
 font-size: 50px;
 margin-bottom: 10px;
}
h1 strong {
 color: hsl(209, 33%, 12%);
}
h2 {
 color: hsl(209, 33%, 12%);
 font-weight: 300;
}
.illustration {
 max-width: 100%;
 margin: 60px 0;
}
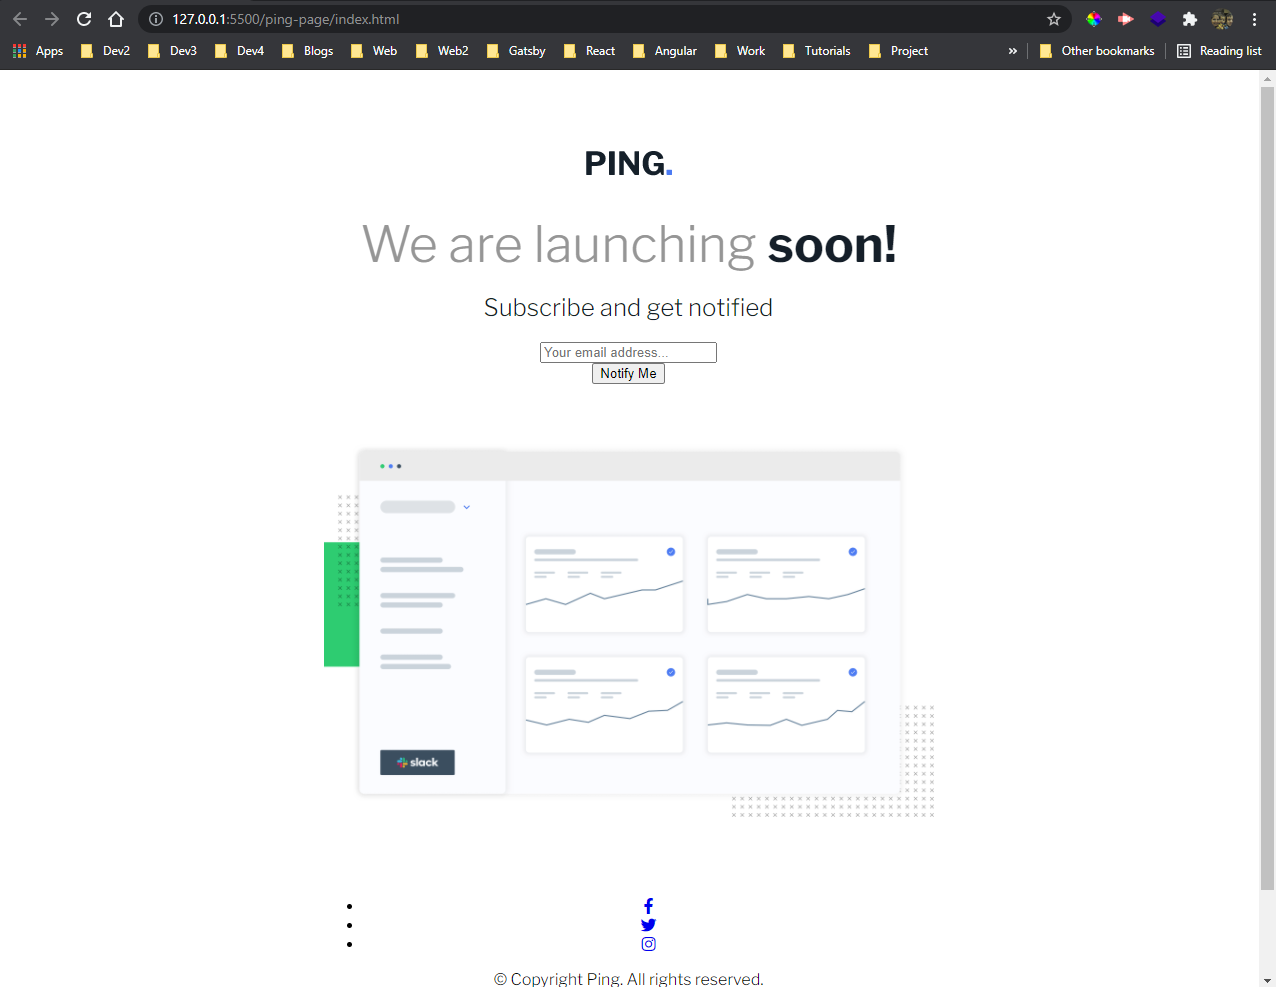
Now, our site looks like below.
 Site looks
Next, thing which we will style is the form which holds the input and the button. Also, we are going to style the input and button.
form {
 display: flex;
 align-items: flex-start;
 margin-top: 50px;
 text-align: left;
}
.form-left {
 flex: 0.7;
}
input {
 border: 1px solid hsl(223, 100%, 88%);
 border-radius: 50px;
 font-family: 'Libre Franklin', sans-serif;
 font-size: 16px;
 padding: 20px 25px;
 margin-bottom: 15px;
 width: 100%;
}
input::placeholder {
 color: hsl(223, 100%, 88%);
}
button {
 background-color: hsl(223, 87%, 63%);
 border: none;
 border-radius: 50px;
 box-shadow: 0 5px 5px hsl(223, 100%, 88%);
 color: #fff;
 cursor: pointer;
 font-family: 'Libre Franklin', sans-serif;
 font-size: 16px;
 font-weight: 600;
 padding: 20px 0;
 margin-left: 20px;
 flex: 0.3;
}
button:hover {
 opacity: 0.8;
}
Now, our site is almost done except the footer.
 Almost done
We will next complete our footer which contains the social links in style.css file.
.social-list {
 display: flex;
 align-items: center;
 justify-content: center;
 padding: 0;
    margin: 0;
 list-style-type: none;
}
.social-list li {
 margin: 10px;
}
.social-list li a {
 border: 1px solid hsl(0, 7%, 89%);
 border-radius: 50%;
 color: hsl(223, 87%, 63%);
 display: inline-flex;
 align-items: center;
 justify-content: center;
 font-size: 18px;
 height: 40px;
 width: 40px;
 text-decoration: none;
}
.social-list li a:hover {
 background-color: hsl(223, 87%, 63%);
 border-color: hsl(223, 87%, 63%);
 color: #fff;
}
footer p {
 color: hsl(0, 0%, 59%);
}
Now, our desktop view is done and it’s looking awesome.
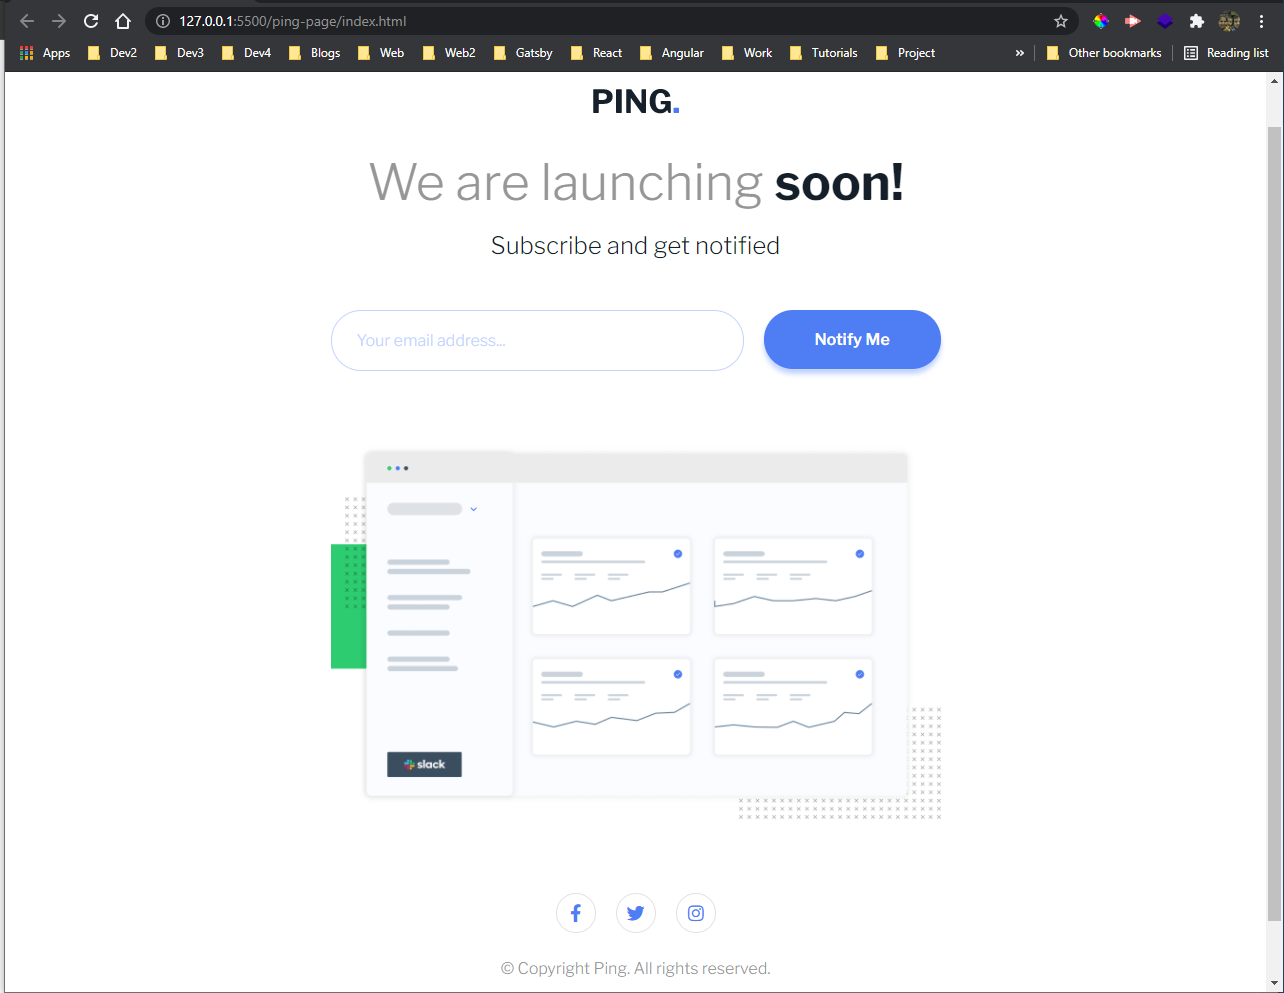 Desktop done
Let’s complete our mobile view by changing the button.
@media screen and (max-width: 650px) {
 form {
  flex-direction: column;
  text-align: center;
 }
.form-left {
  width: 100%;
 }
button {
  margin-left: 0;
  width: 100%;
 }
}
And the mobile view is also done.
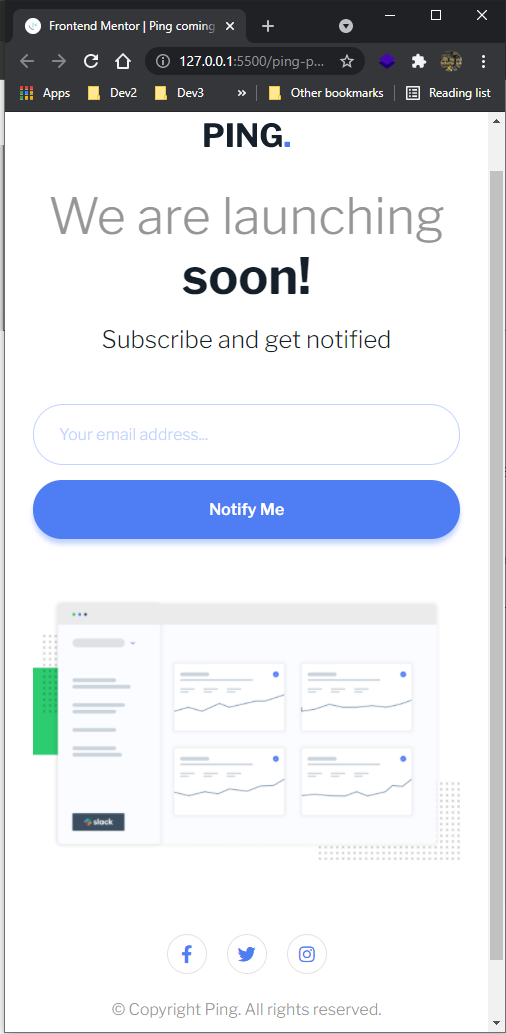 Mobile view
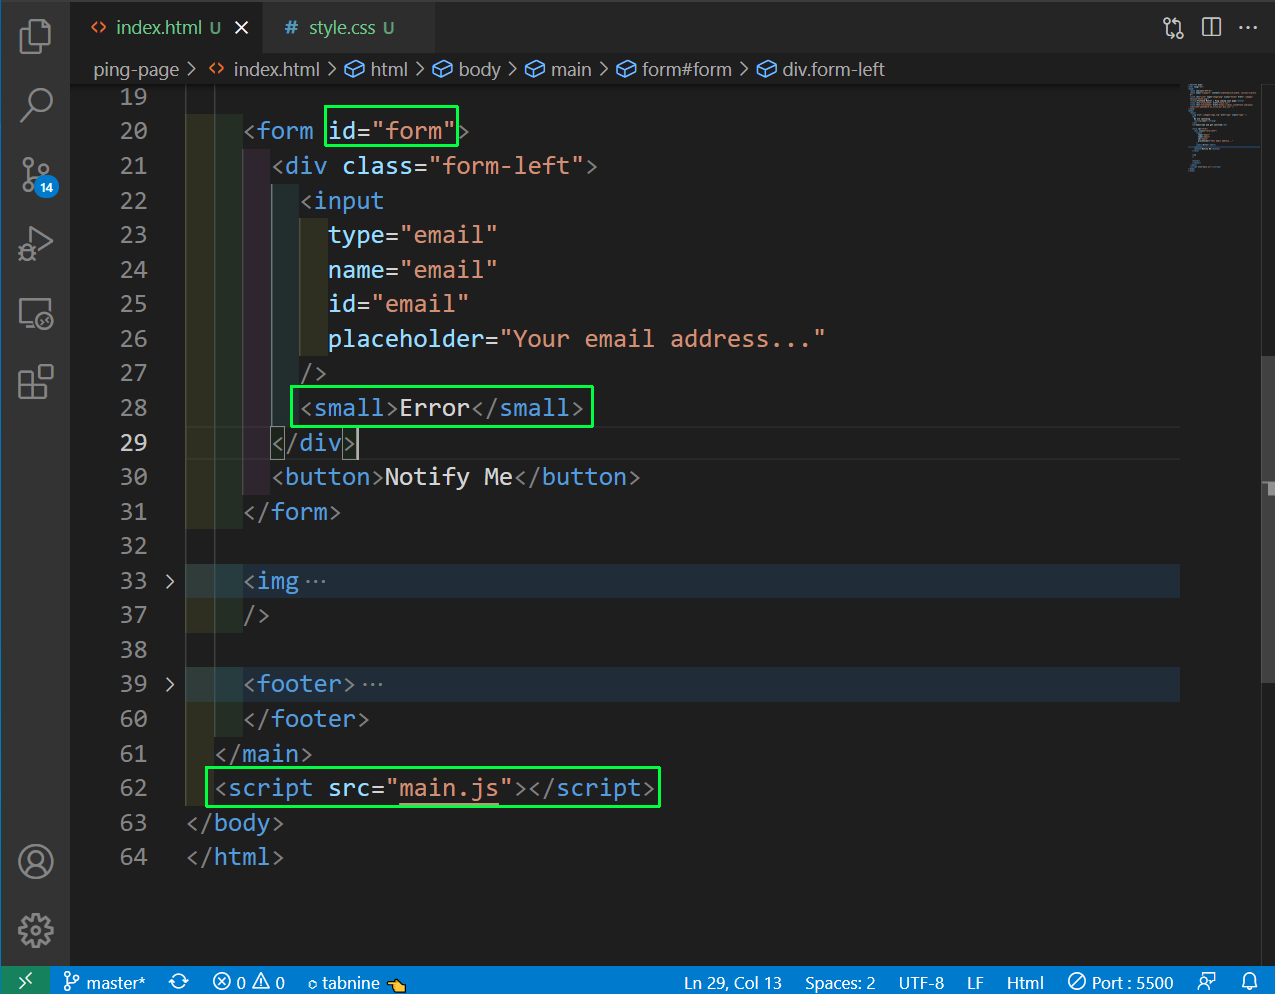
Now, it’s time to move to JavaScript, but first add an id for the form and also a small tag for error in index.html file. Also, needed to add a script tag at the end.
 index.html
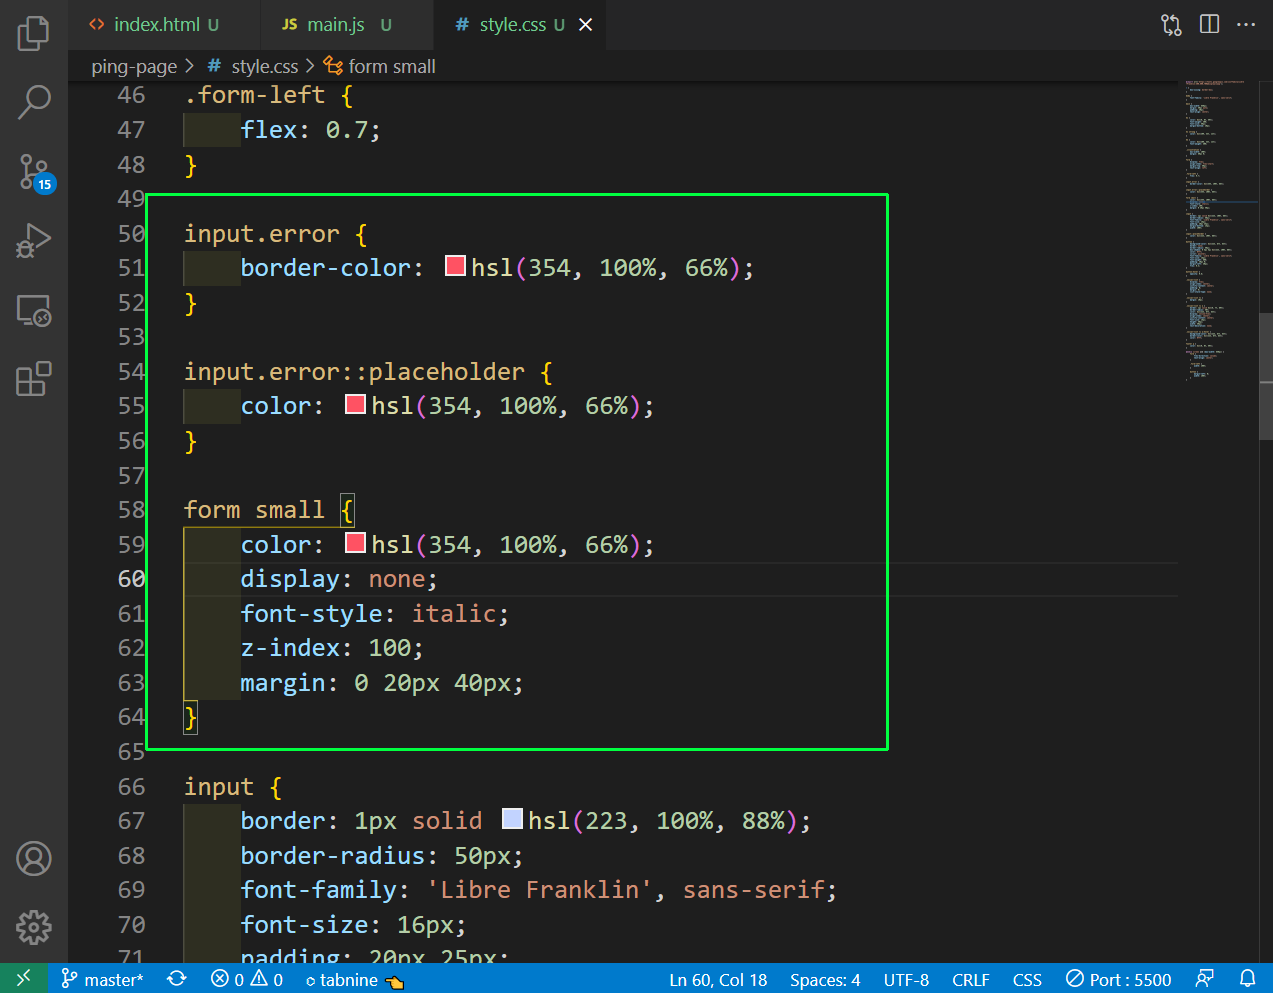
Now, in the style.css file we will add style for input error and form small.
 style.css
Now, we will add the JavaScript code in main.js and it is quite similar to what we did in our earlier project.
    const form = document.getElementById('form');

    form.addEventListener('submit', e => {
    e.preventDefault();

    // check for email validation
    const email = form['email'];
    const emailValue = email.value;
    const small = form.querySelector('small');

    if (!emailValue) {
    email.classList.add('error');
    small.innerText = 'Email field cannot be blank!';
    small.style.display = 'inline-block';
    } else if (!isValidEmail(emailValue)) {
    email.classList.add('error');
    small.innerText = 'Email is invalid!';
    small.style.display = 'inline-block';
    } else {
    email.classList.remove('error');
    small.innerText = '';
    small.style.display = 'none';
    }
    });

    function isValidEmail(email) {
    var re = /^(([^<>()\[\]\\.,;:\s@"]+(\.[^<>()\[\]\\.,;:\s@"]+)*)|(".+"))@((\[[0-9]{1,3}\.[0-9]{1,3}\.[0-9]{1,3}\.[0-9]{1,3}\])|(([a-zA-Z\-0-9]+\.)+[a-zA-Z]{2,}))$/;
    return re.test(String(email).toLowerCase());
    }
    }
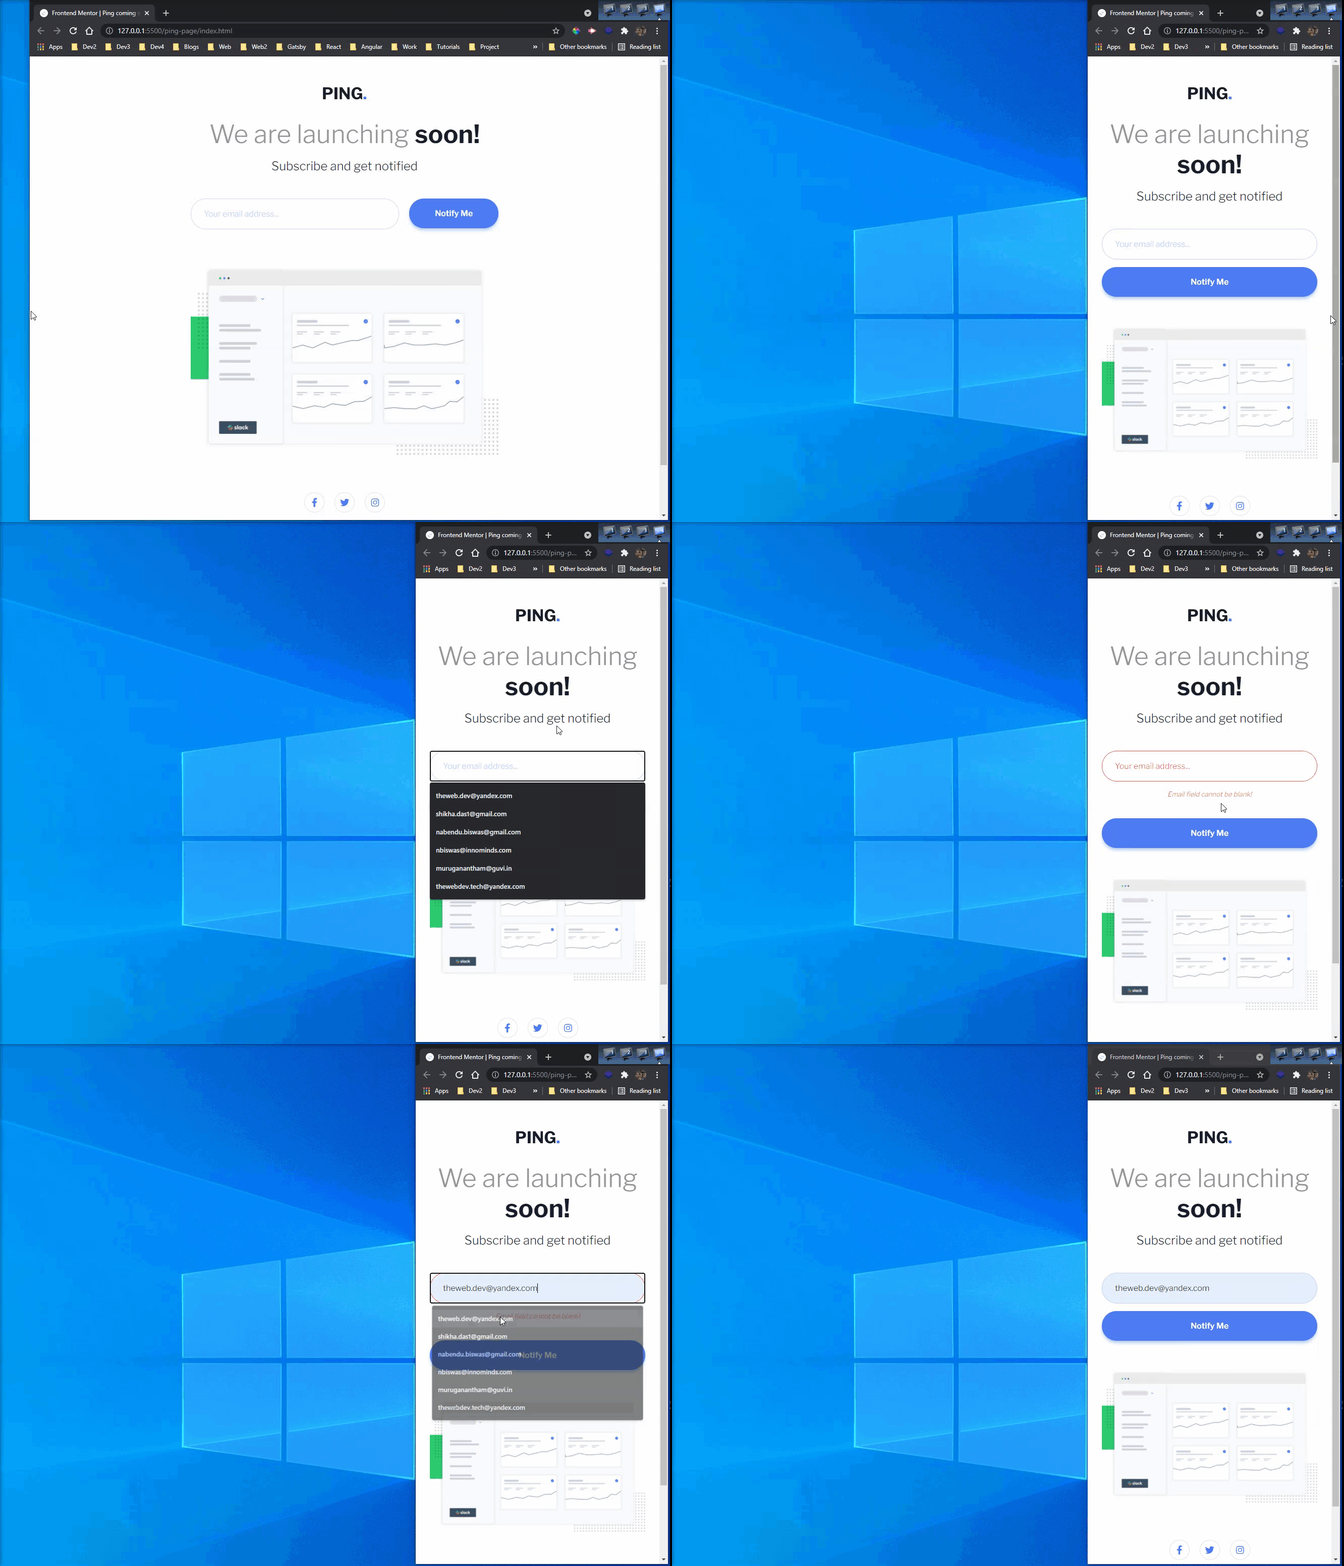
Now, our project is complete with the validations. You can find the code for the same here.
 Project completed