Pluralsight Login Clone - CSS Flexbox - 1
by Nabendu Biswas / July 26th, 2020
#css #beginners #webdev
Series: Pluralsight-Clone
Welcome to a brand new series, where we are going to create the clone of Pluralsight login page with HTML and CSS. We are going to use Flexbox for this project.
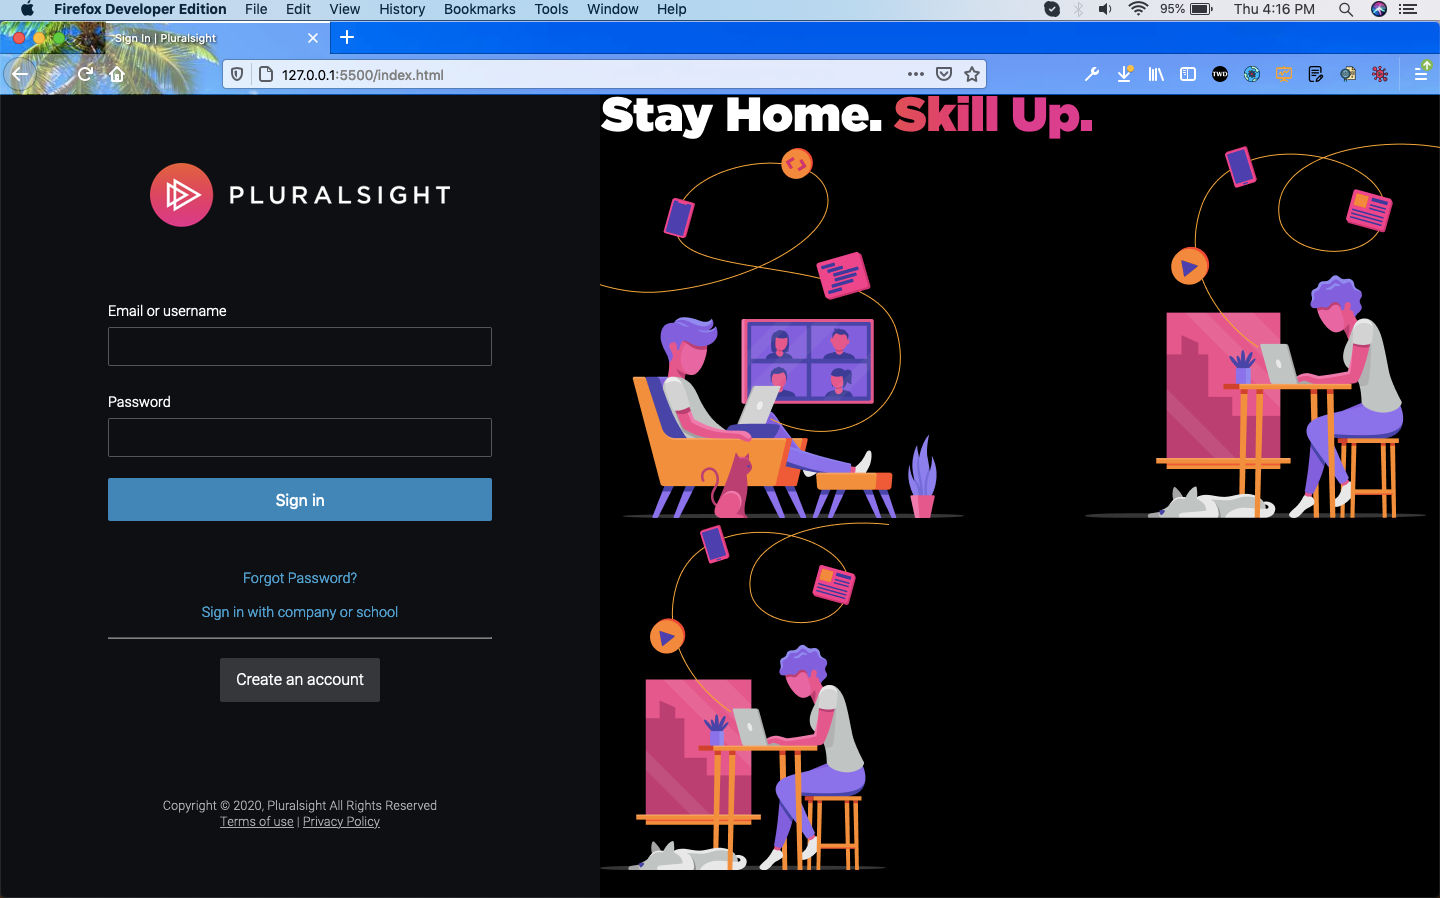
They keep on changing their image and the text color a bit on the login page, but it looks most of the time the same. It looks like below at the time of writing this blog.
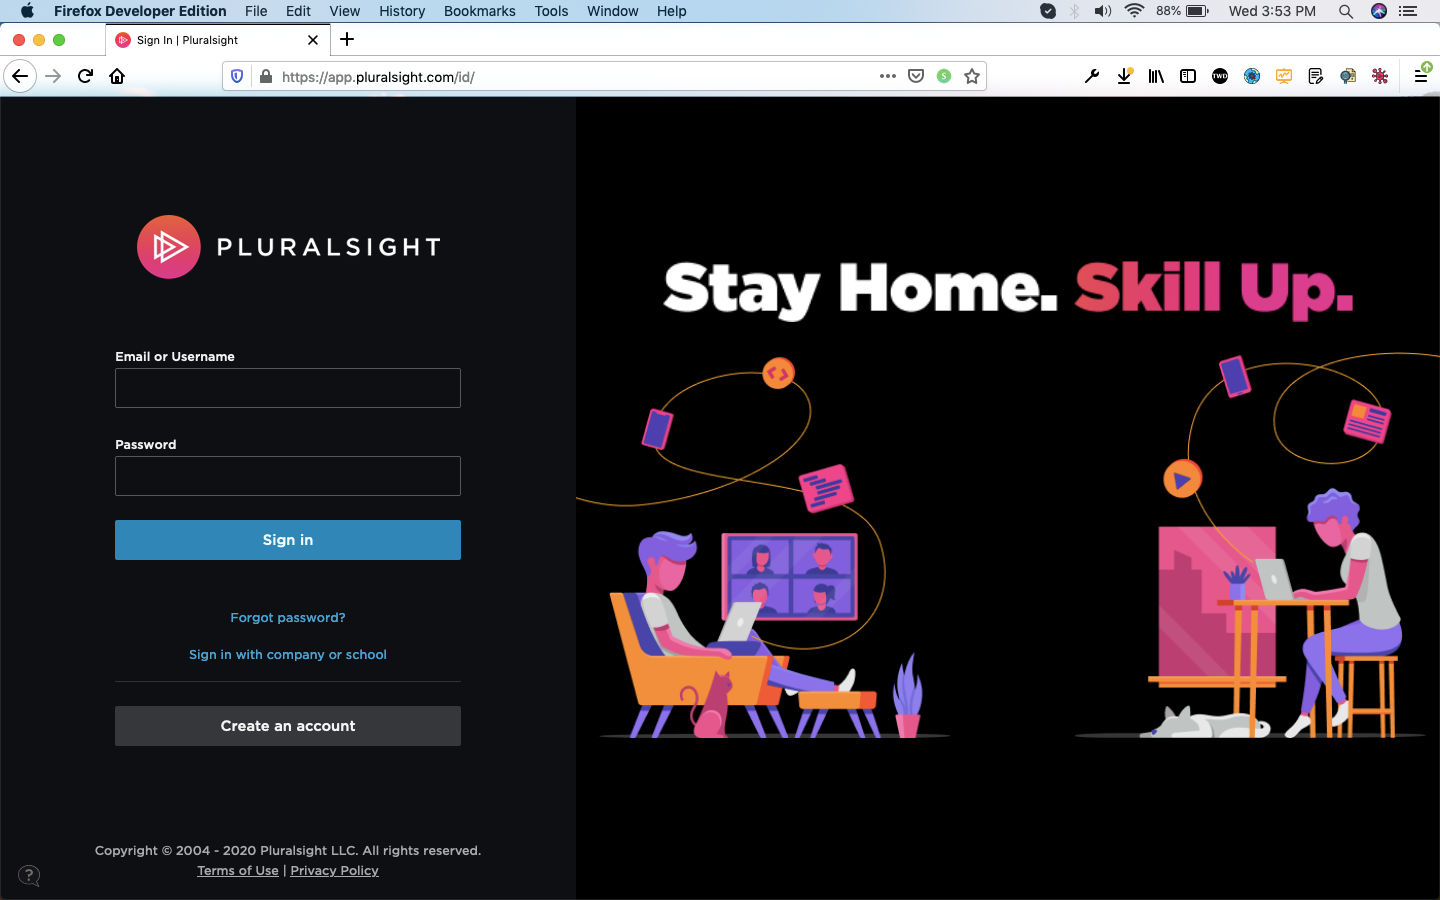 Pluralsight
So, let’s start the project. I am creating the project from the terminal. You can create it manually also.
 Terminal
I had also placed the logo for Pluralsight in the images folder, which i had downloaded from their site.
Also, they have three other images used on the right side. I had downloaded them also and placed in the images folder. So, my Visual Studio code looks like below.
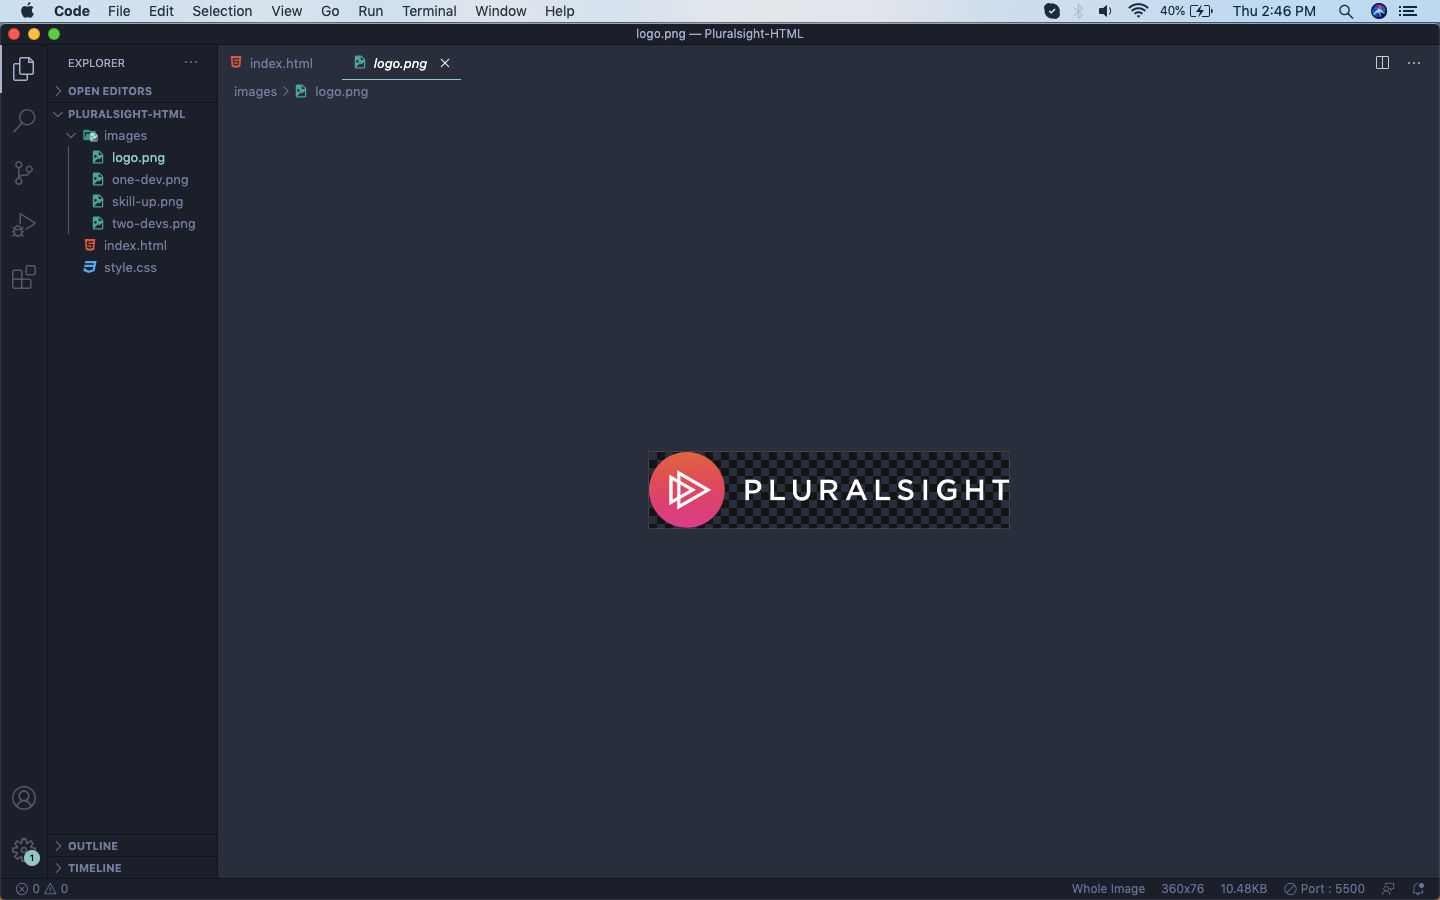 Images for Pluralsight
We will code the HTML first. So, let’s start with it. We will be creating two parts for left and right. Both of the parts will be wrapped inside a wrapper id. The complete code for index.html is below.
<!DOCTYPE html>
<html lang="en">
<head>
<meta charset="UTF-8">
<meta name="viewport" content="width=device-width, initial-scale=1.0">
<title>Sign In | Pluralsight</title>
<link *rel*="stylesheet" *href*="style.css">
</head>
<body>
<div id="wrapper">
<div id="left">
<div id="signin">
<div class="logo">
<img src="images/logo.png" alt="Pluralsight logo" />
</div>
<form>
<div>
<label>Email or username</label>
<input type="text" class="text-input" />
</div>
<div>
<label>Password</label>
<input type="password" class="text-input" />
</div>
<button type="submit" class="primary-btn">Sign in</button>
</form>
<div class="links">
<a href="#">Forgot Password?</a>
<a href="#">Sign in with company or school</a>
</div>
<hr class="bar" />
<a href="#" class="secondary-btn">Create an account</a>
</div>
<footer id="main-footer">
<p>Copyright © 2020, Pluralsight All Rights Reserved</p>
<div>
<a href="#">terms of use</a> | <a href="#">Privacy Policy</a>
</div>
</footer>
</div>
<div id="right">
<div id="showcase">
<div id="header-image">
<img src="images/skill-up.png" alt="Skill Up">
</div>
<div id="showcase-image">
<img src="images/two-devs.png" alt="Two Devs">
<img src="images/one-dev.png" alt="One Dev">
</div>
</div>
</div>
</div>
</body>
</html>
So, now our index.html will look like below, which is without any styling.
 Without styling
We will not start with the basic styling. We will use the Google font of Roboto and give some other basic style. Also, the background color is different for the left and right part.
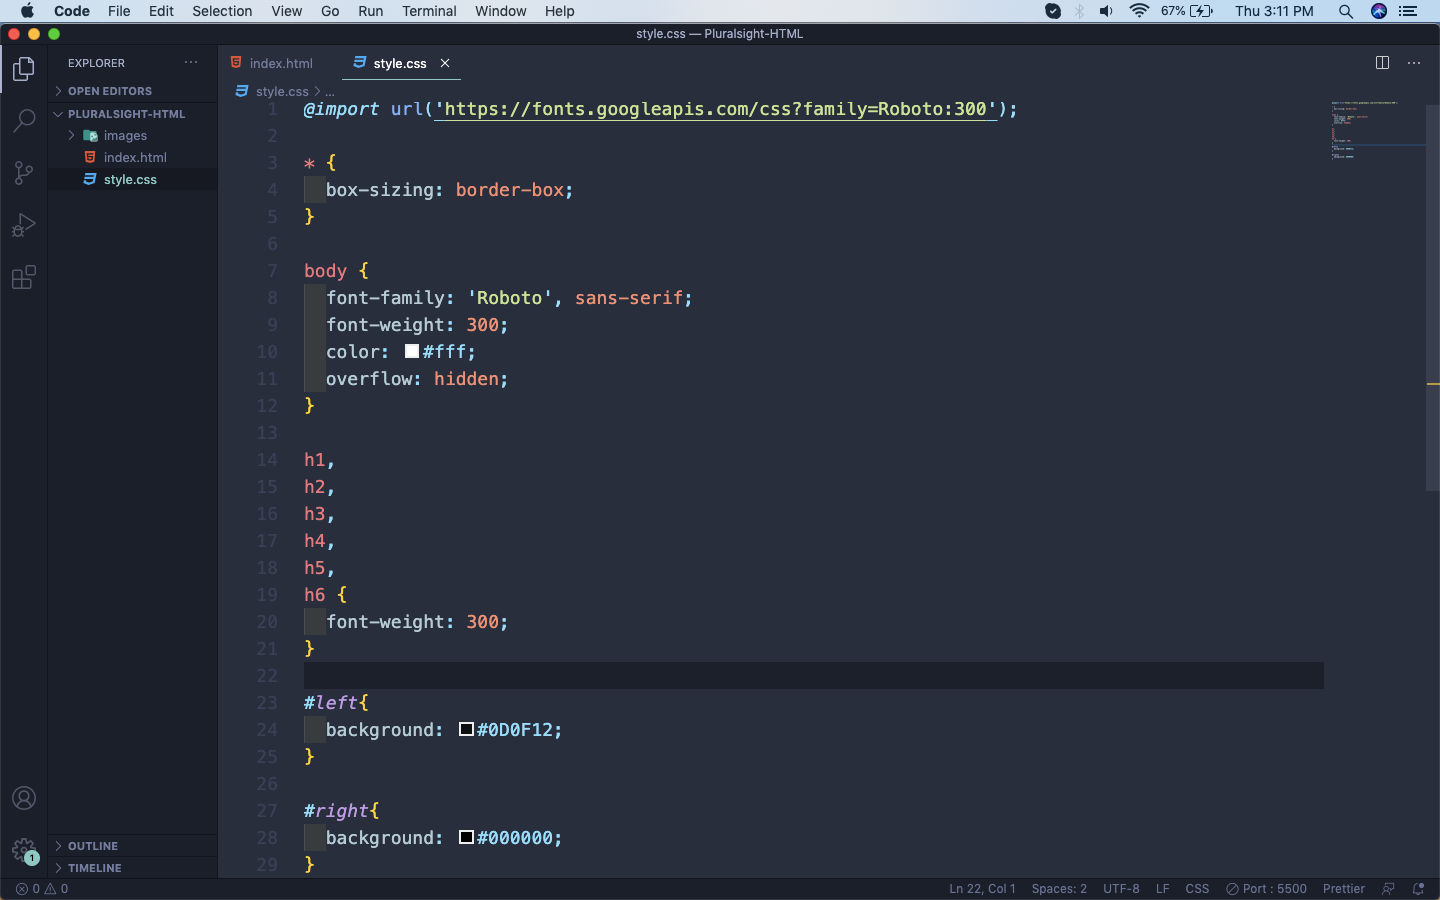 style.css
So, our web-page will look like below now.
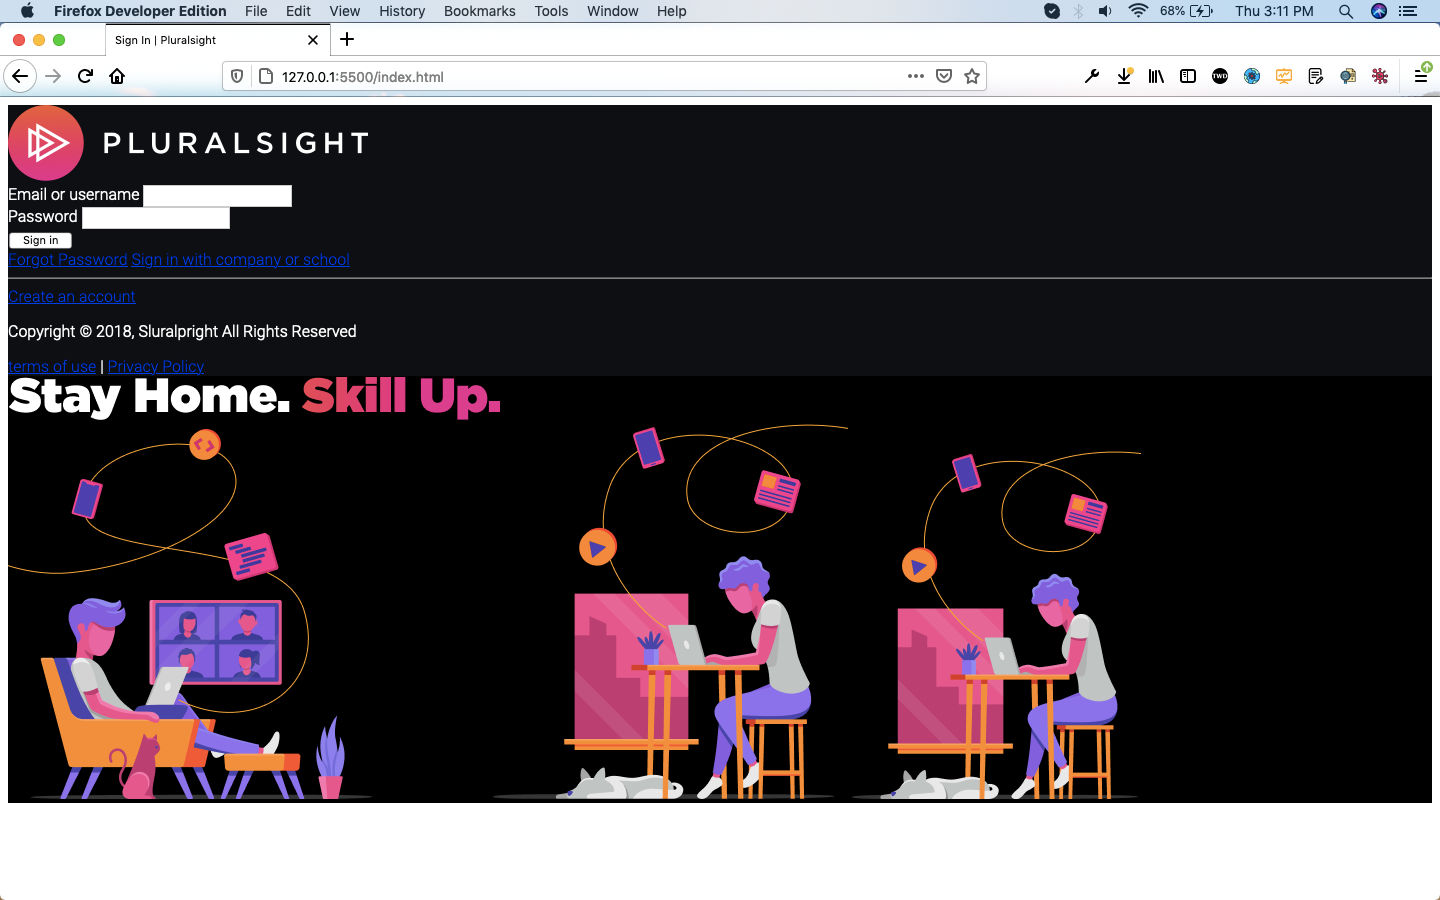 Our Web-page
Next, we will make the wrapper flex and it will move both left and right side-by-side. We are also using flex as 1 for both as this will give both equal space.
Also, notice we are making the padding and margin as 0, so that we get the whole space.
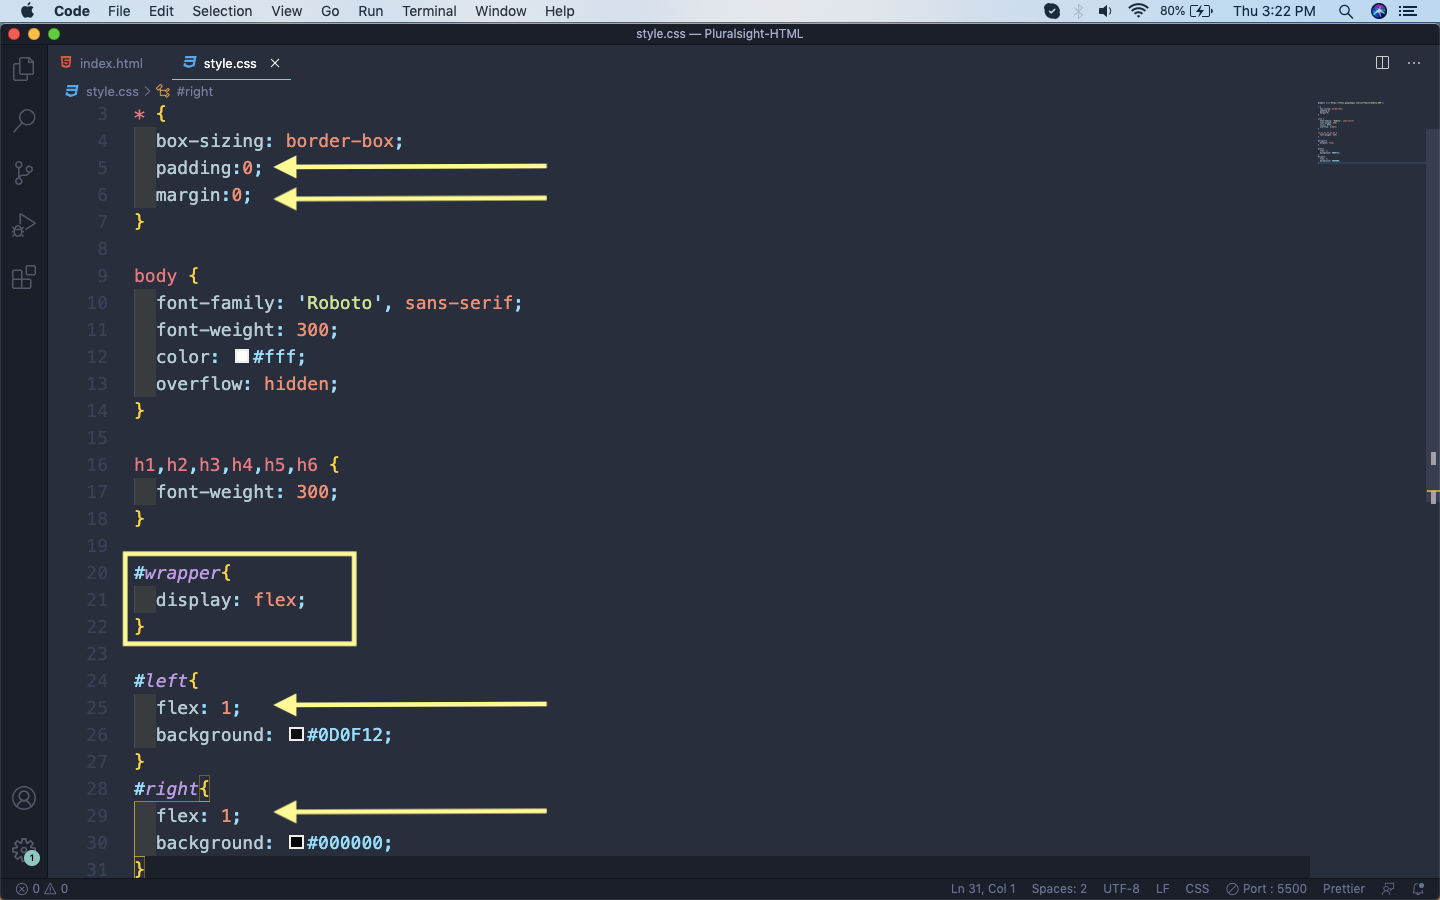 The Changes
Now, our web-page will look like below.
 Webpage
We will make the left also a flex and put the below styles.
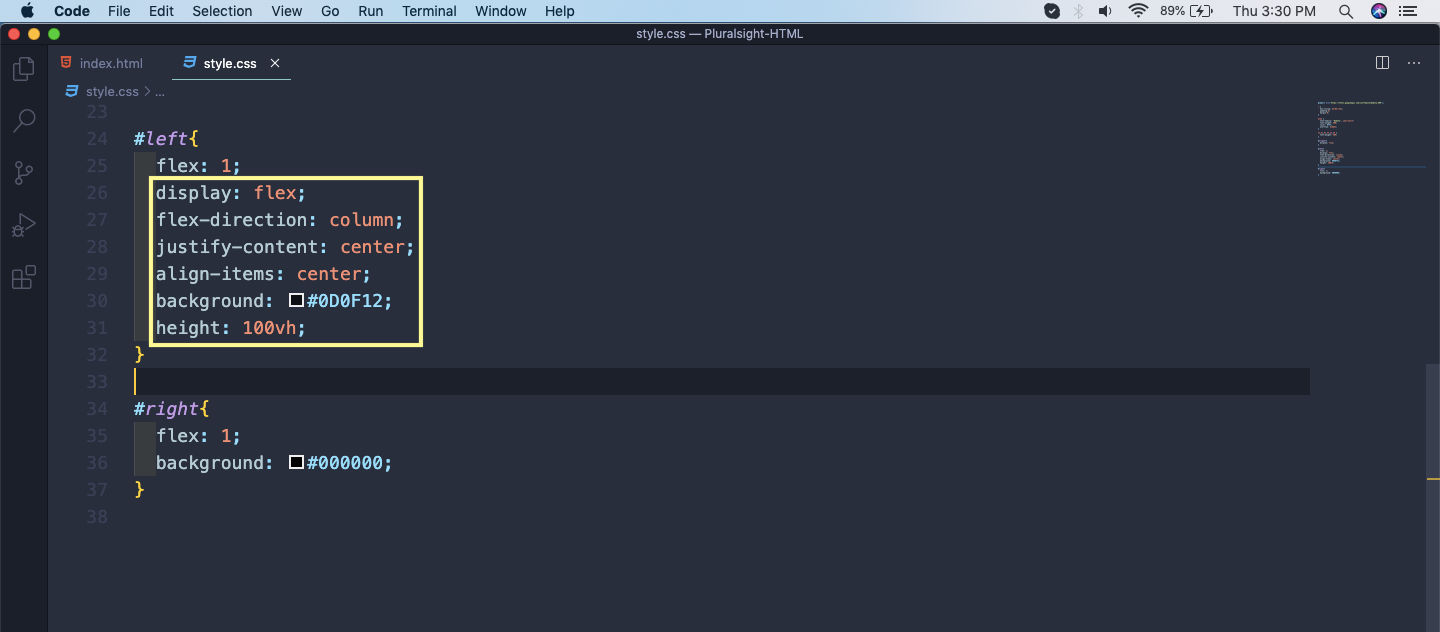 left flex
It will look like below now.
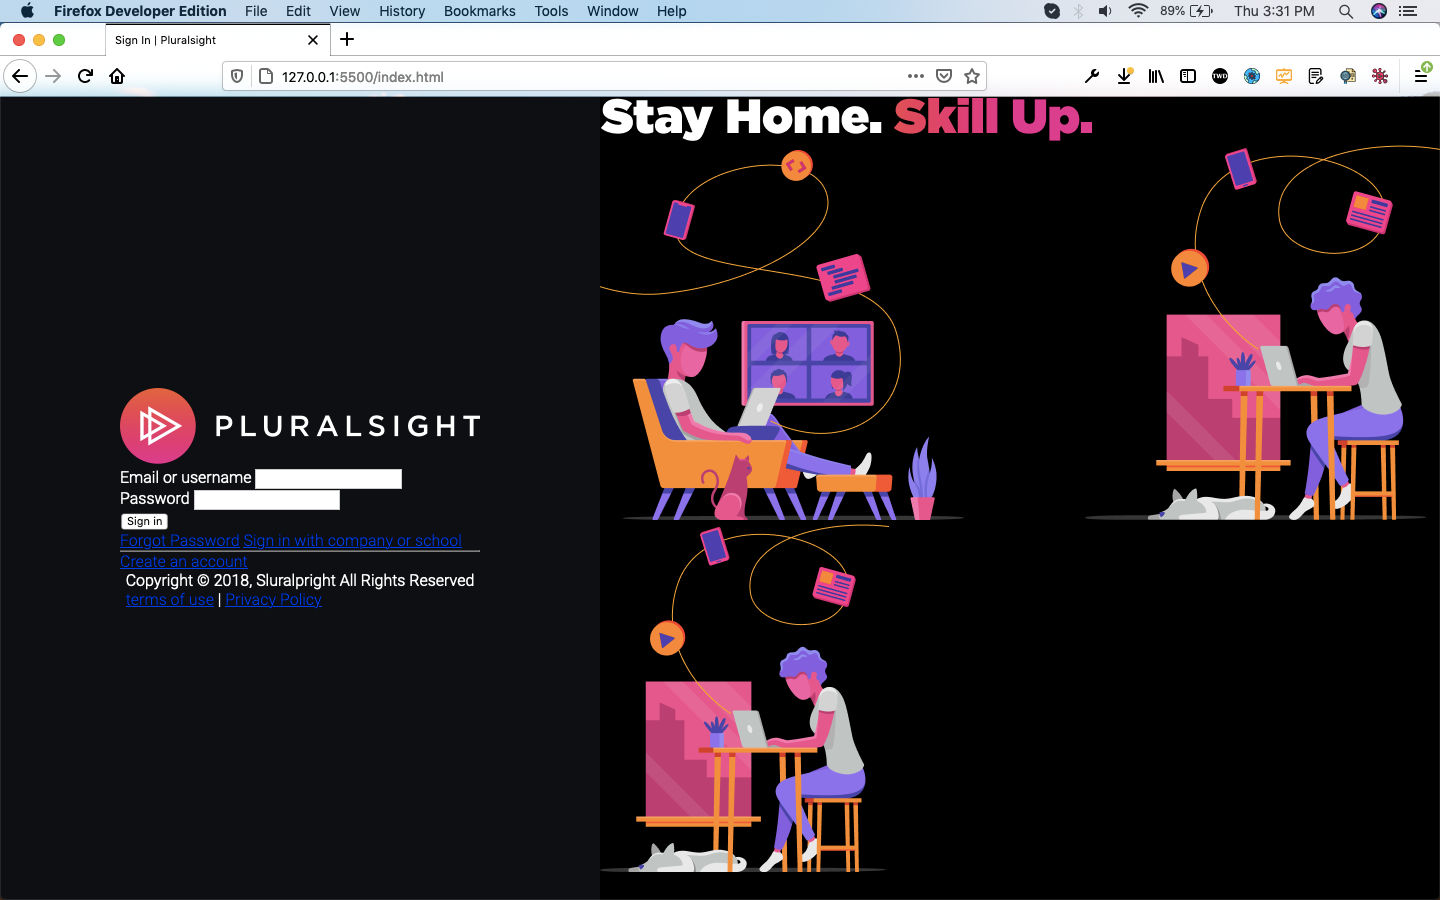 left flex
Now, we will make the signin also flex and some other styles.
 signin
It will look like below now.
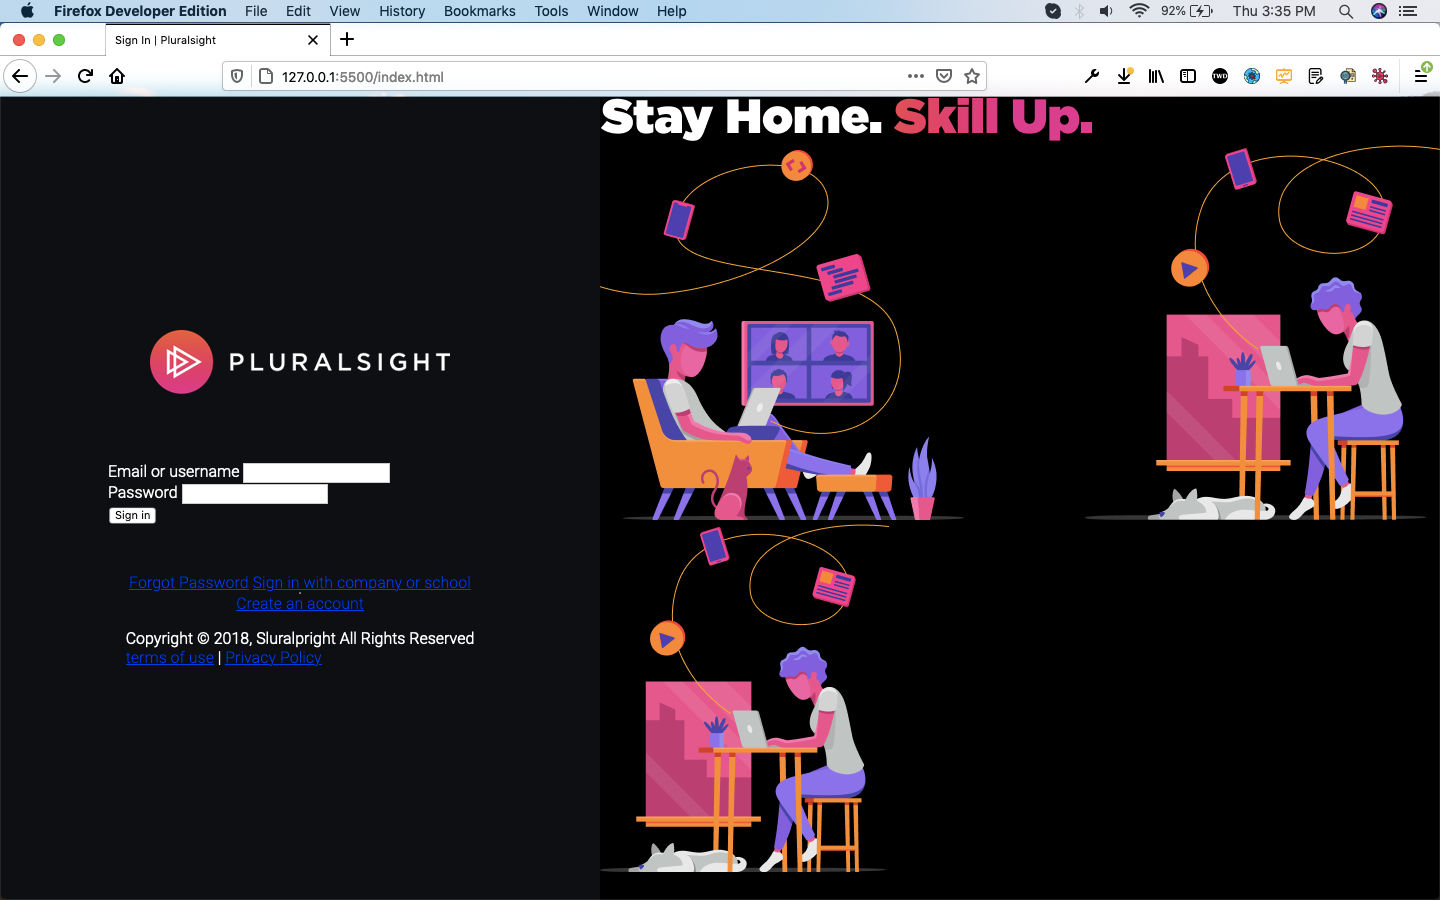 Much better
Now, it’s time to style the label and the input.
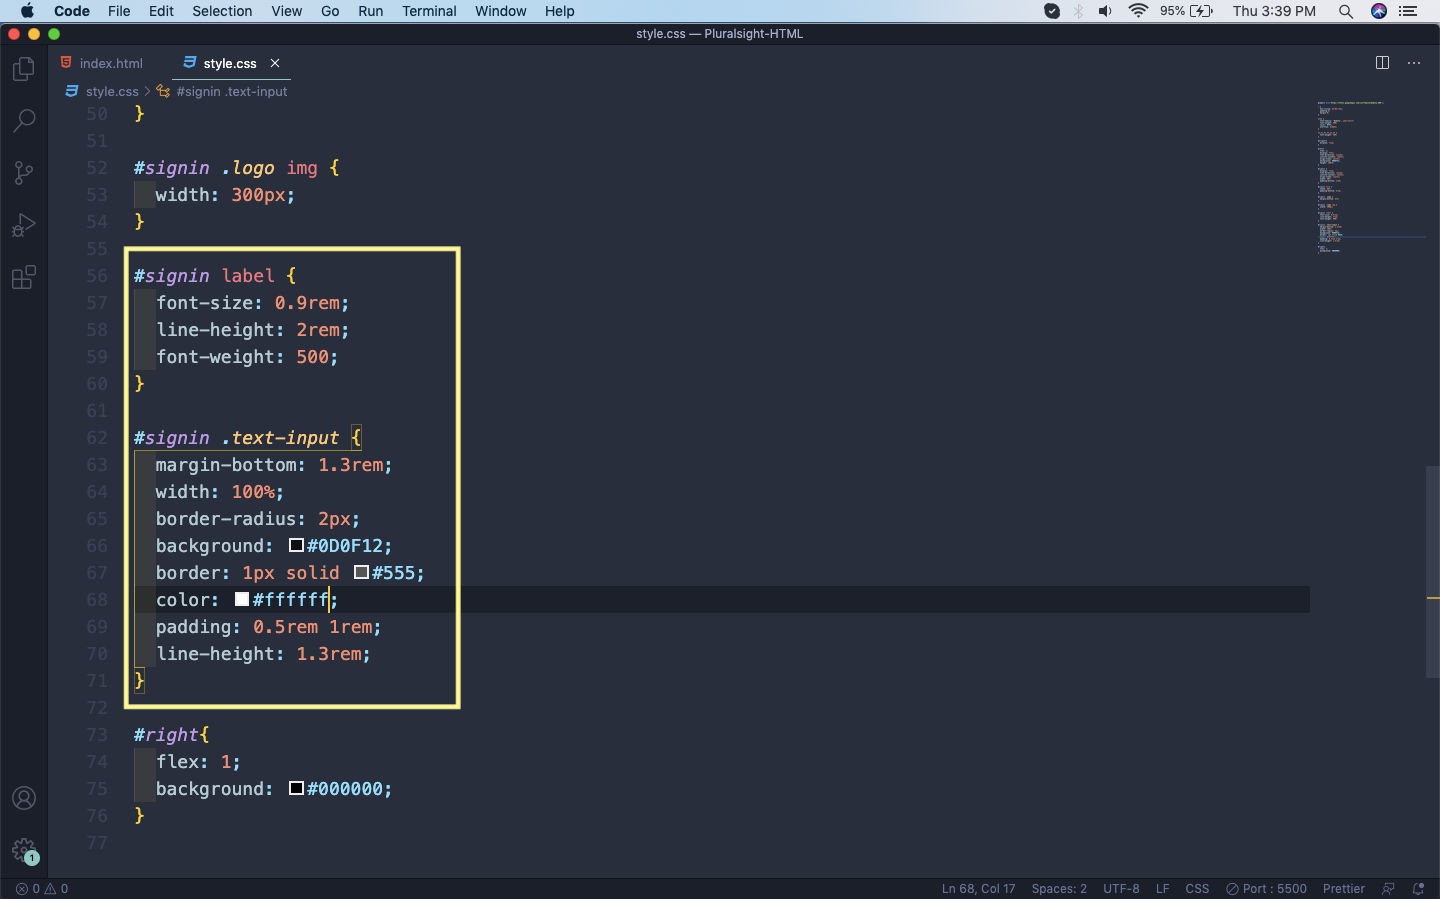 label and input
Now, it will look like below in our browser.
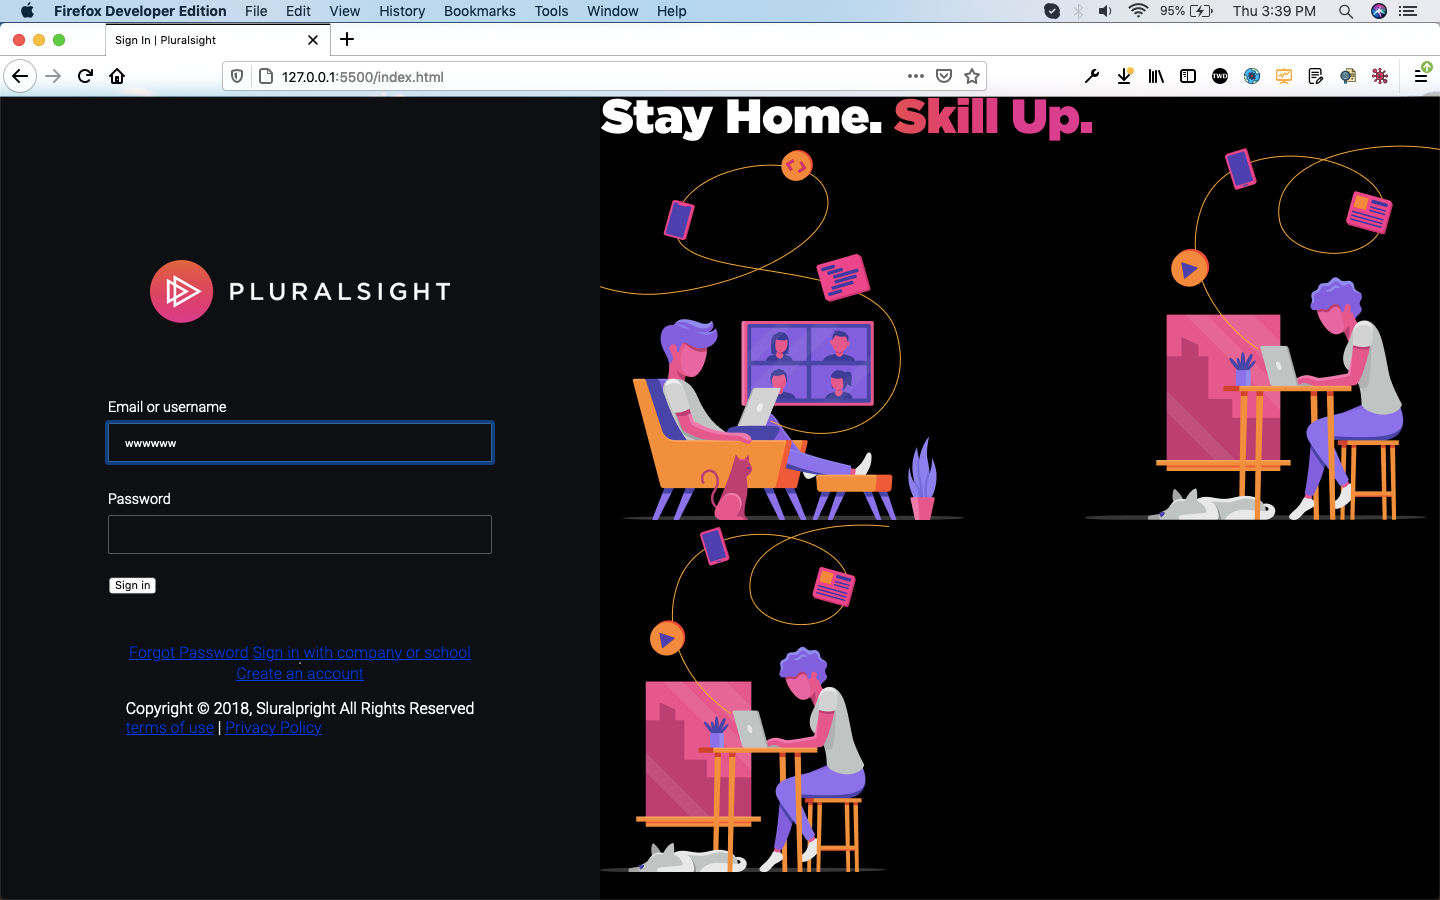 Almost Done
Next, we will style the primary button including the hover state.
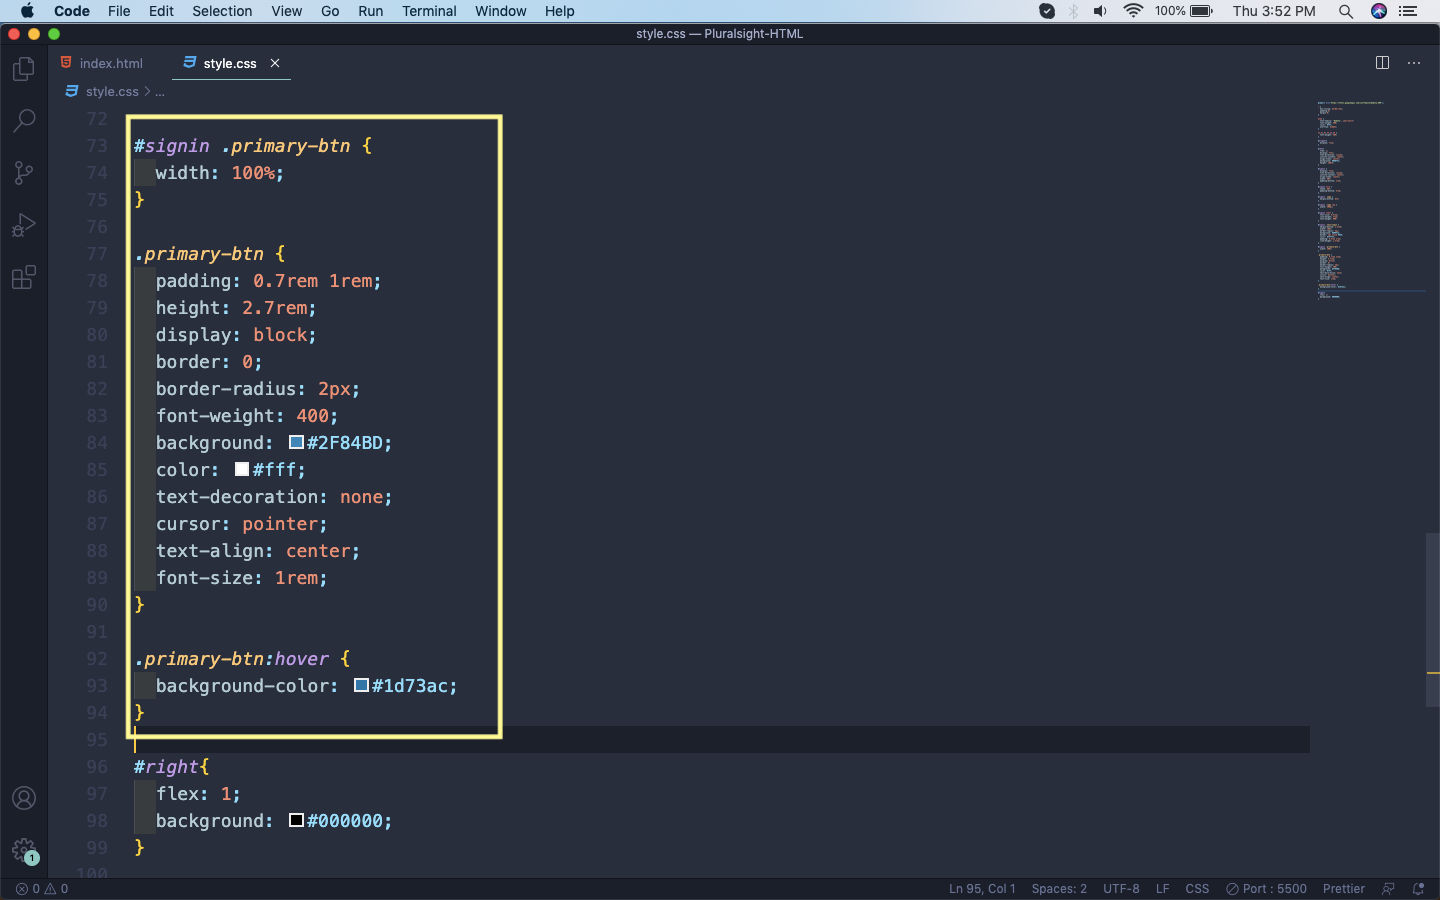 button
It will now show this beautiful button on the page.
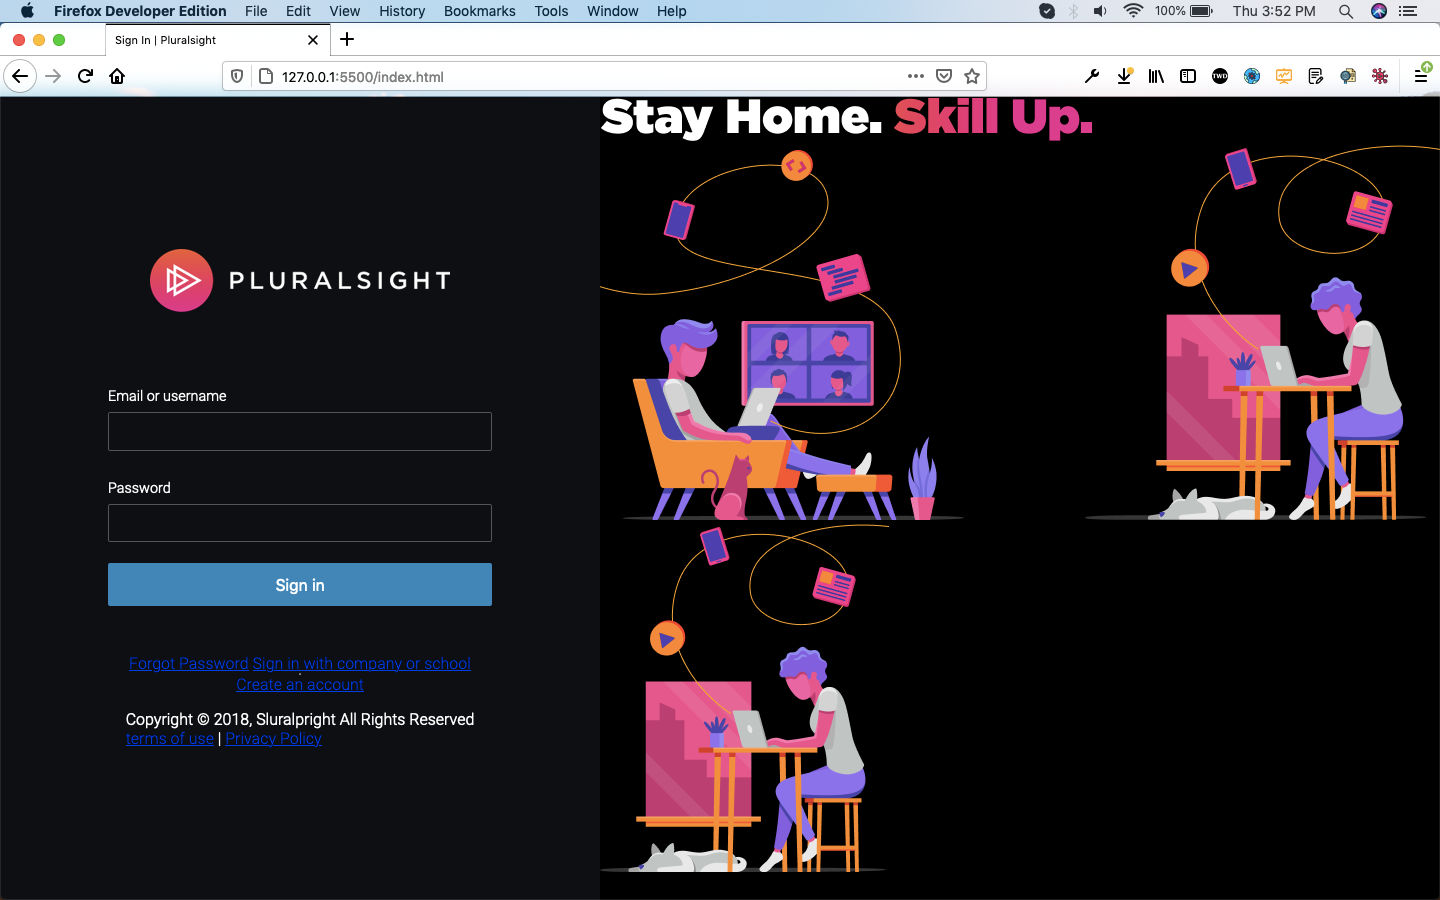 Beautiful button
Next, we will style the links for Forgot password and Sign in with company or school. We are also giving style to the horizontal rule below it.
 link
link
Now, our web-page will look like below.
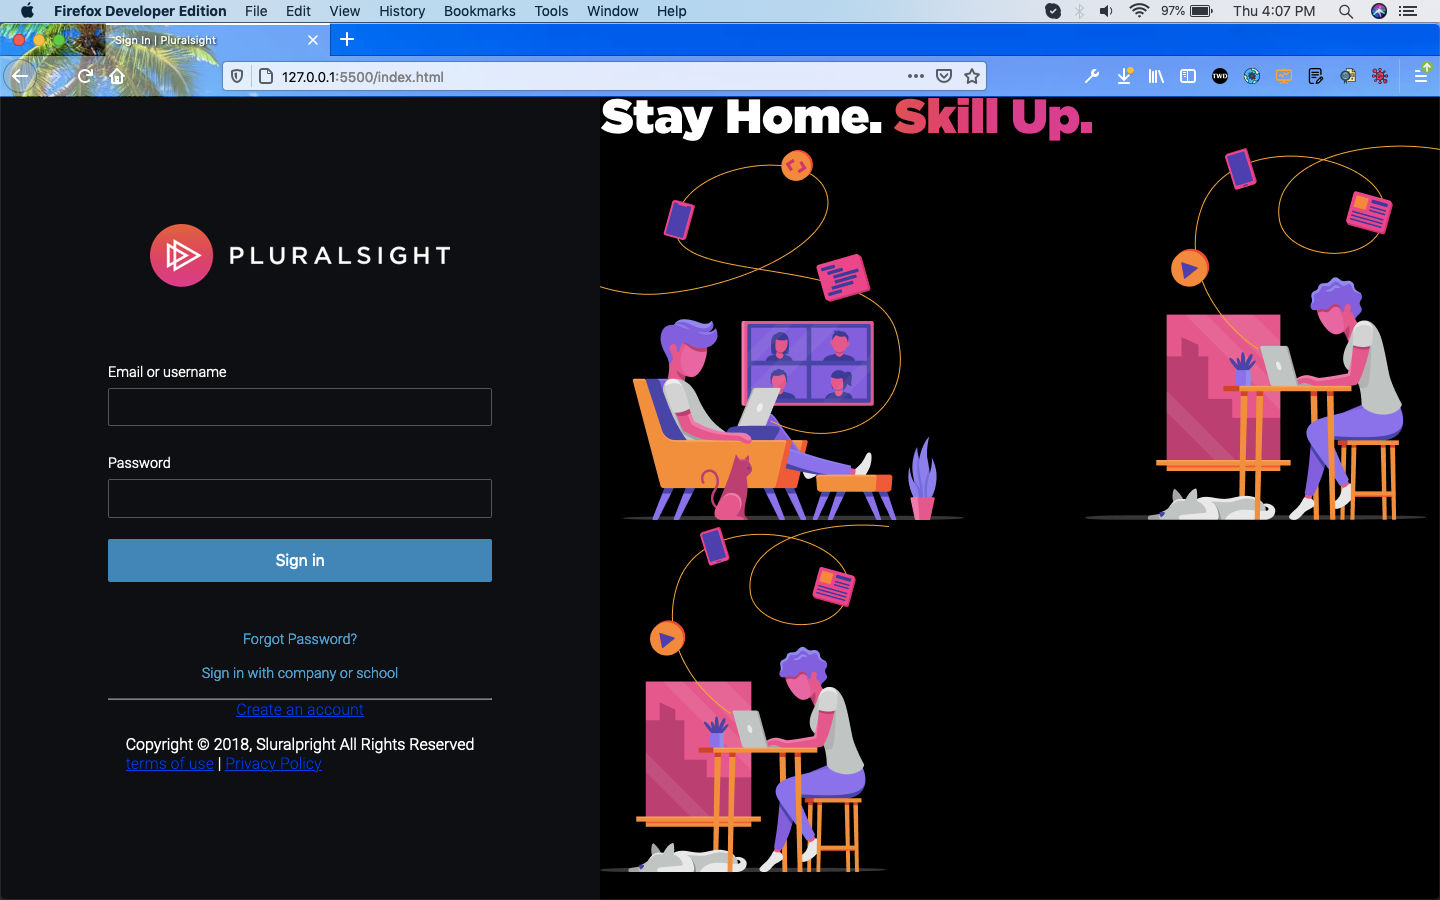 Links
Links
Next, let’s style the Secondary button and also add a margin bottom to the hr.
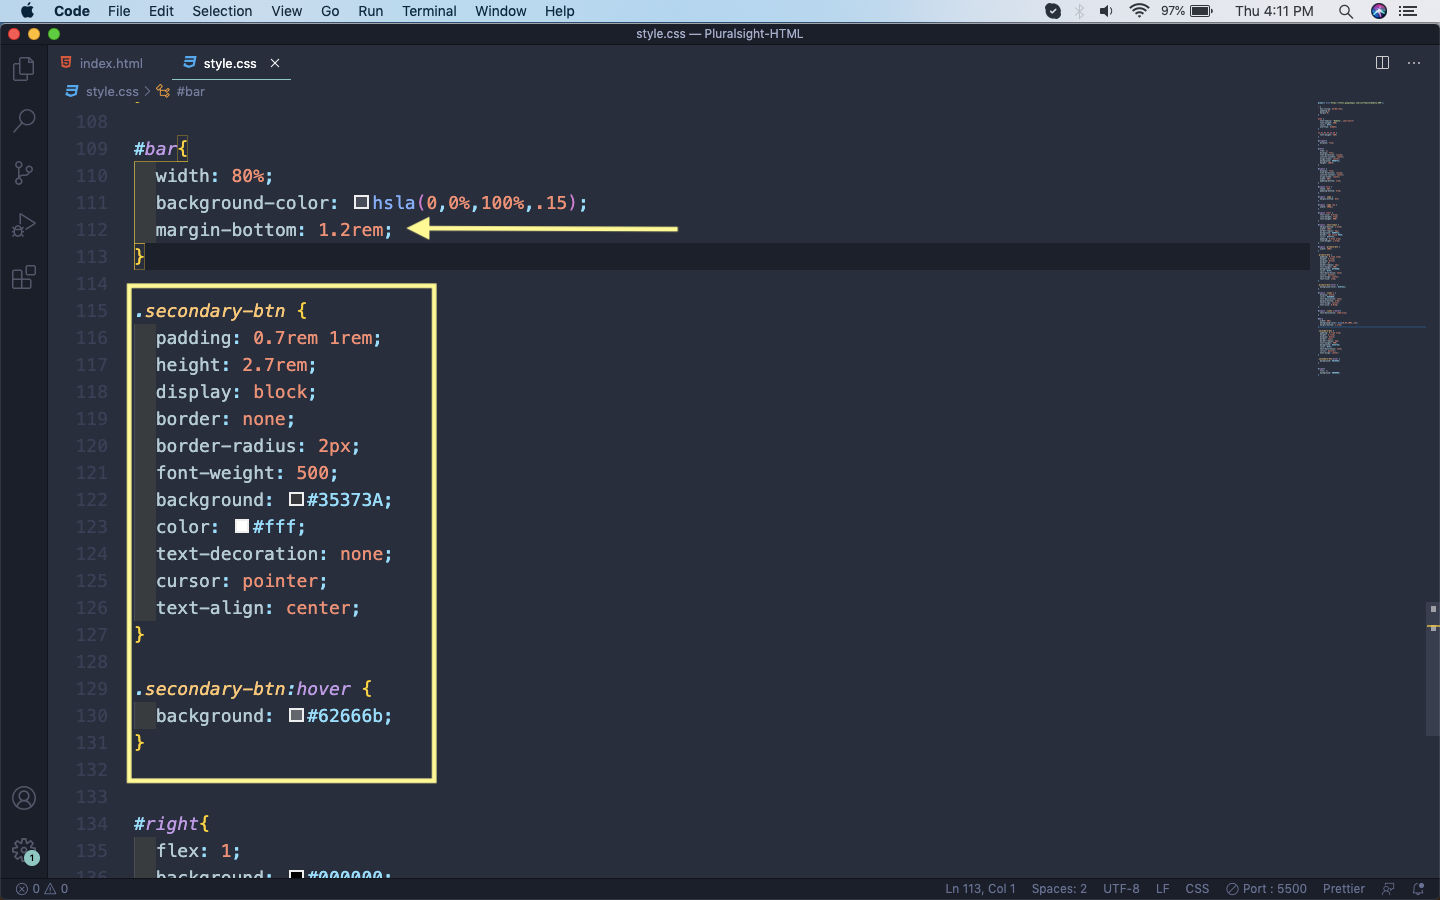 Secondary Button
It will now show as below.
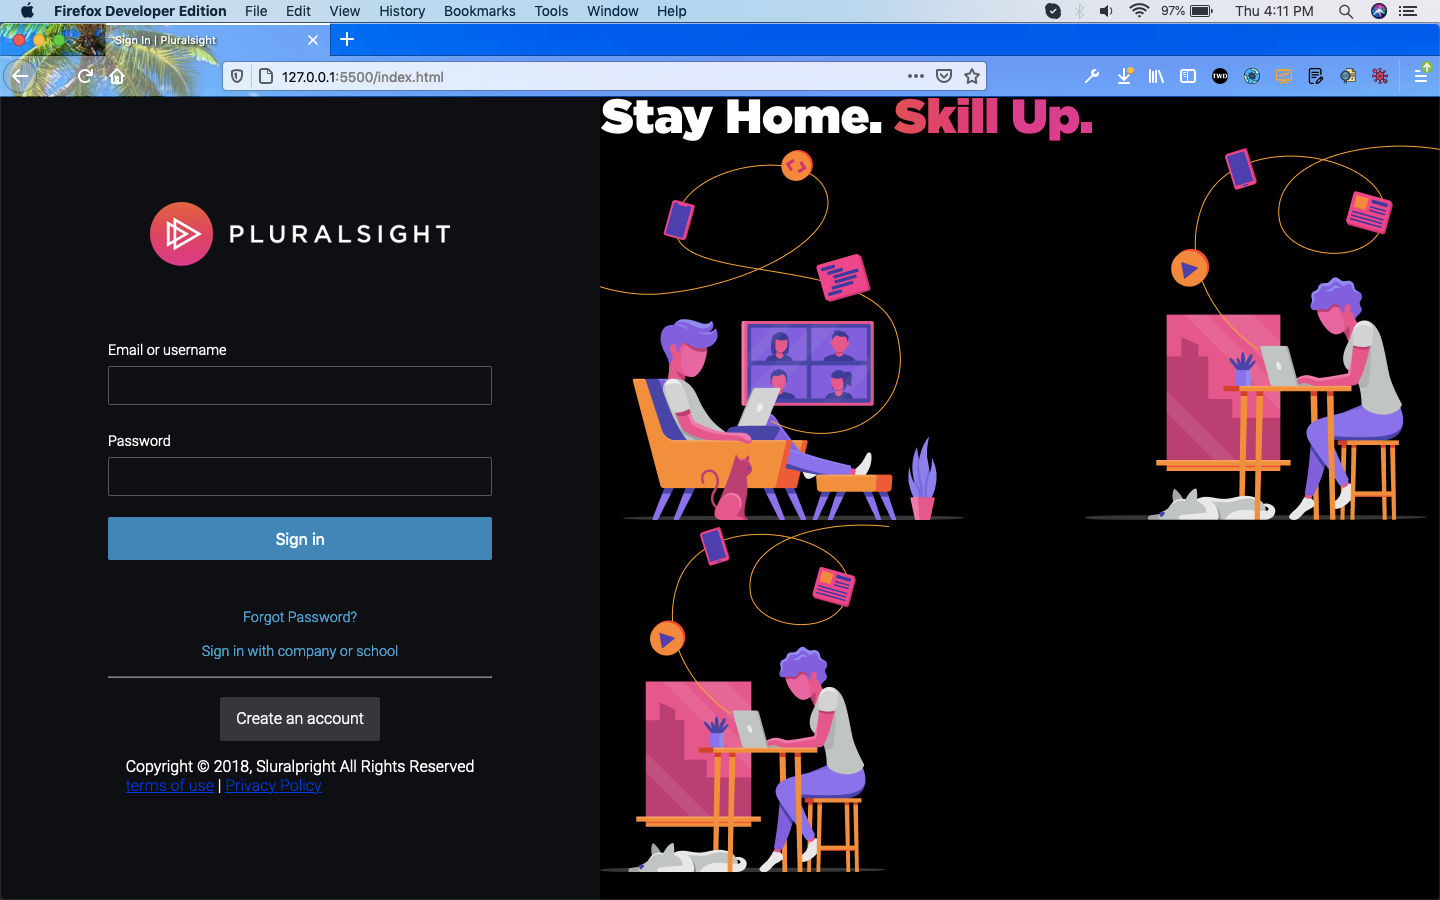 The button
Lastly, we are changing the footer to show properly.
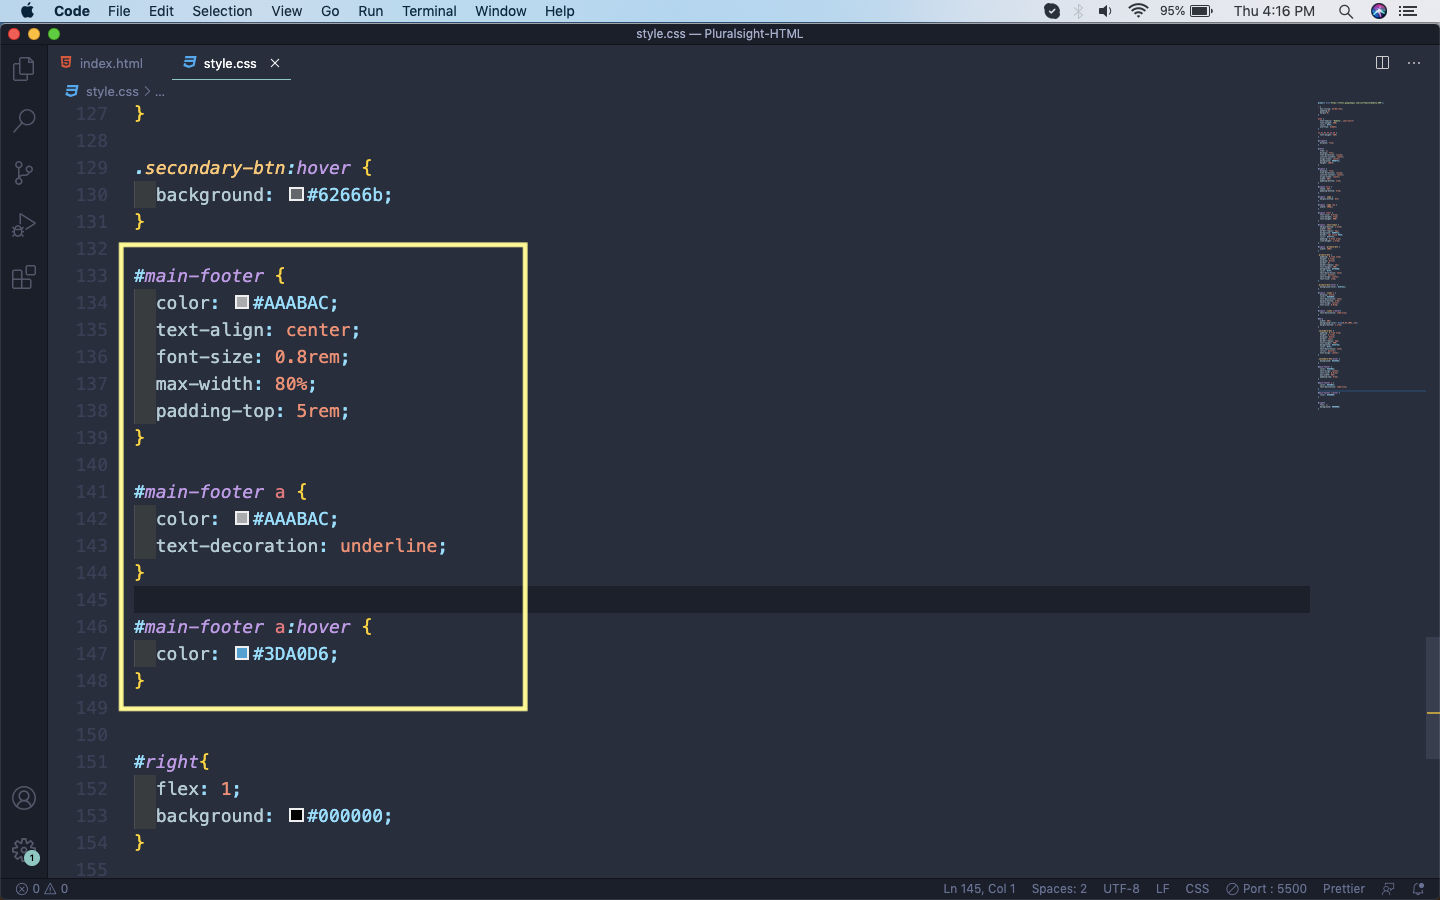 Footer
It will show our footer as below.
 The footer
This completes part-1 of the series.