Application using ReactJS, Unsplash API and cloudflare worker
by Nabendu Biswas / October 22nd, 2021
#react #javascript #cloudflare
In this post we are going to build an Application for Image Search. We will get the image from Unsplash API, the frontend will be in ReactJS and we will use serverless functions, of cloudflare for backend.
These are known as Cloudflare worker and they allow you to create applications and deploy them on it’s Edge network.
The process to setup a cloudflare account and install wrangler is mentioned in my earlier post here.
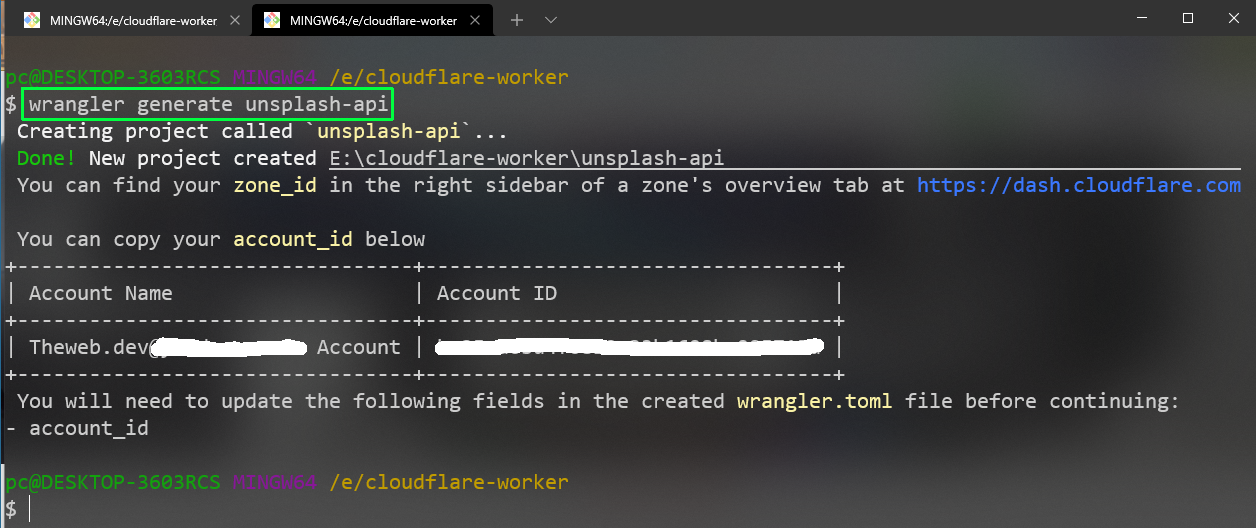
We will create a new project using wrangler generate command, as shown below.
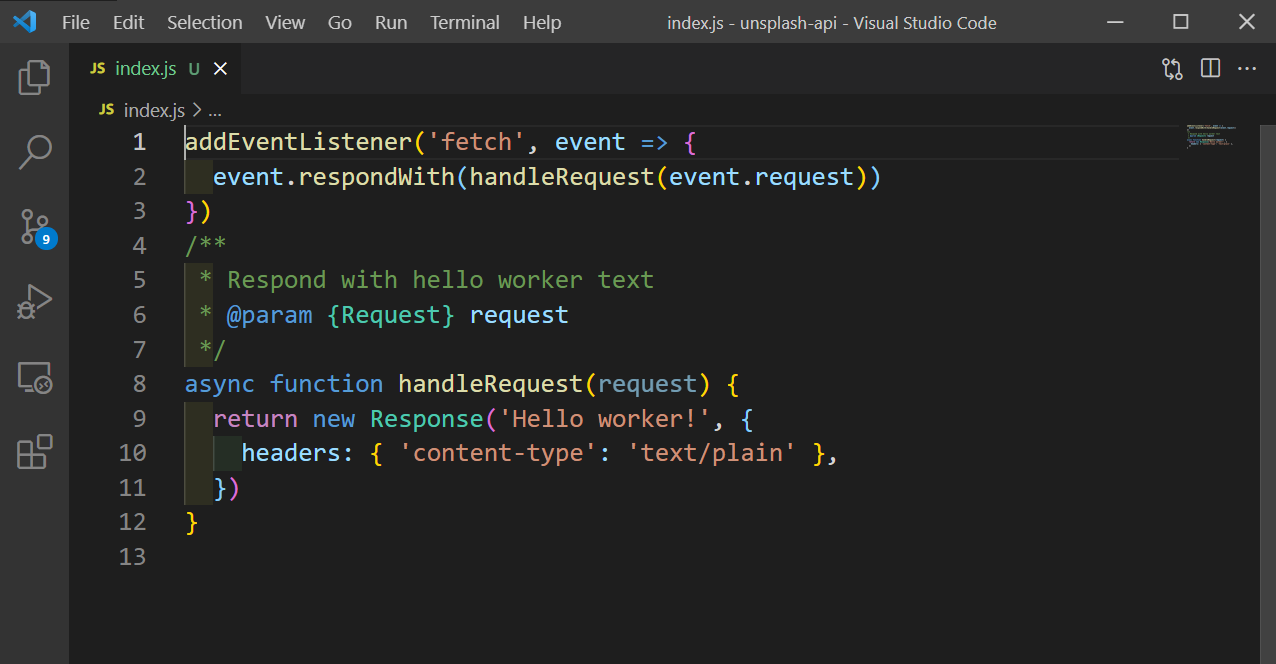
Now, navigate to the folder and open the project in VS Code. Open the index.js file. The details of the file are again mentioned in my earlier post here.
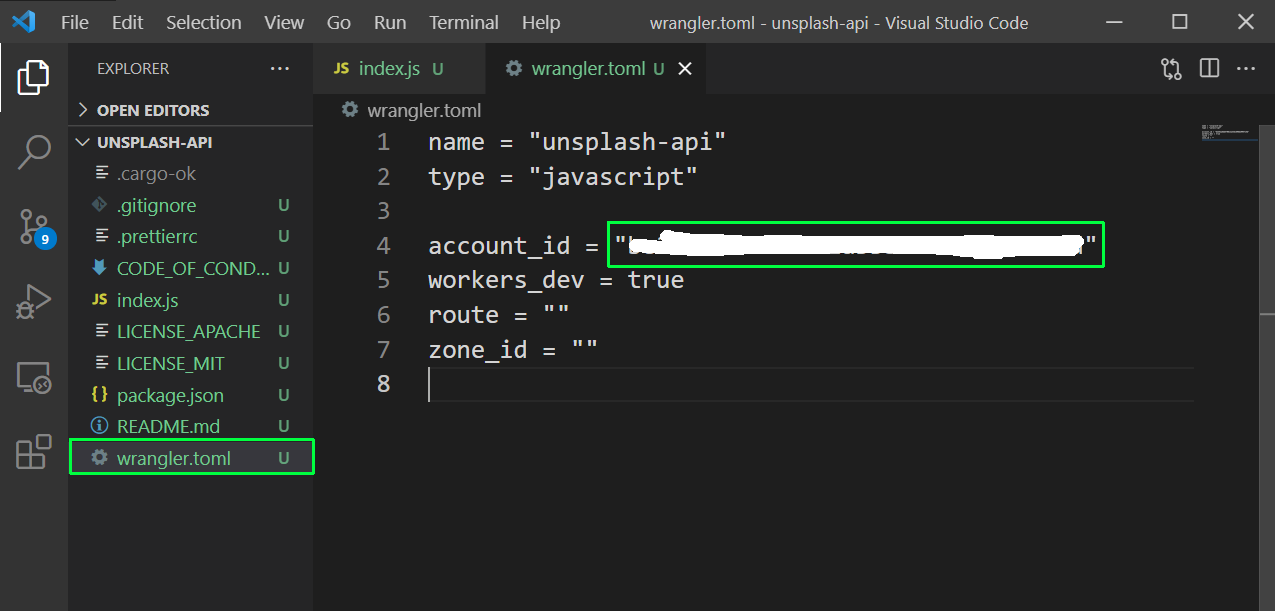
Now we will publish our project to Cloudflare CDN network, but for need need to set the account id in the config file. So, again run wrangler whoami and take the account id.

Put the account id in the wrangler.toml file, which is the configuration file for our wrangler project.
Now, let’s publish the project by wrangler publish command.

The above command gives us a link and when we open it in browser, we will see the Hello worker! text, from index.js file.

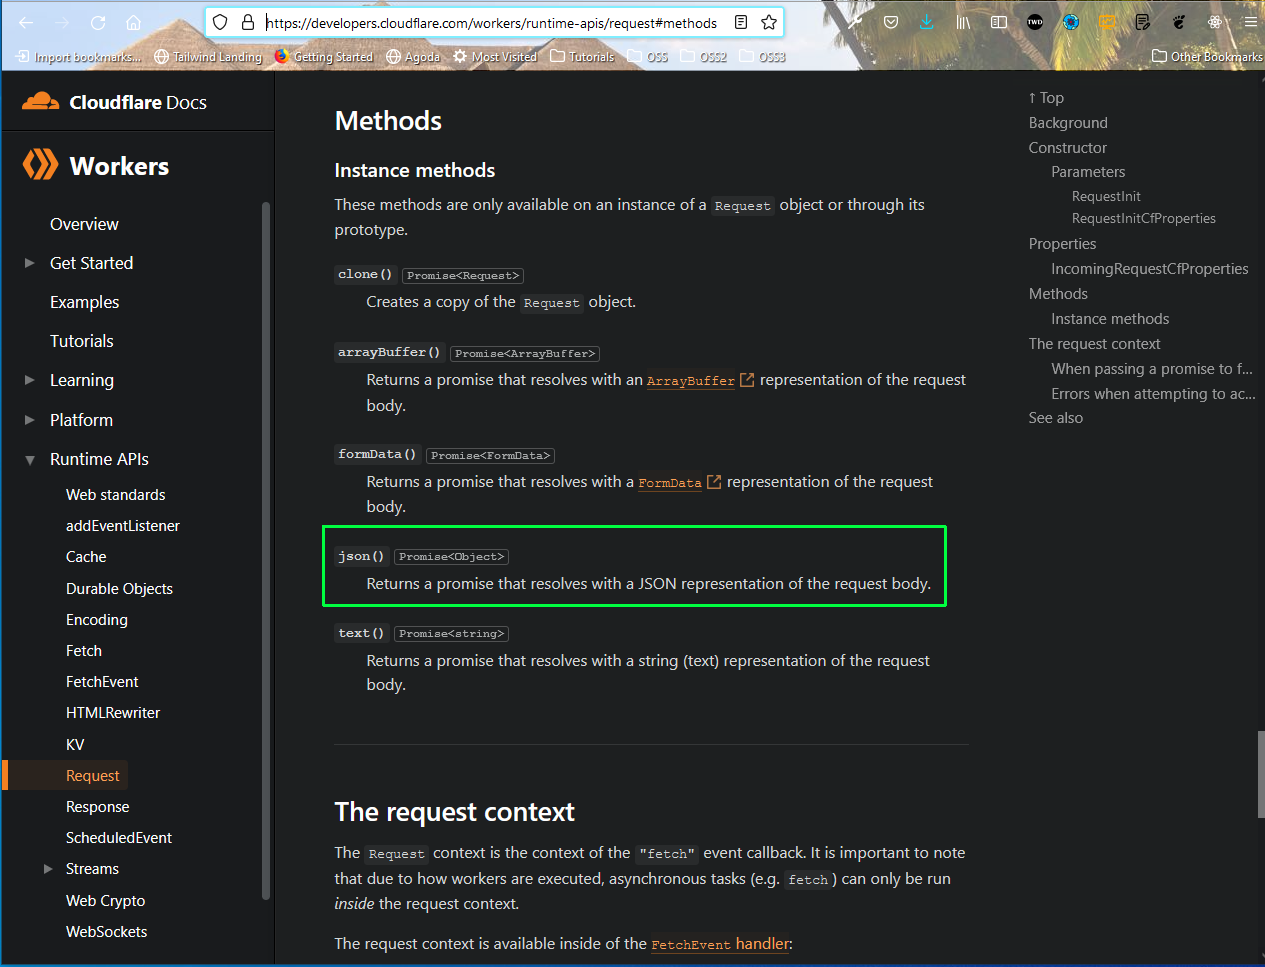
Now, we will change our Request method to return json. The various request methods can be found here, from the official docs.
Now, in index.js we will change our handleRequest function to return a json.
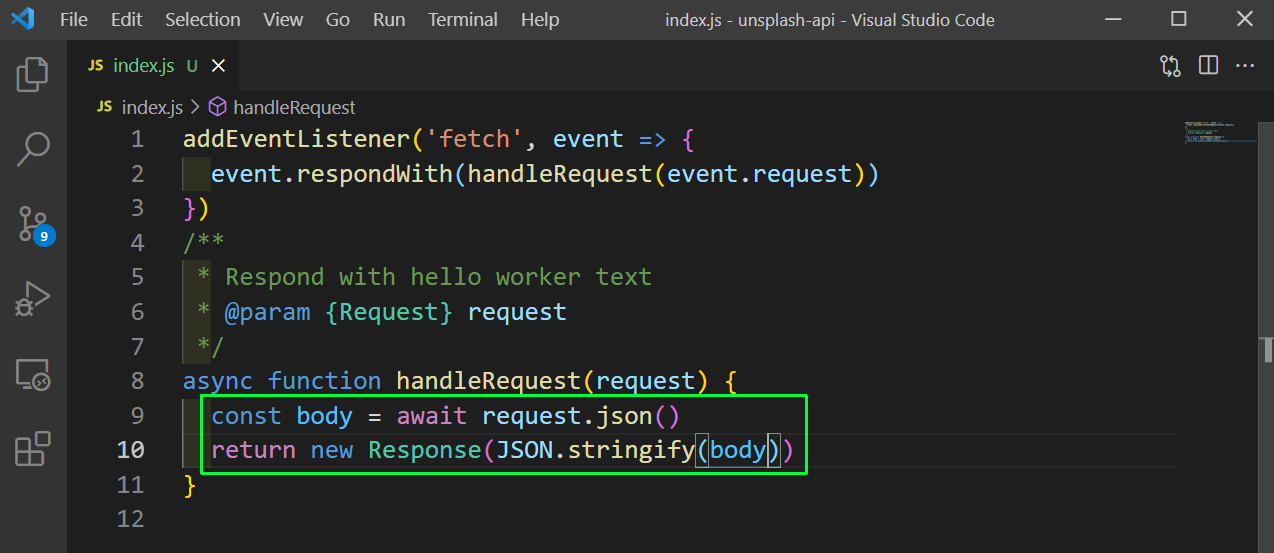
We will test it locally now, and for that open up the terminal and run wrangler dev. It makes up app run at localhost url.
Now, open another terminal and run the below command. You can see that it return the body of query: tech.
So, it is taking the data from our request, parsing it and giving it back as the response.

Just to make sure that it works like, we expect, we will destructure query out of our body. And after that return it back as a Response in a query string.
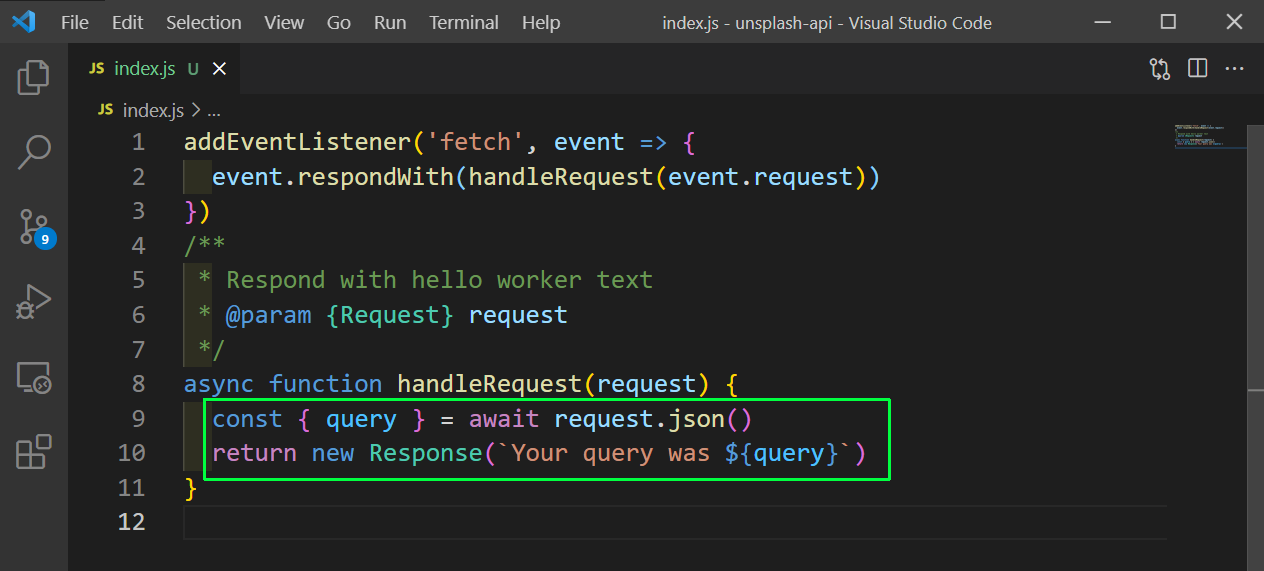
Now, again run the curl command and we will get out query back.

The fetch API allows us to make request, inside of our worker function to other servers and API endpoints.
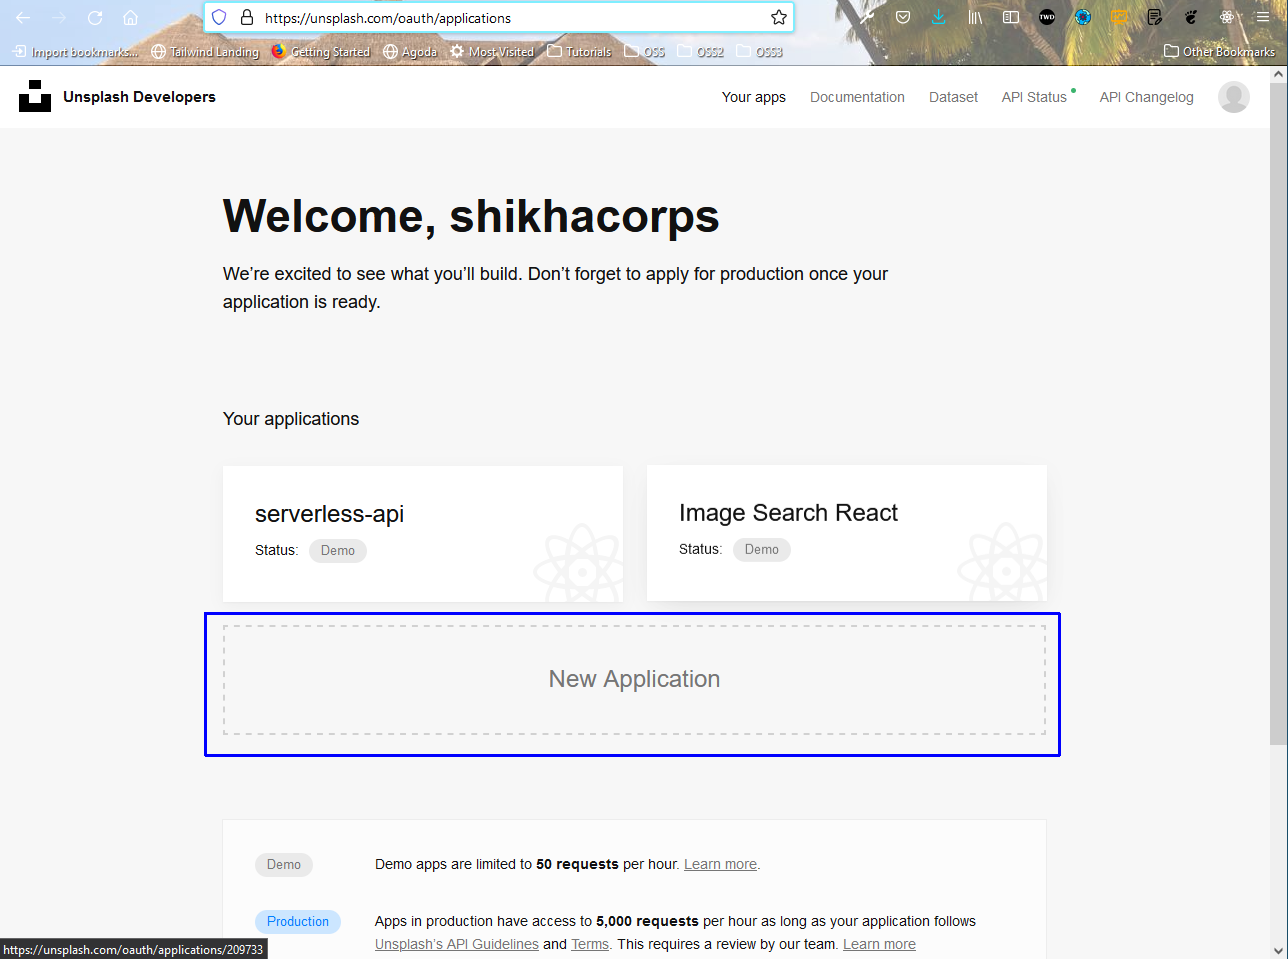
We will be using the unsplash API for our project. So, go to https://unsplash.com/oauth/applications and click on New Application.
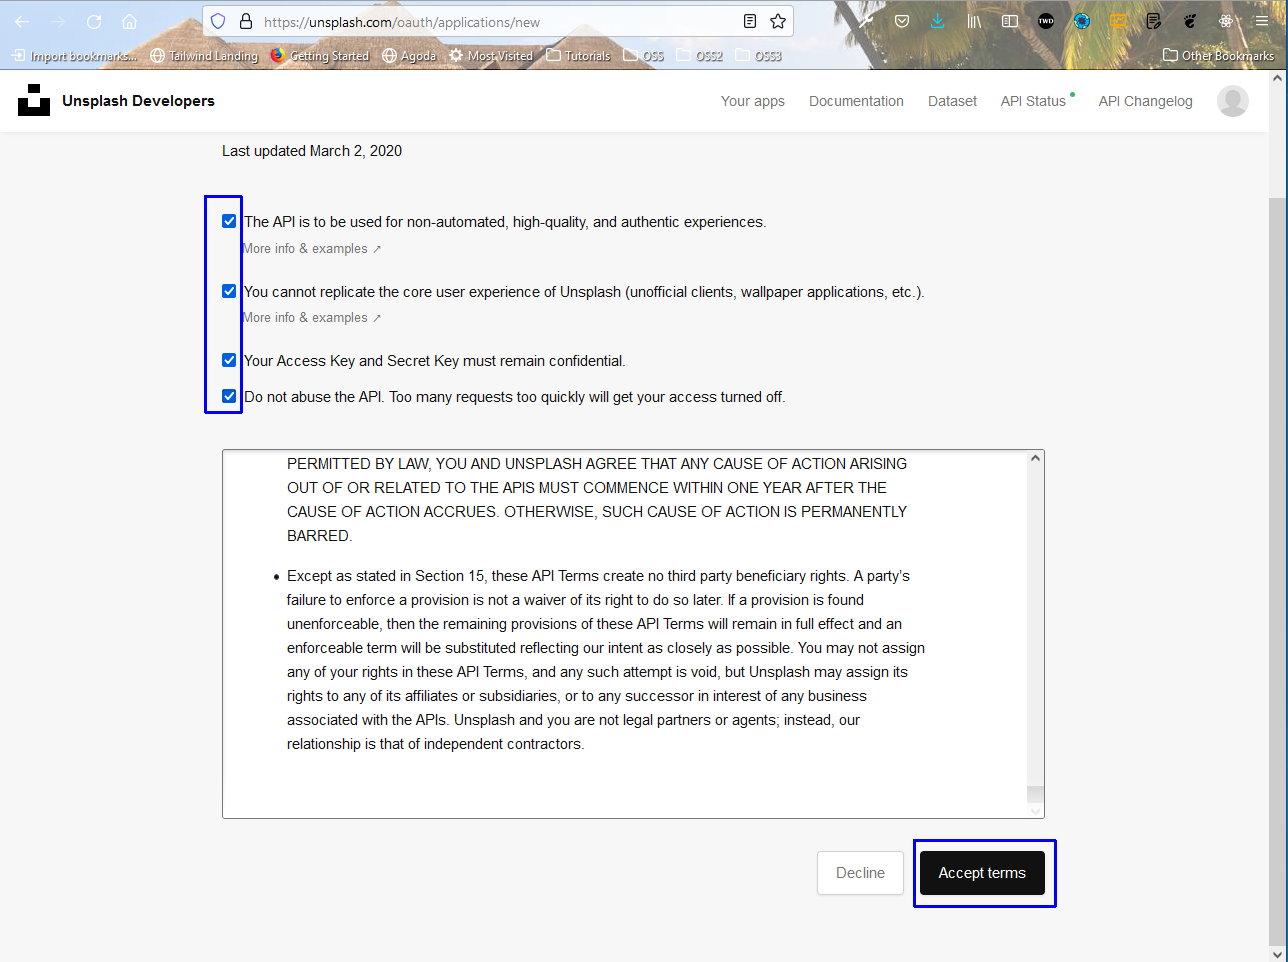
In the next page, click on on the Checkboxes and click on Accept Terms.
On accepting the terms a Pop-up will come in which give the application name and description.
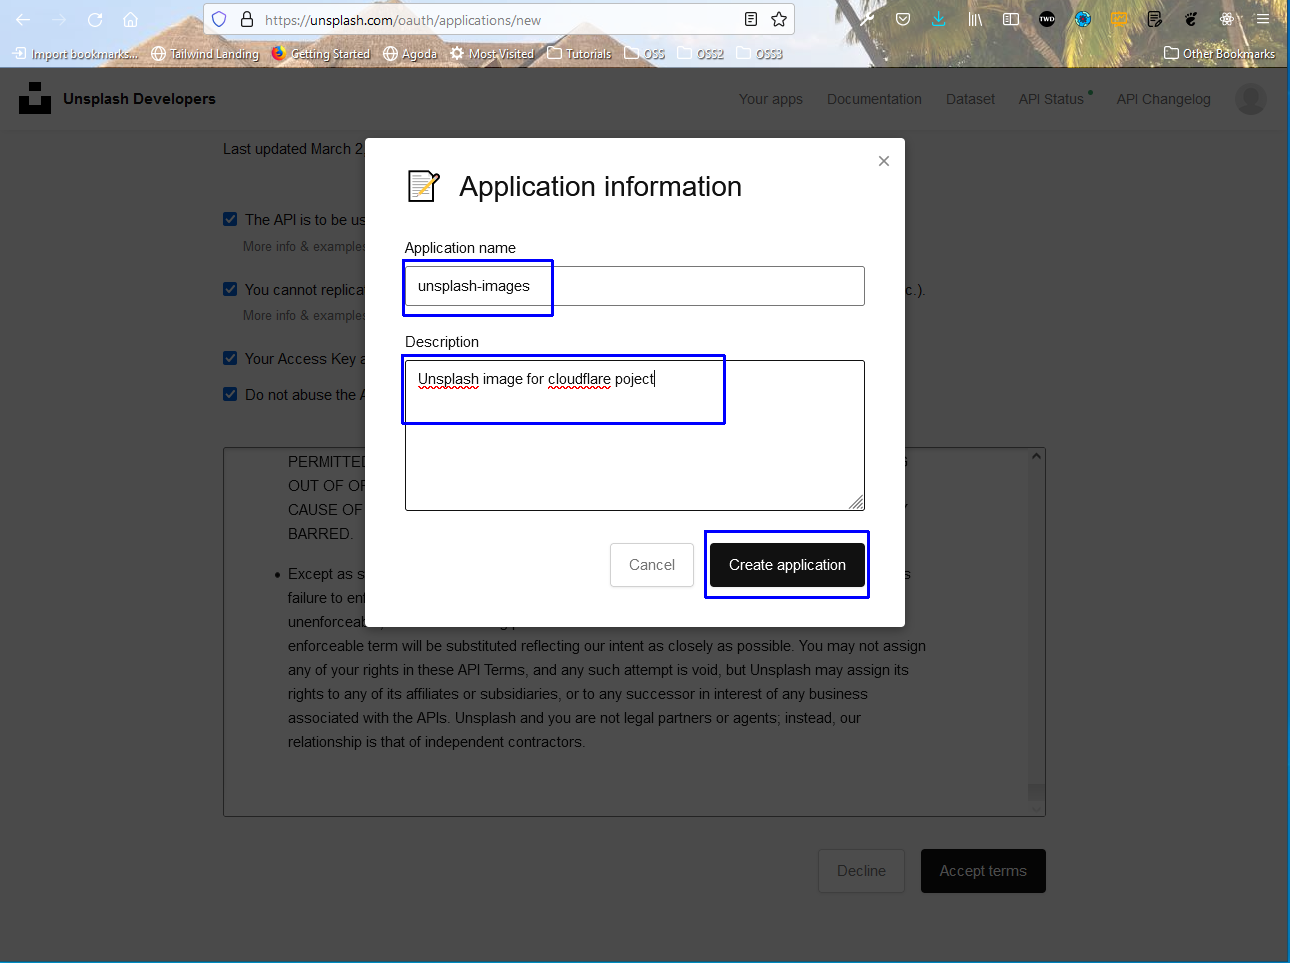
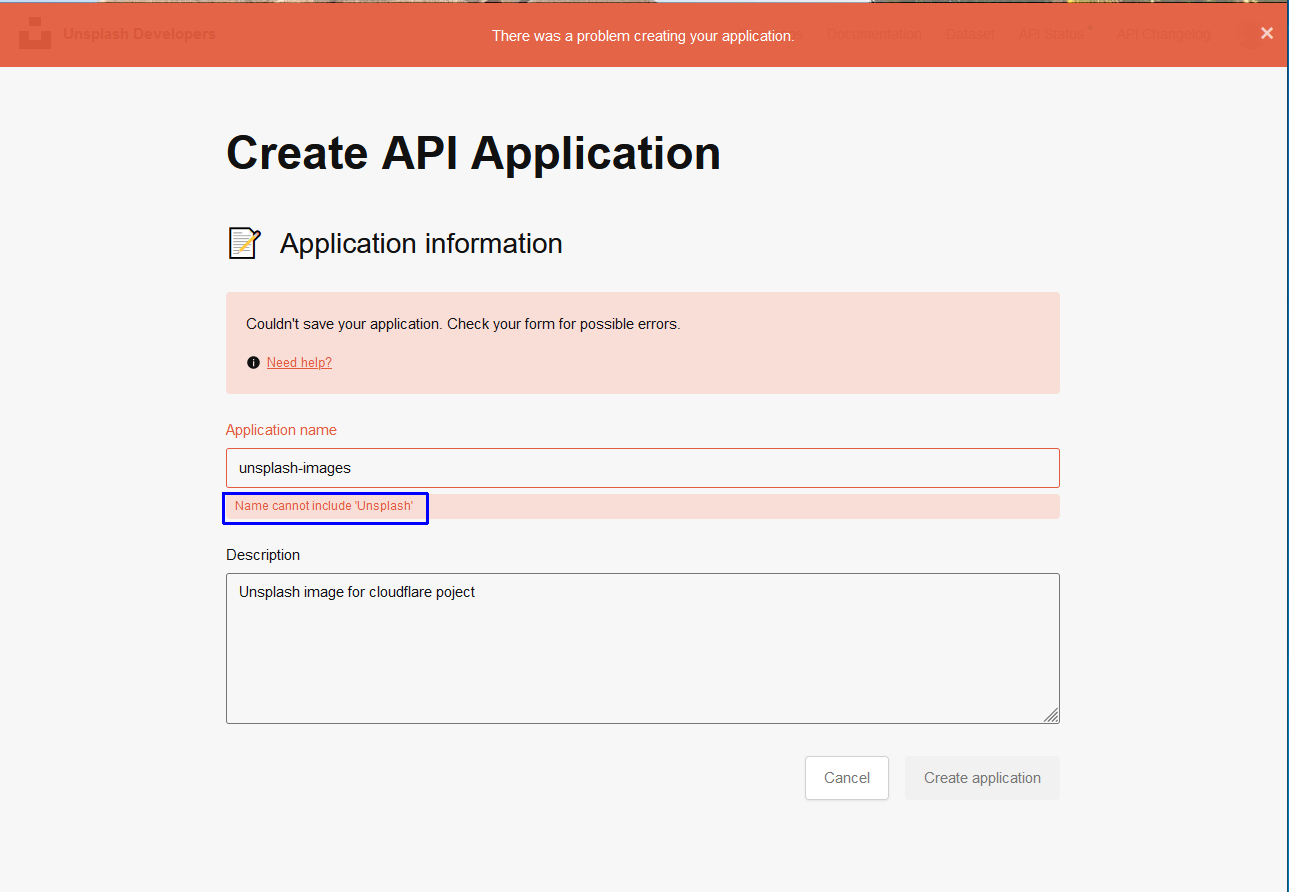
It gave me an error, as we cannot use unsplash name.
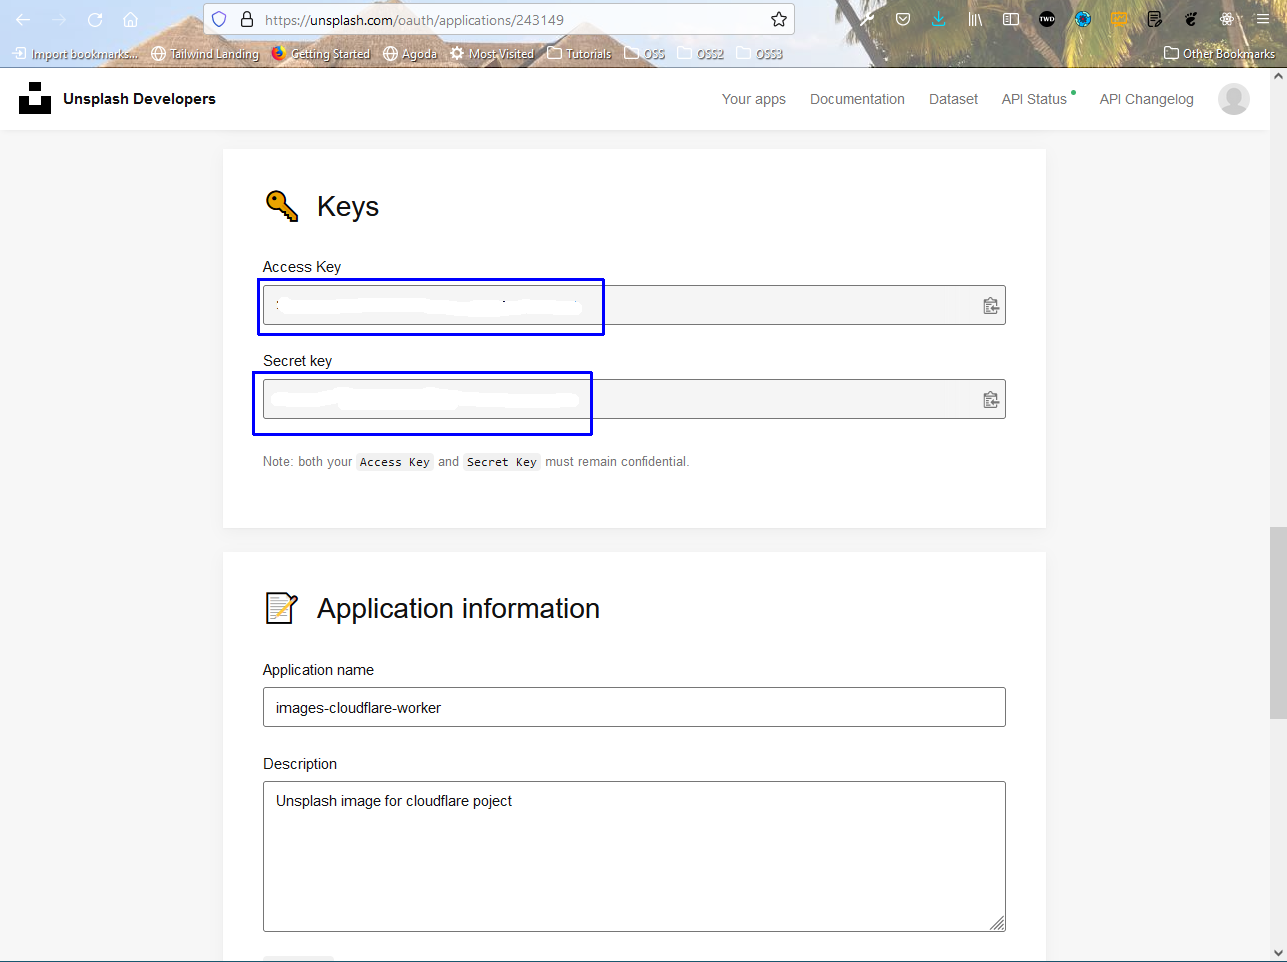
So, i gave the name images-cloudflare-worker and clicked on Create Application.
In the next screen scroll down a bit to get the Access key and Secret key.
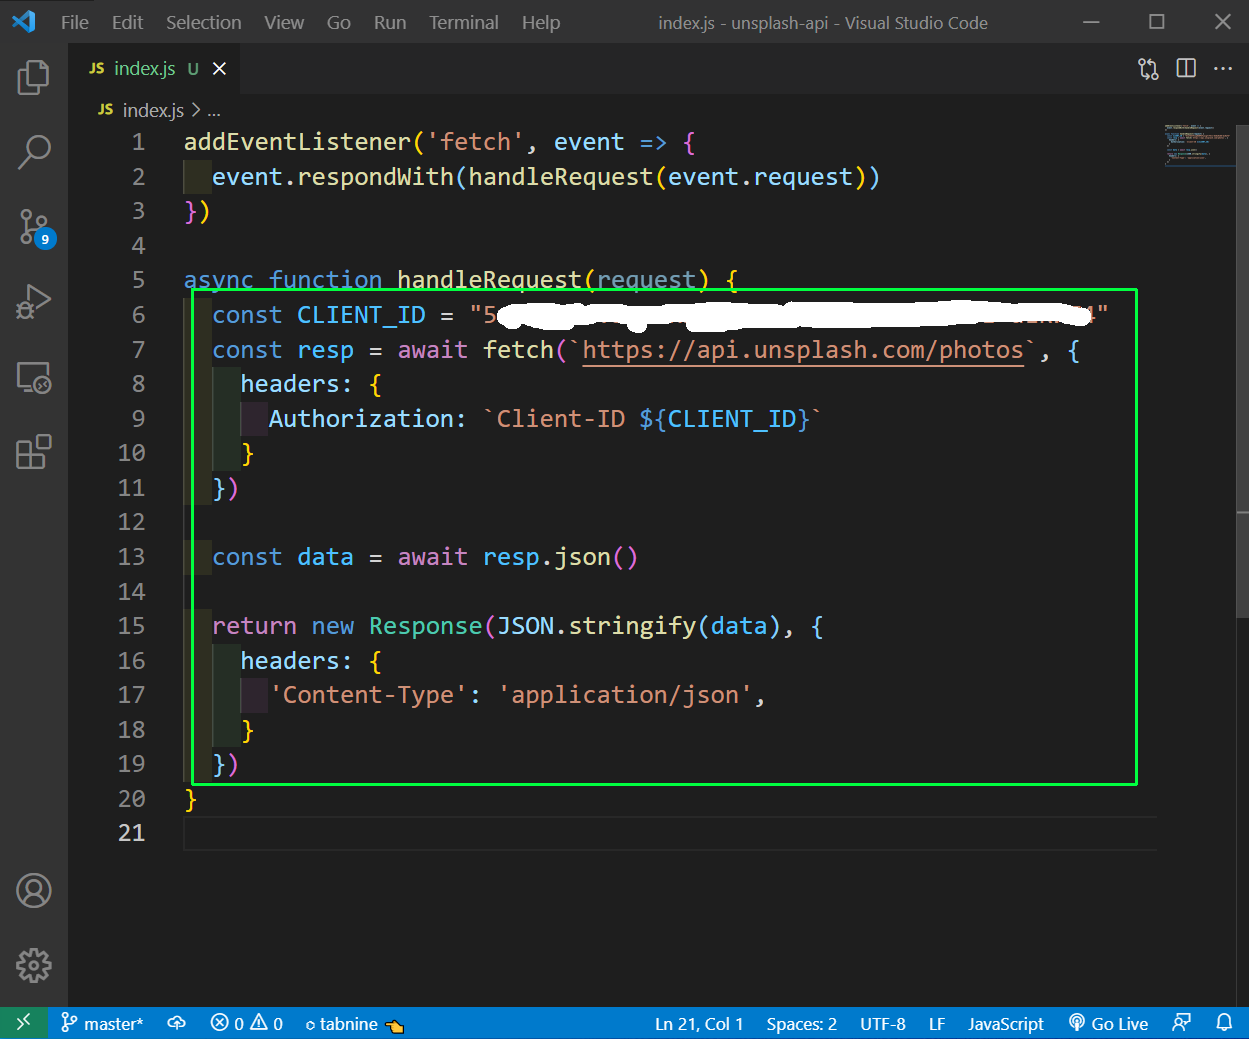
Now, back in index.js use the inbuilt fetch api to do a API request to unsplash api, in which we need to pass the Client-ID.
Here, we are hard-coding our Access Key from the above step in CLIENT_ID. We are soon going to change it to use wrangler secret.
Once we are getting the data back, we are just returning a response.
Now, go back to the terminal and run curl http://127.0.0.1:8787 command and it will return data from unsplash api.
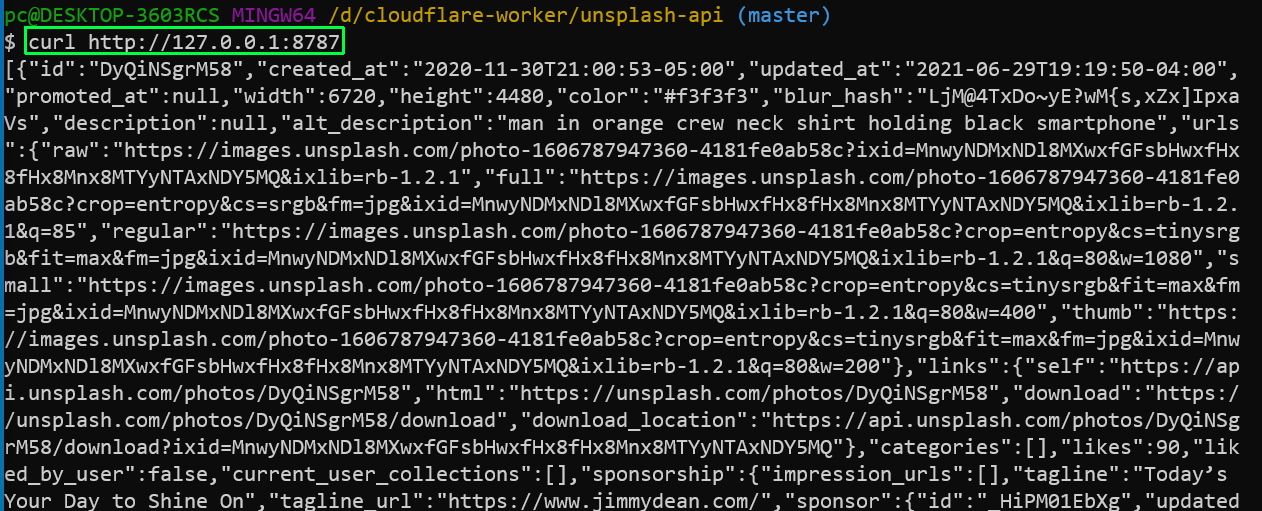 `
Now, it is a bit hard to read. So, i have install a tool online json processor tool called jq. It shows the data to us in a better format.
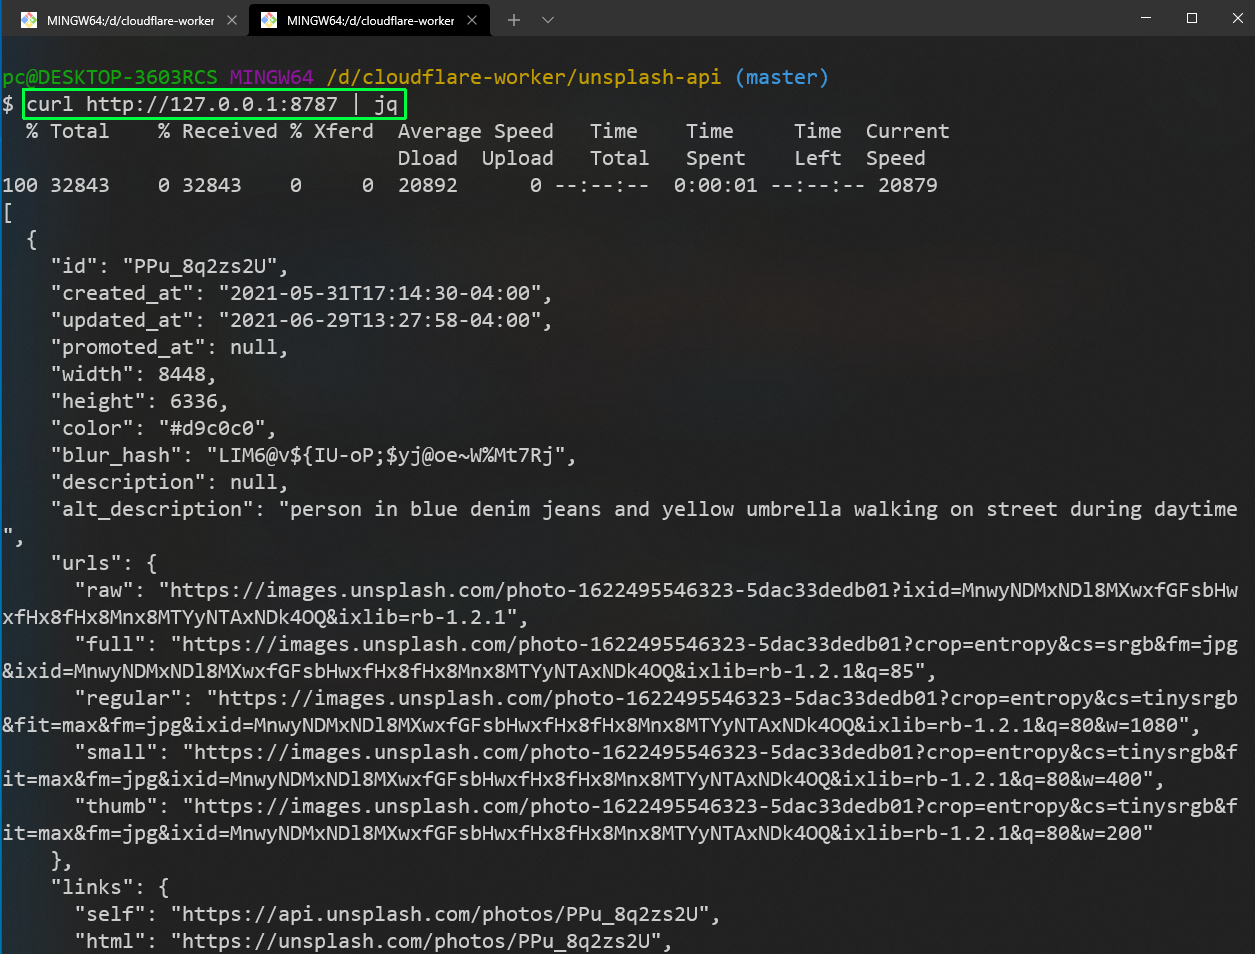
As told earlier, it’s not good practice to put a secret in index.js file. So, we will remove the hard-coded value.
After that in the terminal run wrangler secret put CLIENT_ID and then enter the Access key in it.
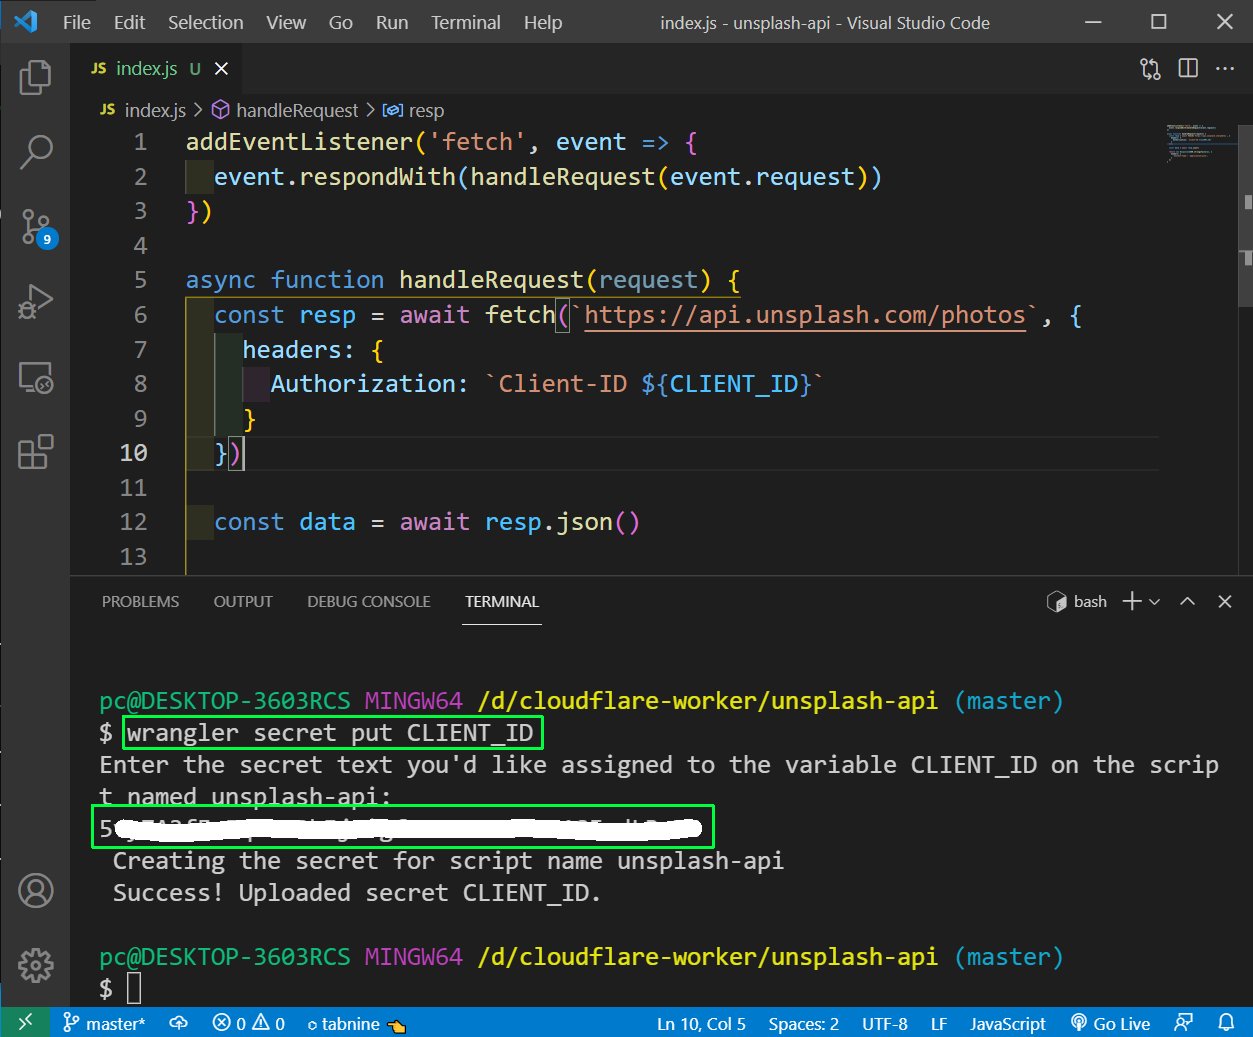
After that do wrangler publish and go to the deployed url and we will see the response from unsplash.
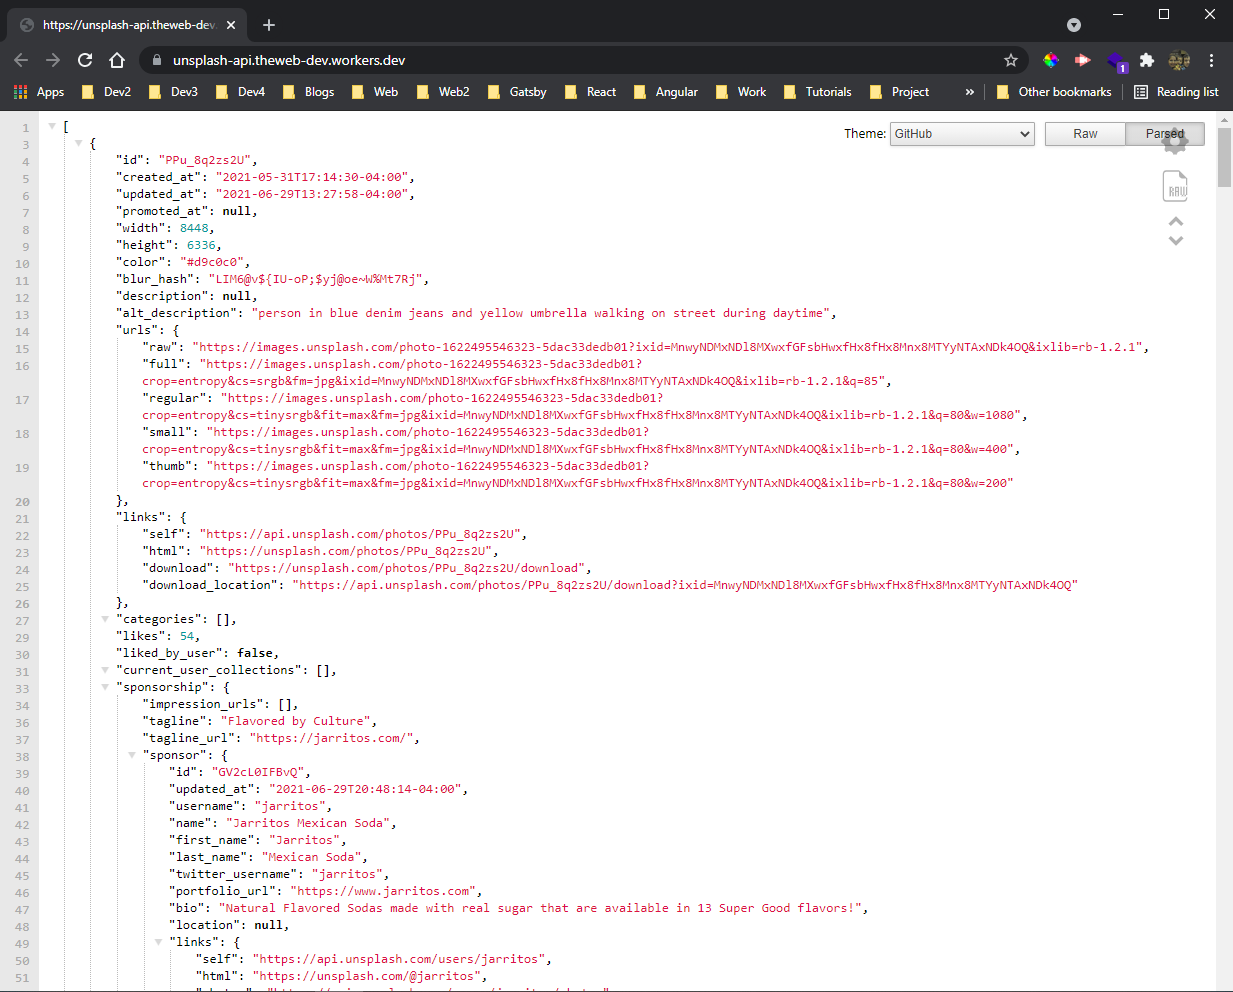
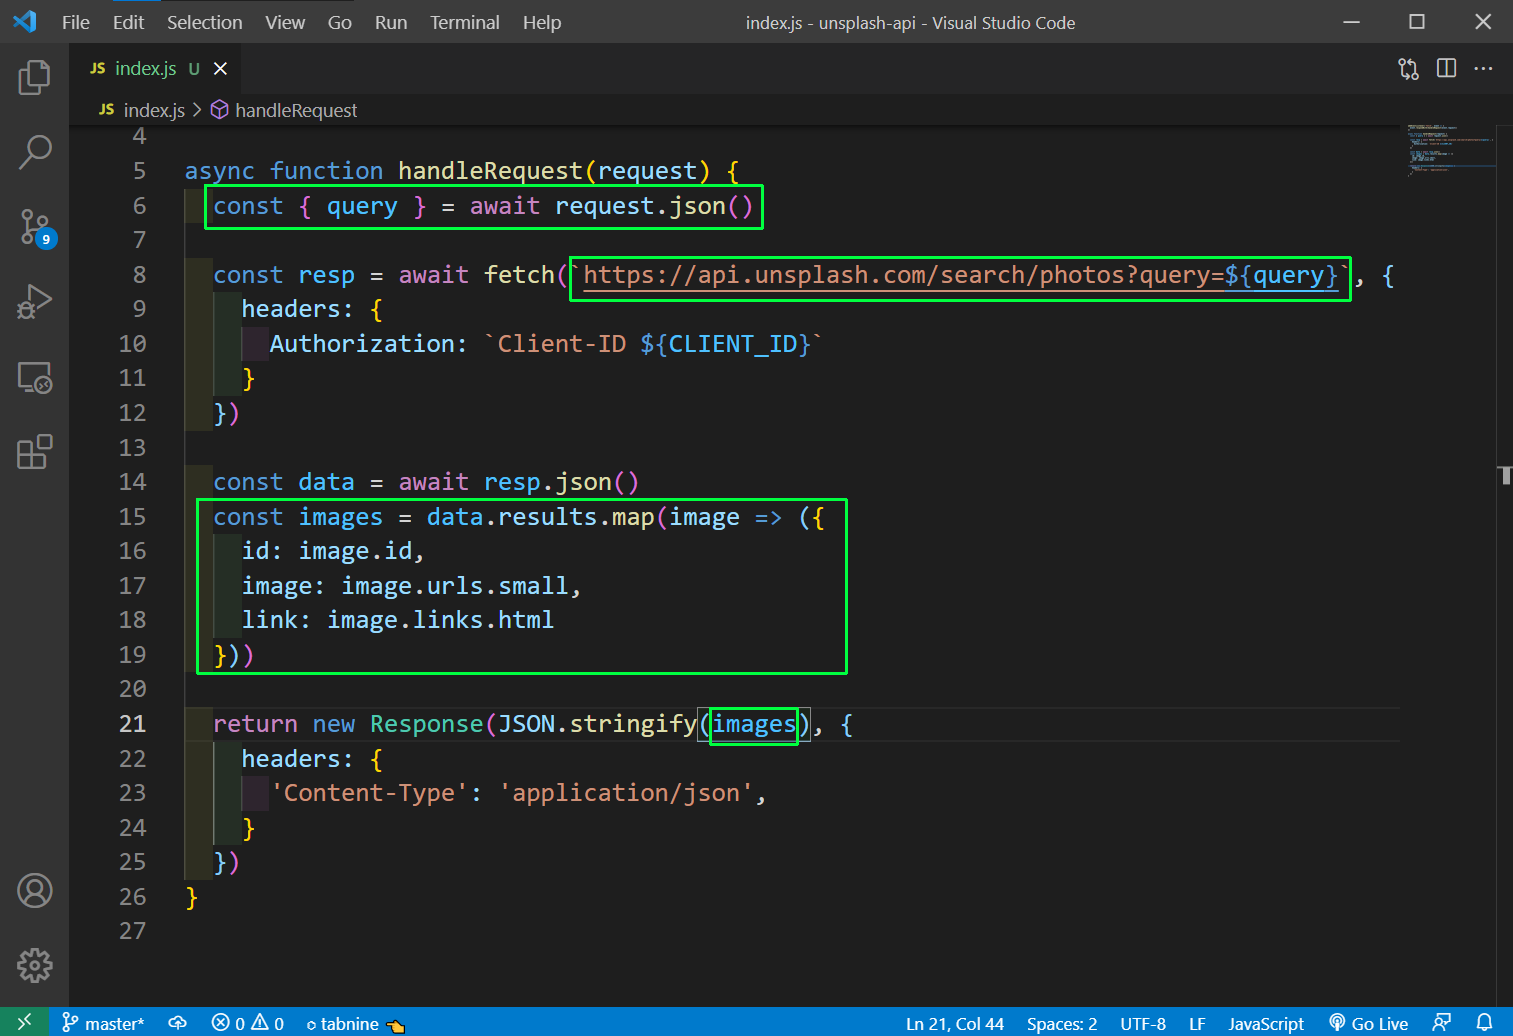
Now, since we are going create a search application, we are going to use the Search api from unsplash. We are again taking the query and pass it to the api.
After that we are also getting the required things of id, image and link from the data. And then returning the images in Response.
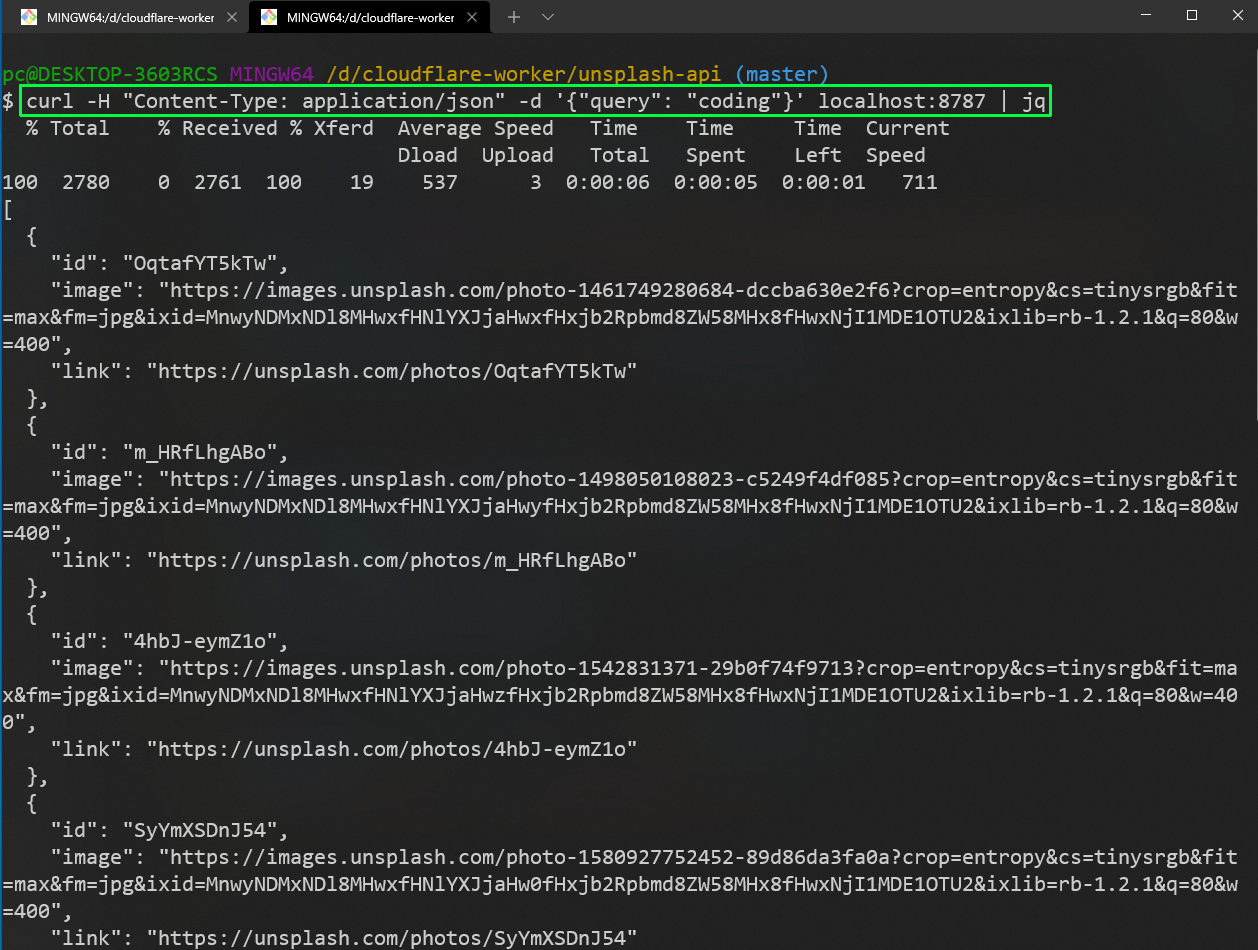
Now, in the terminal run the curl command similar to what we have run earlier and we will get the id, image and link as a Response.
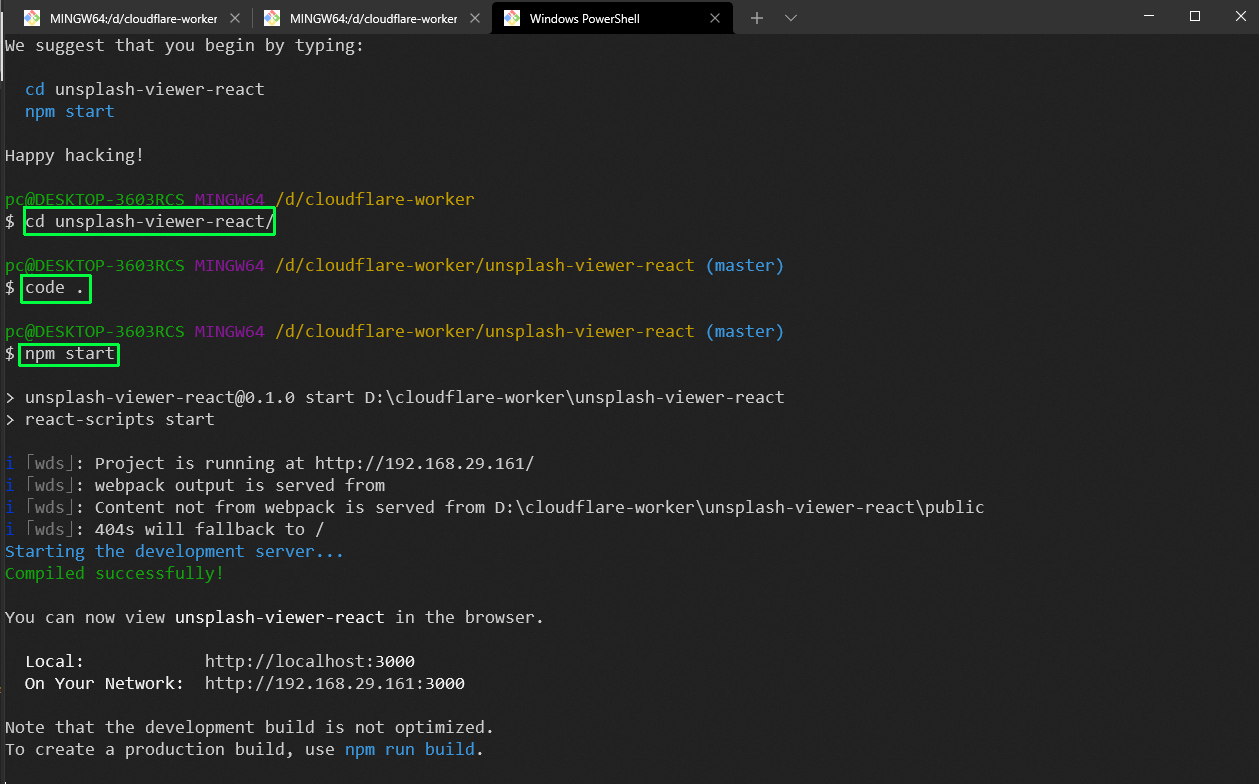
Now, the API endpoint is done, it time to create our frontend React app. So, open your terminal and create a new react app by npx create-react-app unsplash-viewer-react

Once the react app is created cd to it, open it in VS Code and start it with npm start.
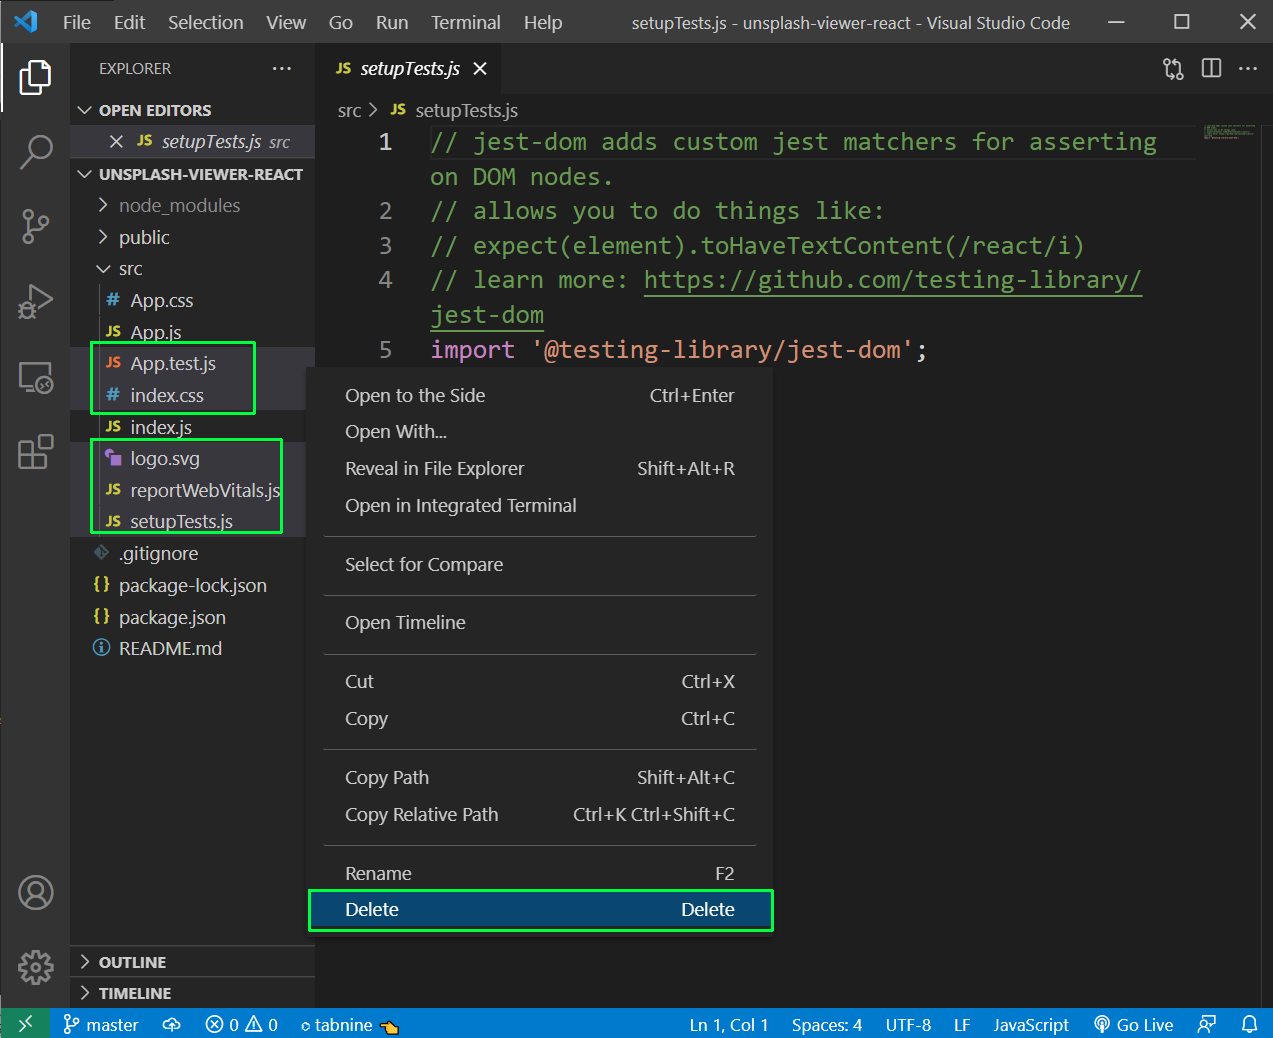
A react app comes with a lot of boiler-plate code. Select them and right-click and delete them.
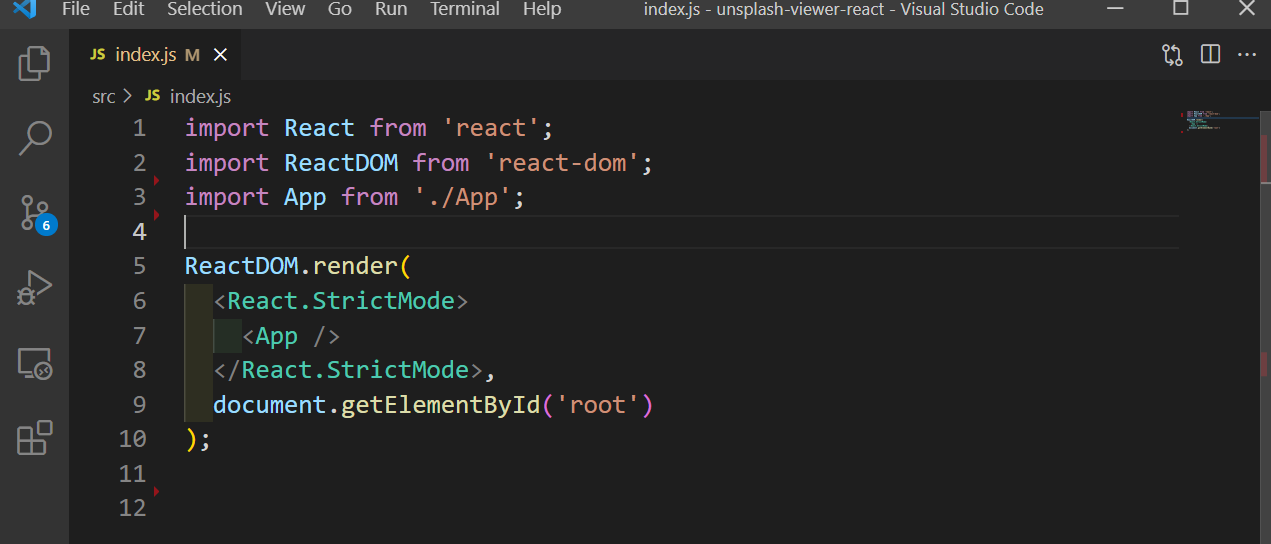
 Now, our index.js also will contain less code. The file will look like below.
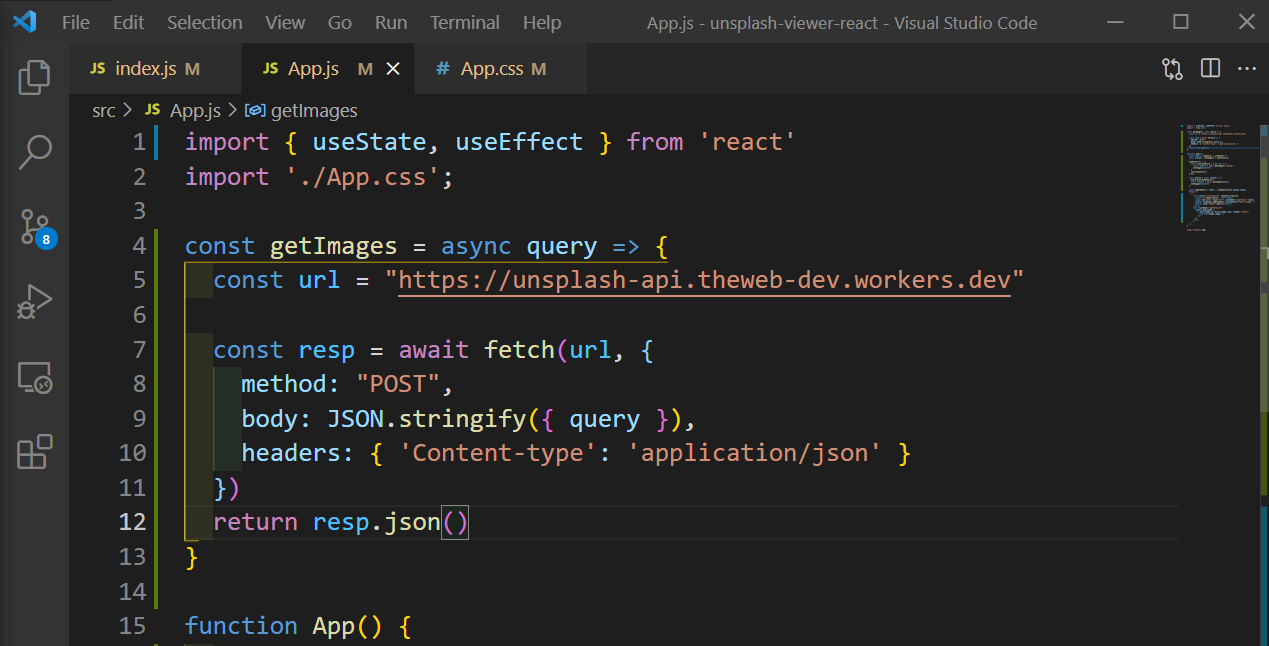
Now, in App.js file we will first have a function getImages. This function sends a POST request. to our API for worker, with the query.
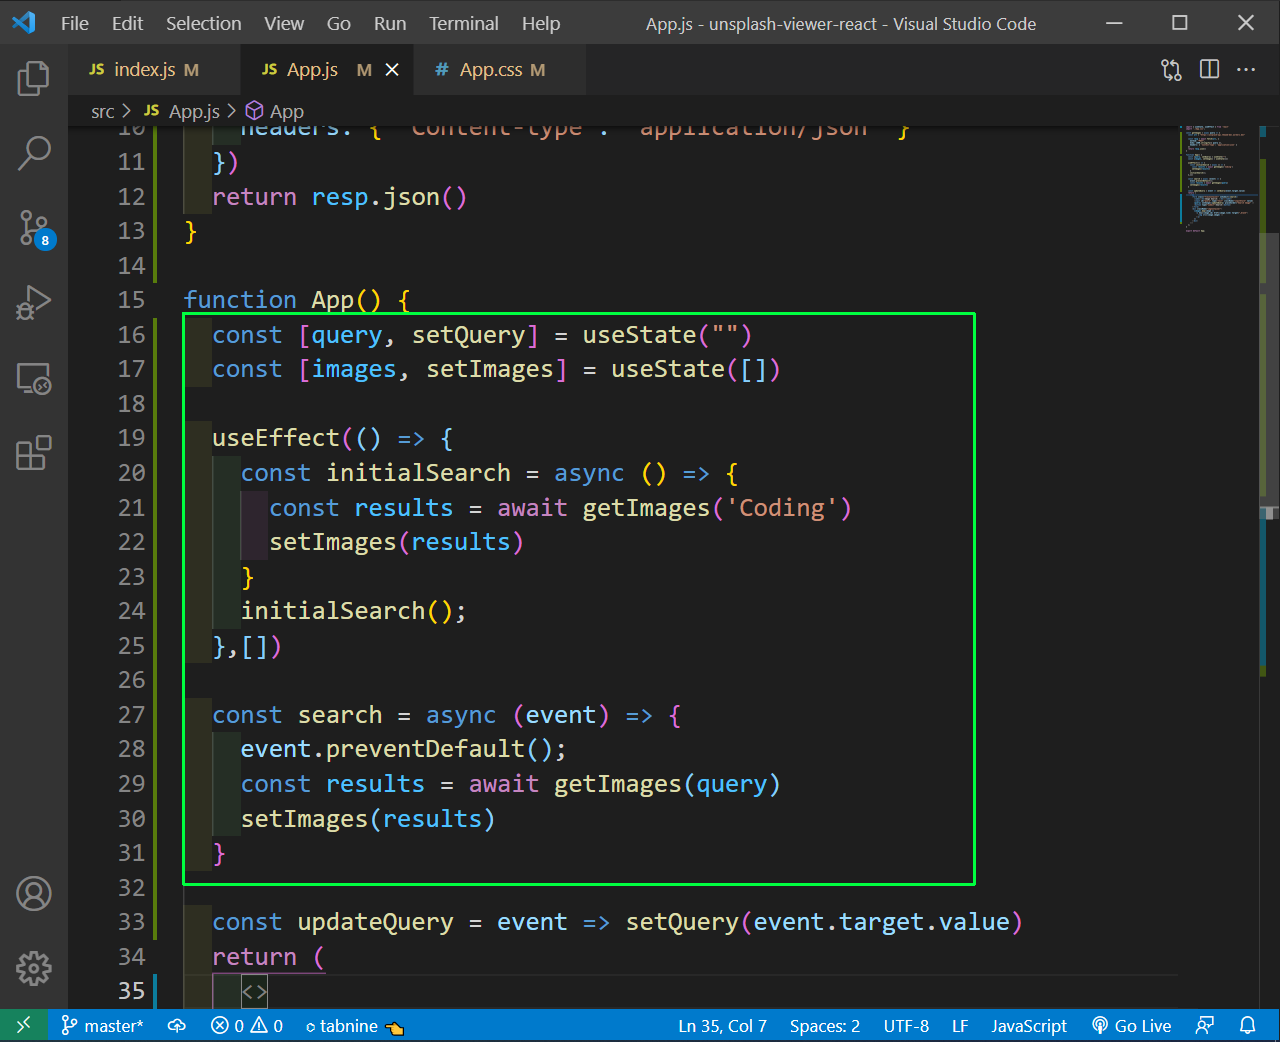
Next, we will set two state of query and images. We also have an useEffect, which calls the getImages with Coding query. Also, set the result in the setImages().
After that, we have a search function. It takes the user entered query to call the getImages function. Also, set the result in the setImages().
Also, have an updateQuery function, which sets the query to user entered value.
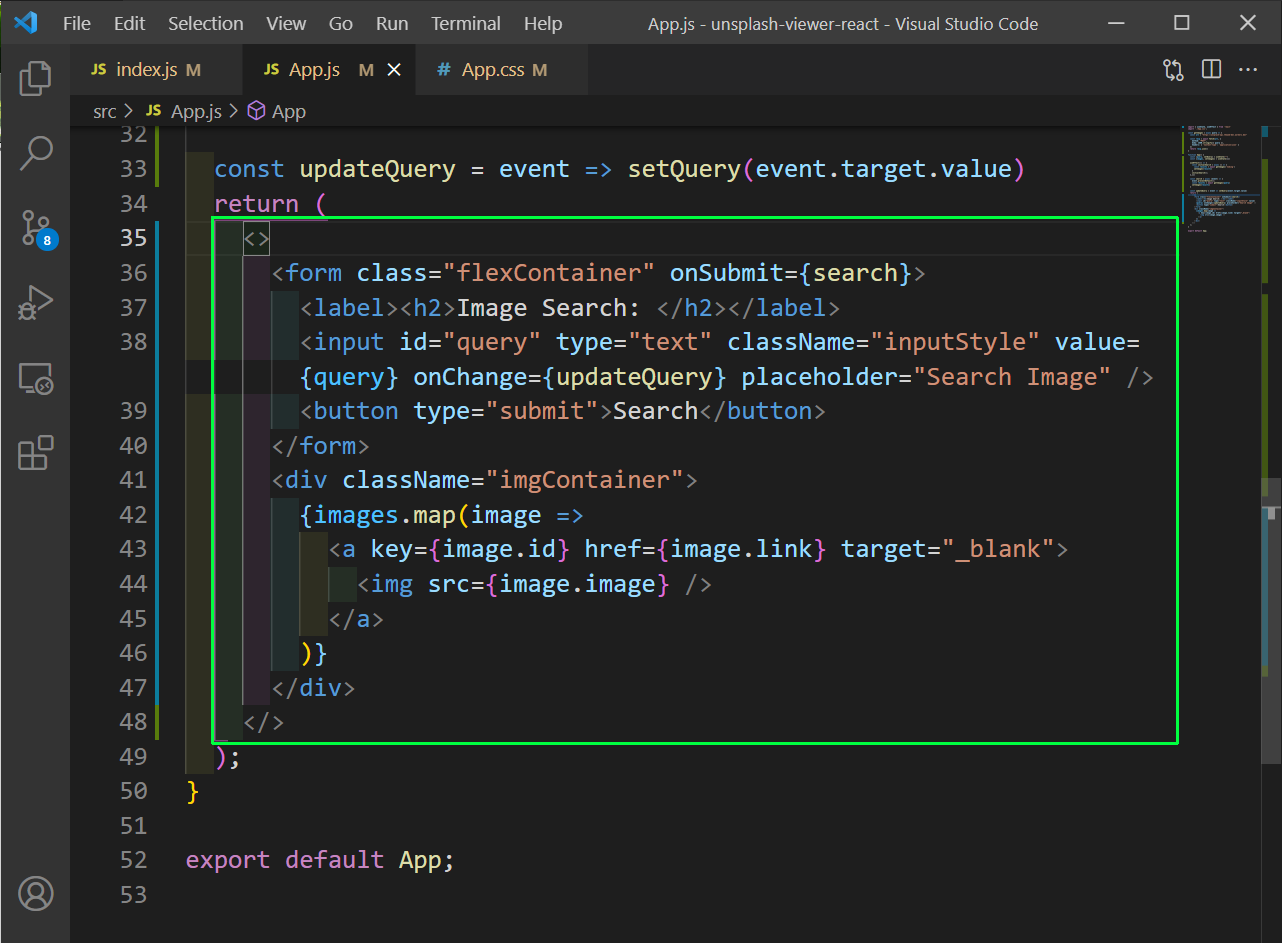
Inside the return statement, we have a form whose onSubmit calls the search function. Then the input box calls the updateQuery function.
After the form, we have a imgContainer div, mapping through all the images and displaying them.
In the App.css put the styles for the project. Replace the earlier content with the below content.
.flexContainer {
  display: flex;
  justify-content: center;
  align-items: center;
  border: 1px solid black;
}
.inputStyle{
  font-size: 1.5em;
  padding: 3px;
  display: inline-block;
  margin-left: 5px;
  width: 30%;
}
button {
  cursor: pointer;
  margin-left: 5px;
  background-color: #4CAF50; /* Green */
  border: none;
  color: white;
  padding: 10px 32px;
  text-align: center;
  text-decoration: none;
  display: inline-block;
  font-size: 16px;
  box-shadow: 0 8px 16px 0 rgba(0,0,0,0.2), 0 6px 20px 0 rgba(0,0,0,0.19);
}
img {
  height: 300px;
  object-fit: cover;
  width: 400px;
}
.imgContainer {
  display: flex;
  justify-content: center;
  align-items: center;
  flex-wrap: wrap;
  margin-top: 5px;
}
Now, our react project running on localhost, will show this nice search bar.

Now, search for any term but nothing will be shown. On inspecting the Network tab we see CORS errors. On hovering mouse over the error, it shows “Cross Origin Resource Sharing error”.
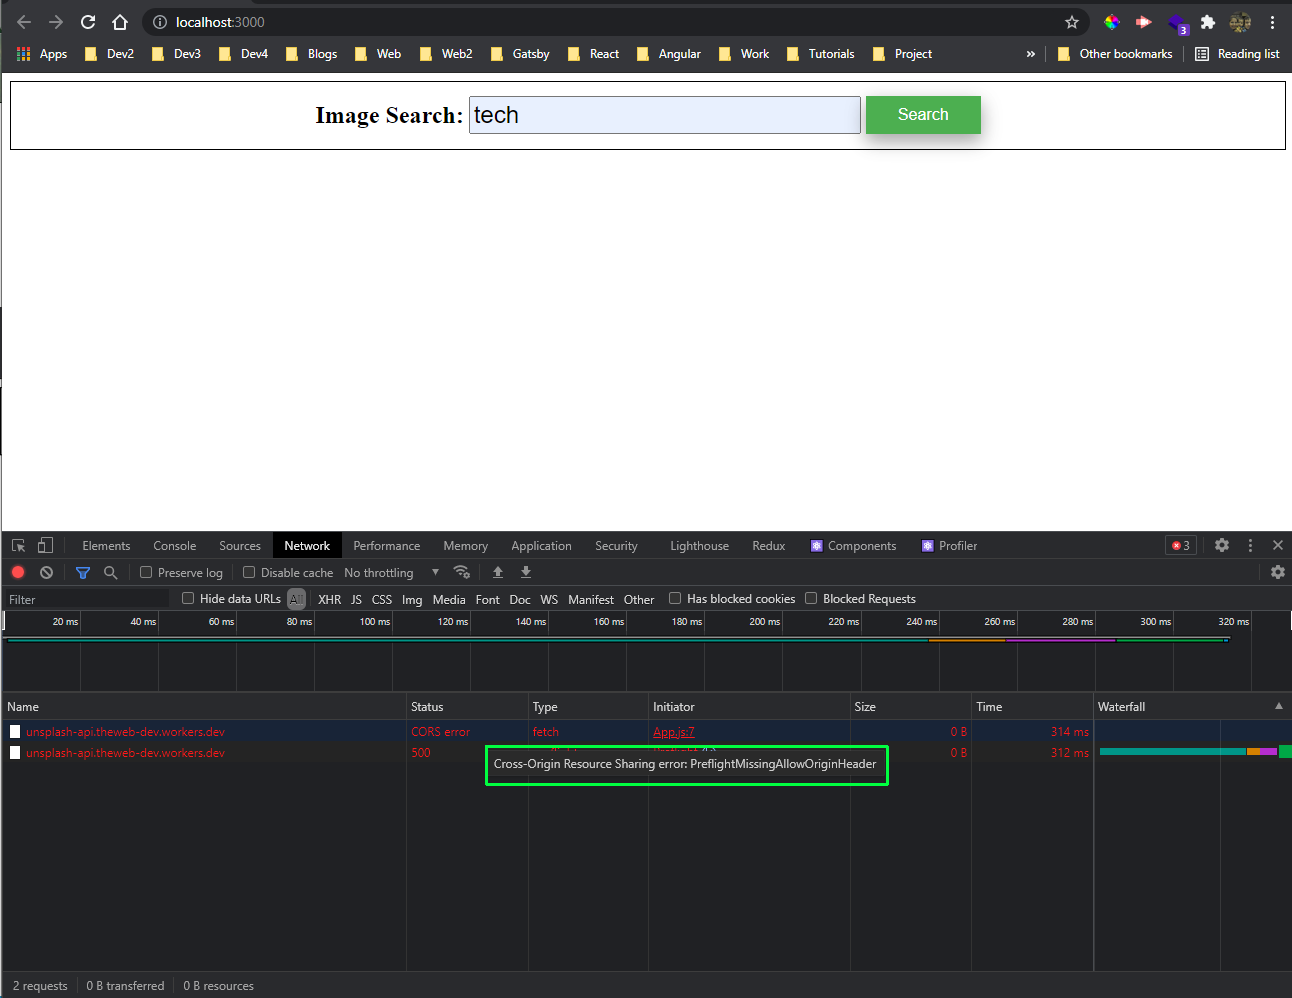
To fix this, we need to provide an Access-Control-Allow-Origin header in our serveless API. It tells to allow access from mentioned origins.
In our worker index.js file, first add a cors header, allowing access through POST method and all origins.

Next inside the handleRequest function, we are first checking if request method is OPTIONS. In this case we are sending the corsHeader.
All our earlier logic goes, if the method is POST. The response is also updated with the corsHeader.
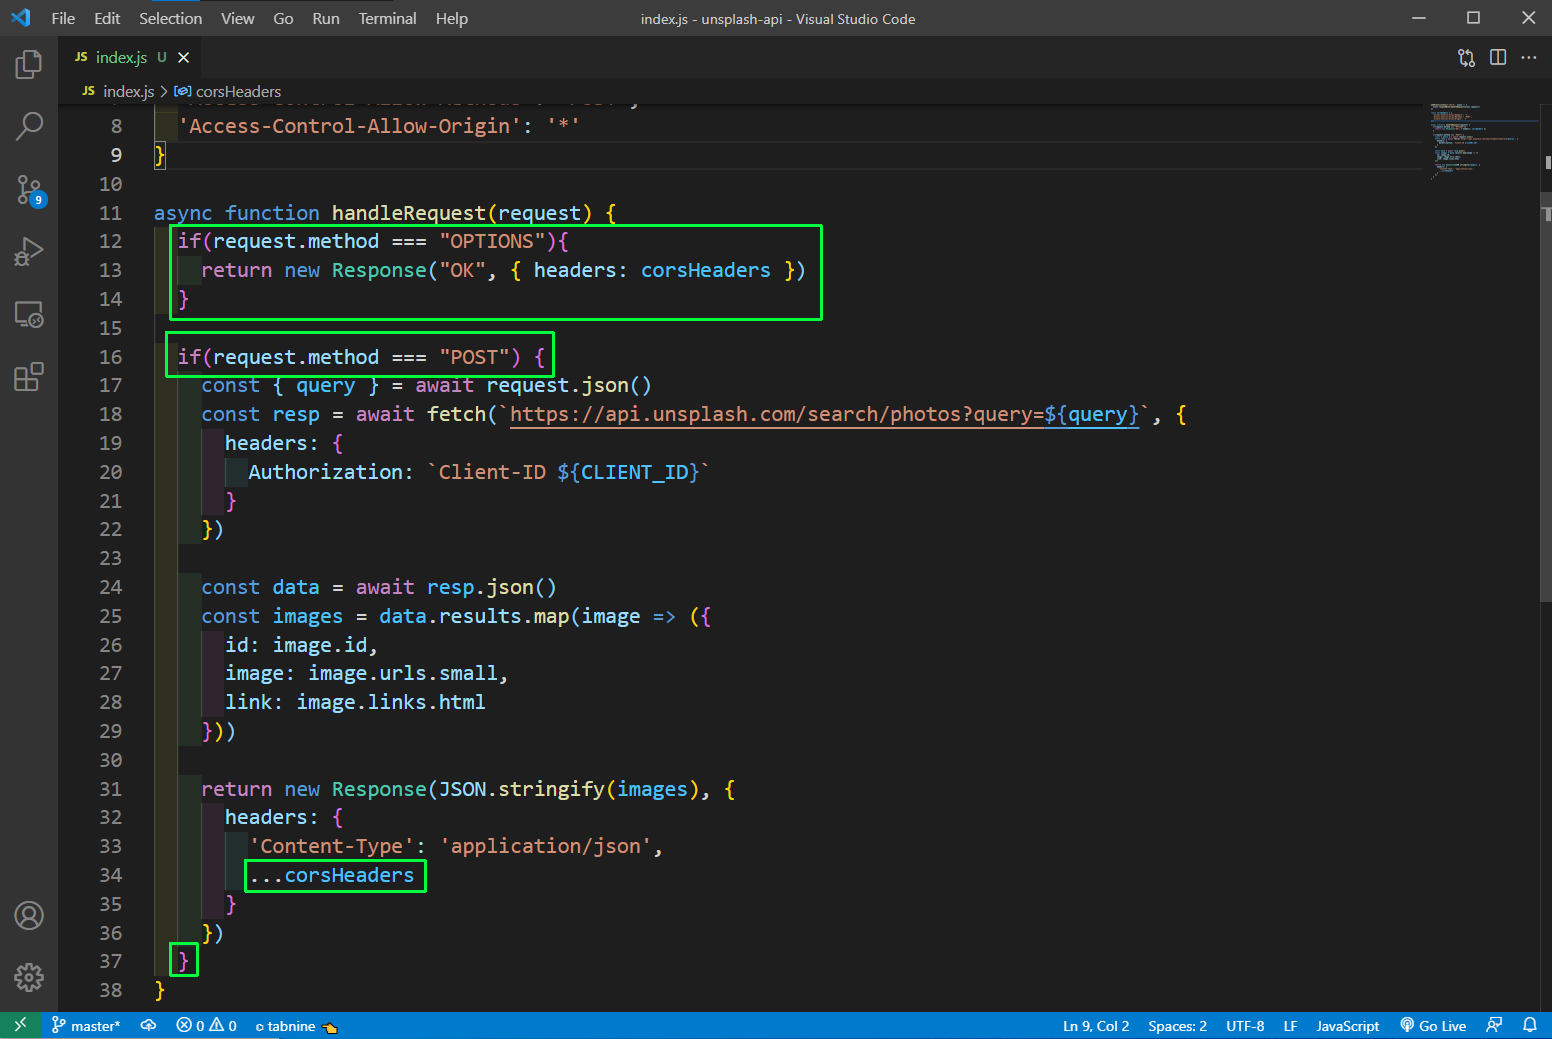
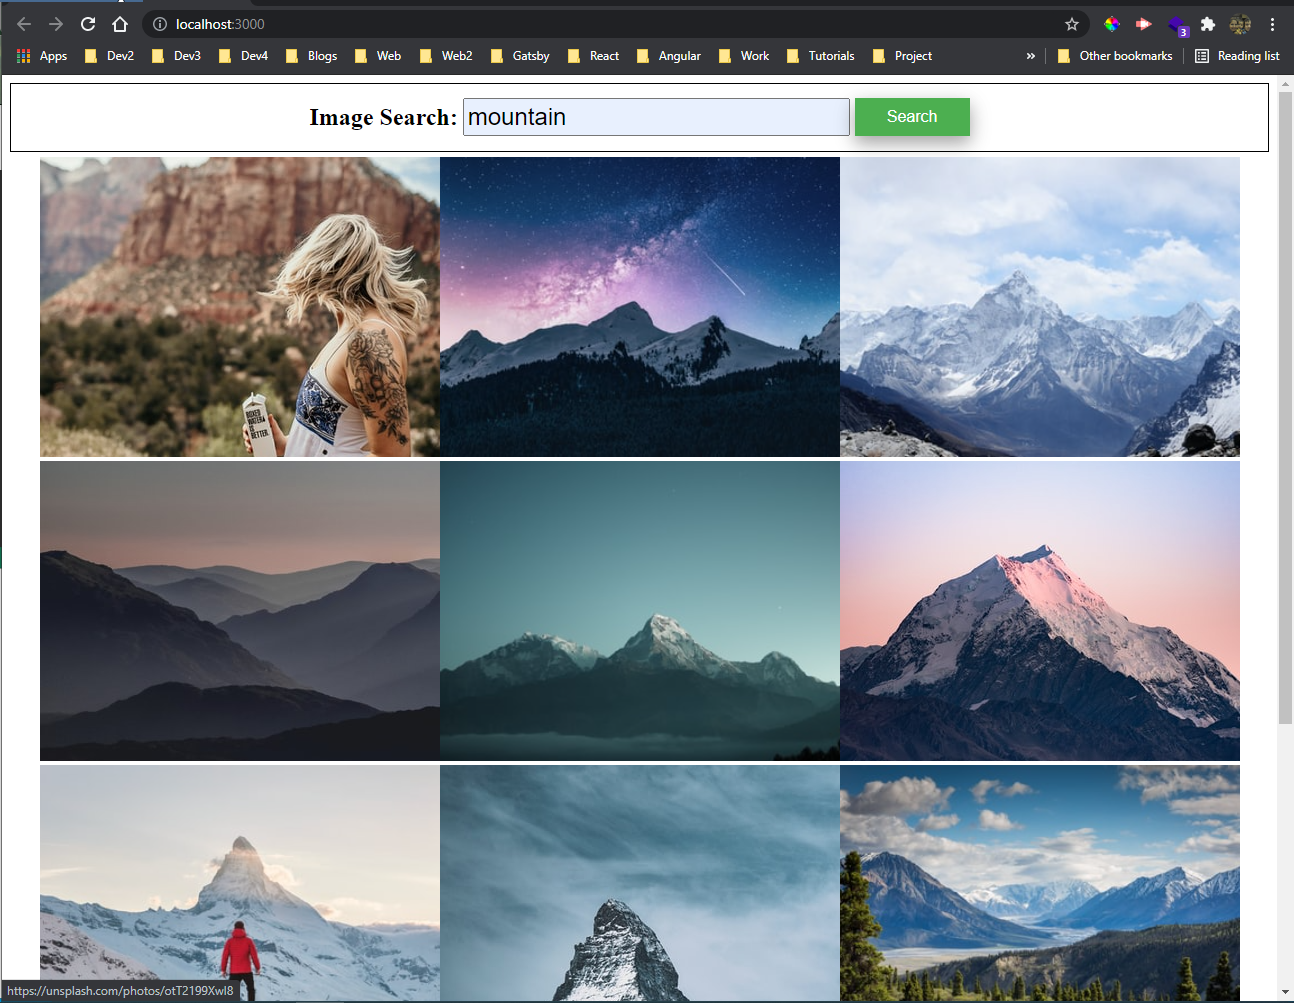
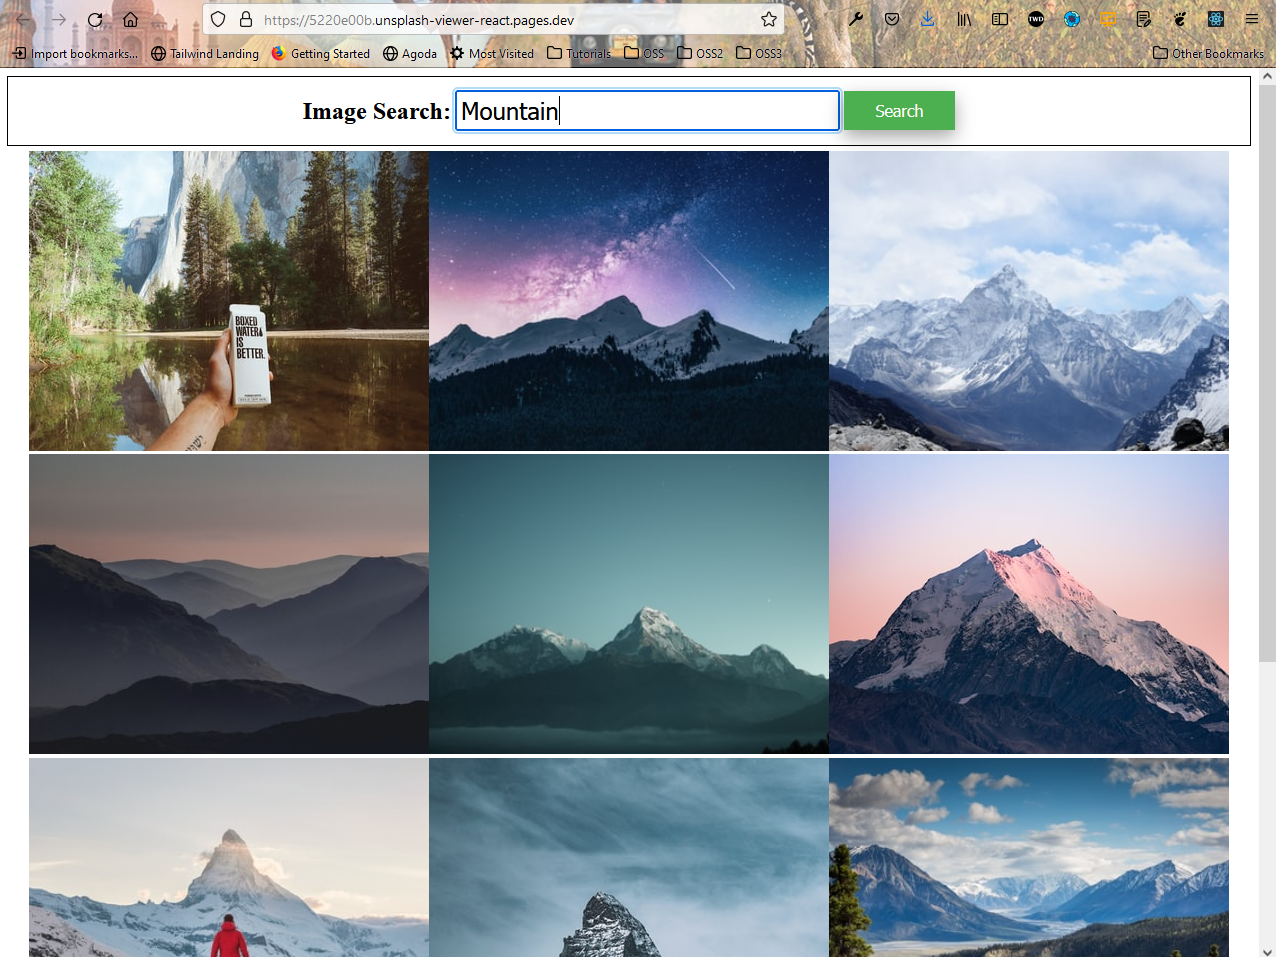
After that do wrangler publish. Next, if we go to our app we will see the images from unsplash and the search also will work fine.
Now, we will deploy our React application using Cloudflare pages. For that, we need to push our React app to github first.
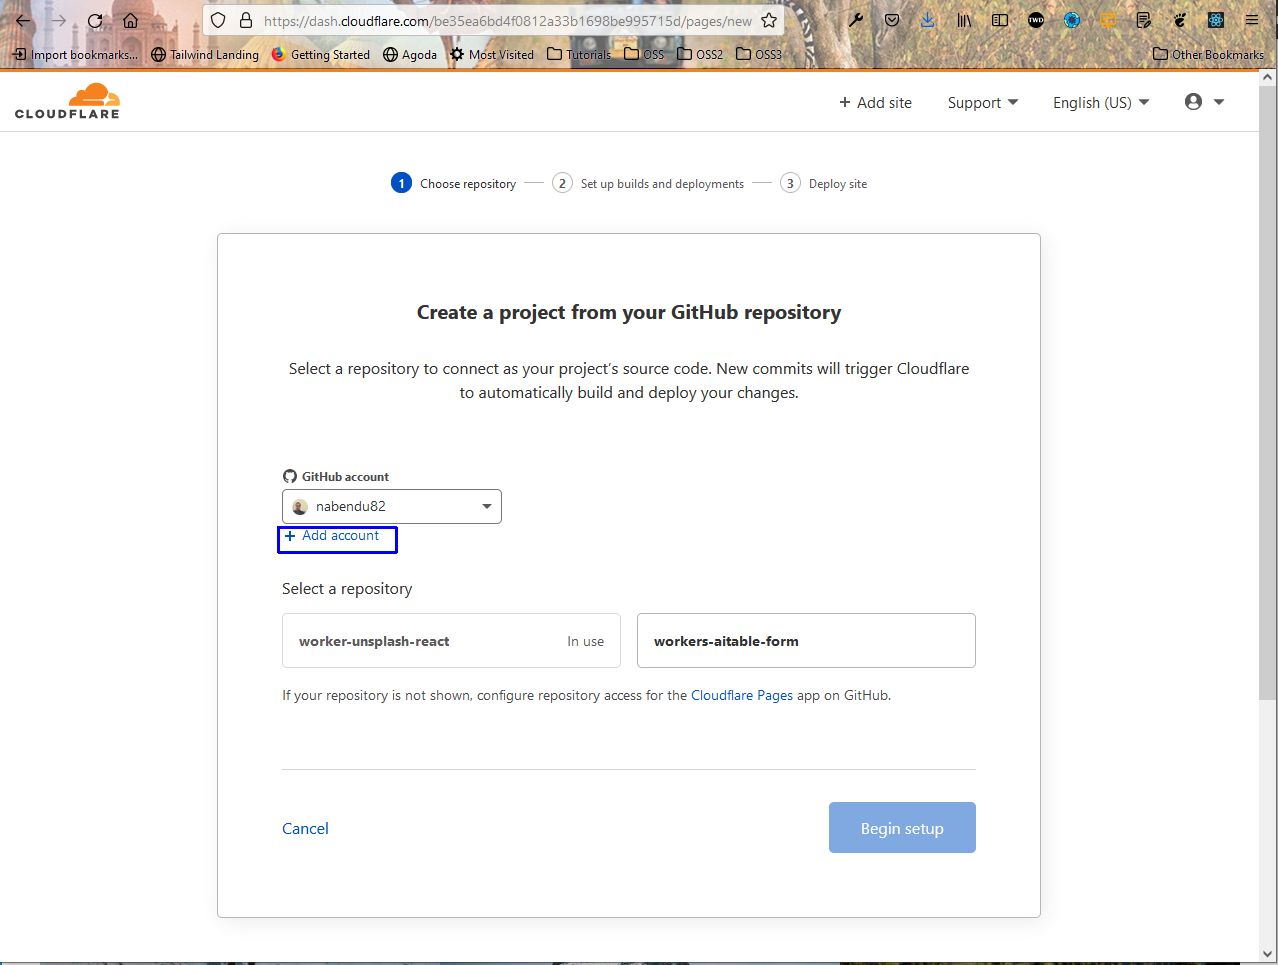
After that go to your cloudflare dashboard and click on Pages. Click on the Create a project button.
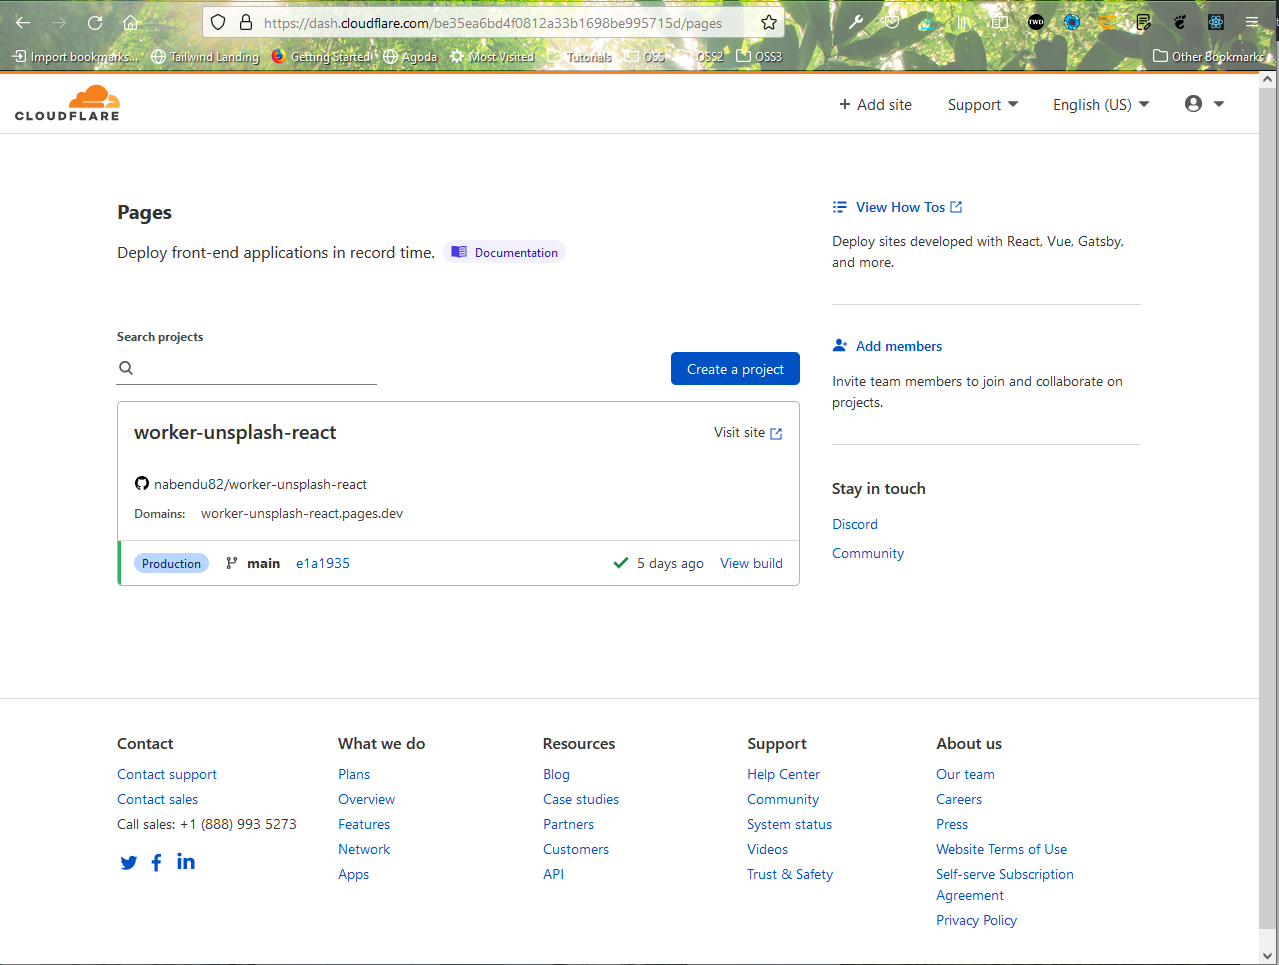
In the next page, click on Add account button.
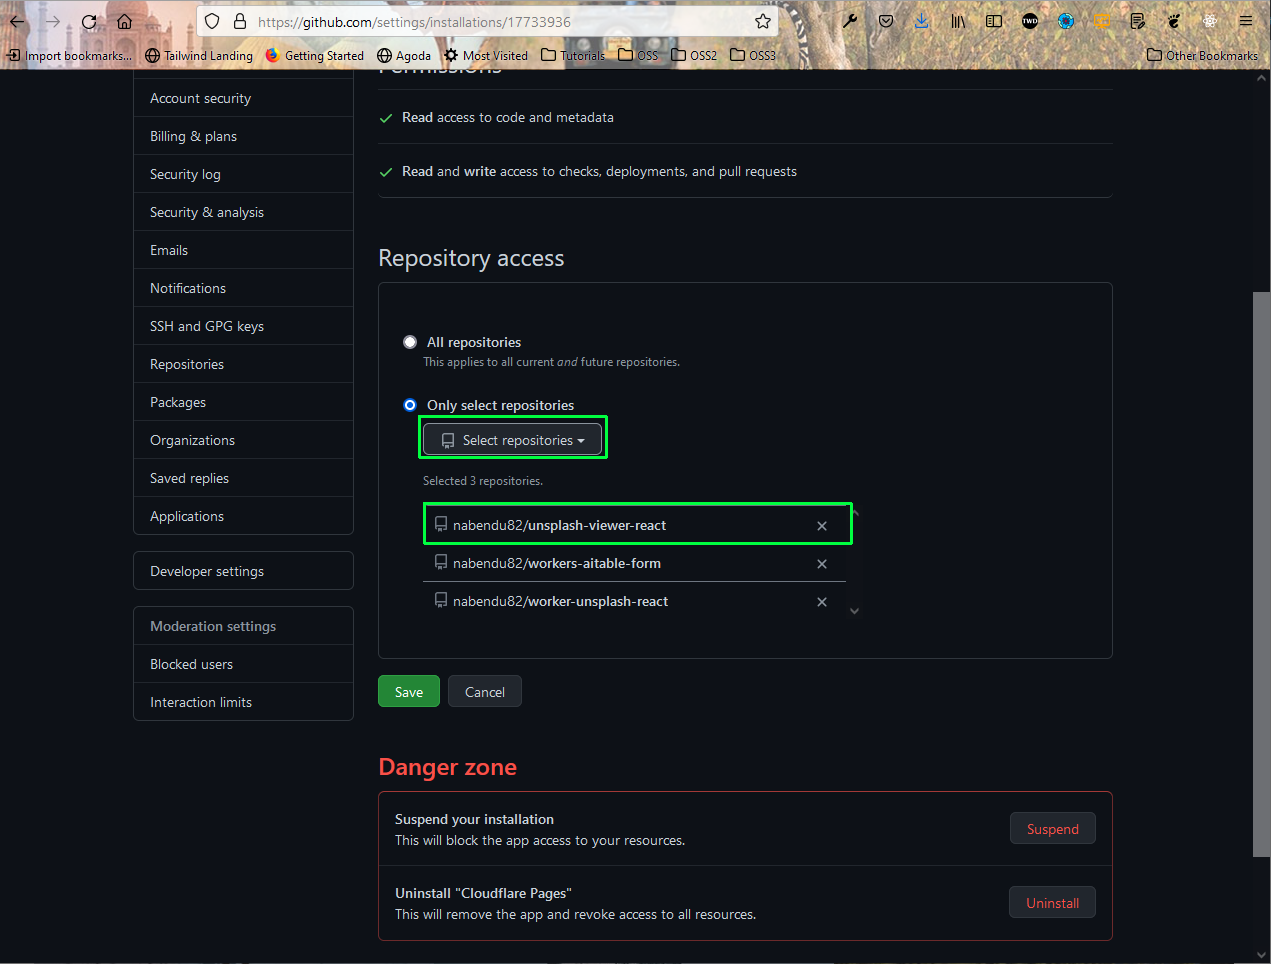
It will open the Github account. Select the github repository and Save it.
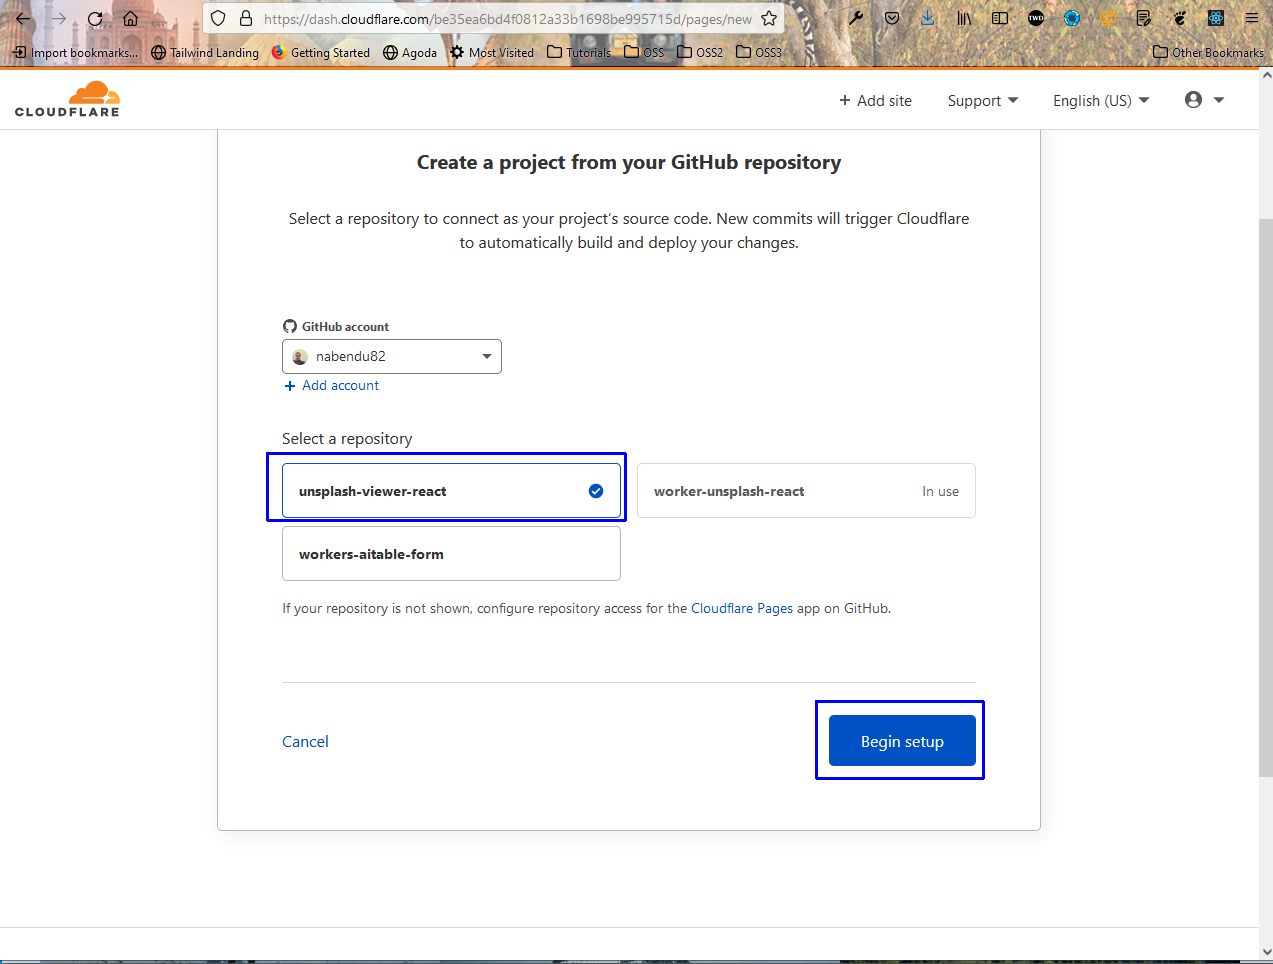
It will take us back to cloudflare, where we can see the new repository. Click on the repository and press Begin setup.
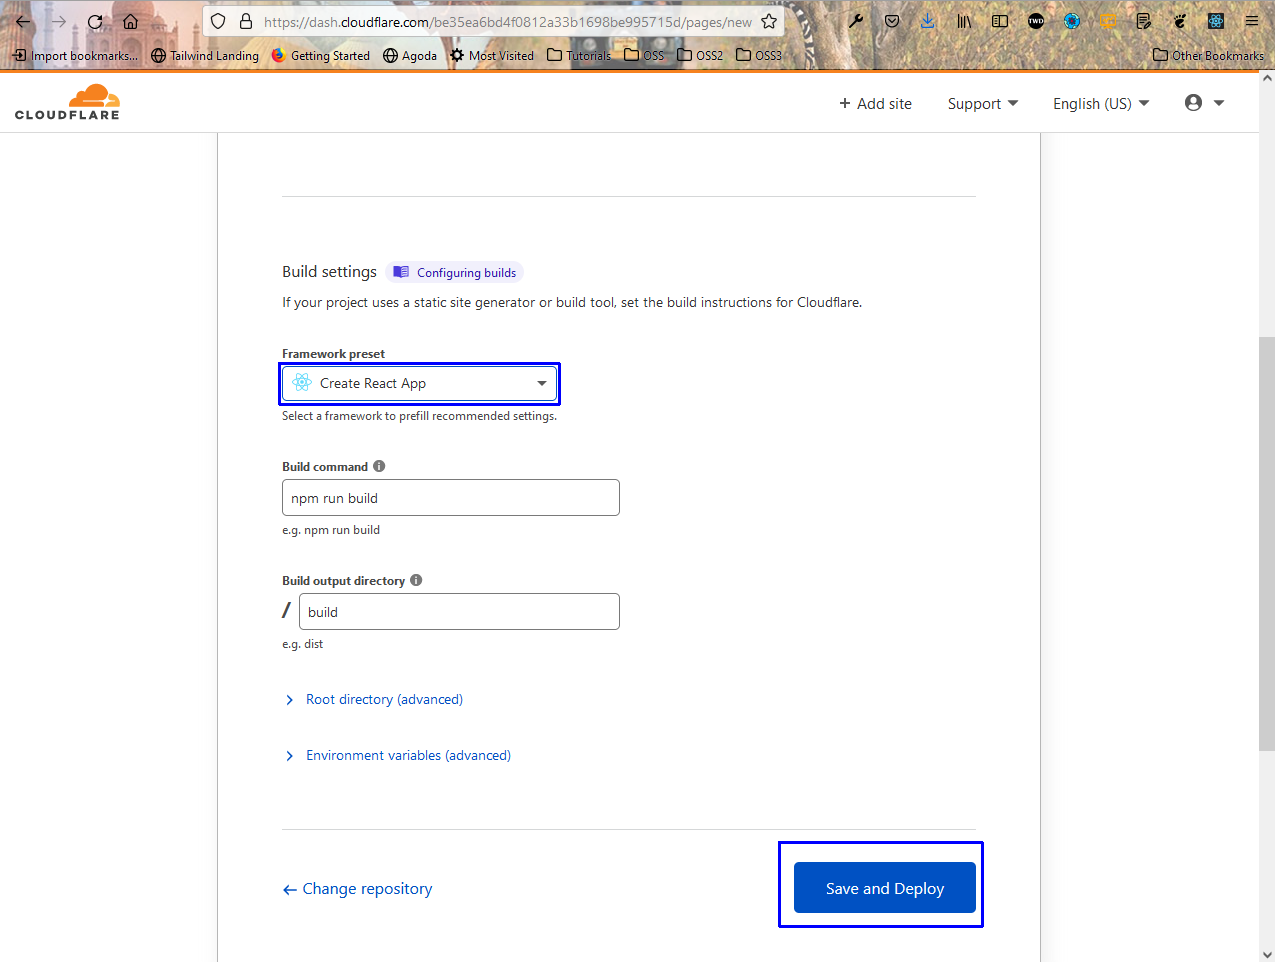
In the next page, we need to choose the Framework preset as Create React App. It will populate the required command.
After that click on Save and Deploy button.
We will get the Success message after sometime. Scroll down and click on Continue to Project button.
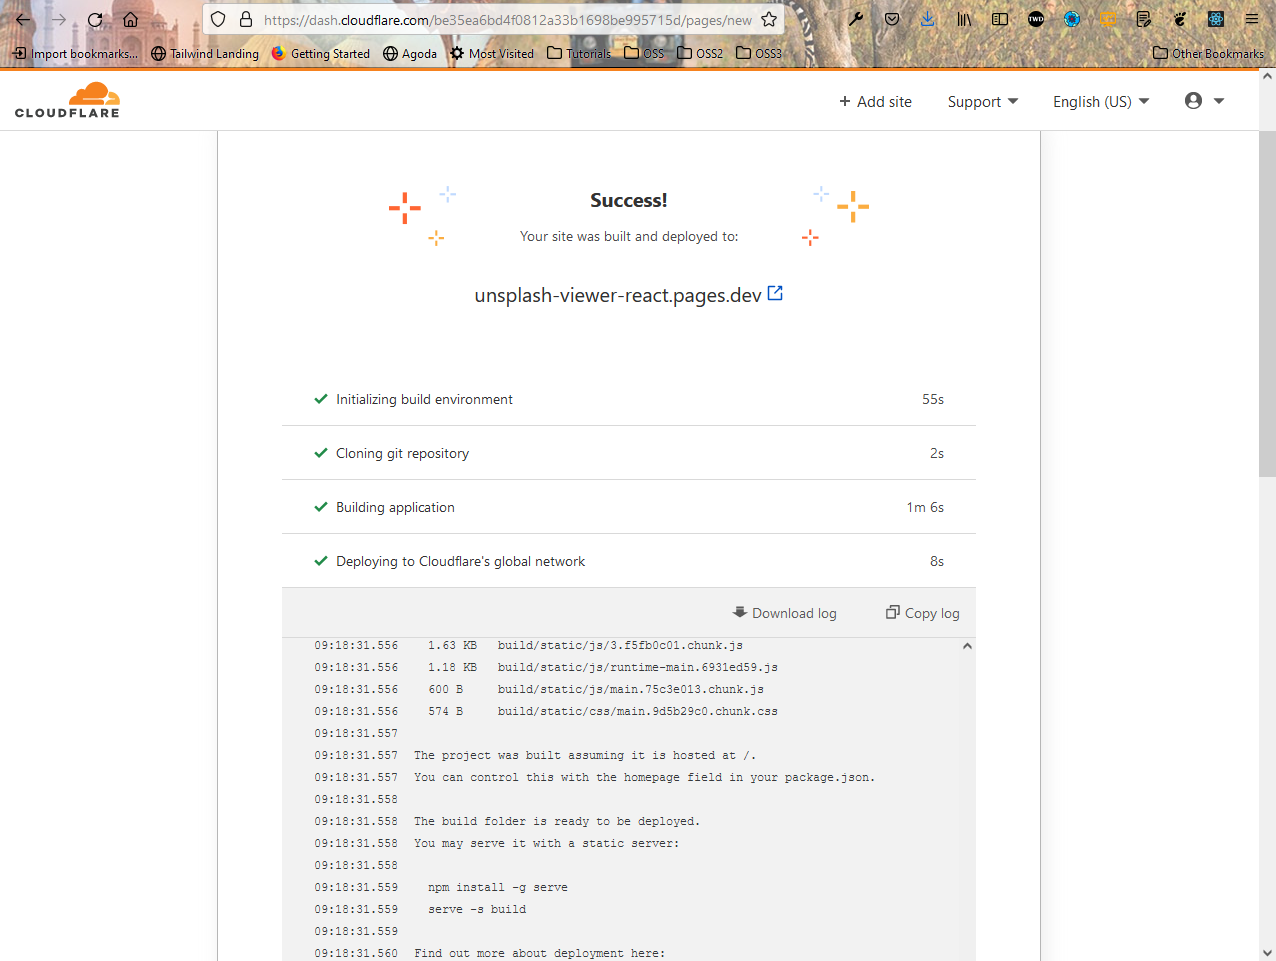
We will get a link for our app in the next page. Click on it and our App is working fine from the deployed site.
The github repos for the project -
https://github.com/nabendu82/unsplash-viewer-react
https://github.com/nabendu82/unsplash-api-cloudflare