React Tutorials - A beginners Guide - 4
by Rajat Negi / July 21st, 2020
#react #beginners #javascript
Series: React-tutorials
Understanding children property
In the last article, we learnt how to pass values to our component using props. We can do this in another way. We can give simple text or HTML between opening and closing tags of our components in our App.js. To access this we use props.children in Food.js.
// App.js
class App extends Component{
  render(){
      return (
        <div className="App">
          <h1>This message is shown in browser. </h1>
          <Food name="Orange" vitamin="C">Its orange in color</Food>
          <Food name = "Banana" vitamin = "B6">Its yellow in color</Food>
          <Food name = "Lemon" vitamin = "C">Its green in color</Food>
        </div>
      );
  }
}
Food.js
// Food.js
<div>
        <p>Some nutritional information! of food: {props.name} containing vitamin {props.vitamin} </p>
+       <p>{props.children}</p>
    </div>
Output:

Understanding and Using State
Previously, we have hard coded the info we intend to display. But this won't be the case in most situaions. So, we can change this behaviour by using states. State is a special property of a component. Normally, we can only define the state if it is a class-based component (not function-based). However, with Hooks, this changes. Still, we should make our components with function more often. This is because using state in a large application in every component makes it difficult to manage. In this special property of our component, if a value changes our render() method is also triggered again.
If we make the following changes to App.js, the result will be same as before:
class App extends Component{
    state = {
        food :[
            {name: 'Orange', vitamin: 'C'},
            {name: 'Banana', vitamin: 'B6'},
            {name: 'Lemon', vitamin: 'C'}
        ]
    }
  render(){
      return (
        <div className="App">
          <h1>This message is shown in browser. </h1>
          <button>Switch </button>
          <Food name={this.state.food[0].name} vitamin={this.state.food[0].vitamin}>Its orange in color</Food>
          <Food name = {this.state.food[1].name}vitamin = {this.state.food[1].vitamin}>Its yellow in color</Food>
          <Food name = {this.state.food[2].name} vitamin = {this.state.food[2].vitamin}>Its green in color</Food>
        </div>
      );
  }
Handling Events with Methods
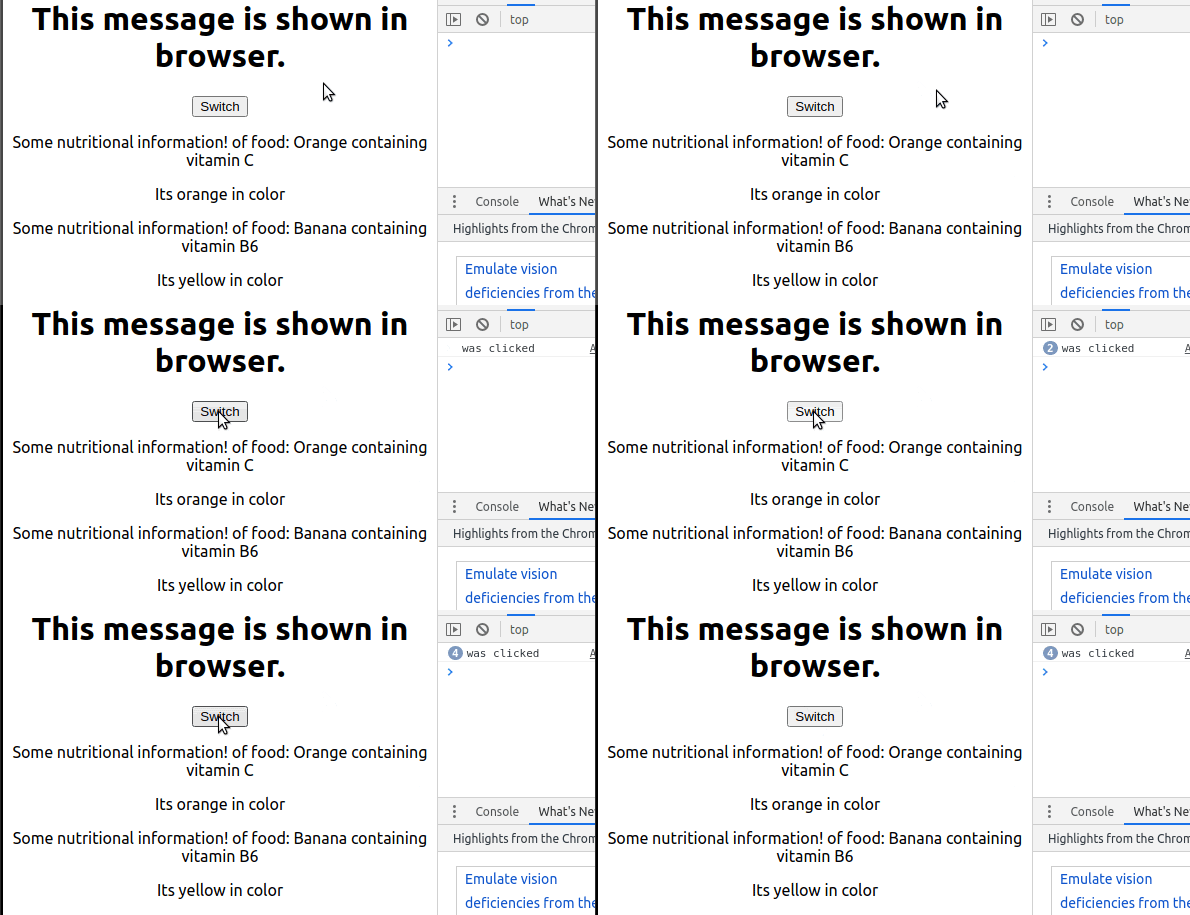
We added a button to our code before. To handle its event, we will use a method to our class. Note after making this function, do not add () . Because we only want to pass the reference of our function and not let render function execute it.
code changes made:
+ switchNameHandler = () =>{
+        console.log('was clicked');
+    }
  render(){
      return (
        <div className="App">
          <h1>This message is shown in browser. </h1>
  +          <button onClick={this.switchNameHandler}>Switch </button>
          <Food name={this.state.food[0].name} vitamin={this.state.food[0].vitamin}>Its orange in color</Food>
          <Food name = {this.state.food[1].name}vitamin = {this.state.food[1].vitamin}>Its yellow in color</Food>
          <Food name = {this.state.food[2].name} vitamin = {this.state.food[2].vitamin}>Its green in color</Food>
        </div>
      );
Output:

Manipulating state upon click
Now to manipulate state, we will use this Keyword. Note that, this will only work as intended if we are using ES6 function implementation of the component. Otherwise, this won’t refer to our class.
Now we can’t directly change state using this.state.food[2].name = ‘Grape’, as react won’t pick it up. Instead, we will use setState which is predefined in React library.
This method won’t discard values other than changed ones(if defined). But will instead merge overridden ones with them. There aren’t many things that make changes to DOM. Only two will have effects:
- changing state
- changing props
If state/props changes, code is analysed and updates are made only at the targeted points.
Code change in App.js
switchNameHandler = () =>{
  this.setState({
    food:[
    {name:'Orange',vitamin:'C'},
    {name:'Banana',vitamin:'B6'},
    {name:'Grapes',vitamin:'C'},
    ]
  })
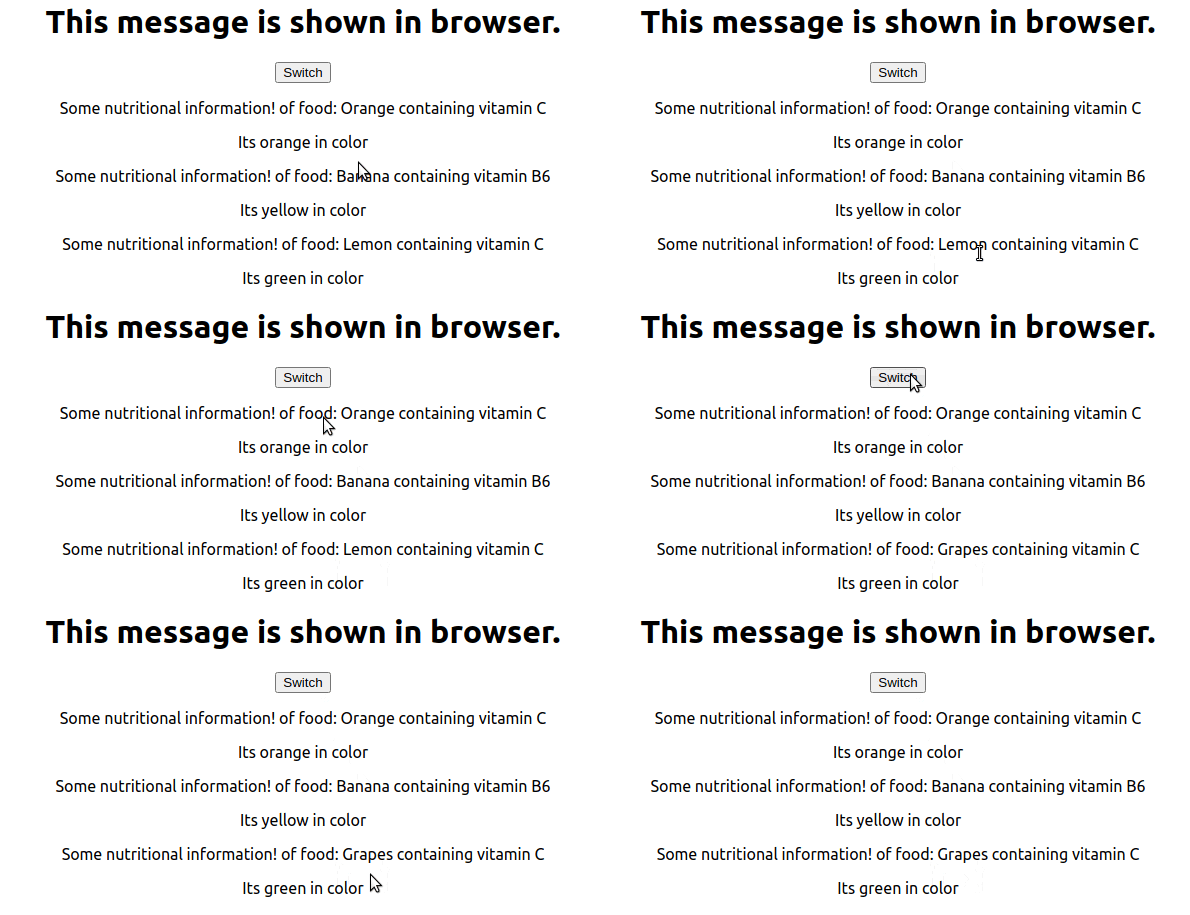
output:

Stateful and Stateless components
Our components can be stateful or stateless. We can make stateful components using state in our class-based component or using hooks in our function bases component. The Stateful components are also called smart or container components. And the stateless components are also called dumb or presentational components. It is a better practice to use as many stateless components. This is because it makes it easier to maintain our app.
Passing Method Reference Between components
We can pass method references between components. Let's define a property click on the second instance of our food component.We pass a reference to switchNameHandler to this property. And in Food.js, we define onClick={props.click} Now let's say our function the switchNameHandler requires an argument. There are two ways of handling this event. One by using bind. And another is by using arrow function. However, it is recommended to use bind more.
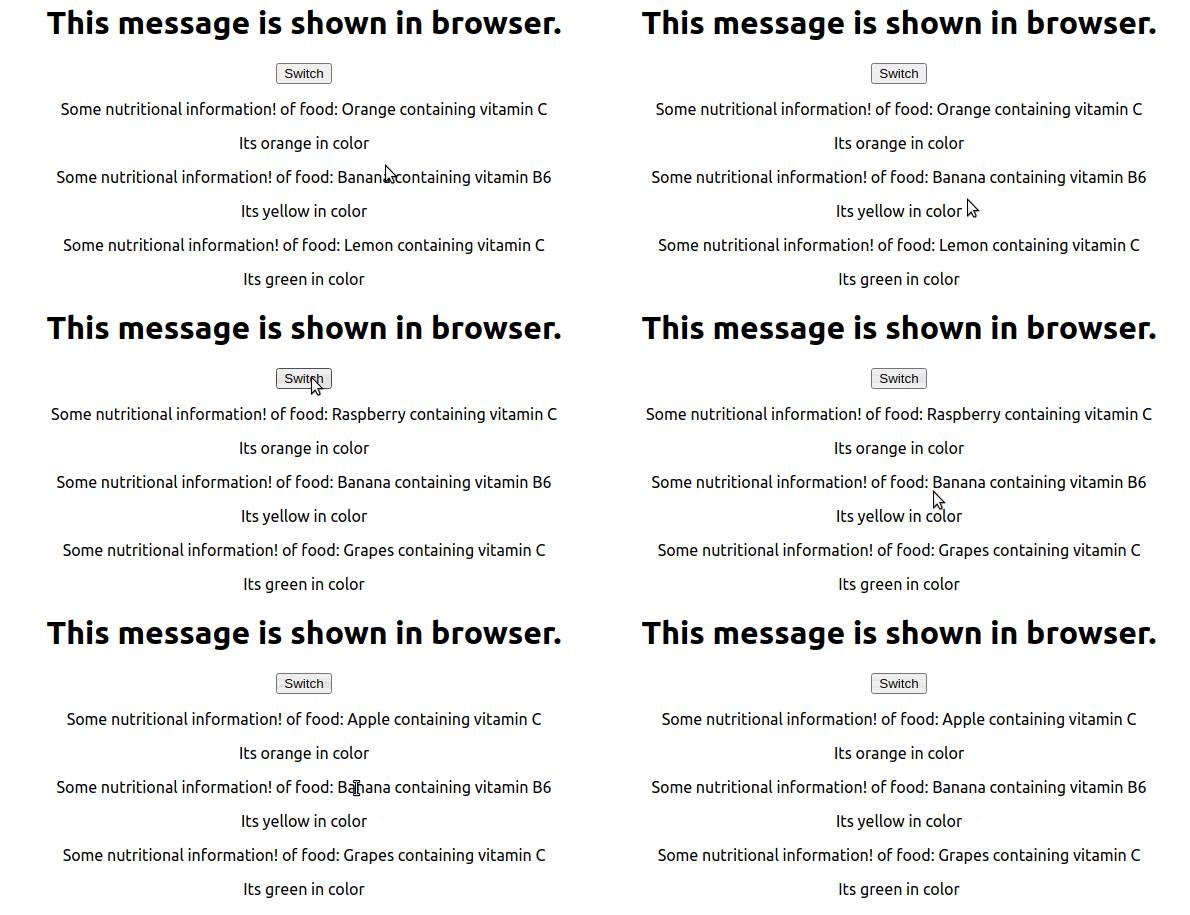
Now our functions is triggered by clicking the button and by clicking the second food component.
Changes made:
// App.js
switchNameHandler = (newName) =>{
 this.setState({
  food:[
   {name:newName,vitamin:'C'},
   {name:'Banana',vitamin:'B6'},
   {name:'Grapes',vitamin:'C'},
  ]
 })
}
render(){
 return (
  <div className="App">
   <h1>This message is shown in browser. </h1>
   <button onClick={() => this.switchNameHandler('Raspberry')}>Switch </button>
<Food
    name={this.state.food[0].name}
    vitamin={this.state.food[0].vitamin}>Its orange in color</Food>
   <Food
    name = {this.state.food[1].name}
    vitamin = {this.state.food[1].vitamin}
    click={this.switchNameHandler.bind(this,'Apple')}>Its yellow in color</Food>
   <Food
    name = {this.state.food[2].name}
    vitamin = {this.state.food[2].vitamin}>Its green in color</Food>
  </div>
 );
Food.js:
<div>
  <p onClick={props.click}>Some nutritional information! of food: {props.name} containing vitamin {props.vitamin} </p>
  <p>{props.children}</p>
</div>
Output:

Adding two way Binding
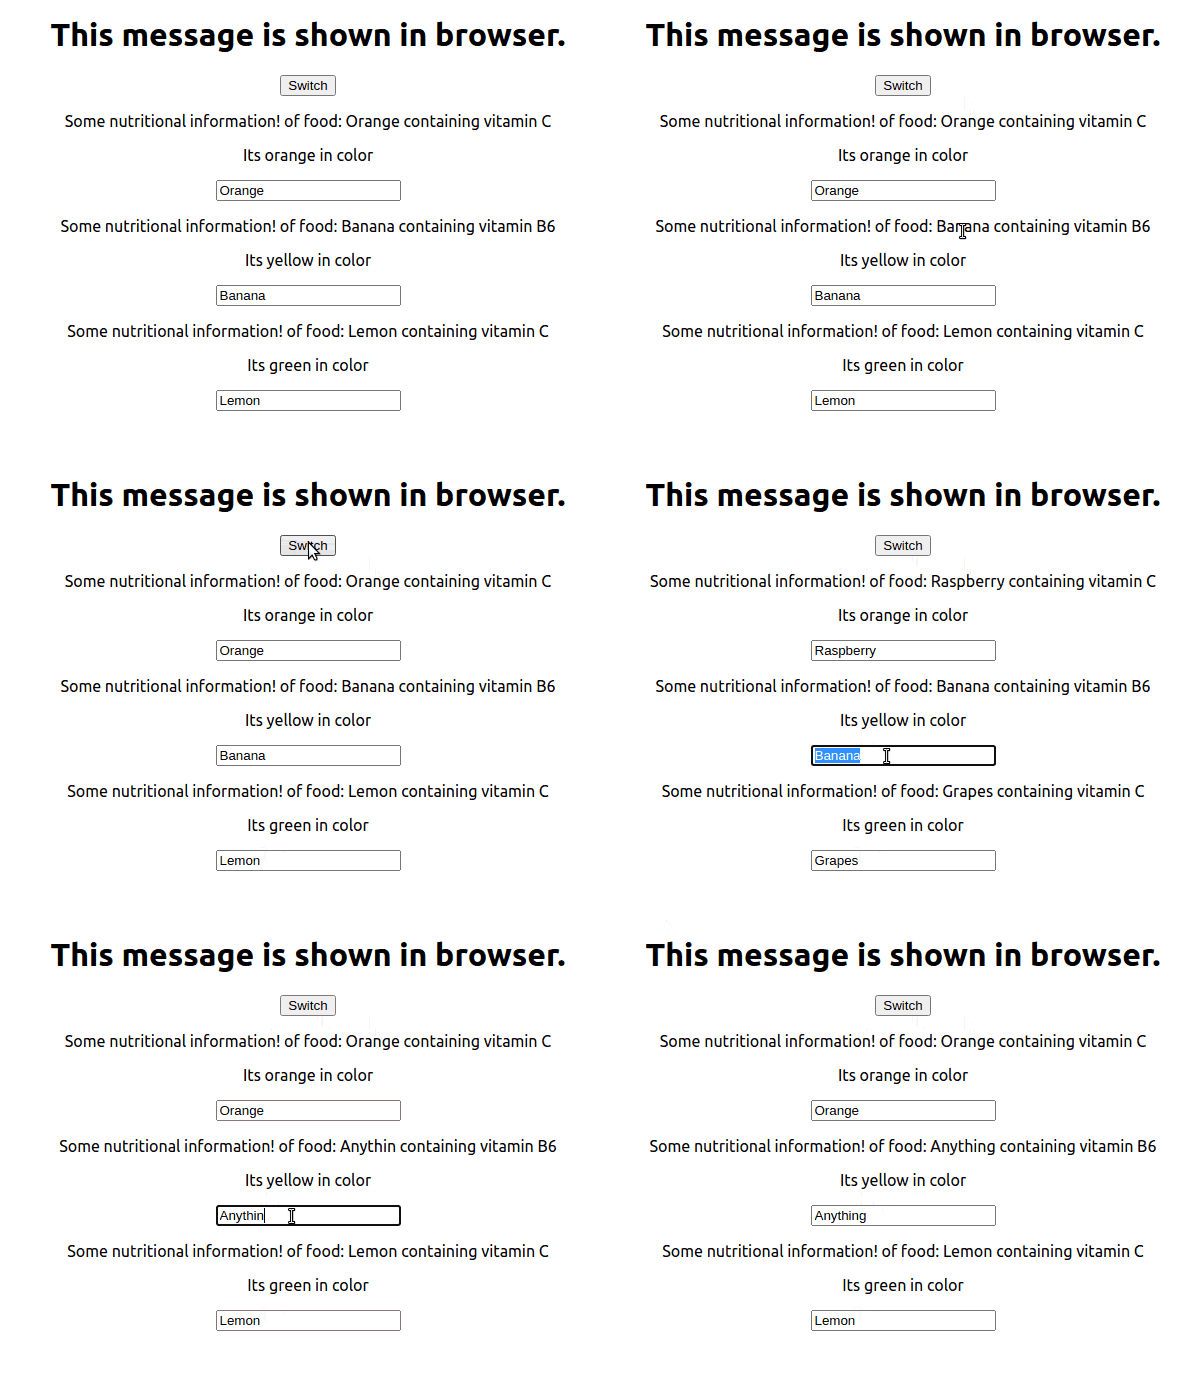
Now lets add a text filed and try to handle the input given by the user. To handle the event we create nameChangeHandler it takes an event object as an argument. We change the state by using event.target.value. Using this text field we will change the name of our food. Also if we want the textfield to contain some value by default we will use value=props.name in Food.js.
Food.js changes:
  <div>
    <p onClick={props.click}>Some nutritional information! of food: {props.name} containing vitamin {props.vitamin} </p>
    <p>{props.children}</p>
  +   <input type="text" onChange={props.changed} value={props.name}/>
  </div>
App.js:
+ nameChangedHandler = (event) => {
+  this.setState({
+  food :[
+    {name: 'Orange', vitamin: 'C'},
+    {name: event.target.value, vitamin: 'B6'},
+    {name: 'Lemon', vitamin: 'C'}
+   ]
+  })
+  }
  render(){
    return (
      <div className="App">
        <h1>This message is shown in browser. </h1>
        <button onClick={() => this.switchNameHandler('Raspberry')}>Switch </button>

        <Food
          name={this.state.food[0].name}
          vitamin={this.state.food[0].vitamin}>Its orange in color</Food>
        <Food
          name = {this.state.food[1].name}
          vitamin = {this.state.food[1].vitamin}
          click={this.switchNameHandler.bind(this,'Apple')}
  +         changed={this.nameChangedHandler}>Its yellow in color</Food>

        <Food
          name = {this.state.food[2].name}
            vitamin = {this.state.food[2].vitamin}>Its green in color</Food>
      </div>
    );
Note that we are only using nameChangleHandler for second food tag. So only its value will change.
Output:

Adding styling with stylesheets
Now we will add some css to our components. Make a Food.css in the same dir as Food.js.Thanks to the webpack we are able to import css file into a js file. Inside it:
.Food{
    width: 60%;
    margin: 16px auto;
    border: 1px solid #eee;
    box-shadow: 0 2px 3px #ccc;
    padding: 16px;
    text-align: center;
}
To apply it to our tags we give className=Food and also import the css file with import './Food.css'.
Output:

Using Inline styles
We can style our elements by giving inline css in the js file only. The way of writing css is a bit different. Like we have to write css property with camel-case. And also give the values in quotes. As it is all taken as string. There are certain restrictions to using css this way. Like using hover property isn't easy to implement.
We give inline css in App.js, and add some styling to the button:
+  render(){
+    const style = {
+      backgroundColor: 'green',
+      font: 'inherit',
+      border: '1px solid blue',
+      padding: '8px',
+      cursor: 'pointer'
+  };
   return (
    <div className="App">
      <h1>This message is shown in browser. </h1>
      <button
+     style = {style}
      onClick={() => this.switchNameHandler('Raspberry')}>Switch </button>
output:

What we learned:
- children property
- state
- event handling
- stateful and stateless components
- using bind
- adding styling