Building a Recipe Book app in Angular-5
by Nabendu Biswas / January 28th, 2022
#javascript #angular #webdev
Welcome to final part of the recipe book app. We will HTTP requests in our app, in this part.
We will add on top of the app we have create in the previous part. You can find the code for the earlier part in this github link.
We will add functionalities of Save Data and Fetch Data from Firebase database in our project.
 Save Data
We need to setup a new Project in firebase. The steps are exactly same as mentioned in the Angular Basics-12 post. We will follow them and create a new project named angular-recipe-book and it will use the Realtime Database.
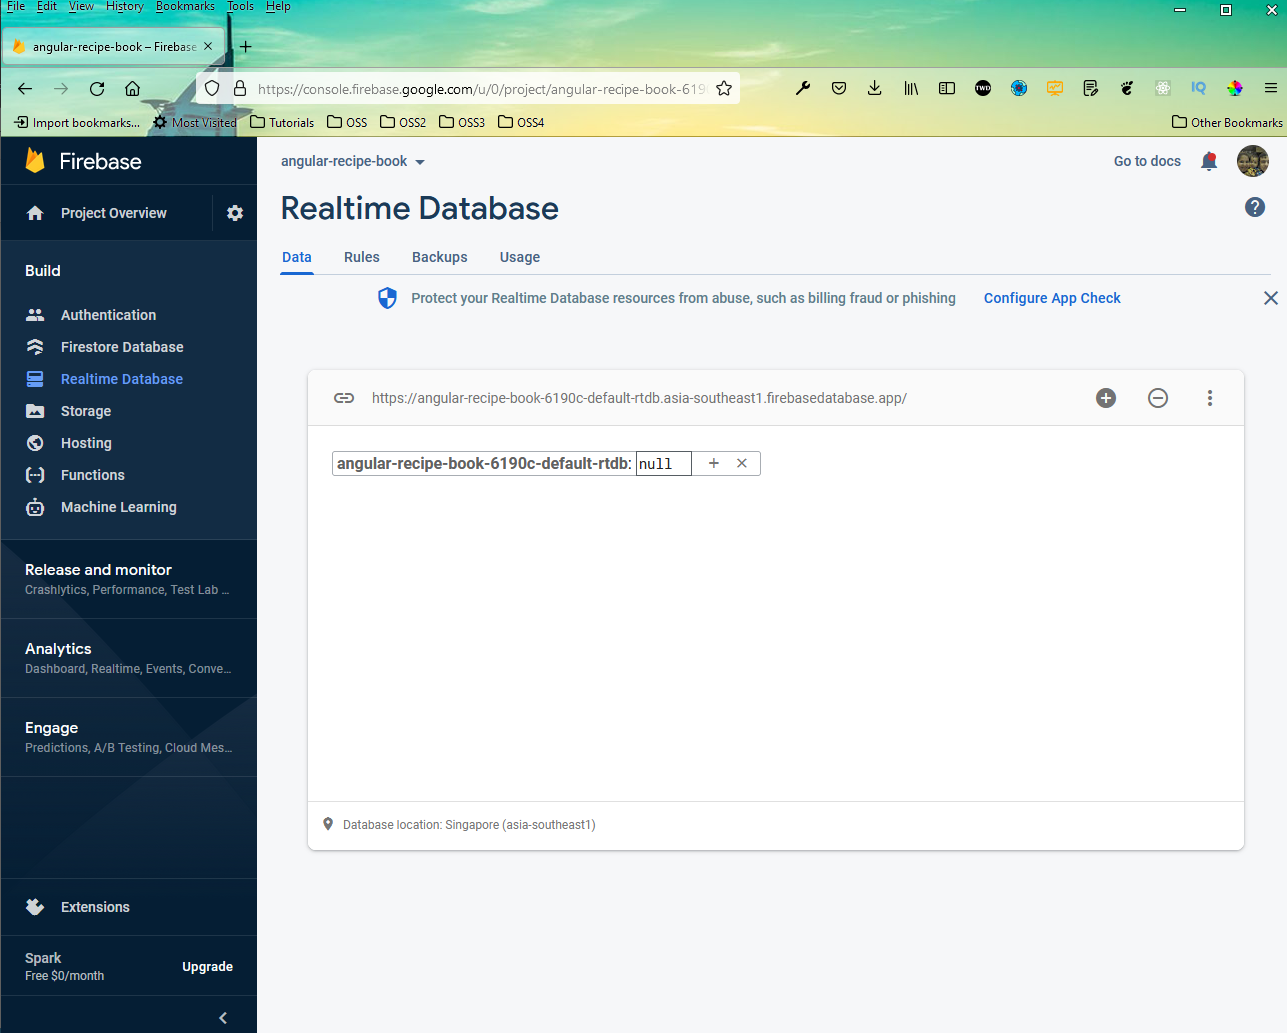 Realtime database
First add the HttpClientModule in app.module.ts file.
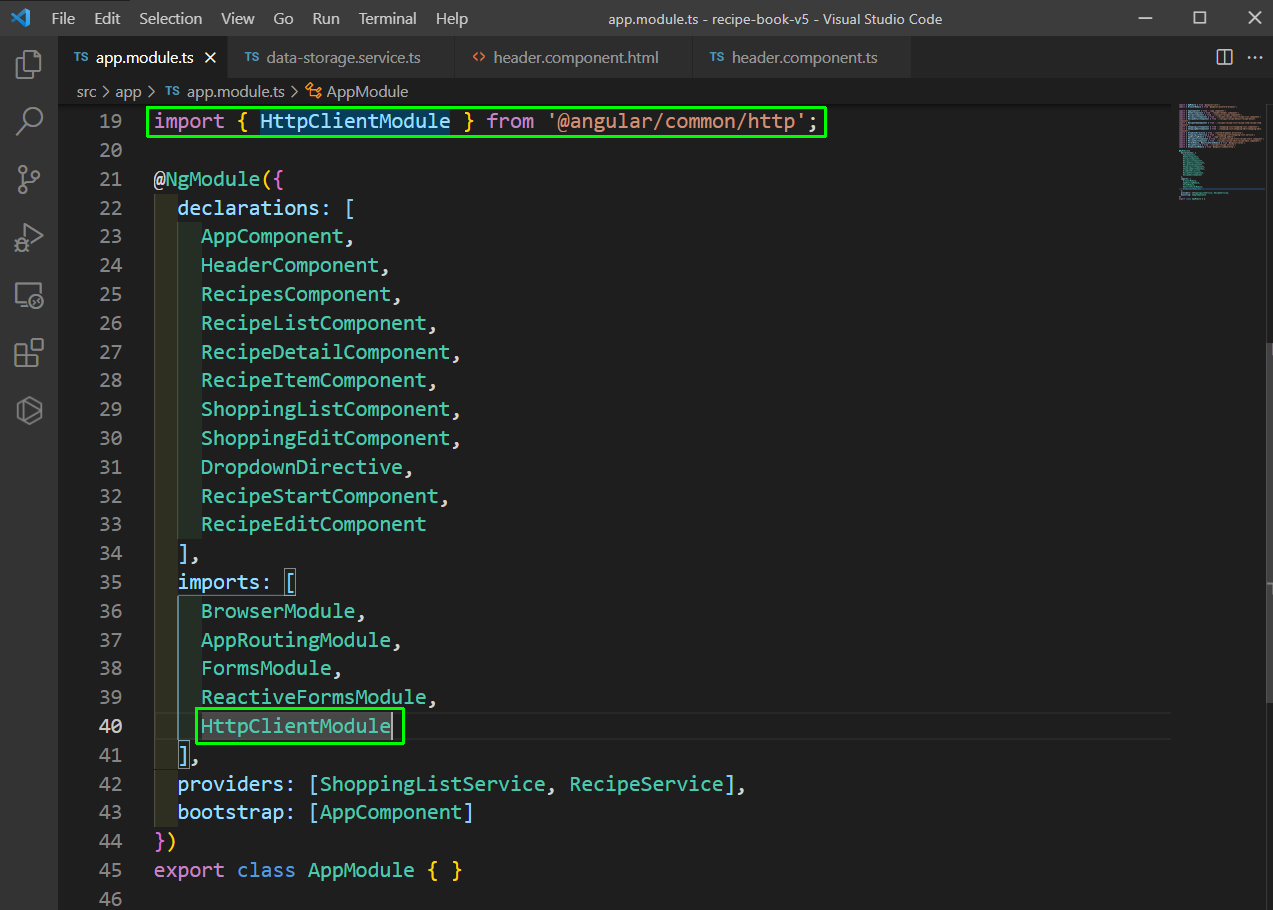 app.module.ts
Now, we will create a new service called data-storage.service.ts in shared folder. Here we will use the HttpClient and RecipeService and putting all the recipies in our firebase endpoint.
Also notice that we have added recipes.json at the end of our firebase endpoint.
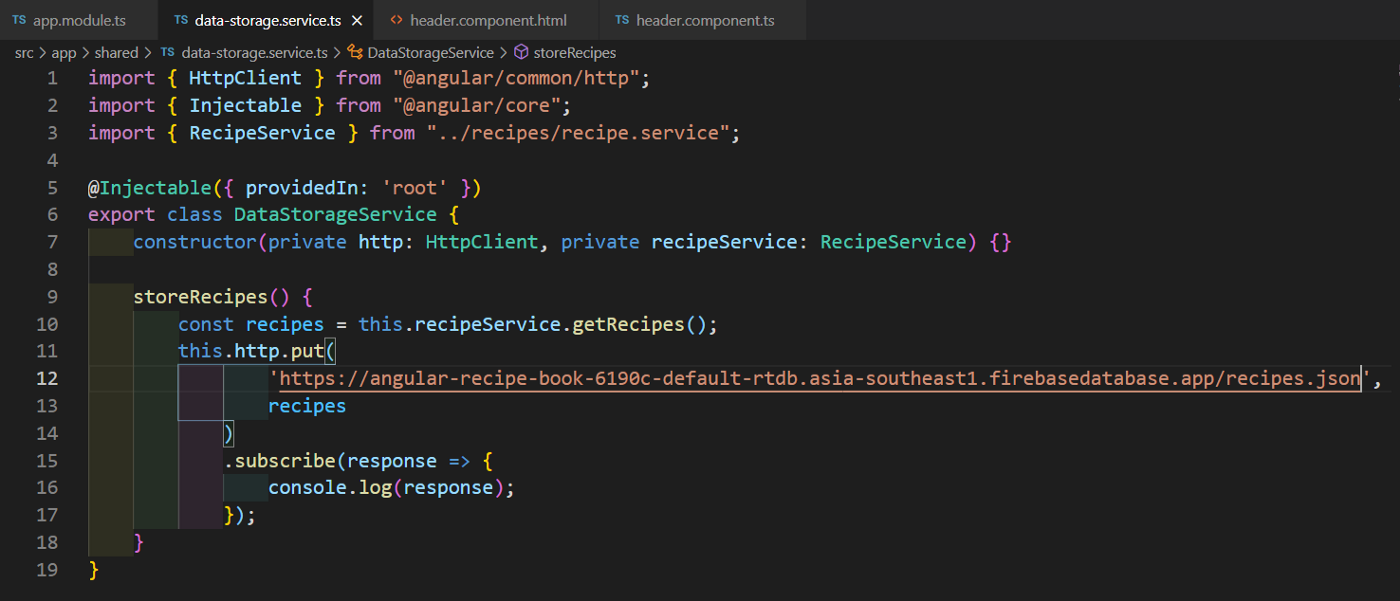 data-storage.service.ts
Now, we will add a function onSaveData to the click handler in header.component.html file.
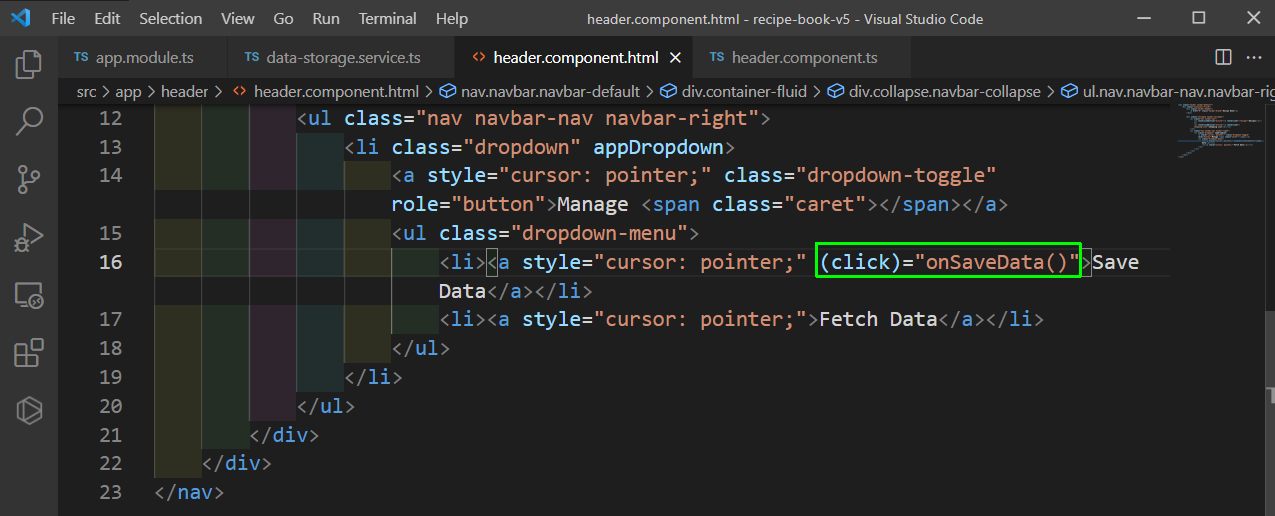 header.component.html
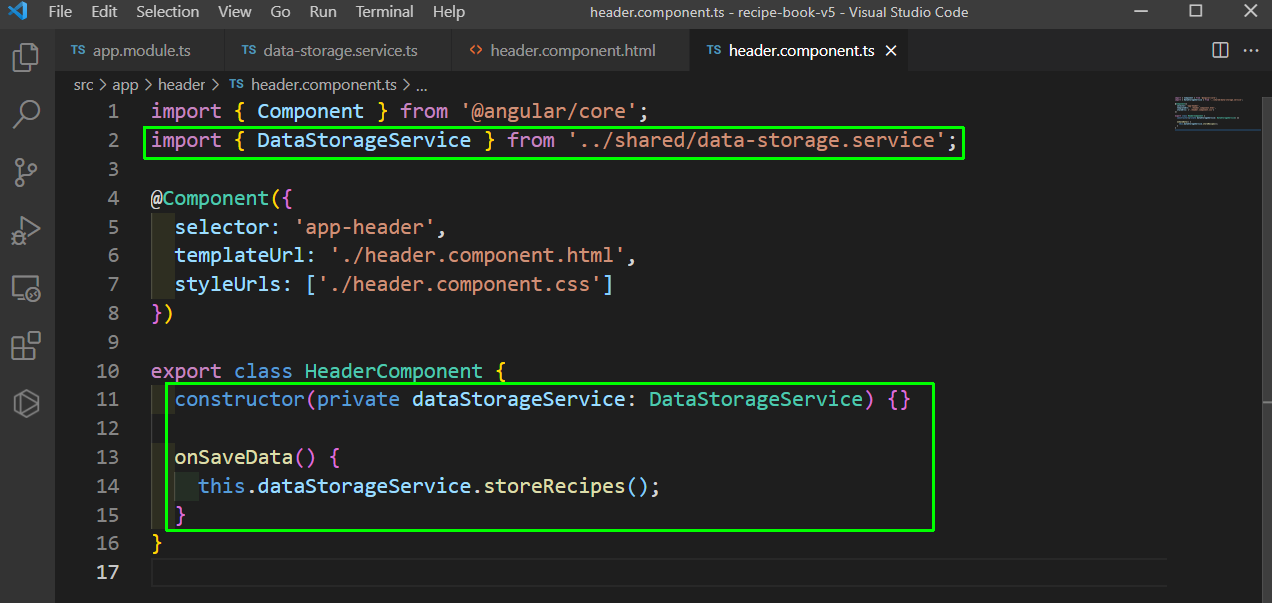
Next, in the header.component.ts file we are implementing the onSaveData function by calling the storeRecipes from dataStorageService service.
 header.component.ts
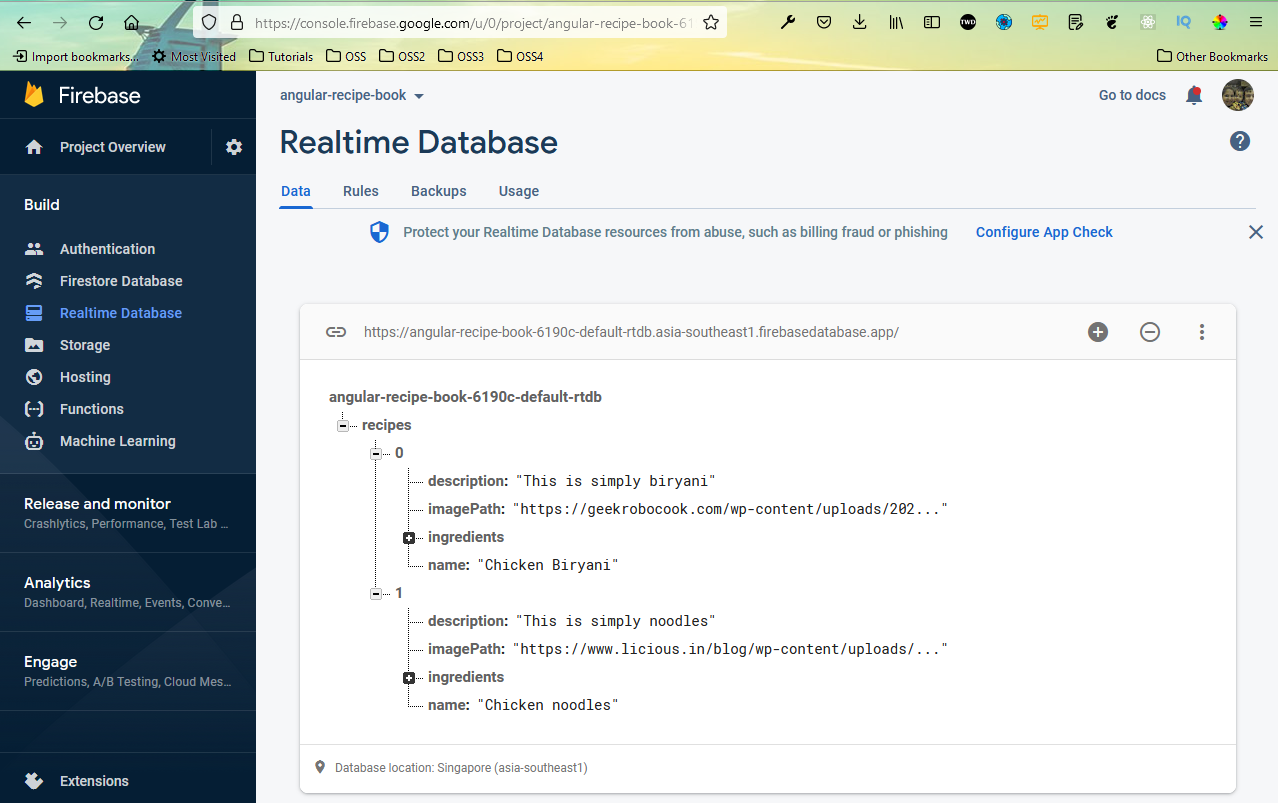
Now, just click on the Save Data button and our data will be stored in the firebase database.
 Save Data
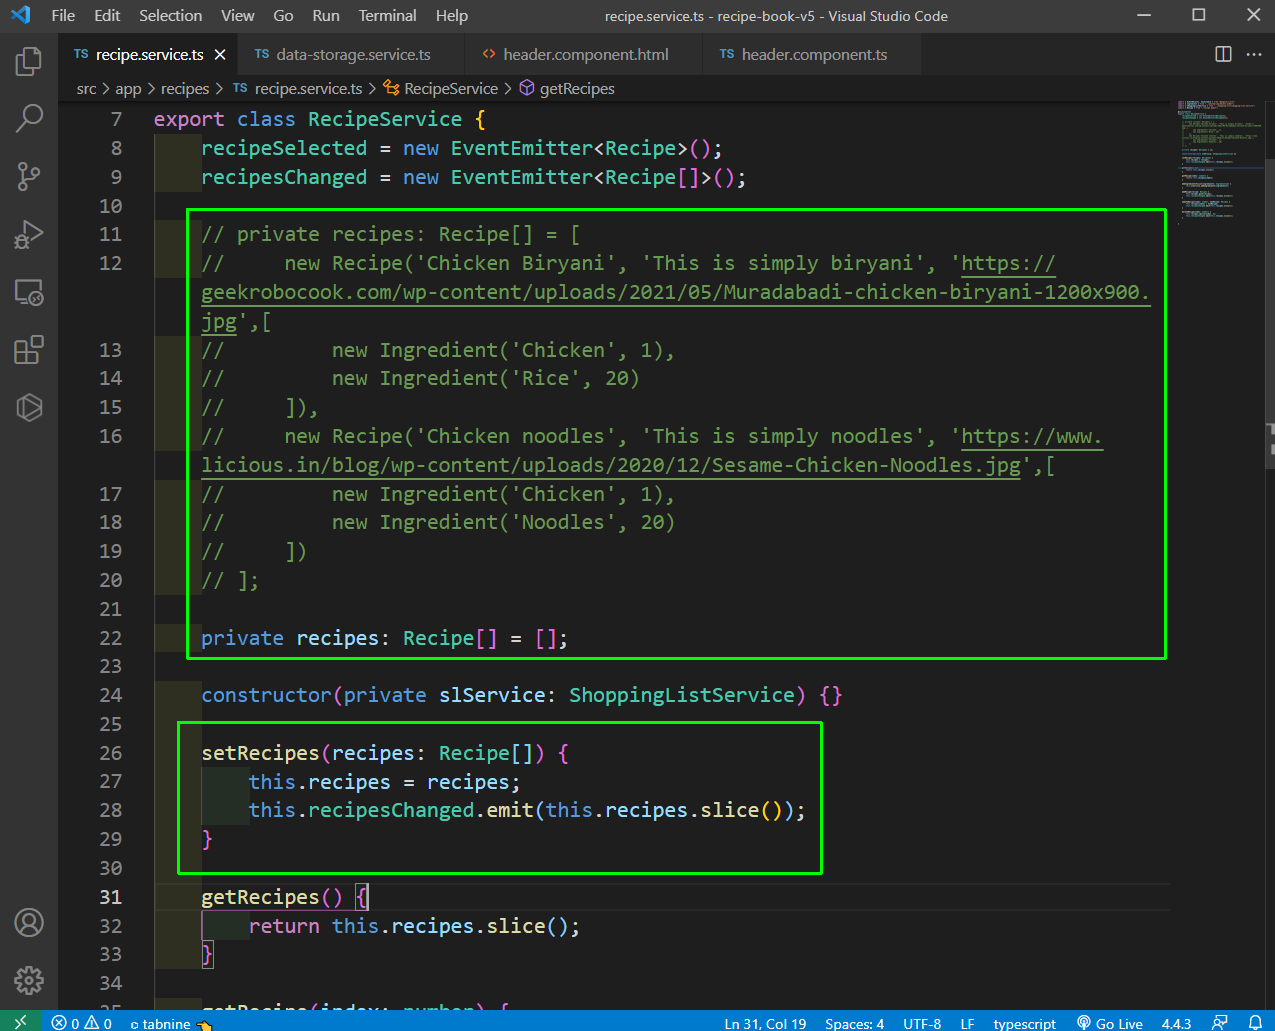
Now, it’s time to fetch the data. We need to create a new recipe service for it first in recipe.service.ts file. We are also commenting out the hardcoded recipes.
 recipe.service.ts
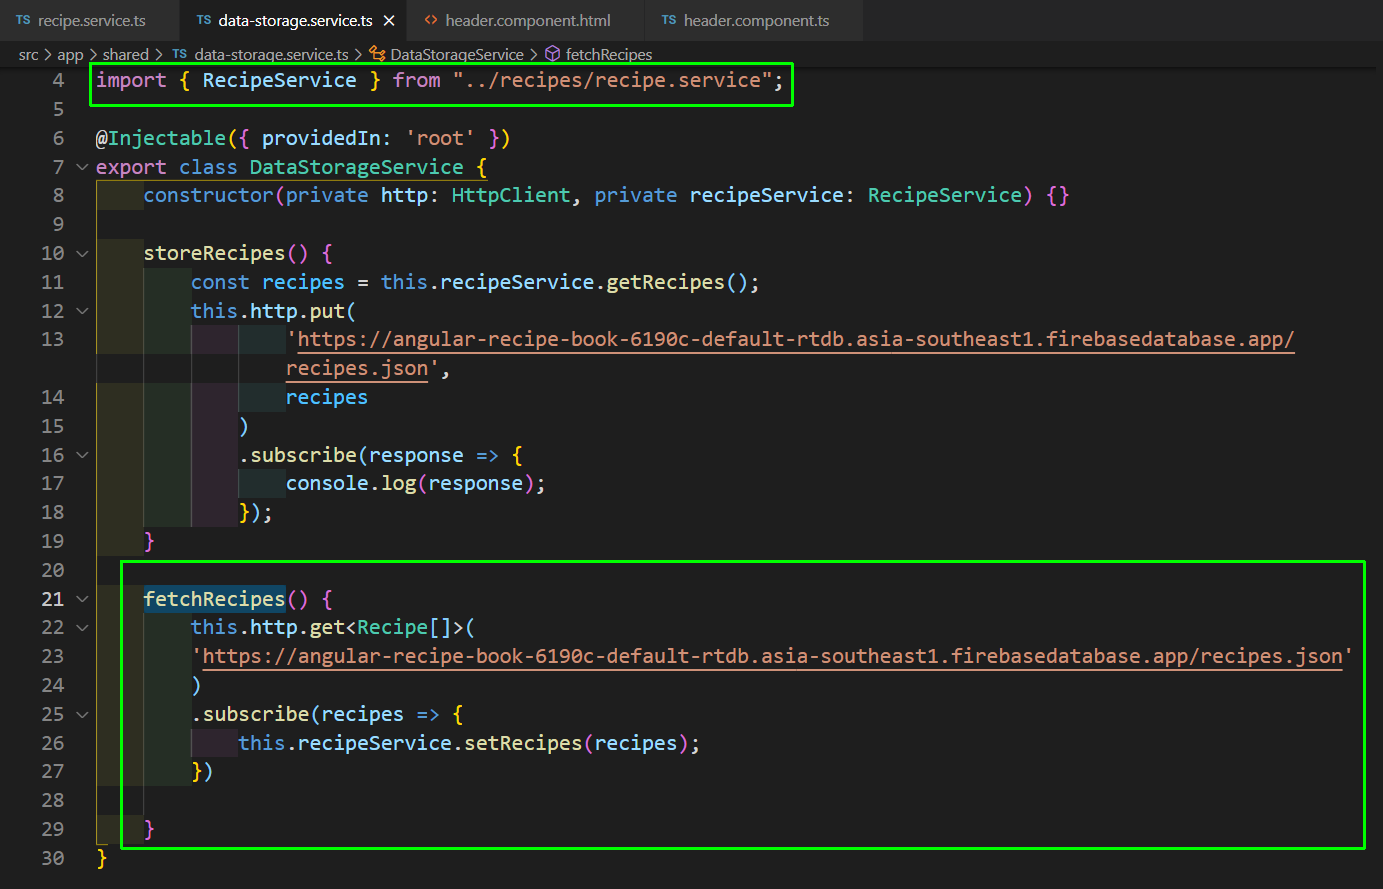
Now, we will add the function fetchRecipes in data-storage.service.ts file. Here, we are just using the GET request to get all data.
 data-storage.service.ts
Next, we will add a function onFetchData() click handler in header.component.html file.
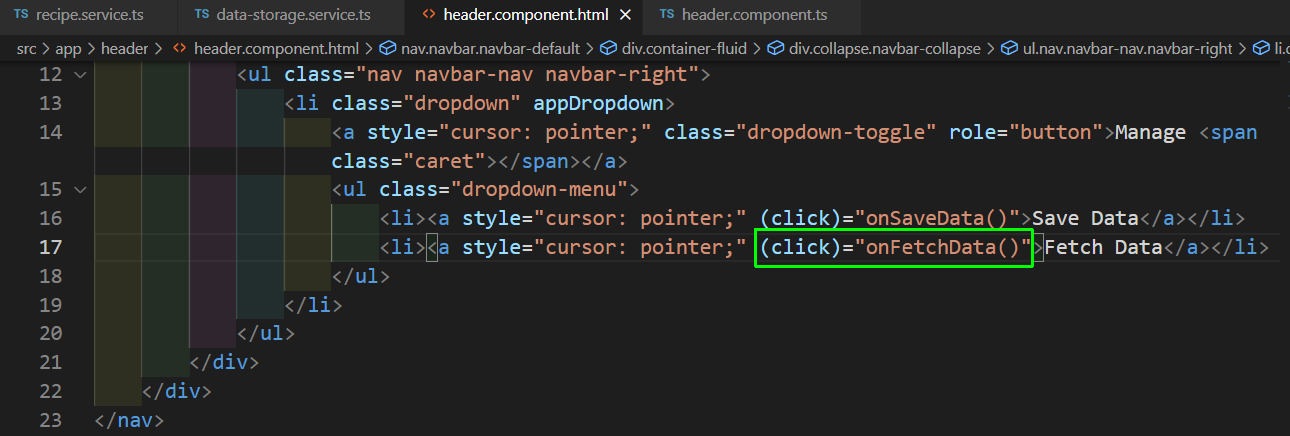 header.component.html
Now, just add the function onFetchData() in header.component.ts file.
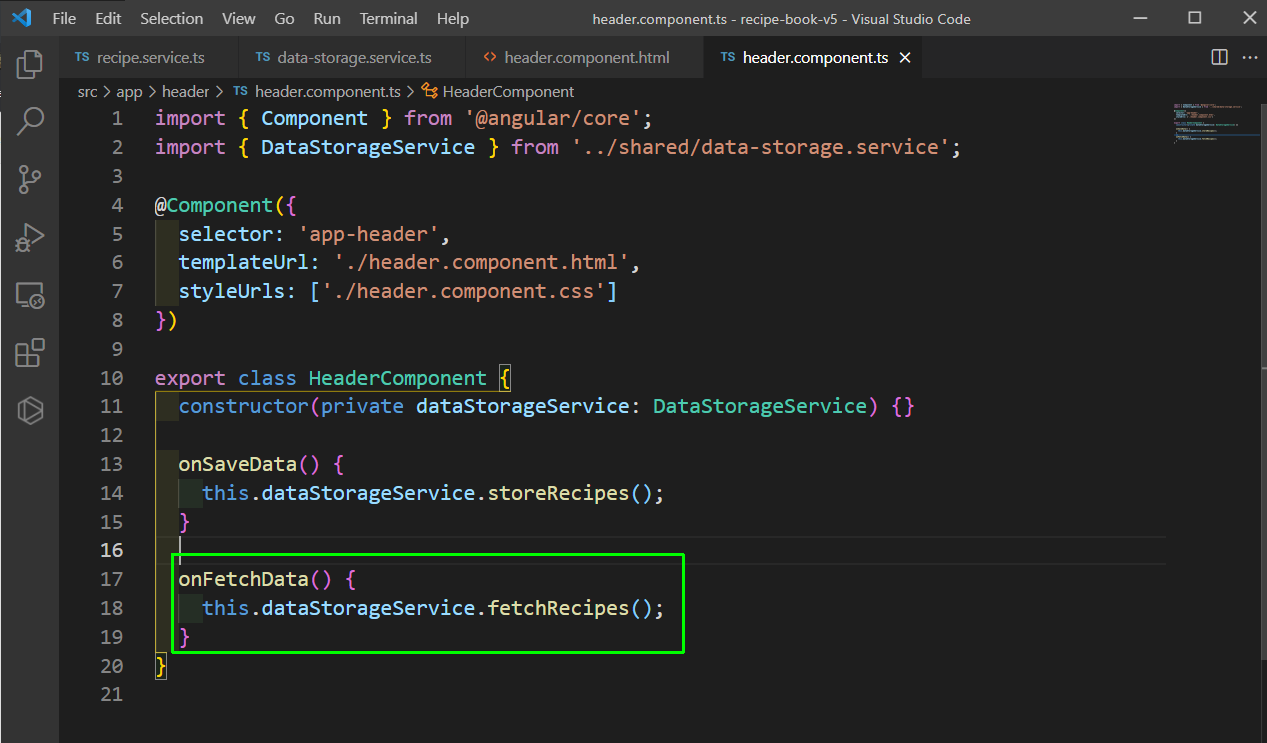 header.component.ts
Now, our Fetch and Save are working properly and taking data from stored firebase database.
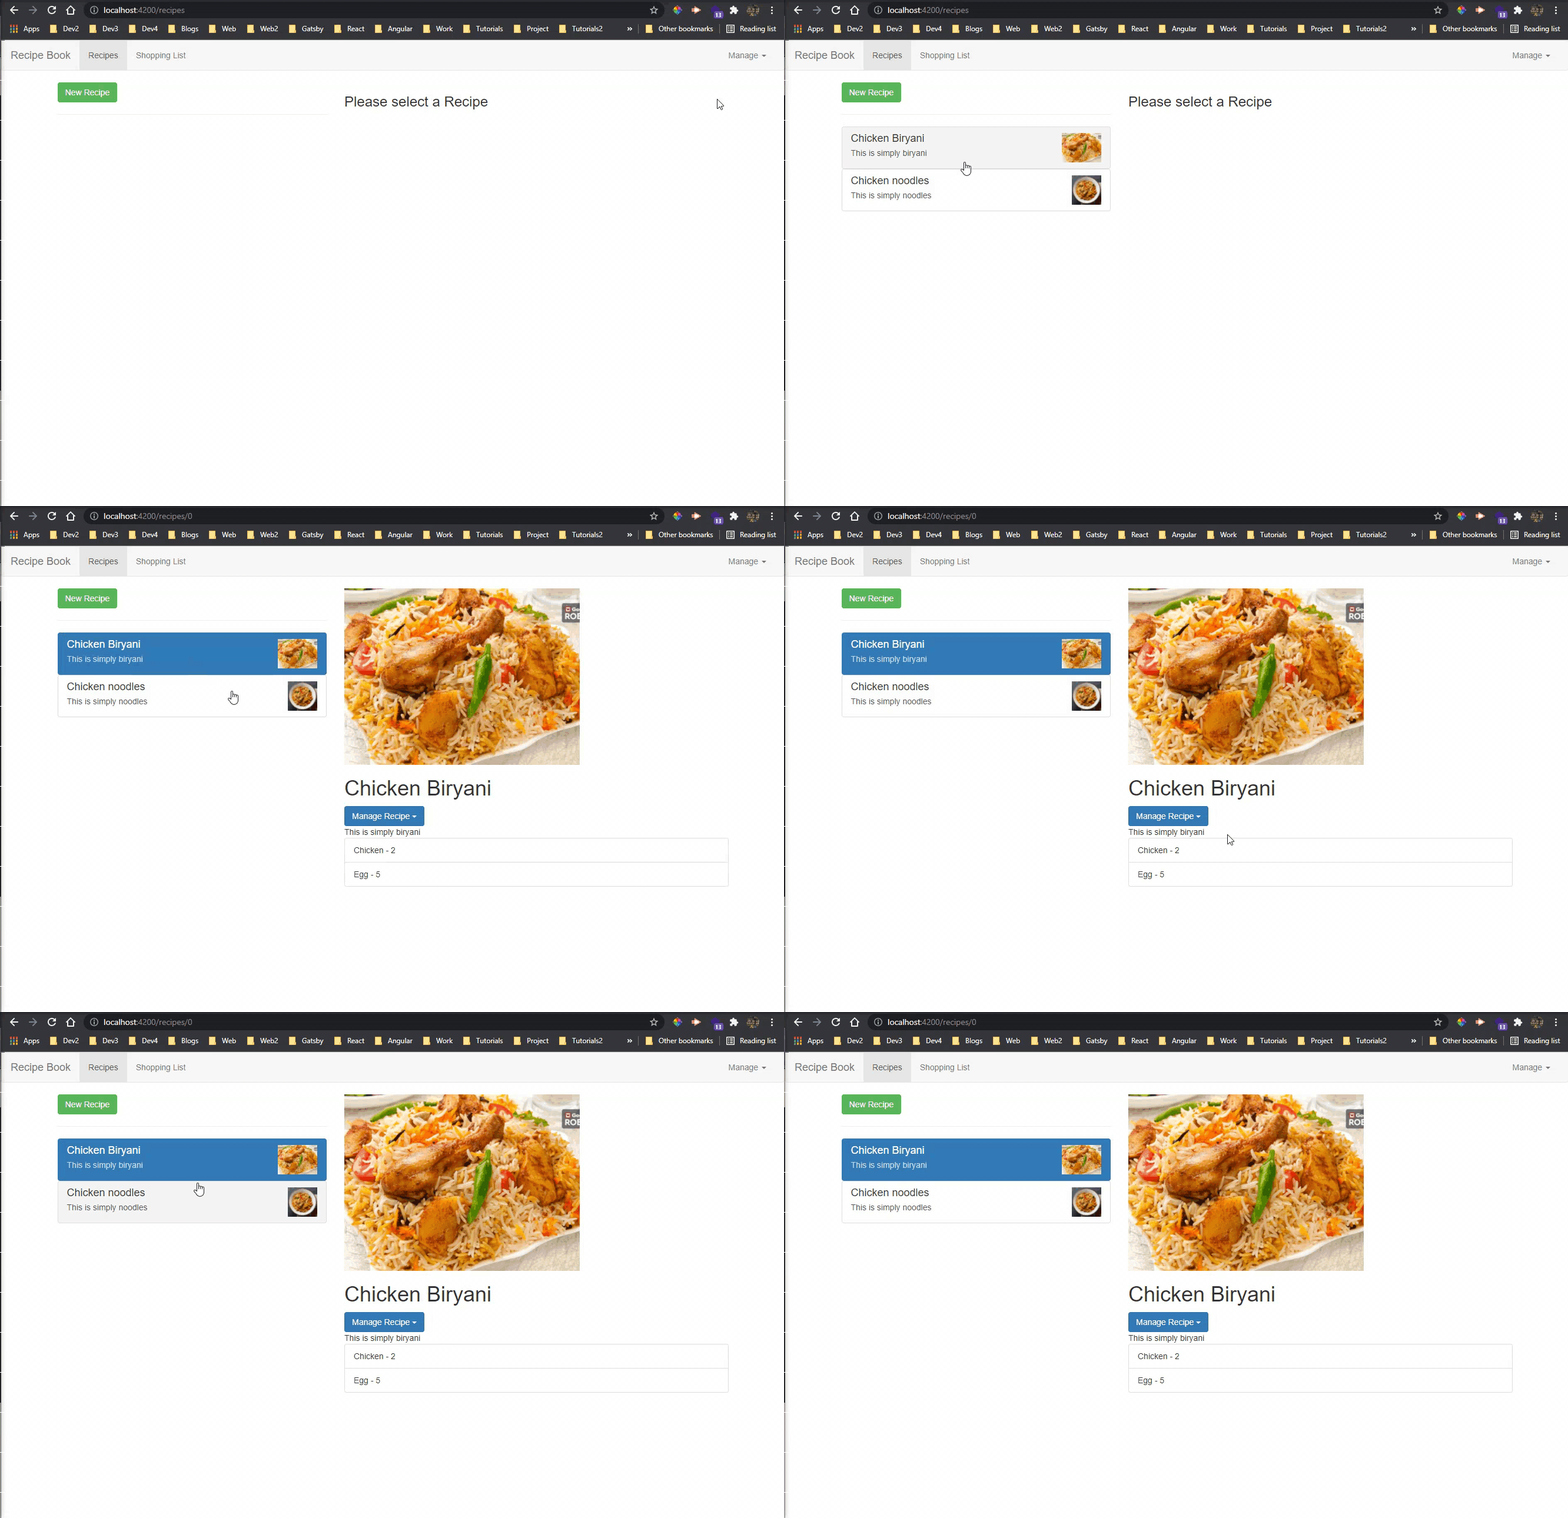 Working
It’s time to deploy our application, as it’s finally complete. For this we will first run the below command in our project.
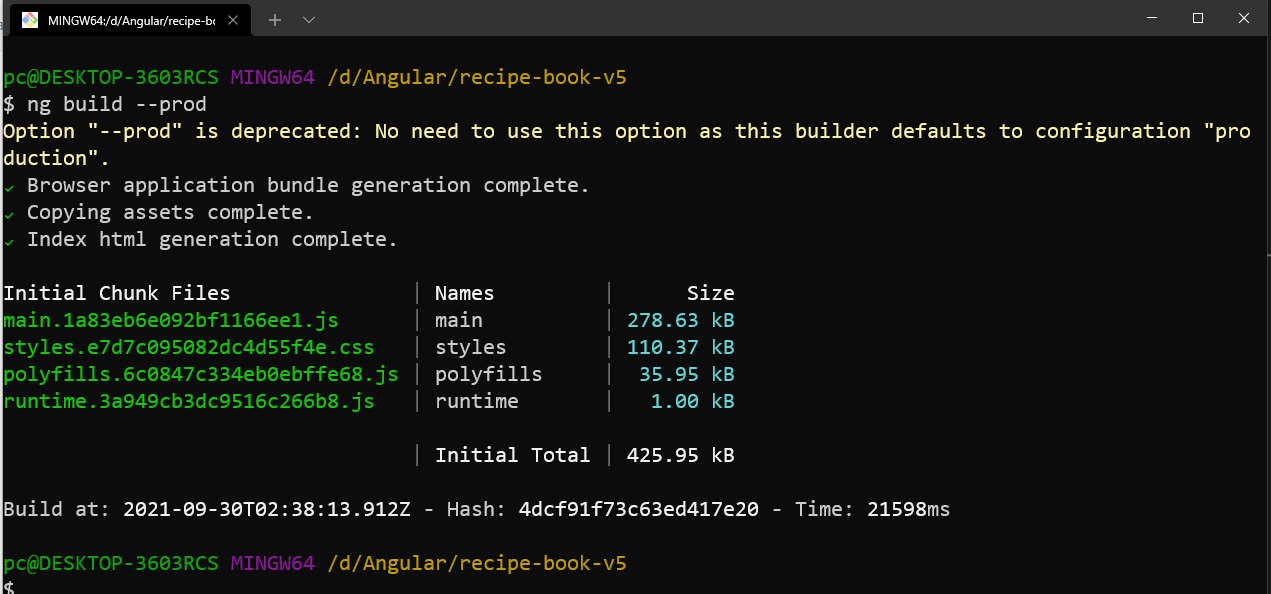 command
Now, we will host our project in firebase. So, open the firebase terminal and click on the Settings-> Project settings.
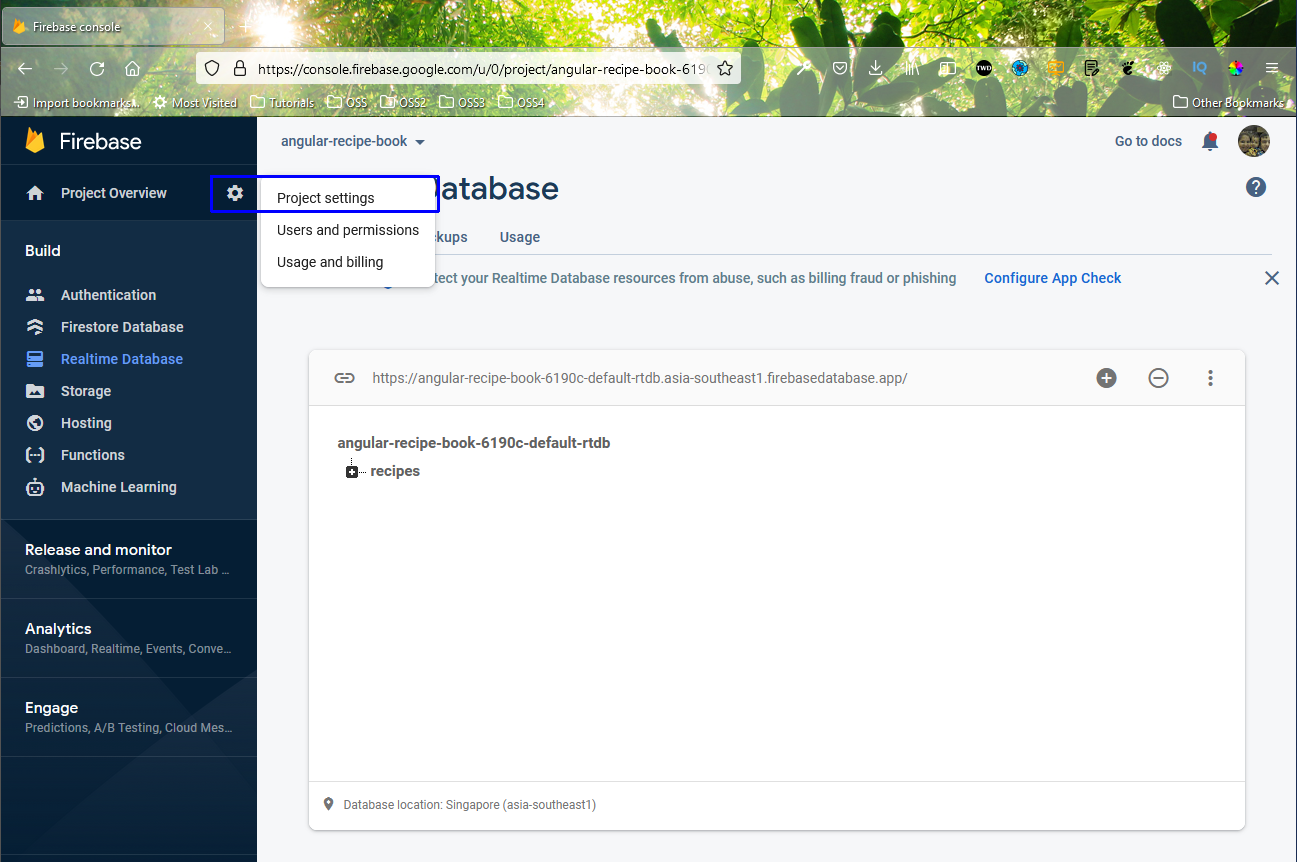 Settings
Next, click on the icon to create web-apps.
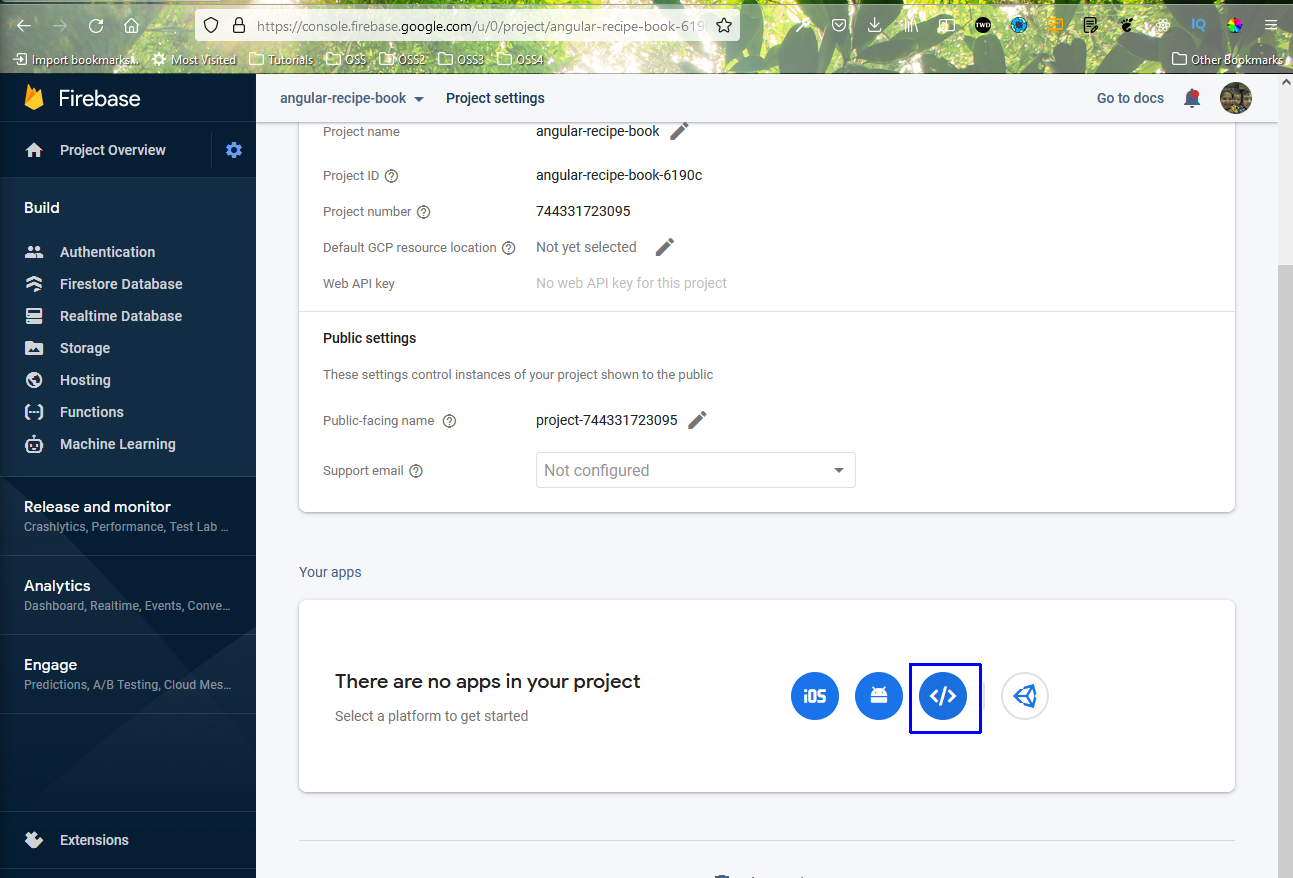 Web-apps
Now, it will ask to give the app a name. I have kept it same as the name we have given earlier. It is very important to click on Also set up Firebase Hosting.
After that click on Register app button.
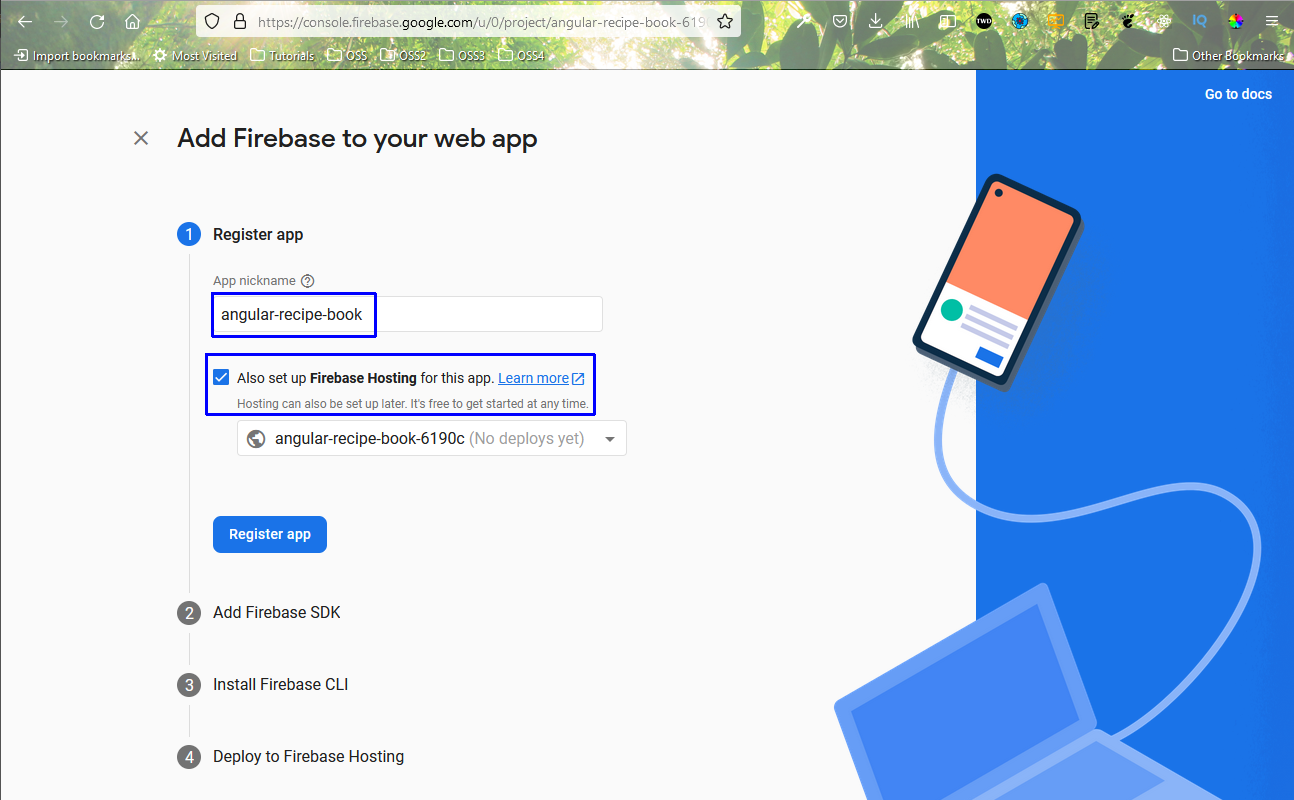 Firebase hosting
In the next screen, just press Next button.
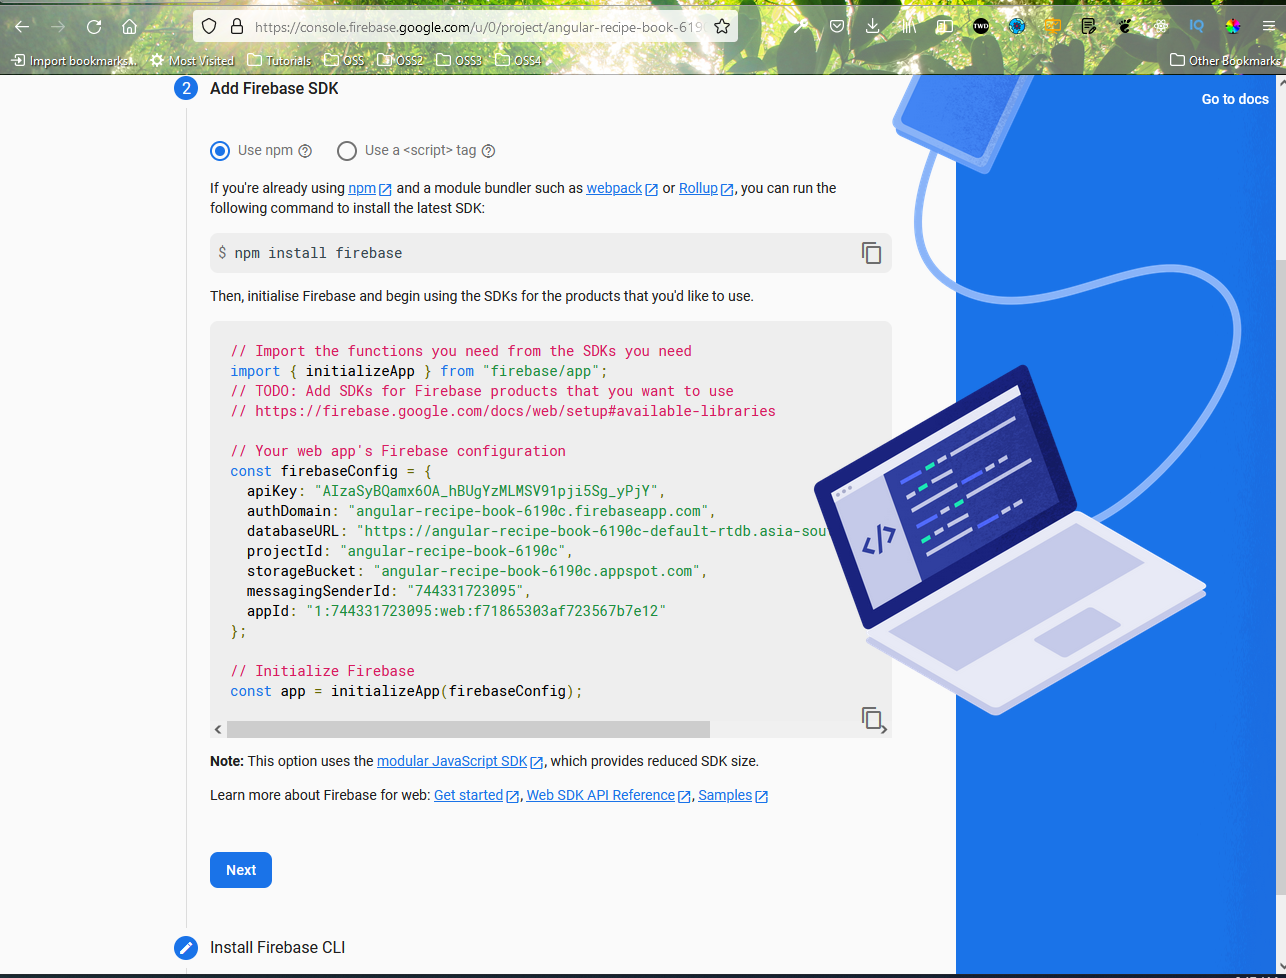 Next
Next
It is important to install the firebase-tools globally, if you have not already done.
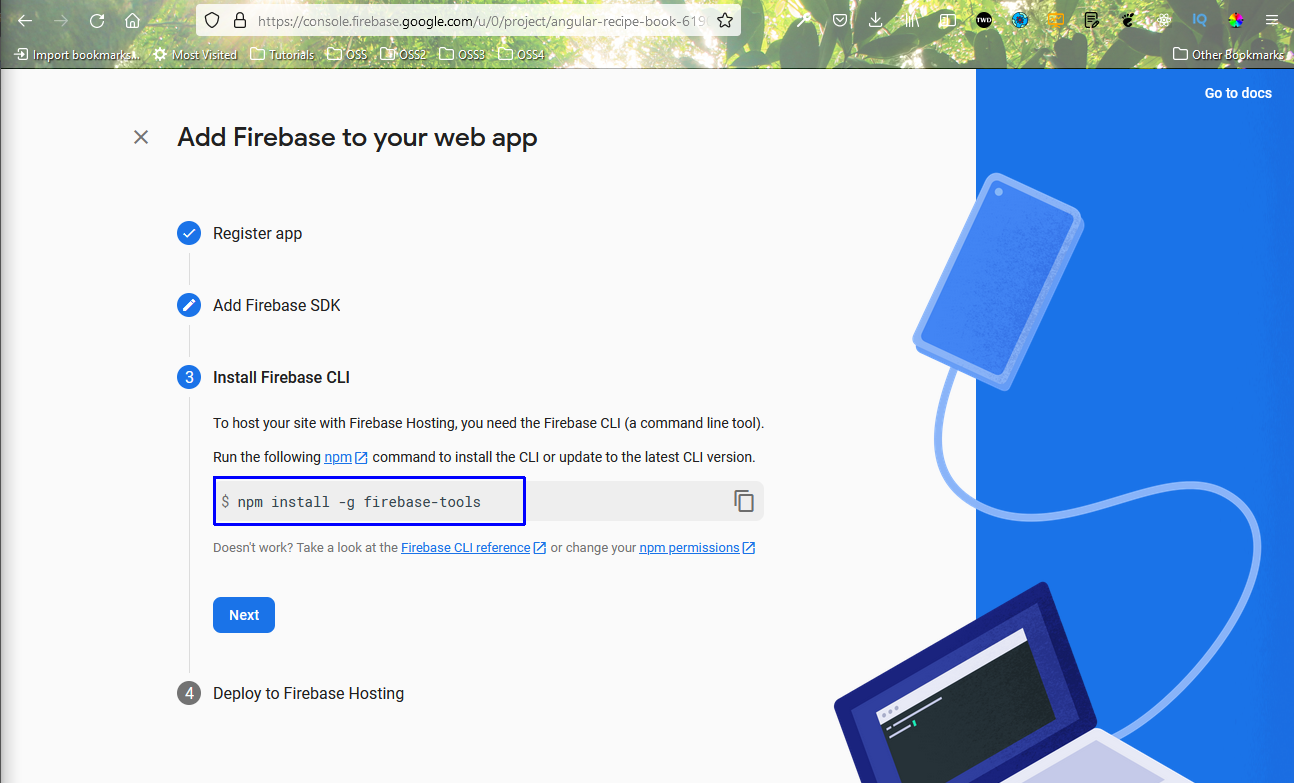 firebase globally
Nest, just click on Continue to the console button.
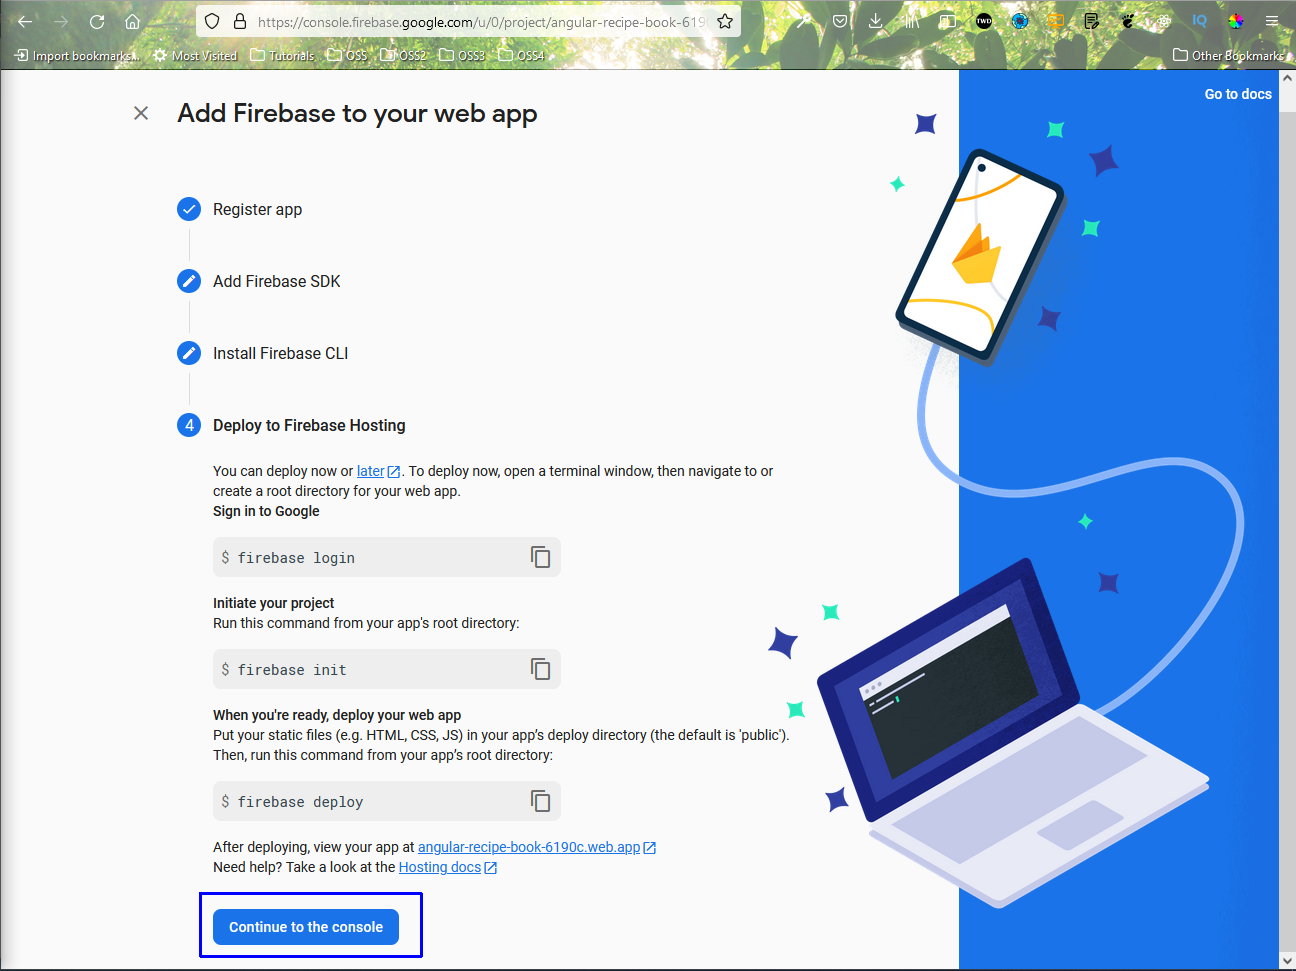 Continue
Now, from the terminal give the command firebase login and you will be logged in.
 Command
Now, give the command firebase init in command line. It will ask to proceed, where give Yes and after that choose Hosting.
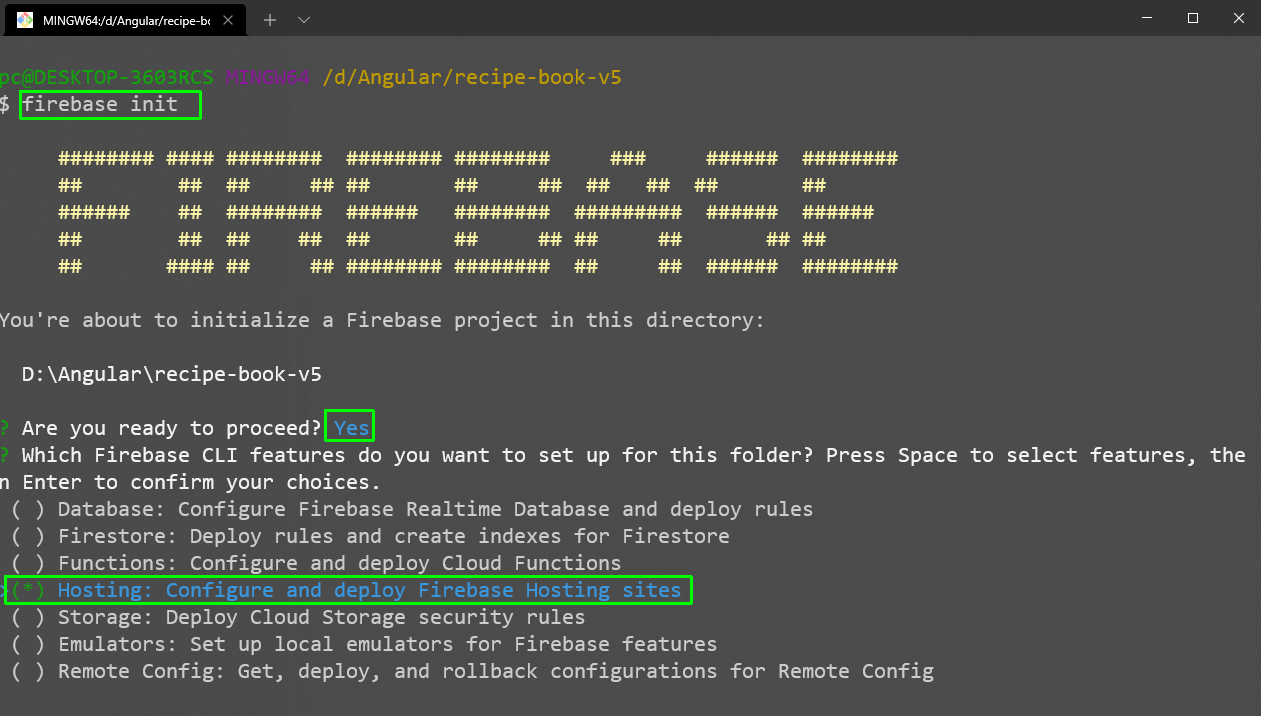 Hosting
Now, choose Use an existing project and click enter.
 Use an existing project
Here, i will choose angular-recipe-book and press enter.
 angular-recipe-book
Now, we need to answer some questions. The public directory is the dist and your app name. Rest should be as mentioned.
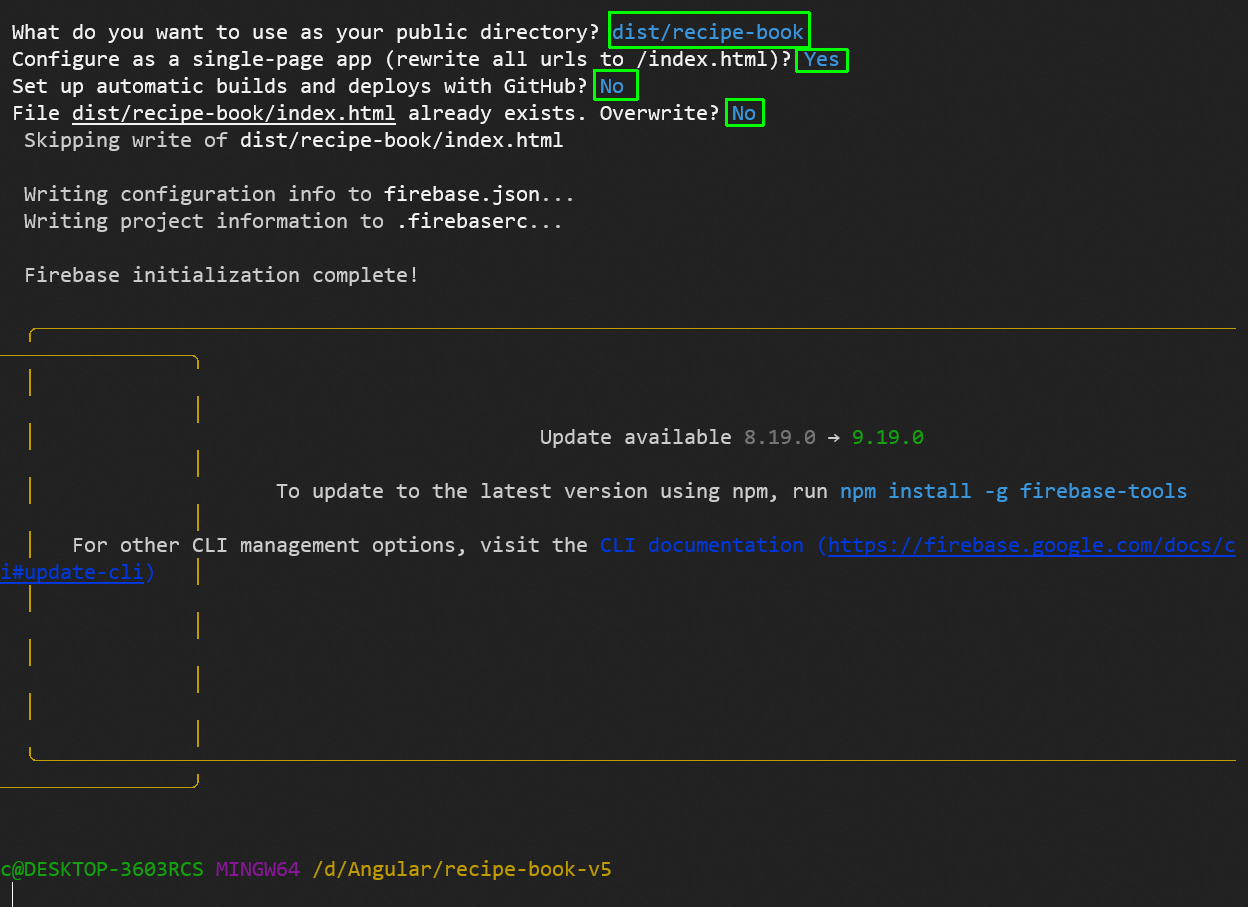 recipe
The last step is to run firebase deploy command from the terminal.
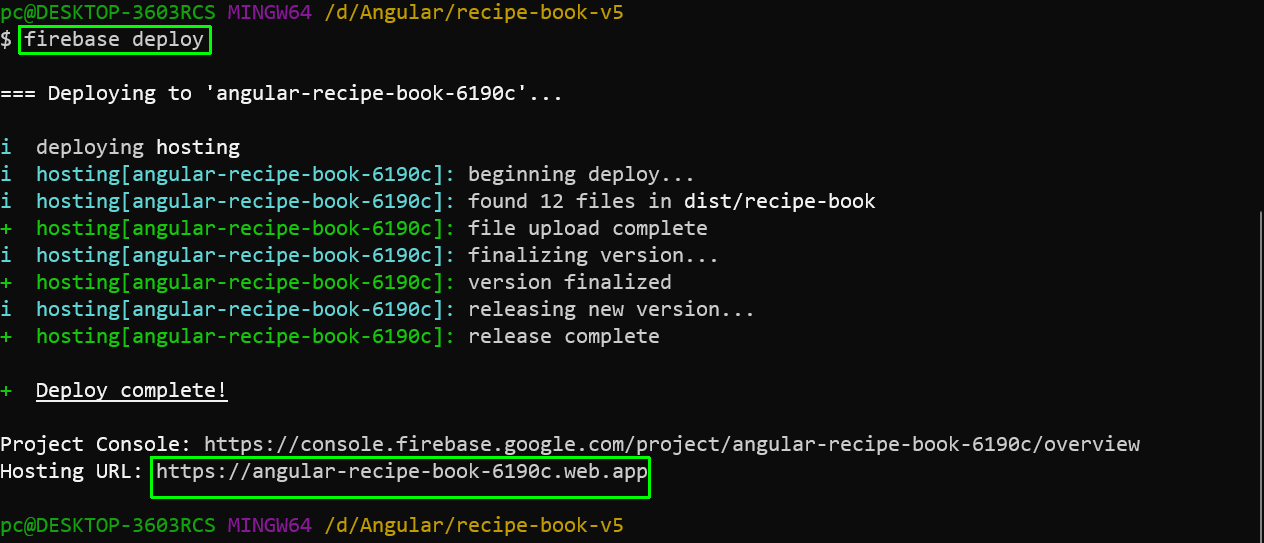 firebase deploy
Our app is now deployed and we are able to work on it from deployed url. This completes our big Angular project.
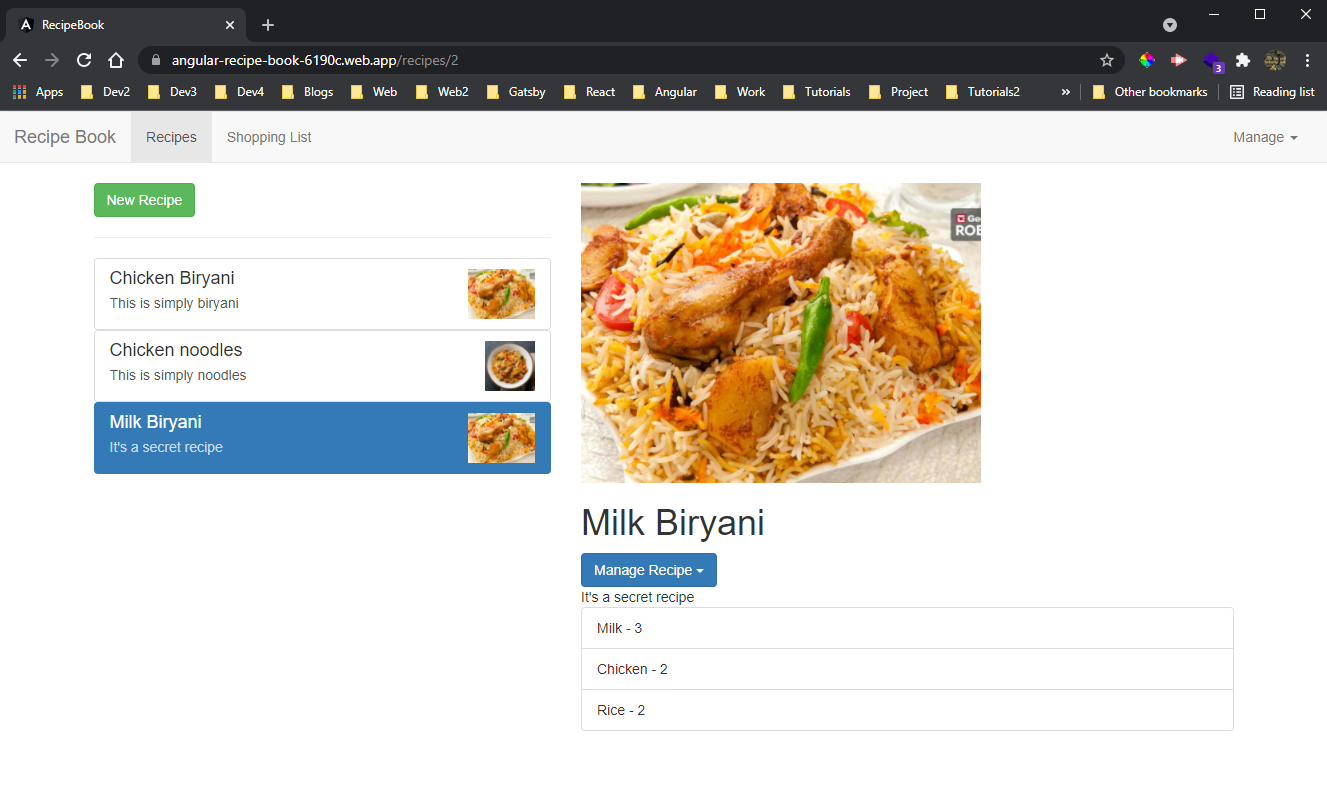 Done
Done
You can find the code for the same in this github repo.