In this post we will create a simple and a beautiful Strawberries comany website with HTML and CSS.
So, open VSCode and create the basic structure of a HTML in an index.html file by ! and then pressing tab. We have also put an images in the images folder. You can take them from the github repo at the end.
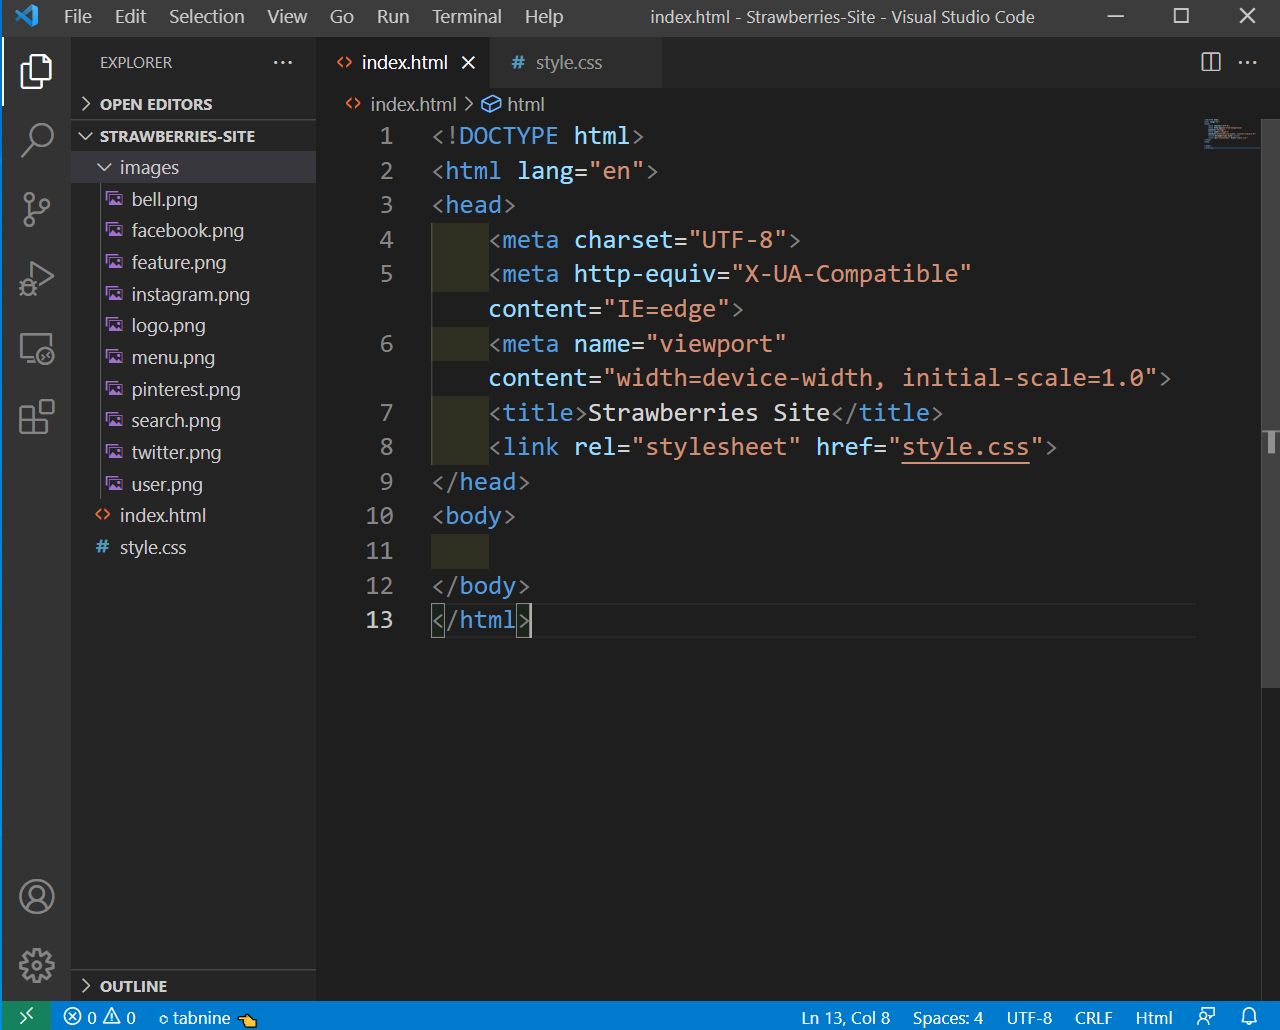 Strawberries
Next, we will add the code for navbar in our index.html site.
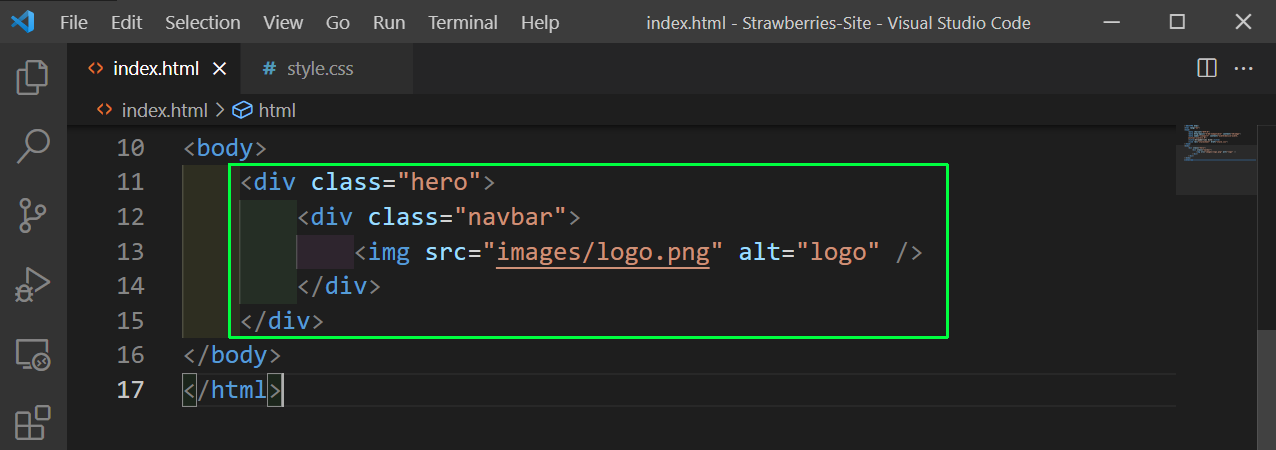 index.html
Next, in style.css we are first using a google font and default styles. After that we are giving the styles for the hero and navbar classes.
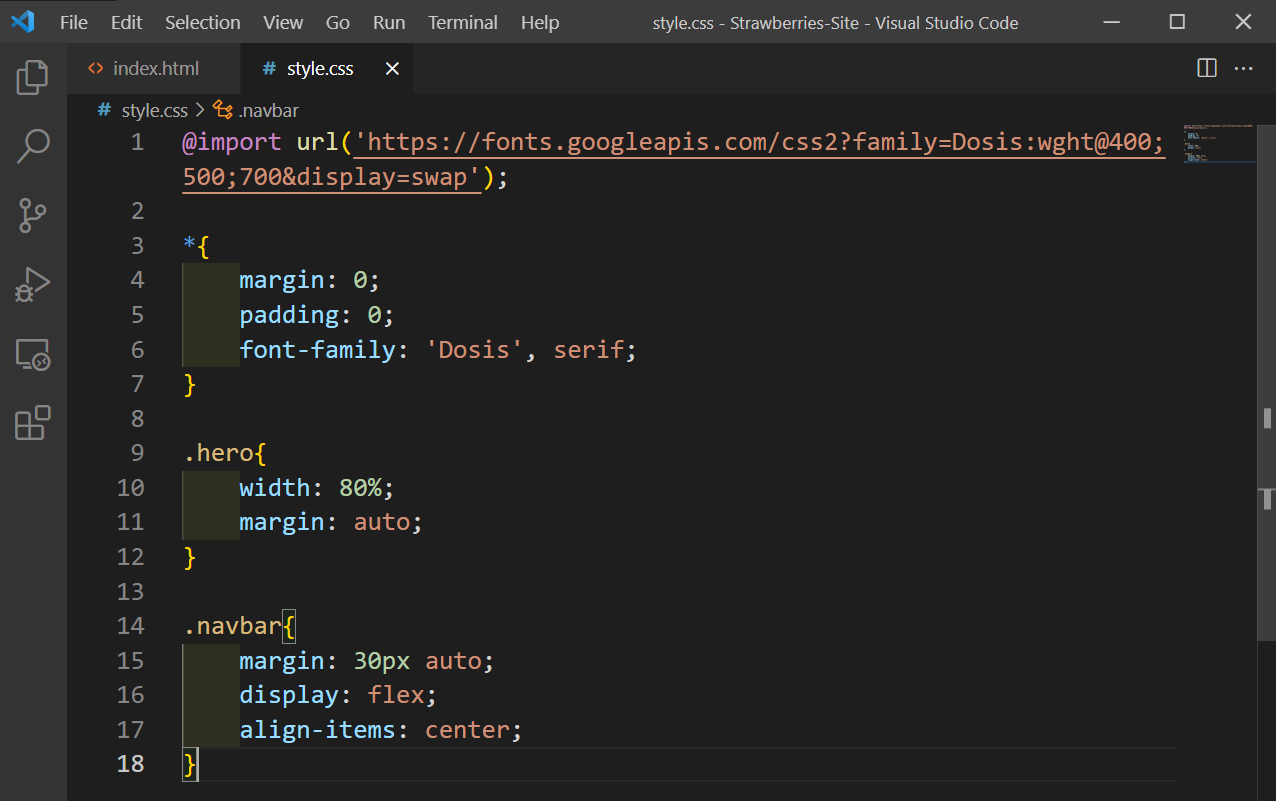 style.css
Now, our logo is looking perfect in localhost.
 localhost
Next, we will add navbar in our index.html file and we will do this by adding three li inside an ul.
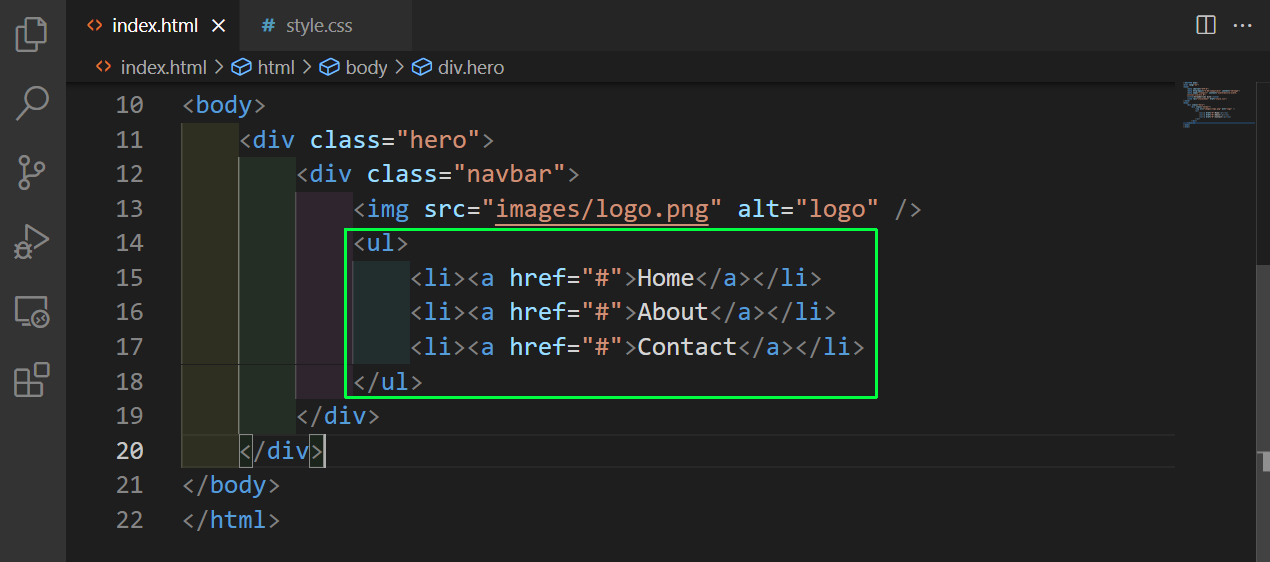 index.html
Now, in the style.css file we will first do the style for ul. We are also adding a cool animation of underline by creating an after pseudo element and hiding it first with width: 0 and making width: 100% on hovering
ul{
    flex: 1 1 auto;
    text-align: right;
}
ul li{
    display: inline-block;
    list-style: none;
    margin: 0 25px;
}
ul li a{
    text-decoration: none;
    text-transform: uppercase;
    color: black;
    padding: 0 10px;
    position: relative;
}
ul li a::after{
    content: '';
    width: 0;
    height: 10px;
    background: #f14a60;
    position: absolute;
    left: 50%;
    transform: translateX(-50%);
    top: 18px;
    transition: 0.5s;
}
ul li a:hover::after{
    width: 100%;
}
Now, our navbar is done with cool hovering effect.
 Navbar done
Now, we will add the code for some more icons in the menu in index.html. We will also add the code for the next section, which will contain a search image with input in the left column and feature image in right columns.
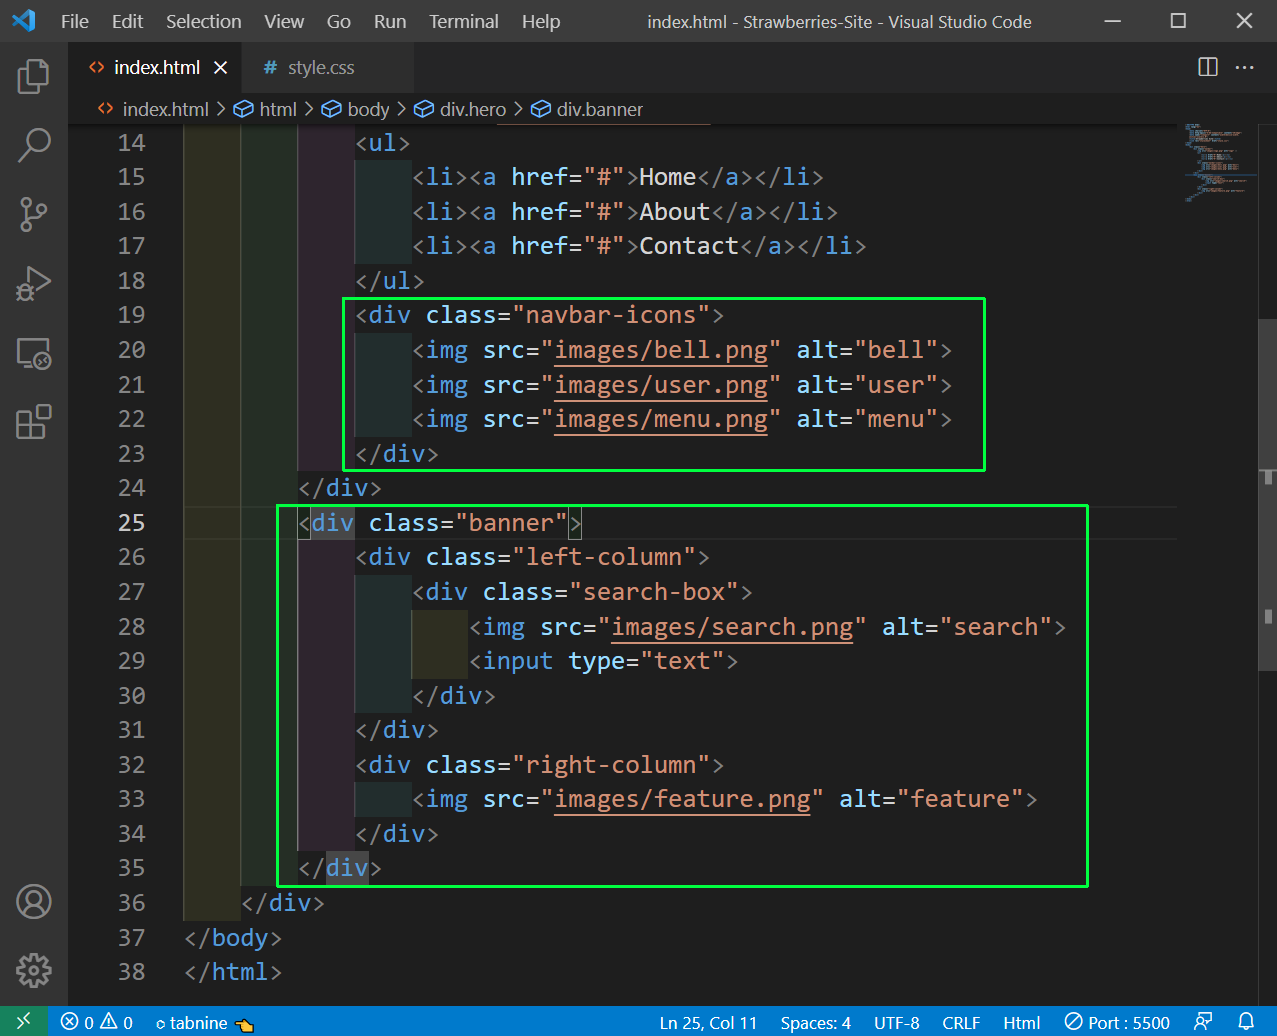 index.html
Now, we will add the styles for all these in style.css file. We are using flex to style a lot of elements here.
.navbar-icons img{
    height: 25px;
    margin-left: 40px;
    cursor: pointer;
}
.navbar-icons{
    margin-left: 40px;
}
.banner{
    display: flex;
    margin-top: 80px;
}
.left-column, .right-column{
    flex-basis: 50%;
}
.right-column img{
    width: 100%;
}
.search-box{
    width: 45%;
    display: flex;
    padding-bottom: 3px;
    border-bottom: 1px solid #ddd;
    margin: 10px 0 30px;
}
.search-box img{
    height: 25px;
    width: 25px;
    cursor: pointer;
}
.search-box input{
    width: 100%;
    margin-left: 15px;
    font-size: 17px;
    border: 0;
    outline: none;
}
Now, our website is looking quite good.
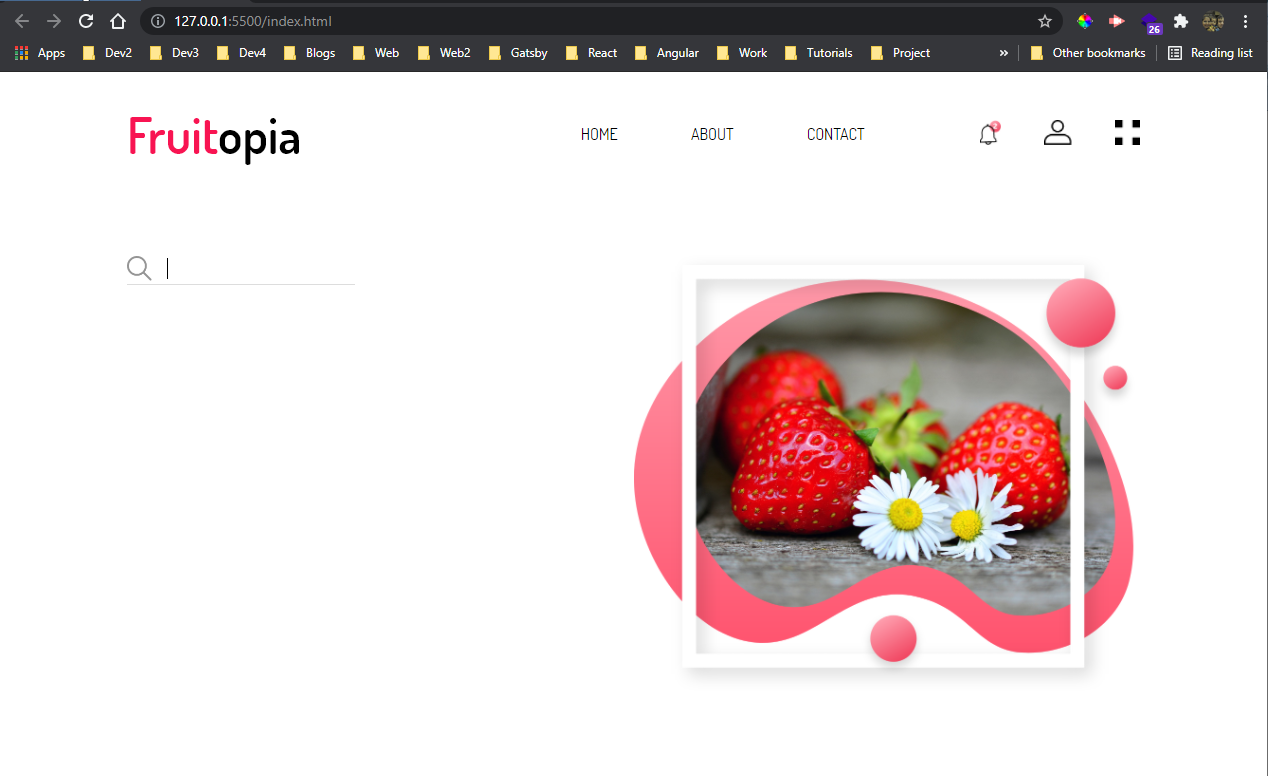 Quite good
Now, we will add a h1, h3 and p tag in our index.html file. We are also adding two buttons in it.
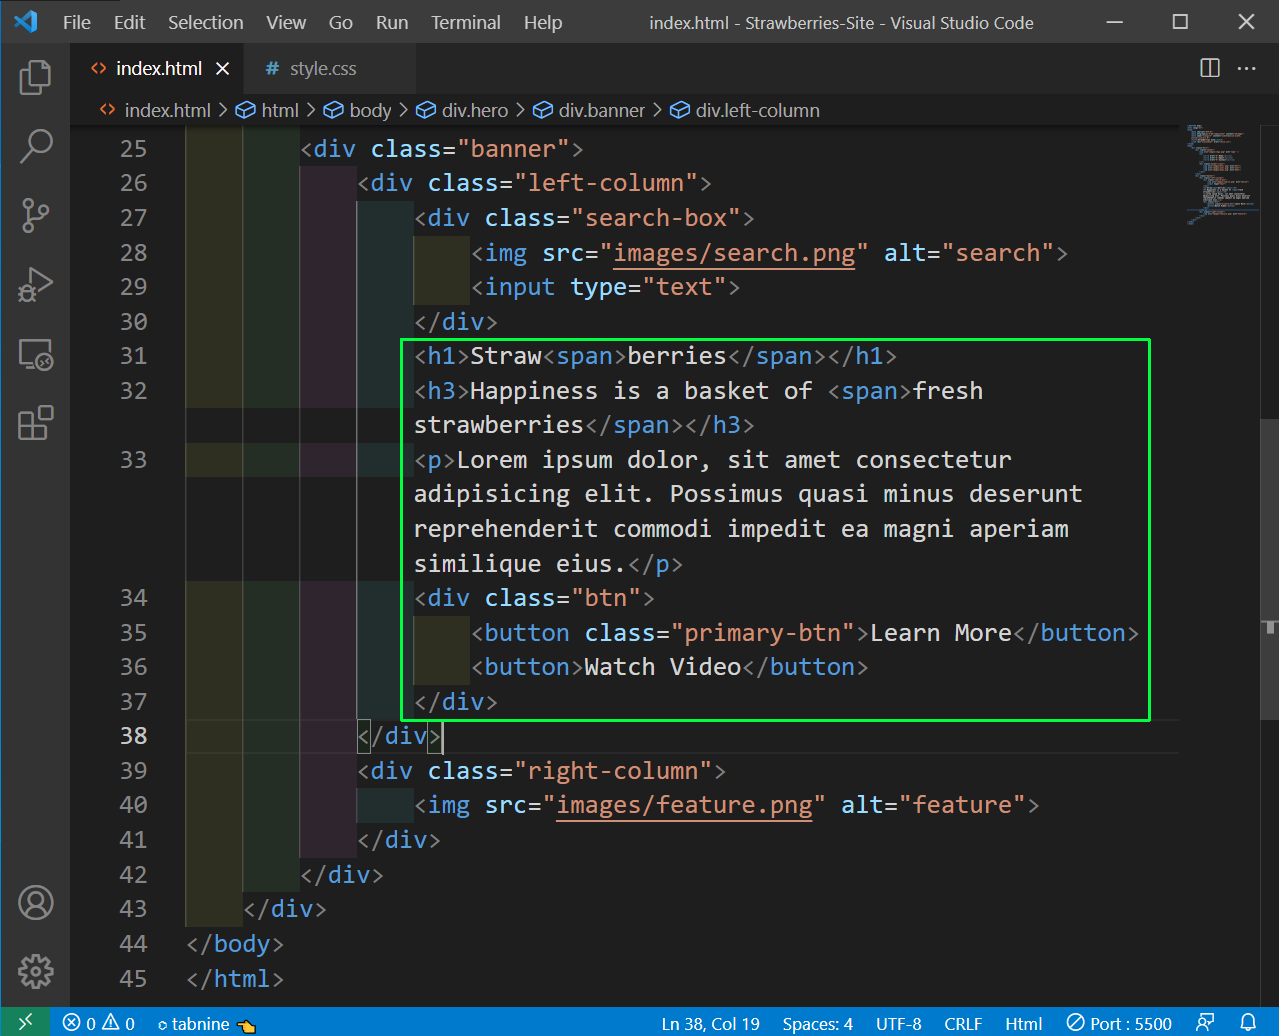 index.html
Now, we will add the styles for these new elements in style.css file.
.left-column h1{
    font-size: 100px;
}
.left-column h3{
    font-size: 30px;
}
.left-column span{
    color: #f14a60;
}
.left-column p{
    font-size: 14px;
    color: #999;
    margin: 50px 0;
}
.btn button{
    padding: 7px 30px;
    margin-right: 15px;
    outline: none;
    border: 1px solid #fb7381;
    border-radius: 20px;
    cursor: pointer;
    color: #fb7381;
    background: transparent;
}
.btn .primary-btn{
    background: linear-gradient(#fb7381, #f14a60);
    box-shadow: 0 2px 15px rgba(248, 38, 103, 0.26);
    color: #fff;
}
Our website is almost complete and looking awesome.
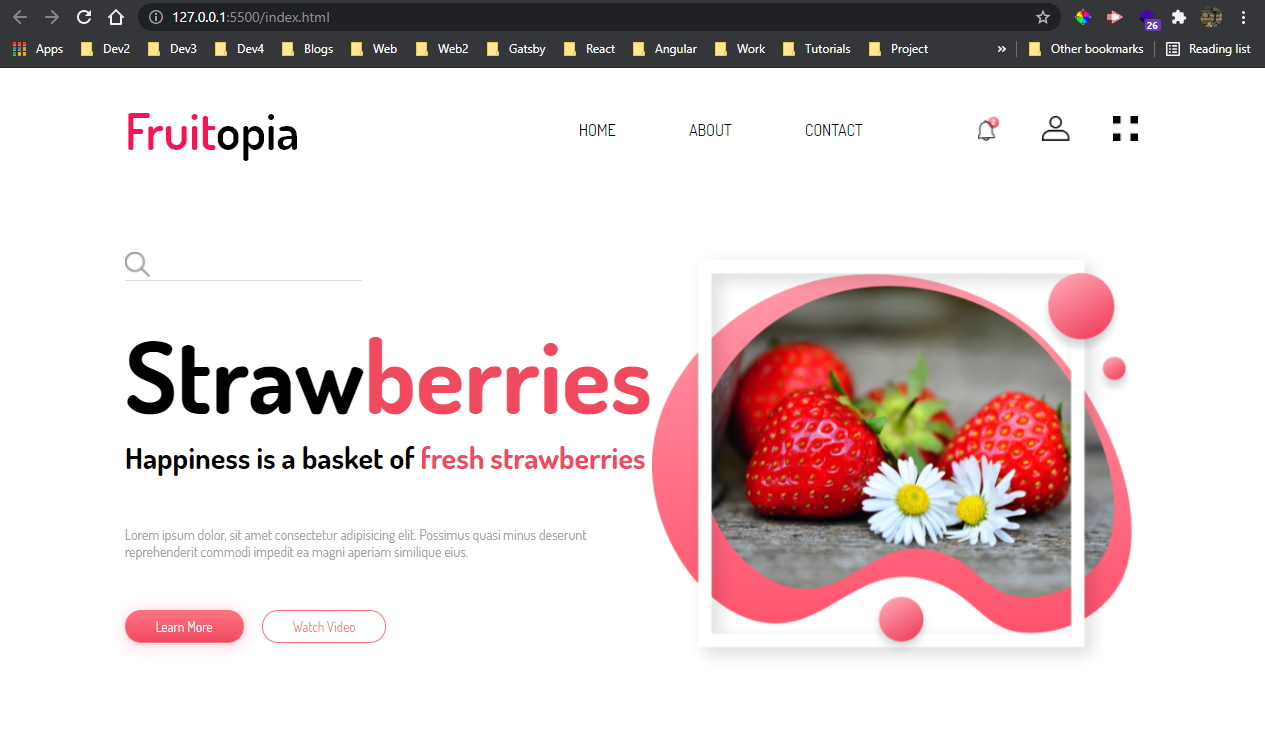 Awesome
At last we will add the social icons in our project. So, add the four icons as images in our index.html file.
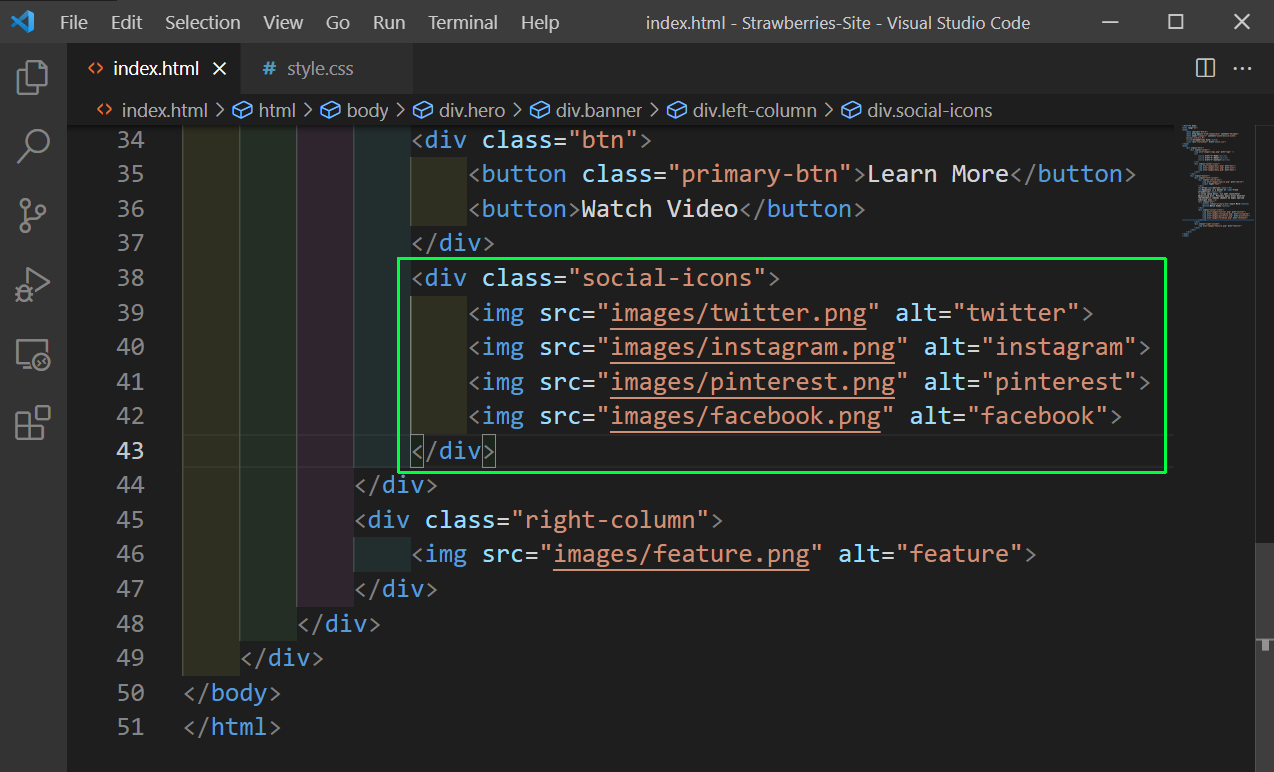 index.html
We will add styles for the same in style.css file, with a cool hover effect, which makes the icons large.
.social-icons{
    width: 200px;
    text-align: center;
    opacity: 0.4;
    margin-top: 50px;
    cursor: pointer;
}
.social-icons img{
    height: 20px;
    margin: 0 14px;
    transition: transform 0.2s;
}
.social-icons img:hover{
    transform: scale(1.5);
}
Our small Strawberry site is complete, with two cool hover effect. You can find the code for the same in this github repo.
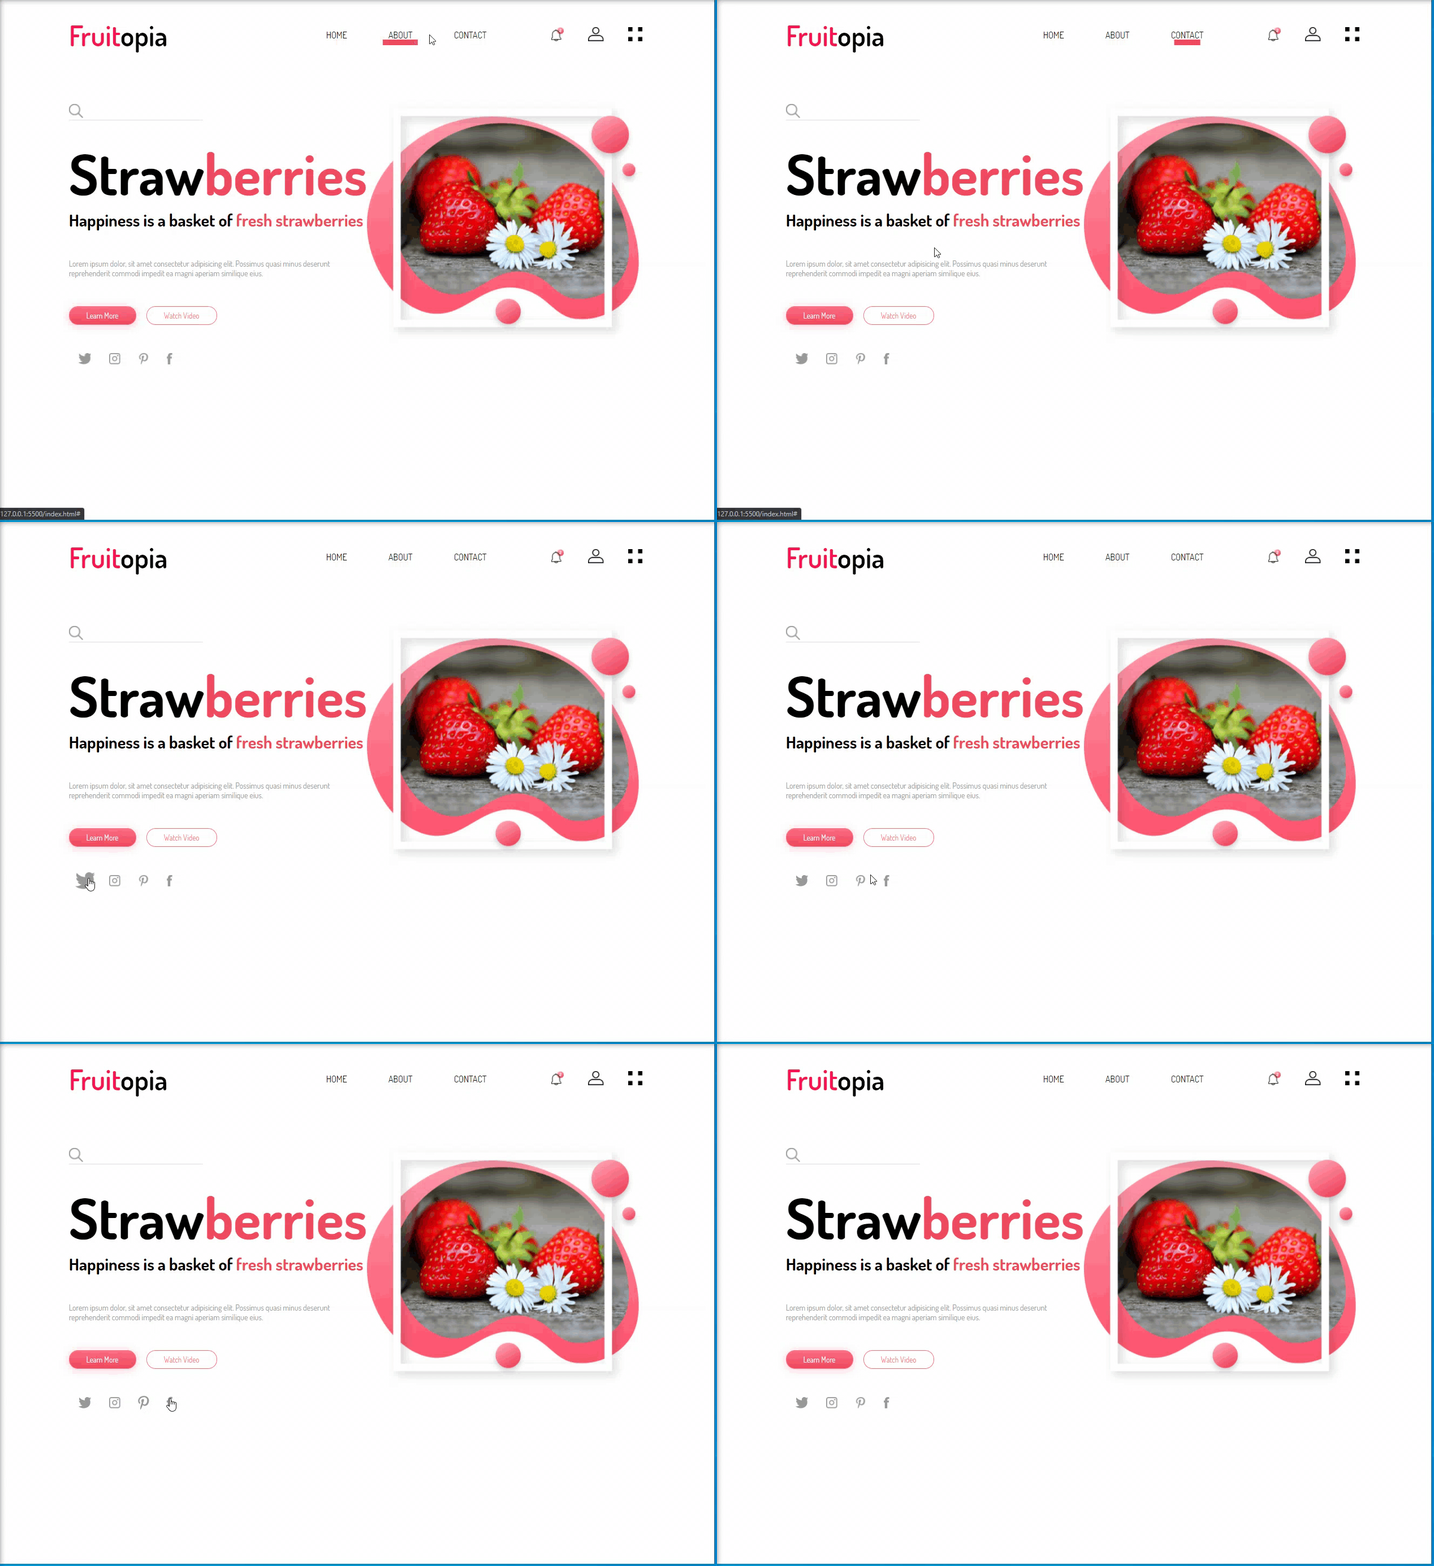 Strawberry site