How I deployed my Gatsby site to AWS S3 - 1
by Nabendu Biswas / June 14th, 2020
#AWS #devops #gatsby
Series: Thewebdev-fixes
I have been using the amazing service of netlify for the past one year to deploy all my test site and also the production sites.
Two of my main production sites are https://nabendu.blog/ and https://thewebdev.tech/ . Netlify charges on build time and initially it was ok, but my upcoming blog site had grown a lot and have now most of my blogs.
I serve my blogs through mdx files, which is stored in github. So, my built time for thewebdev have increased to 8 mins and my current blog site built time to 2 mins. Now, since i give build almost everyday, i am over the free quota of 300 mins every month. I am getting charged $ 7 for it since the past 2 months and extra 500 mins gets added for the build time.
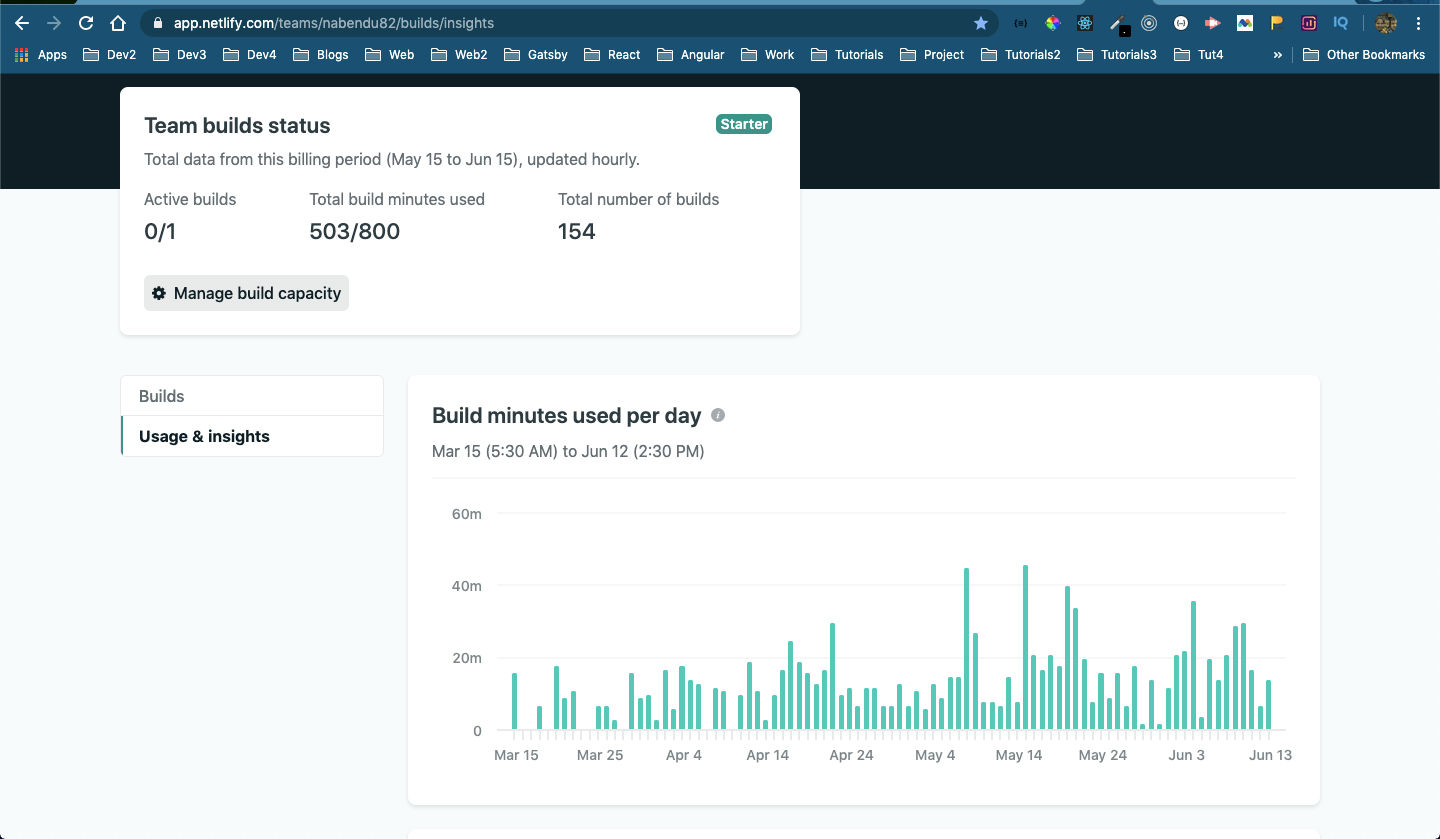 Netlify Additional Builds
I know that i will go over the 300 mins every month, since i blog very frequently and update my sites. So, i am planning to deploy my upcoming and soon main blog site https://thewebdev.tech/ to save the cost.
So, i found some good articles and a youtube video to deploy a GatsbyJS site to Amazon S3 and will be referring them.
I had and old access to Amazon S3, so i had logged into the account and got the below screen. After that clicked on the Services arrow.
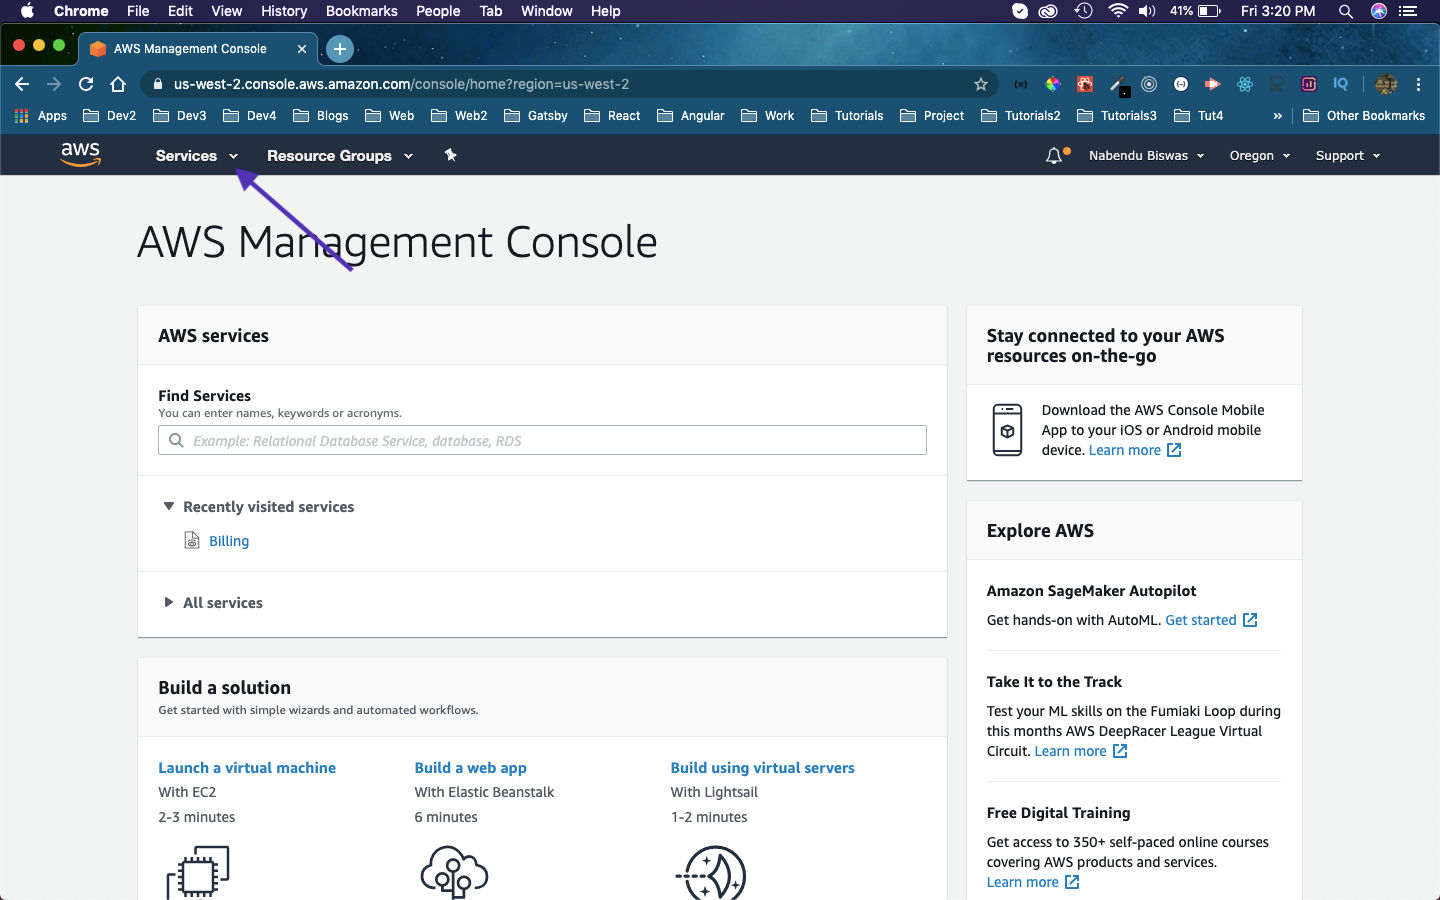 Amazon S3
After that we need to click on S3 from the services.
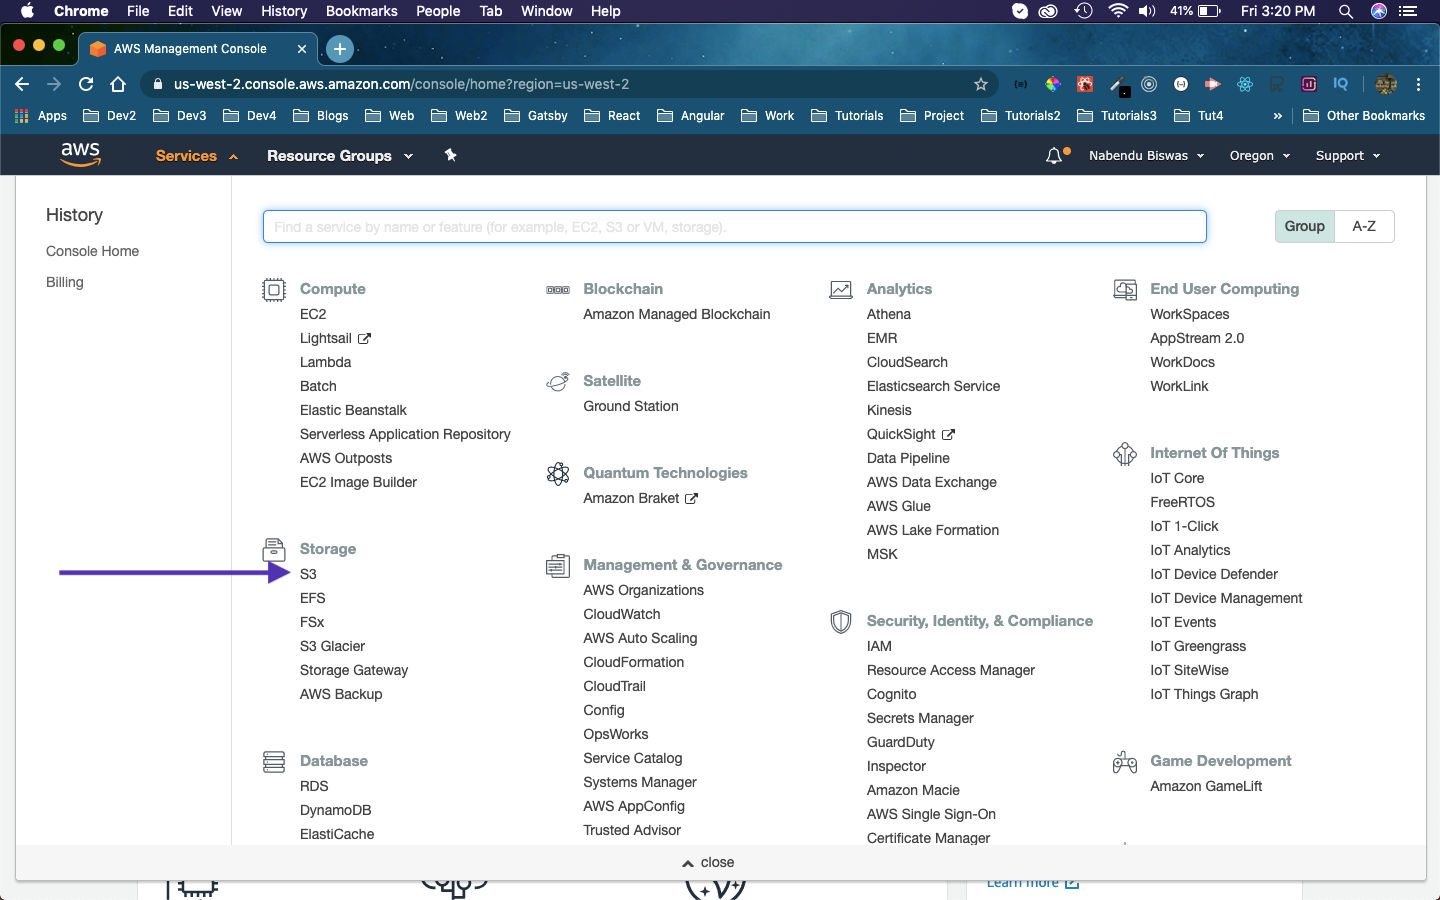 S3 Services
Since, it’s an old account which i had not used in the past 2 years, i am been asked to Complete registration. So, i clicked on Complete your AWS registration link.
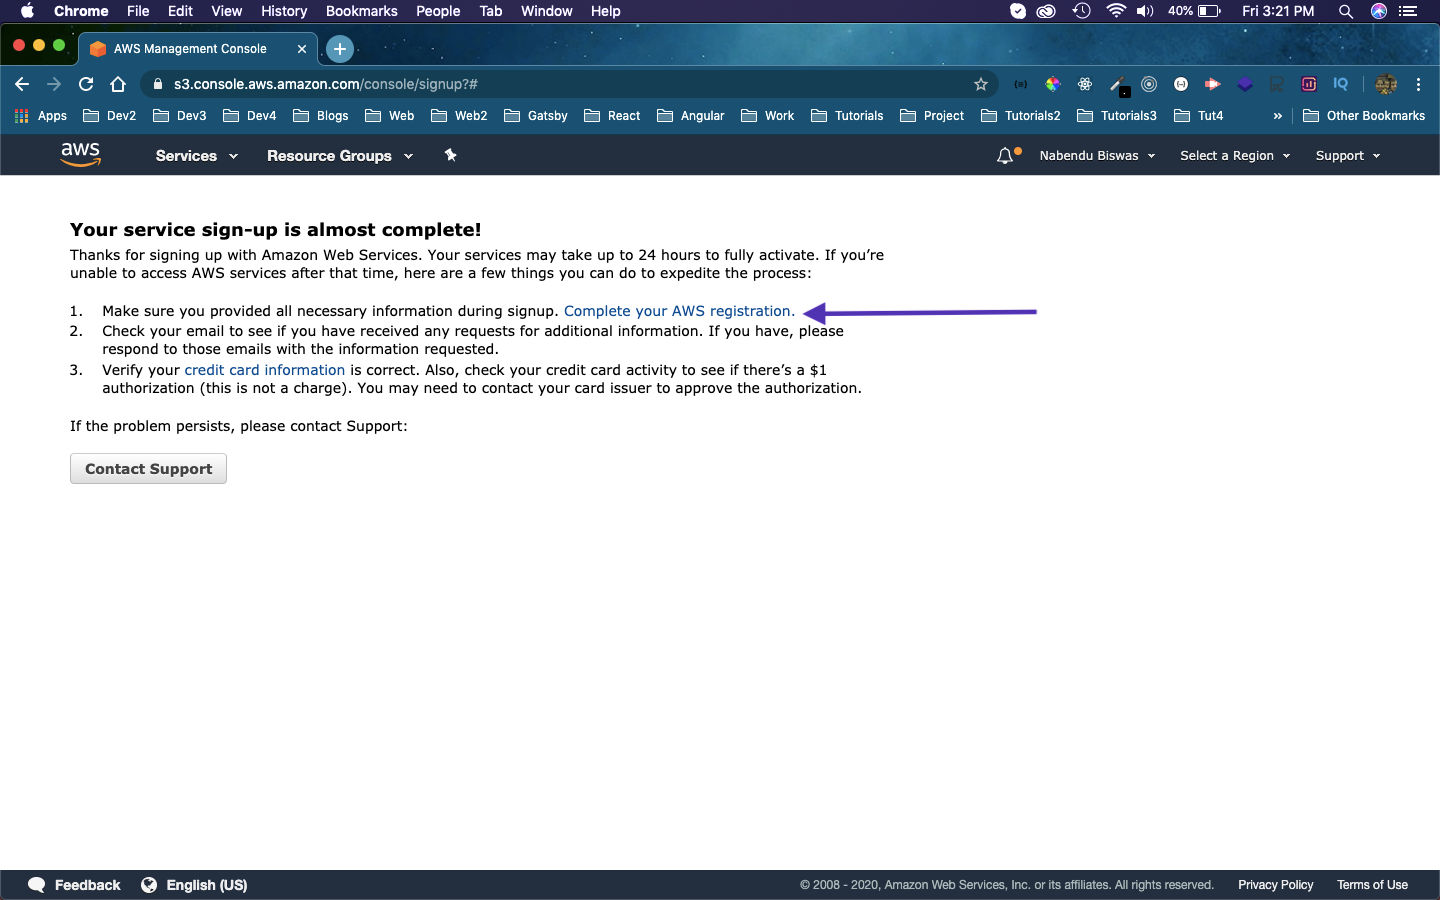 Registration
After that i got the confirmation message and then clicked on the Go to the Management Console button.
 Management console
After that i was taken back to the credit card page, where i had entered my new Credit Card information.
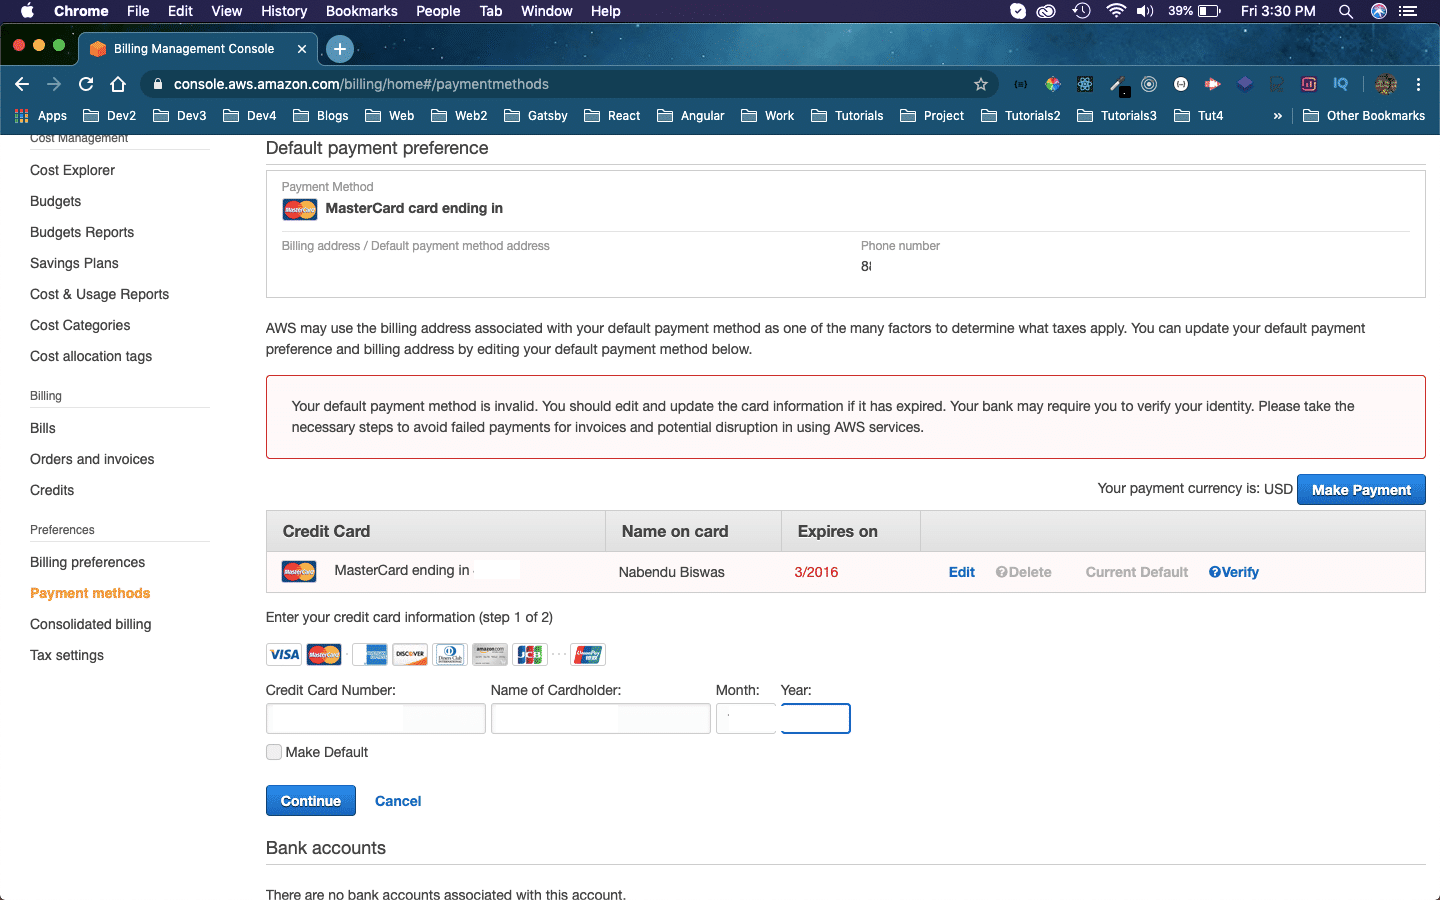 New Card
Once, i had entered my new Credit Card info, it deducted $1 from my card to check if it’s valid.
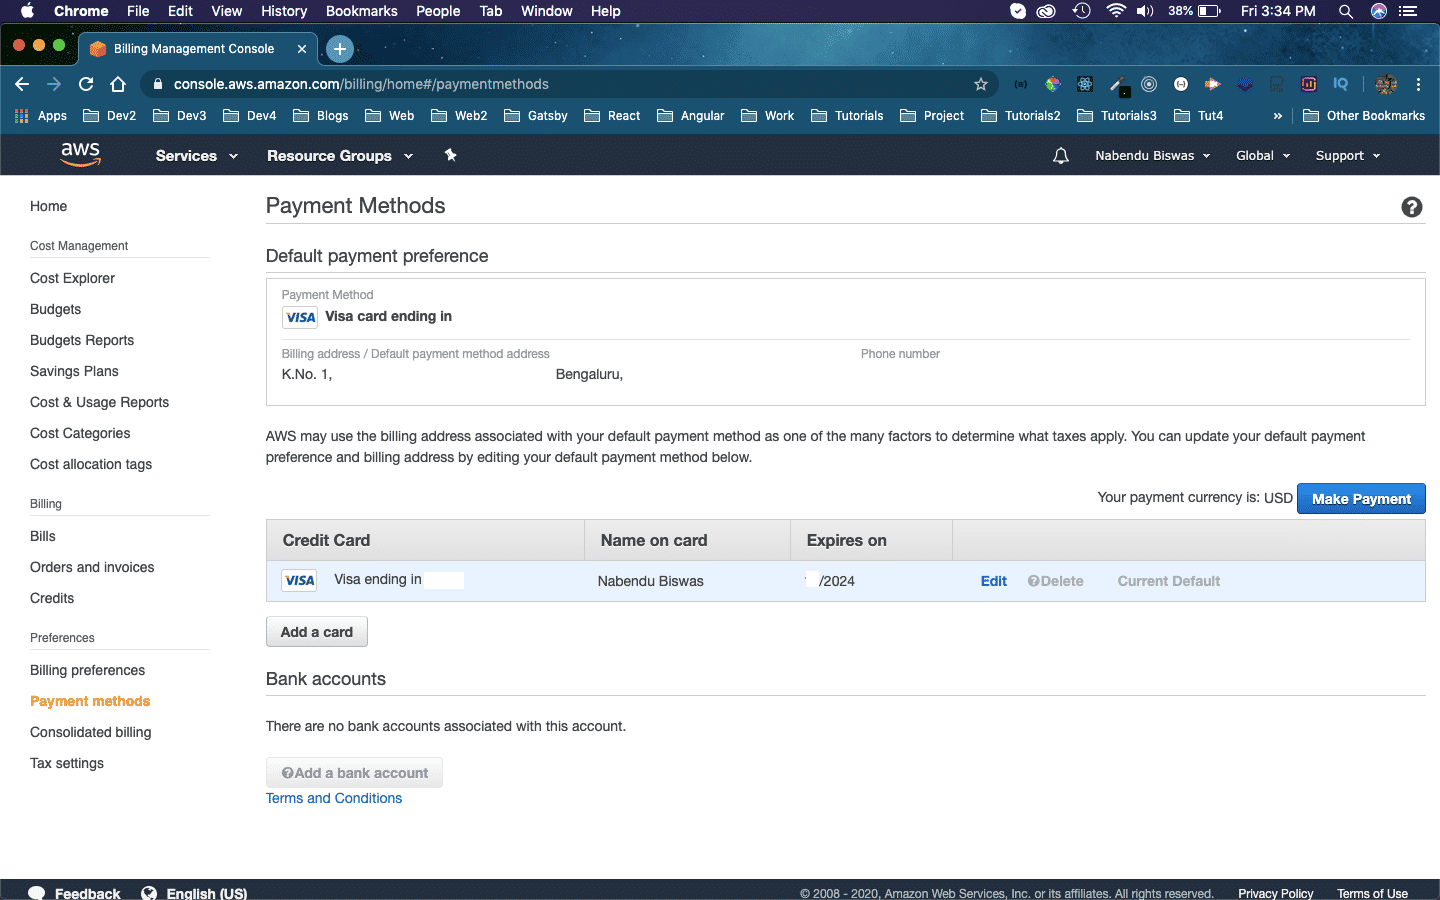 New Card
After 15 mins my account was re-enabled and i clicked on Services -> S3 again and got the below screen. Here, you need to click on + Create Bucket button.
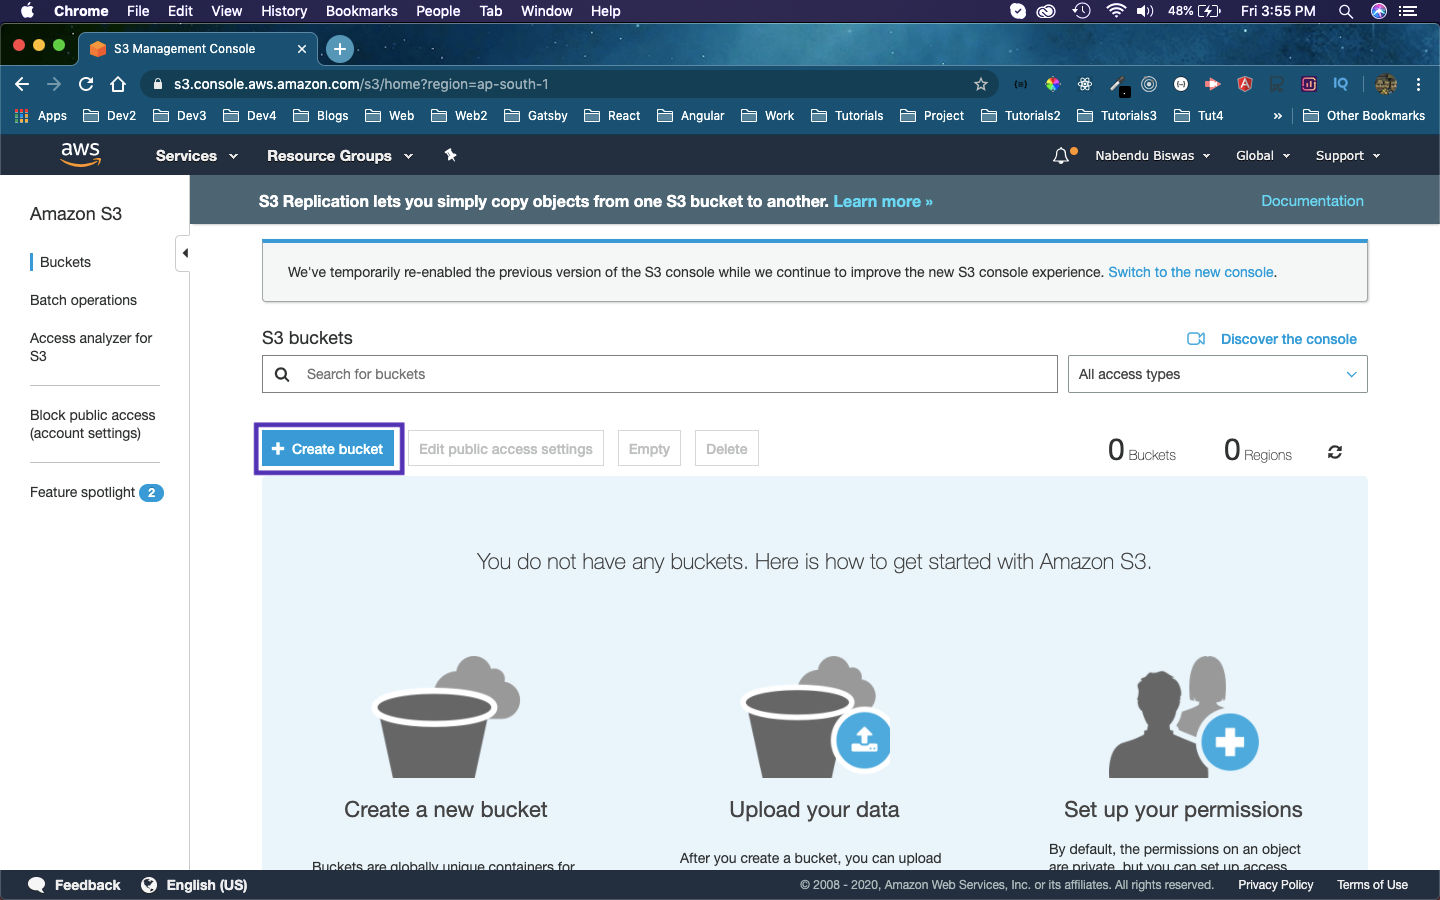 S3 bucket
But before creating the S3 bucket, we also need to have aws cli installed. We can find the instruction here. As, i am on Mac OS i am installing the relevant package.
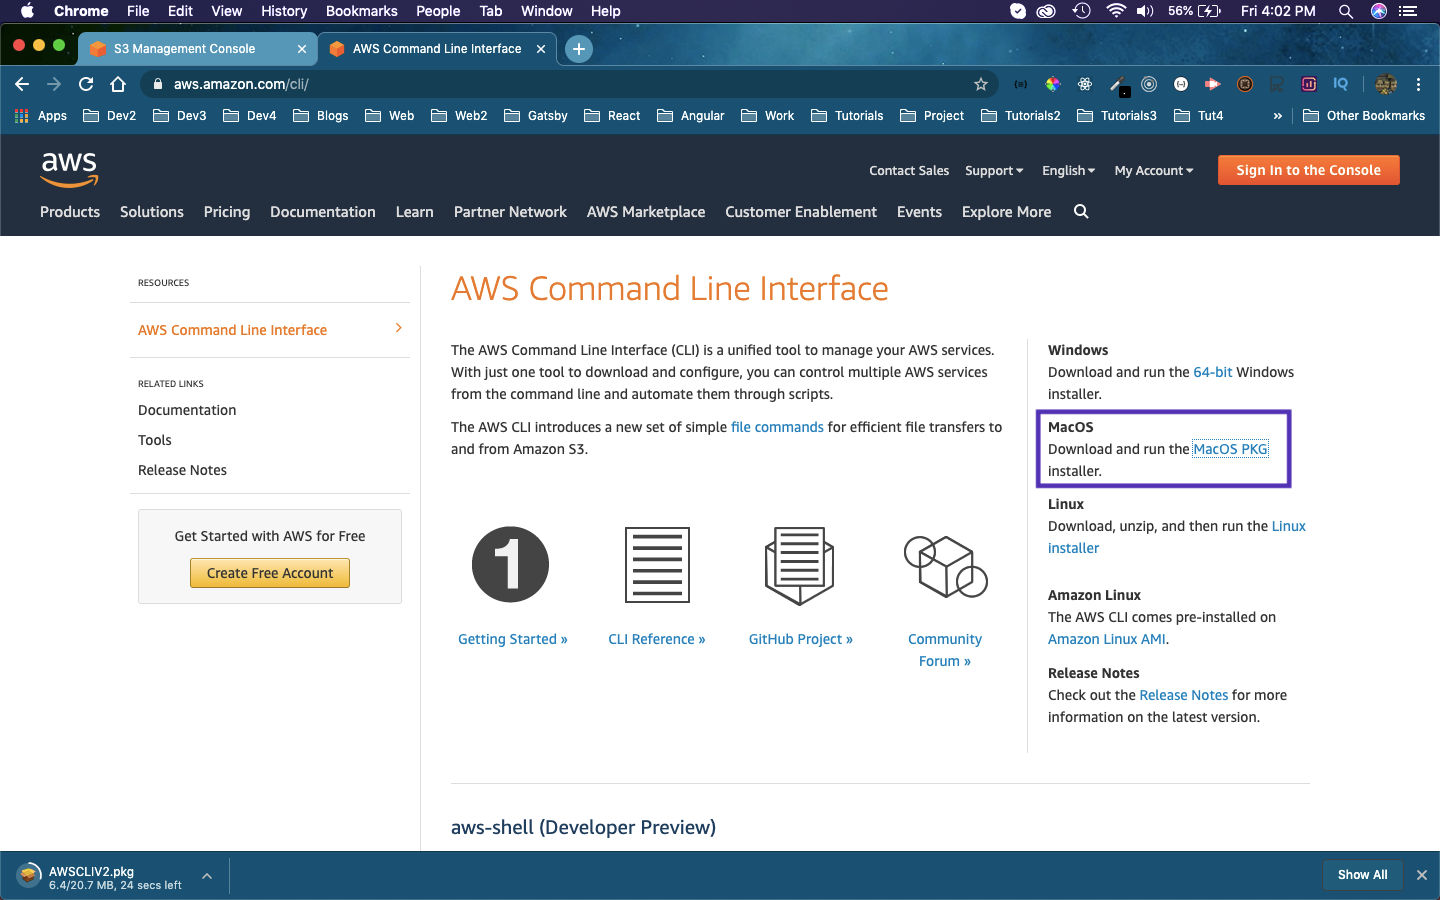 MacOS PKG
Once the pkg file is installed, i clicked on it and go the below screen.
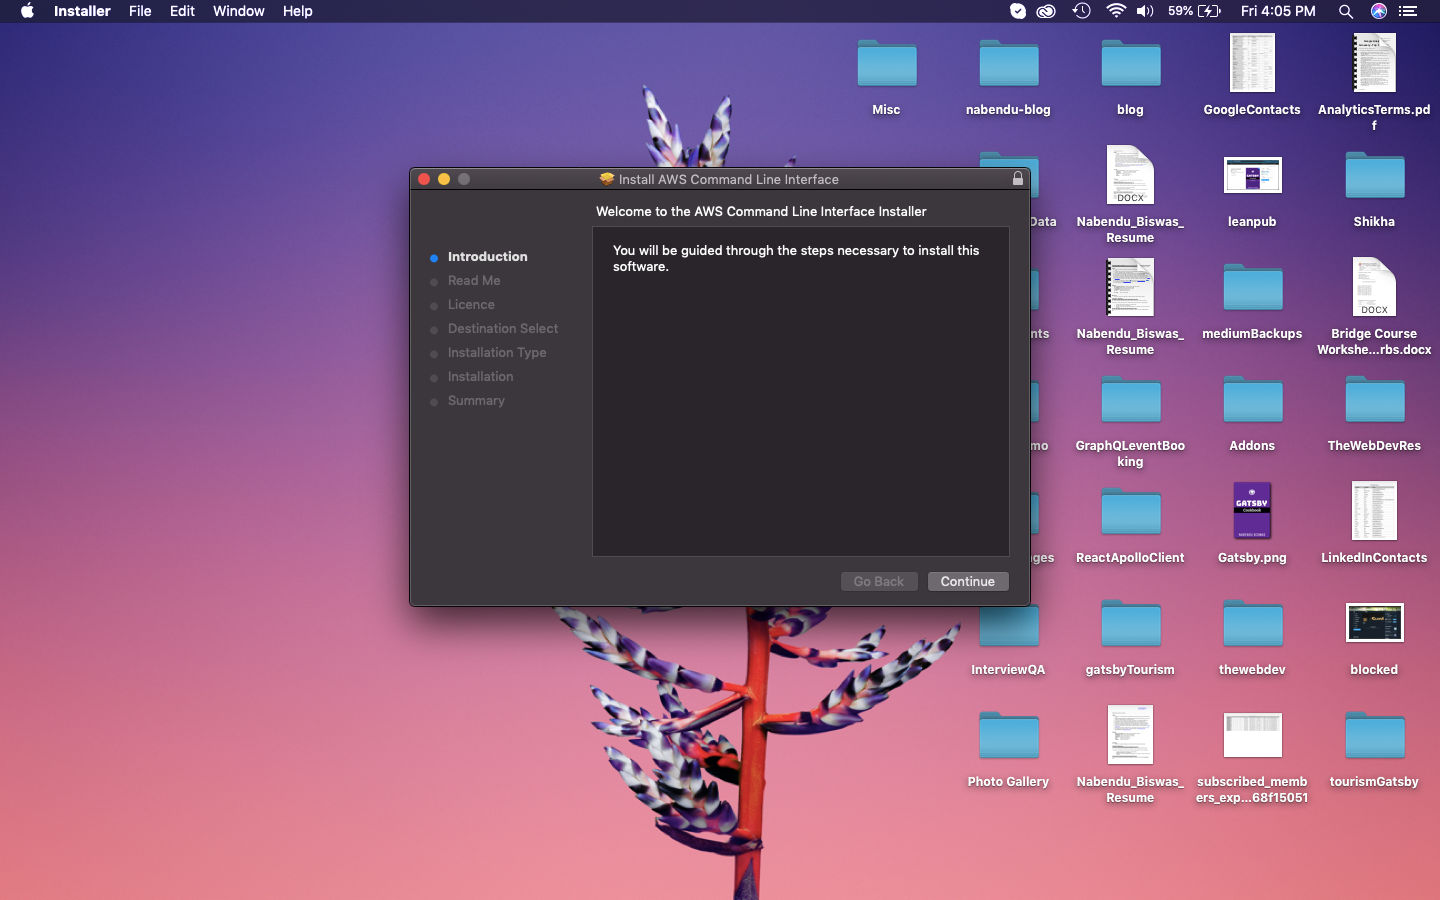 Screen
After clicking on Continue button above, we will get below screen.
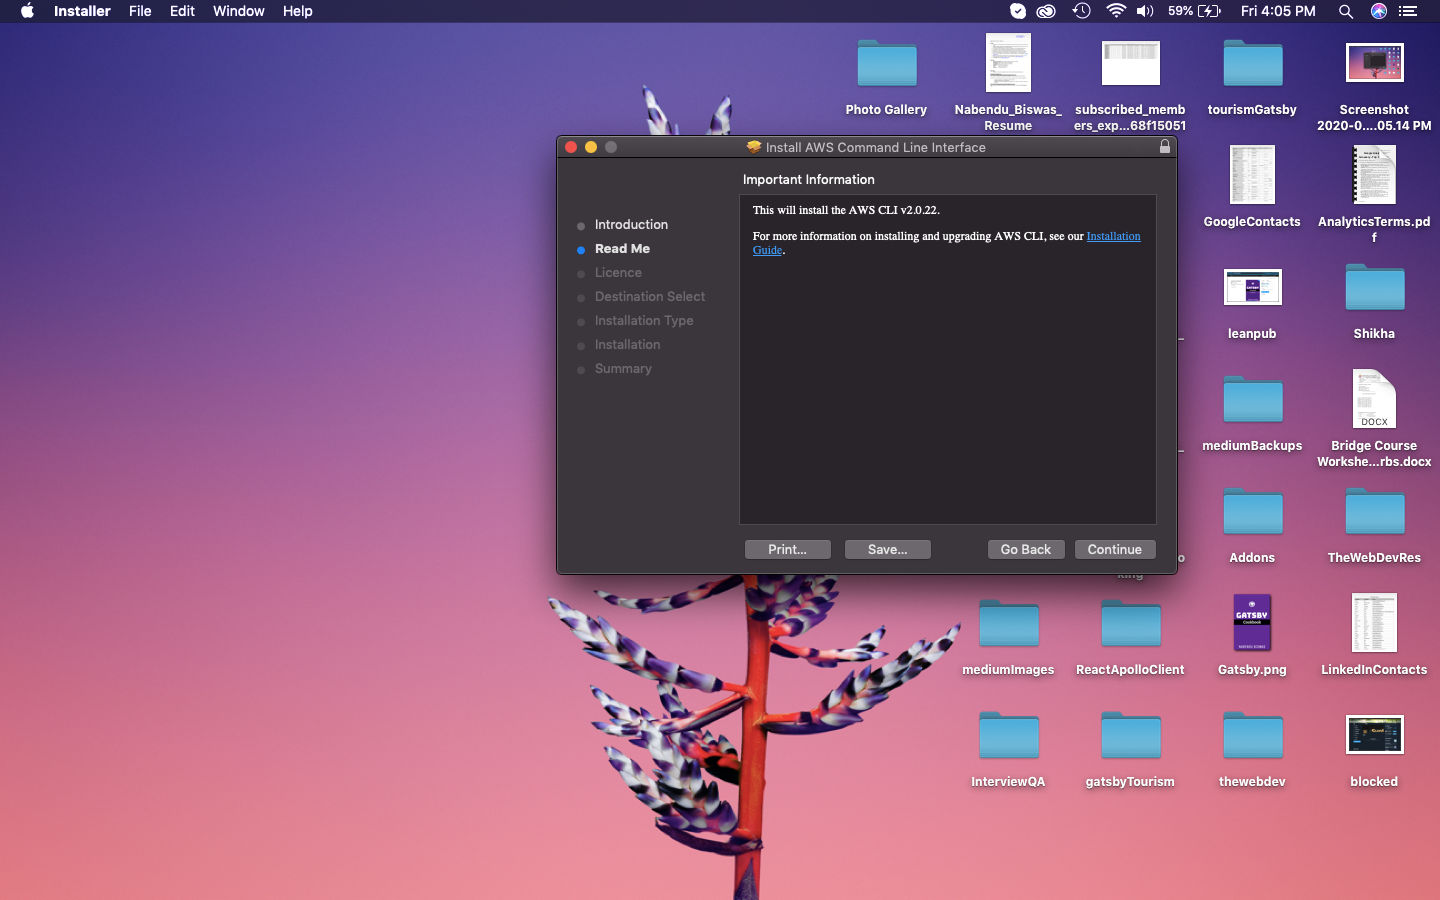 Read Me
After clicking on Continue button above, we will get below screen.
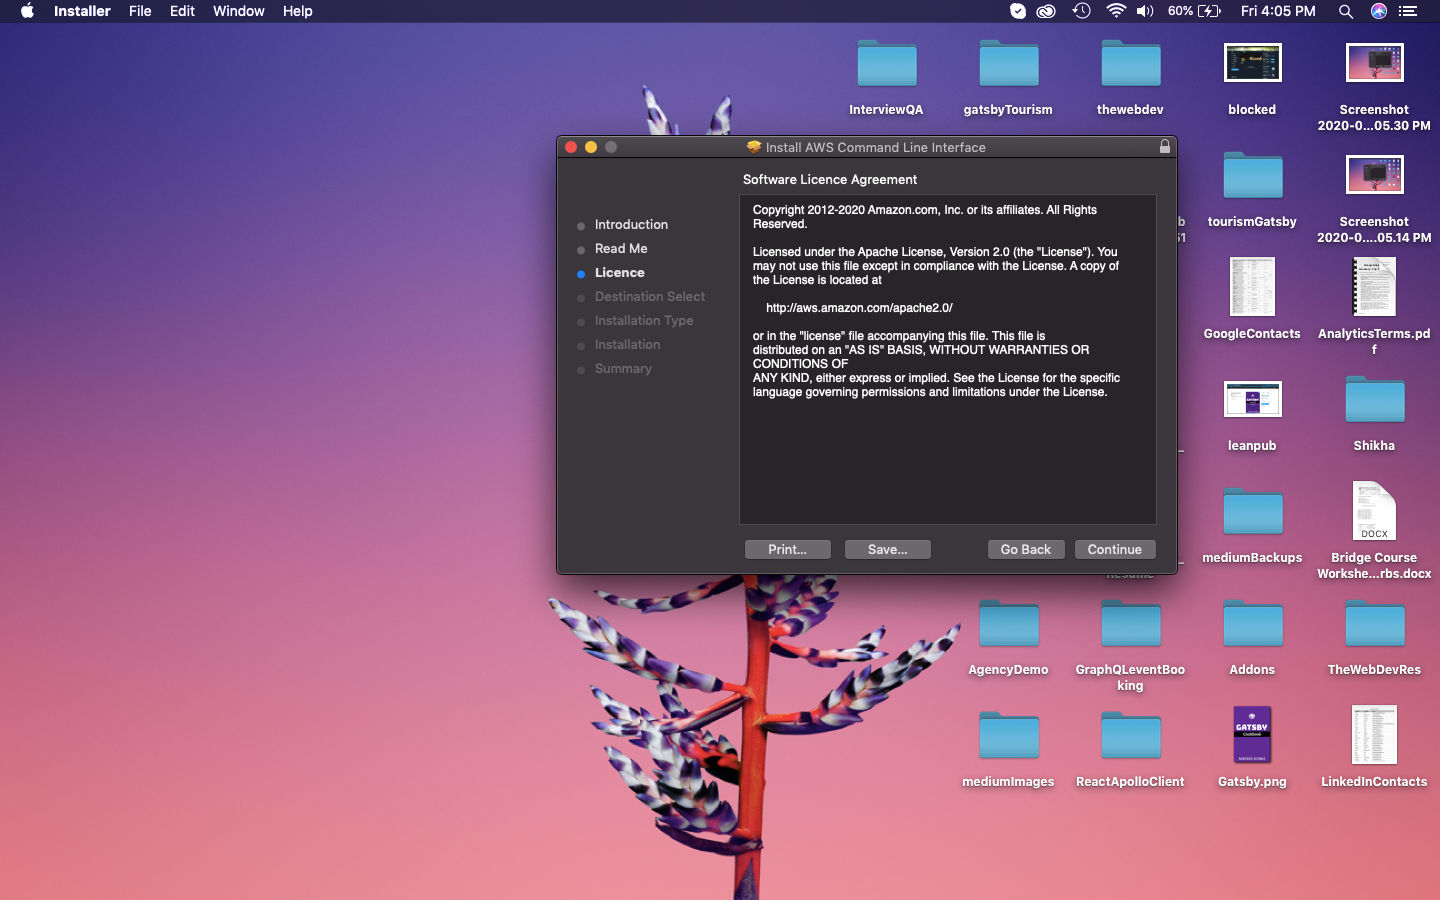 License
Then, after clicking on Continue button above, we will get below screen, where we need to click on Agree button.
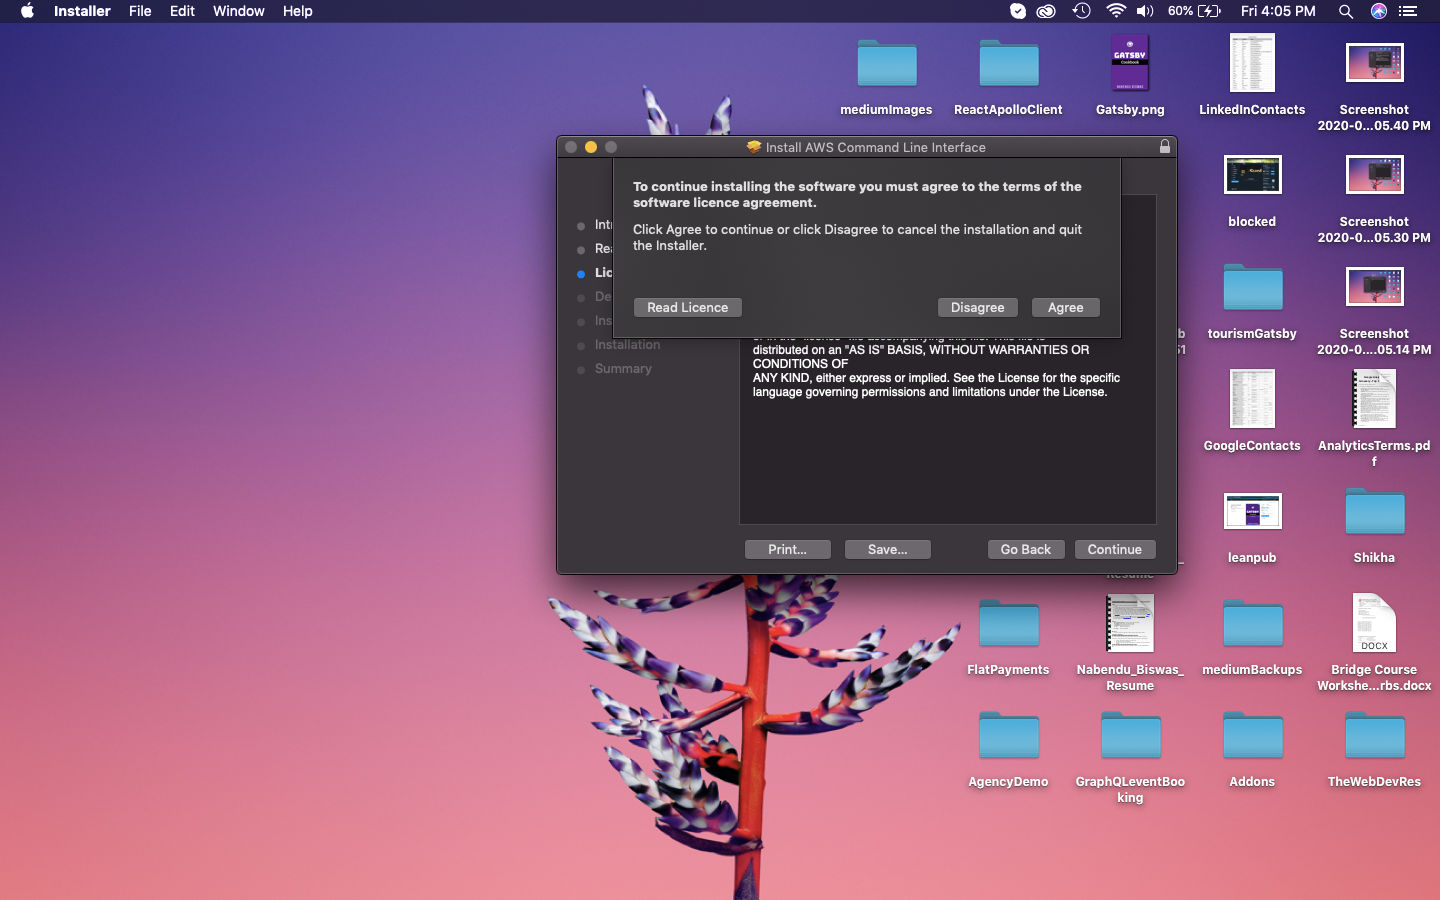 Agree
Agree
Finally, click on Install button.
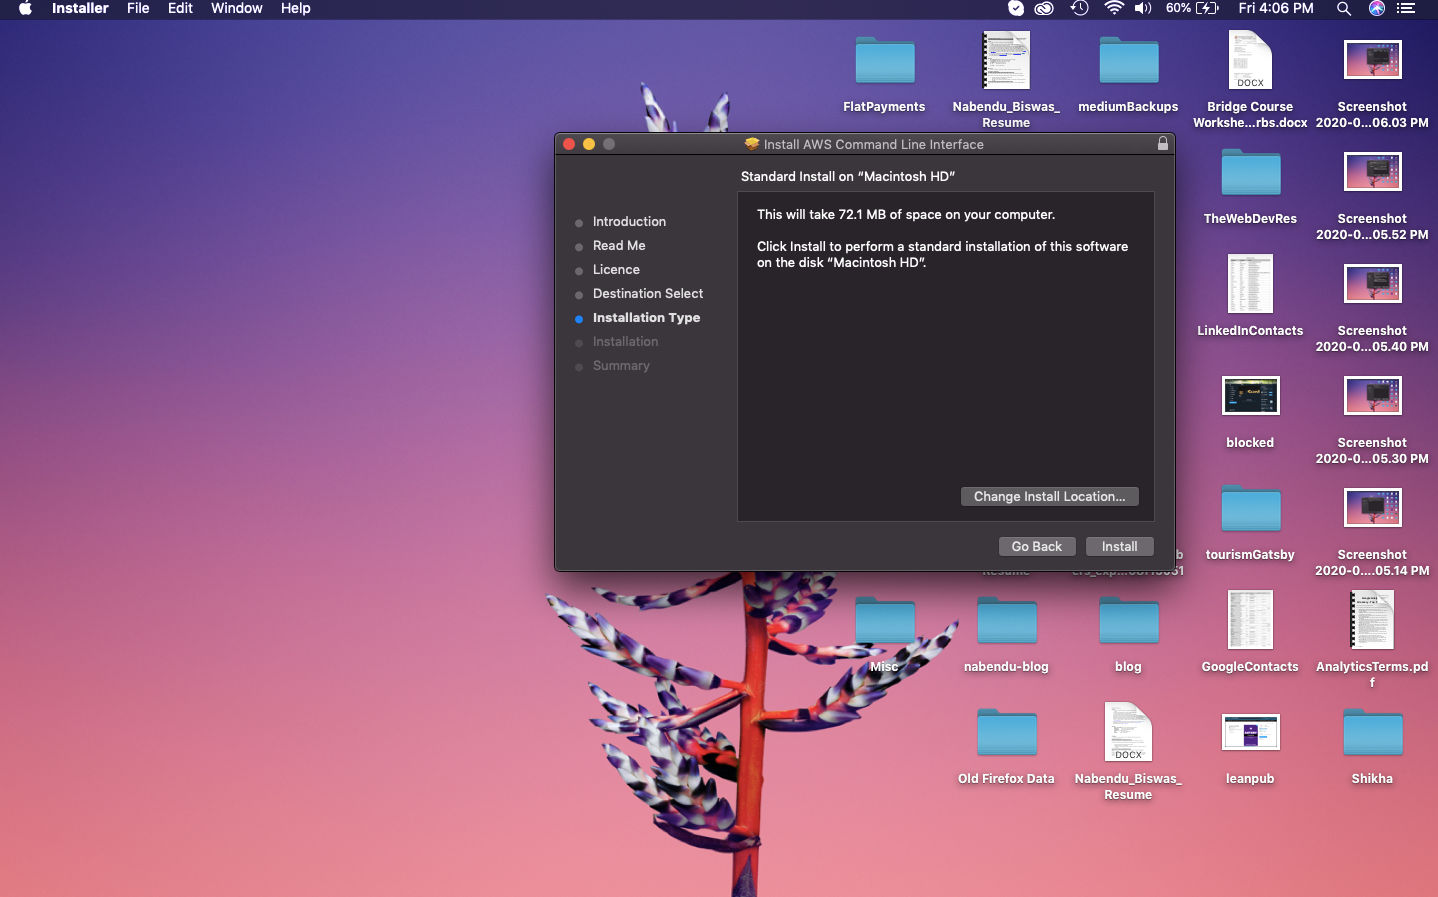 Install
Then, the installation will be completed successful.
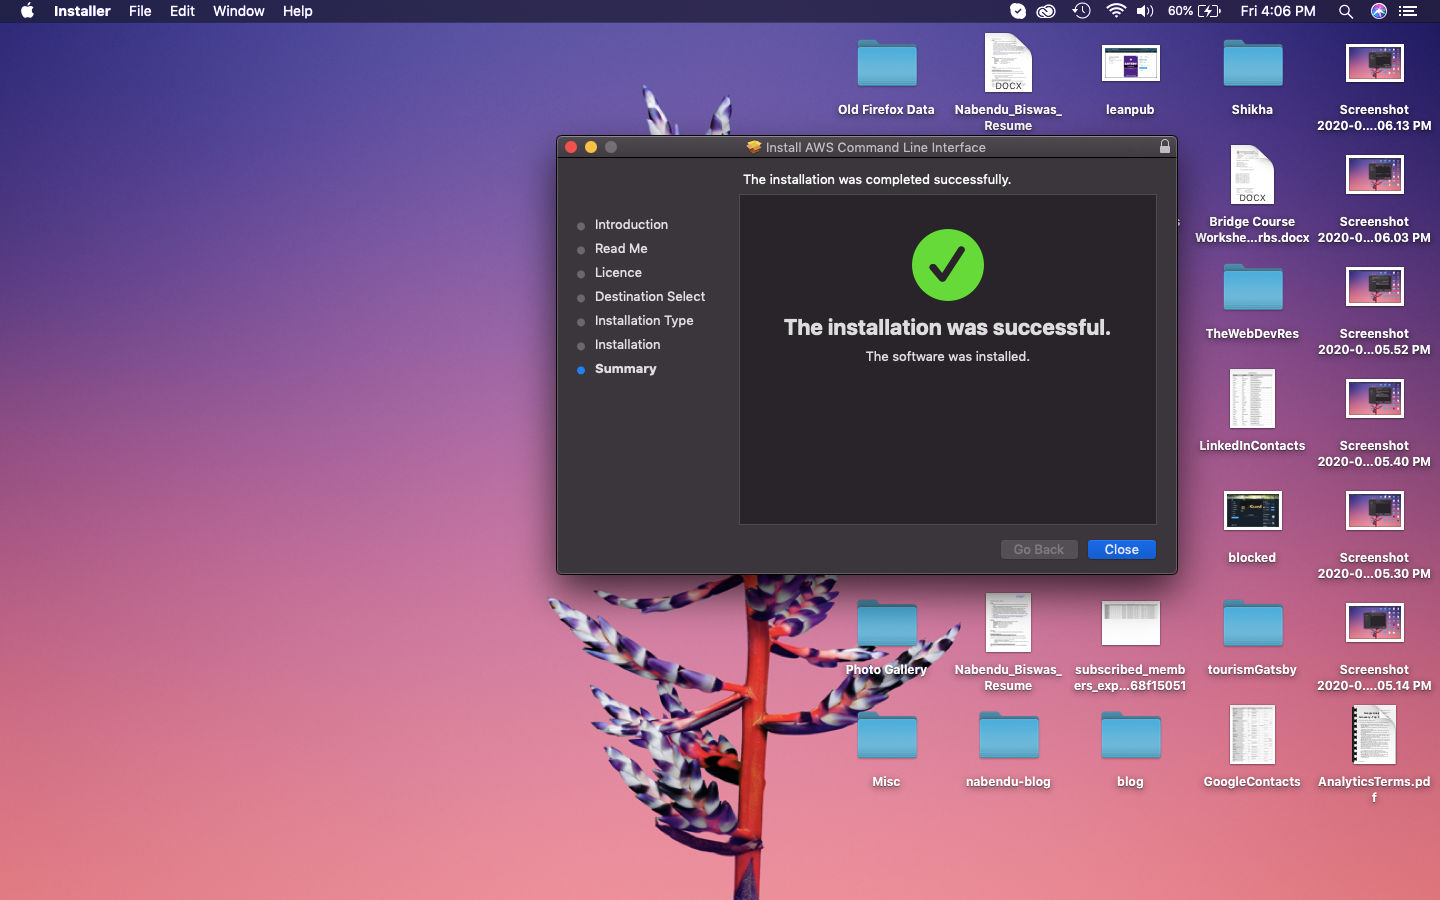 Sucessful
After that we can head over to the terminal and check whether the aws cli was installed successfully, by the aws — version command.
 aws — version
This completes Part-1 of the AWS deployment.