How I deployed my Gatsby site to AWS S3 - 4
by Nabendu Biswas / June 18th, 2020
#AWS #devops #gatsby
Series: Thewebdev-fixes
Welcome to part-4 of the series. We had created an IAM account in the previous part, we will start with getting the access keys from our AWS S3 bucket. So, go to you IAM login and click on Users. Click on the Administrator link.
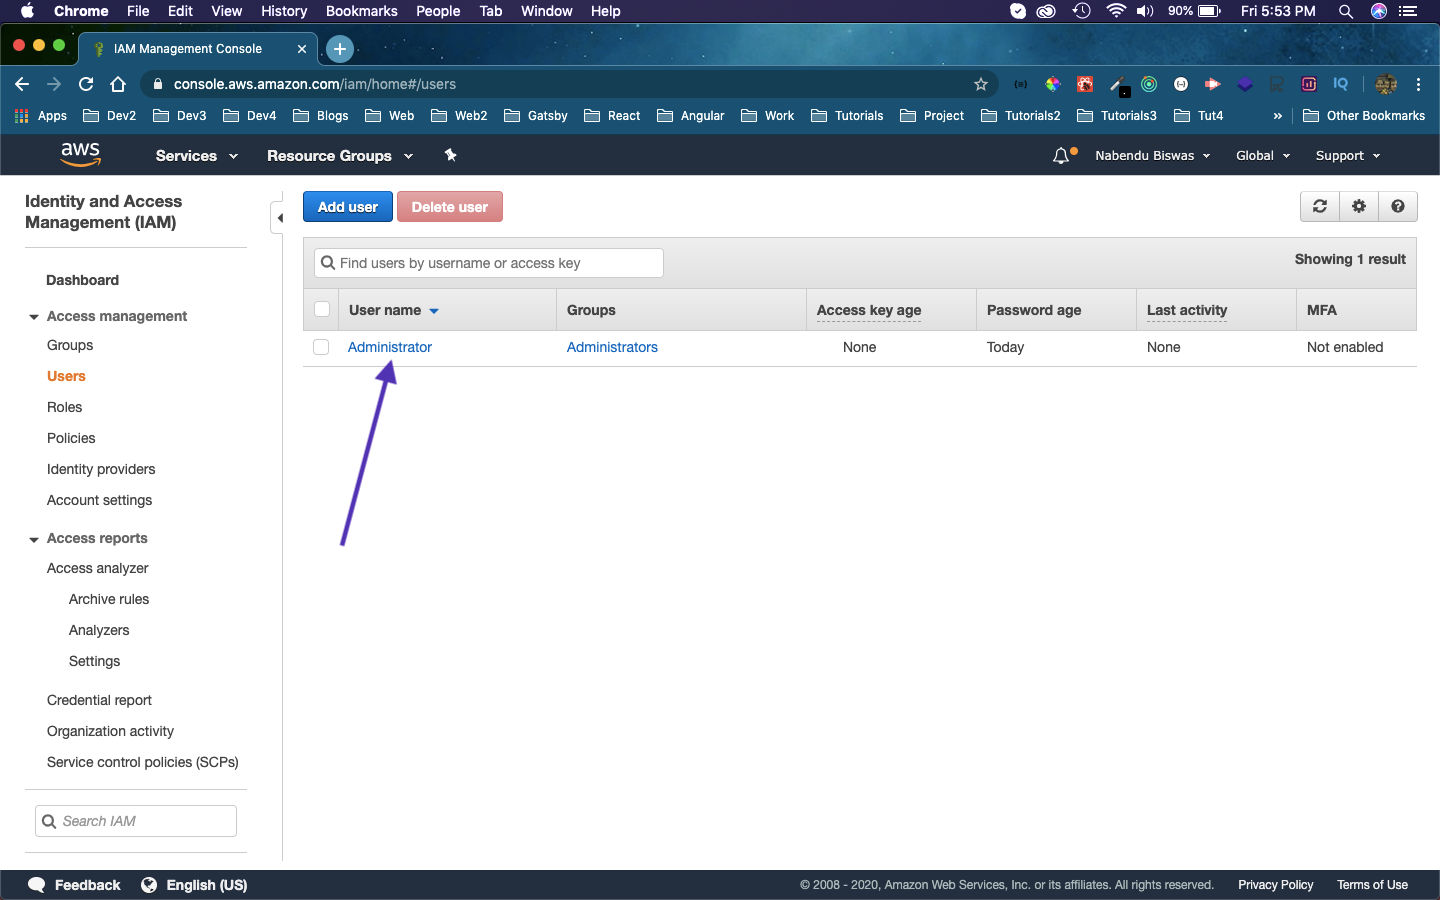 Administrator
Then click on the Security credentials tab. After that click on Create access key button.
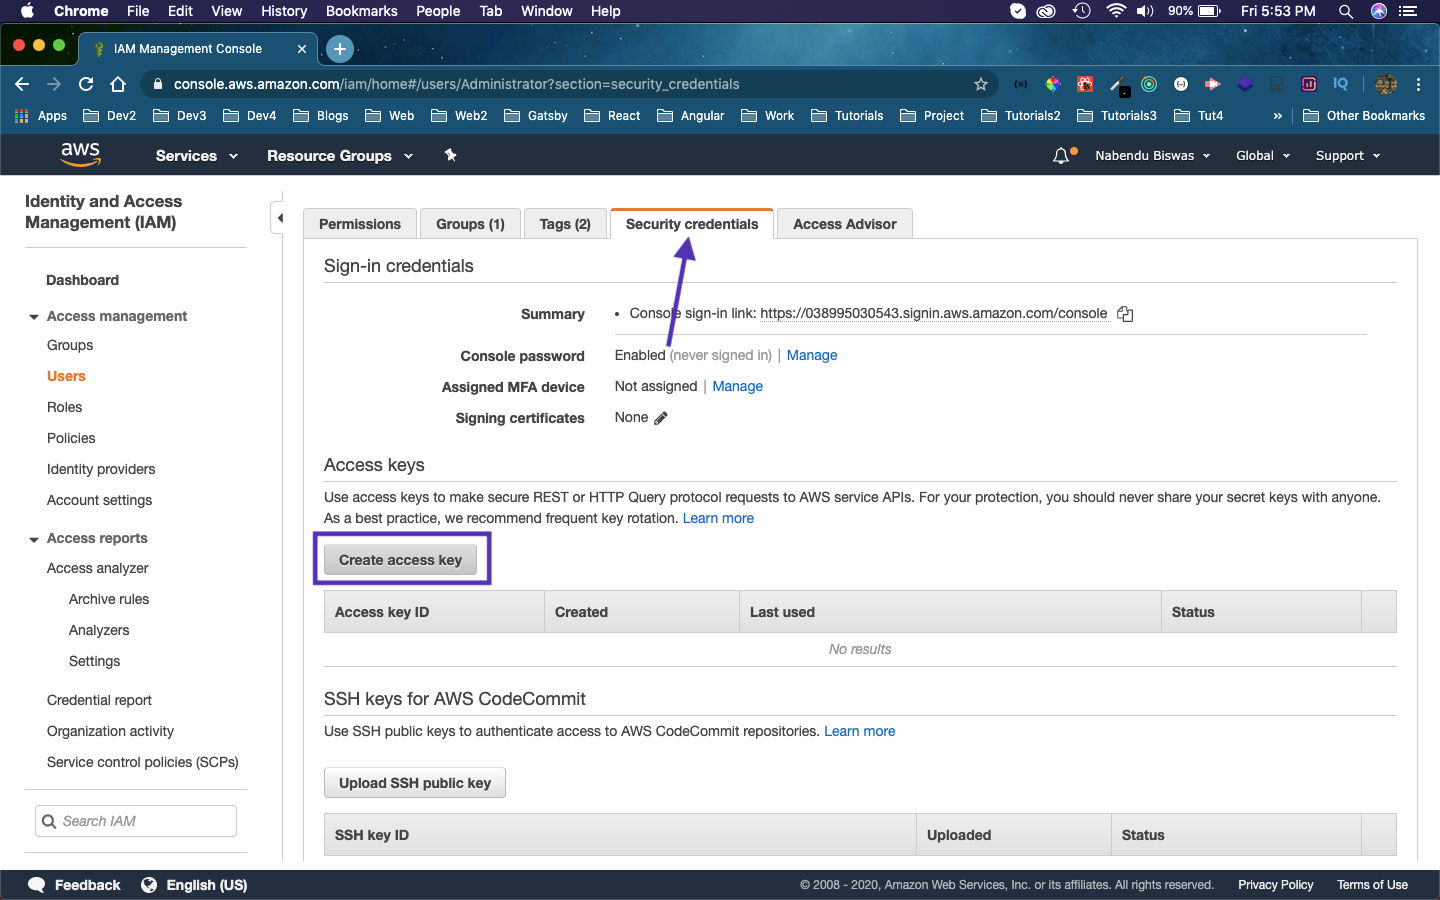 Security
Then, it will give you Access key and access secret. Click on Download .csv file to have both of them with you.
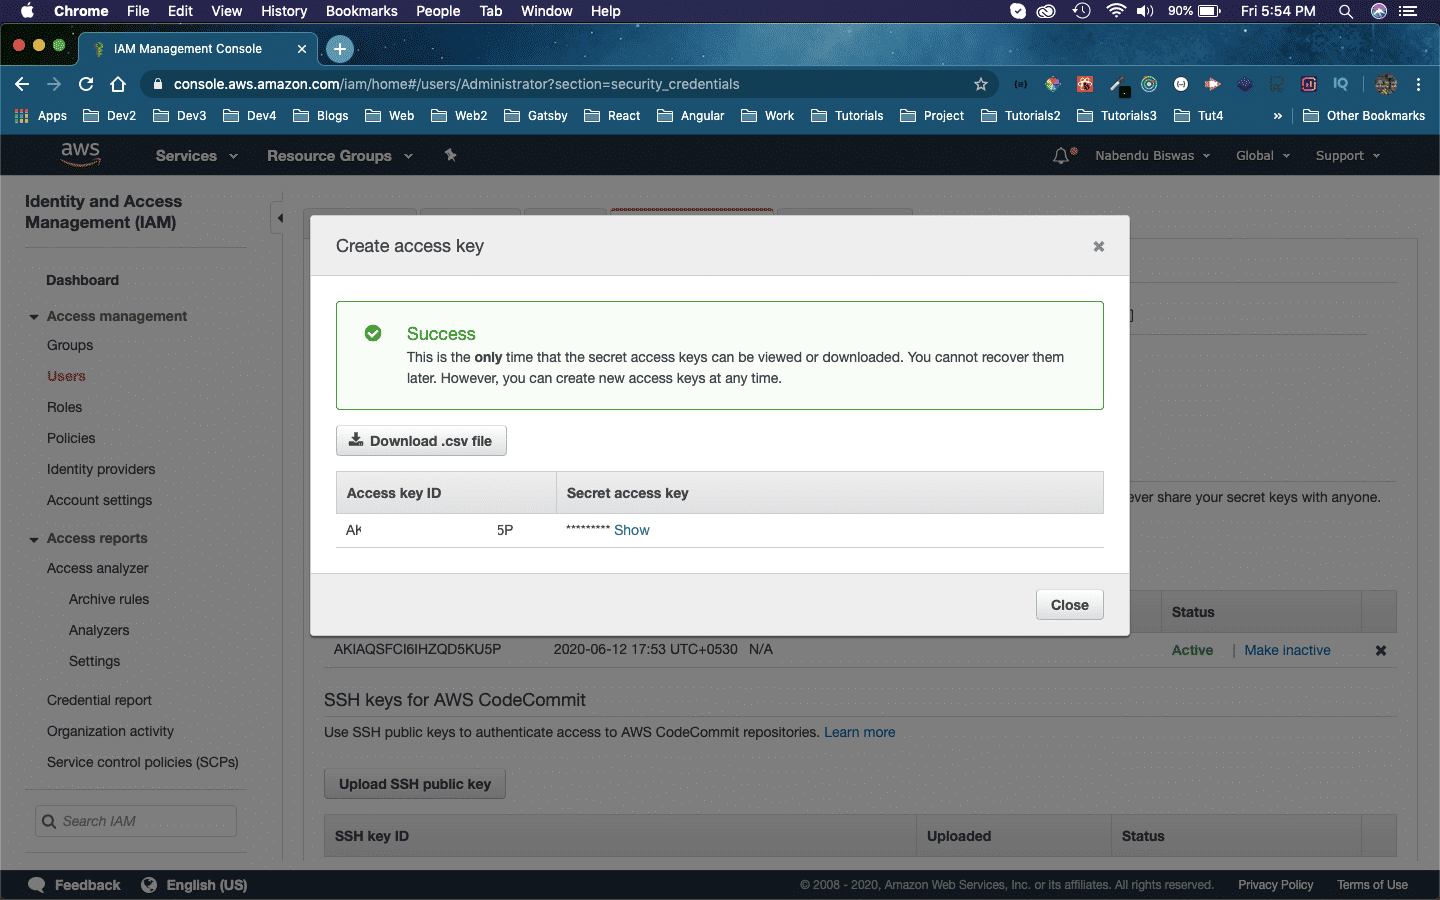 Access Key
After that head over to the terminal and give the command aws configure. Here, give the access key and the secret from the previous step. Give your region name and the output format as json.
 aws configure
Then in your public folder give the below command. Here thewebdev-deploy is my S3 bucket name. Also, you need to have your latest build done with gatsby build before giving this command.
aws s3 cp . s3://thewebdev-deploy --recursive
 Deploy
It will deploy your site to AWS. But before checking the site we will also implement CI/CD pipeline with Travis CI. So, head over to travis-ci.org and Sign Up.
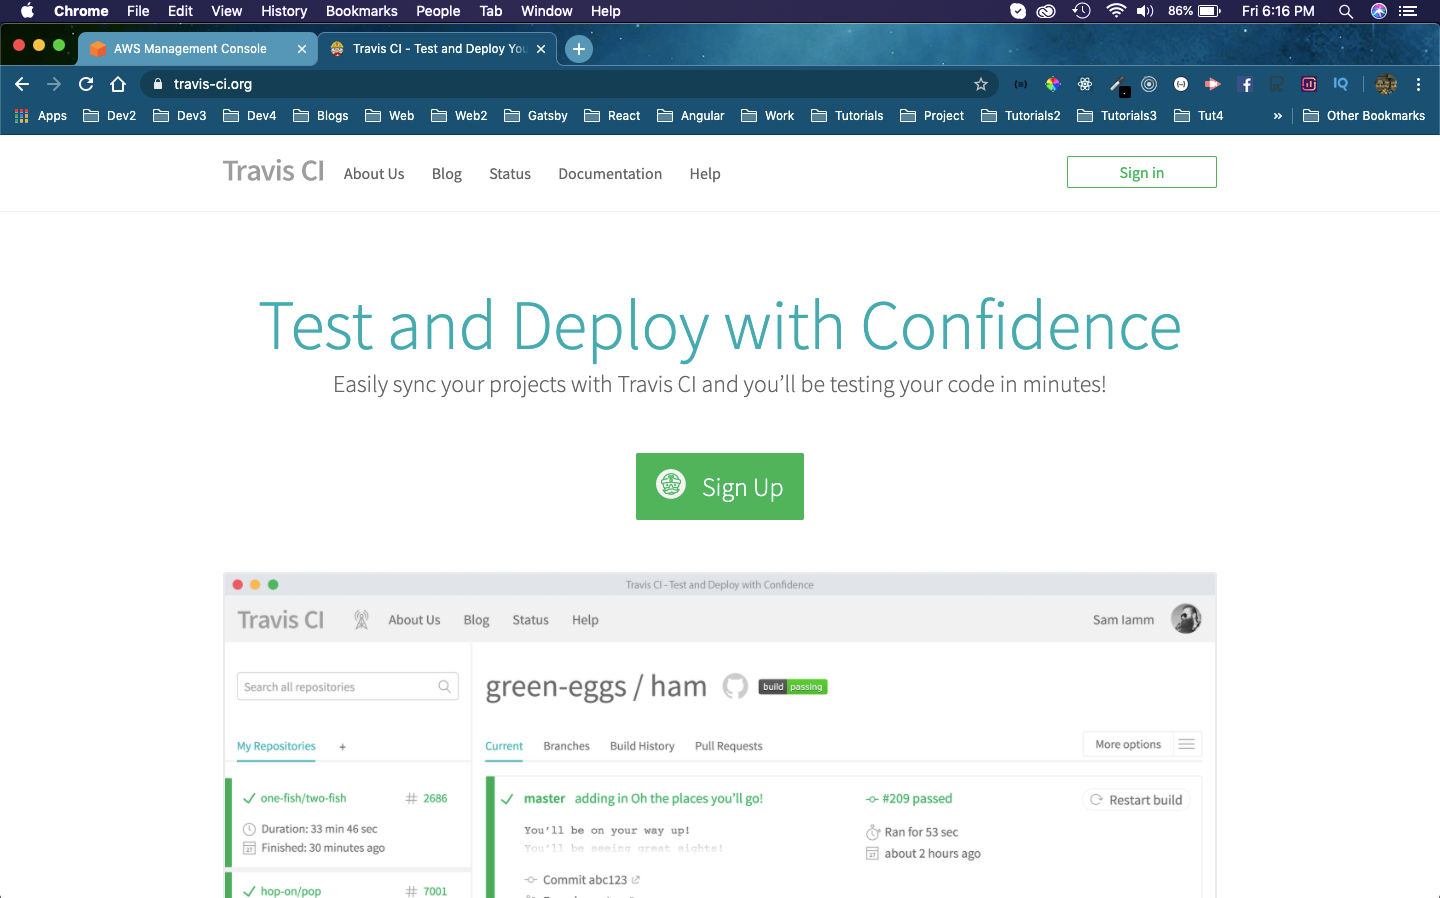 Travis CI
Next, you need to signup with Github or bitbucket. Since, my code in github i clicked on it and it asked to Authorize.
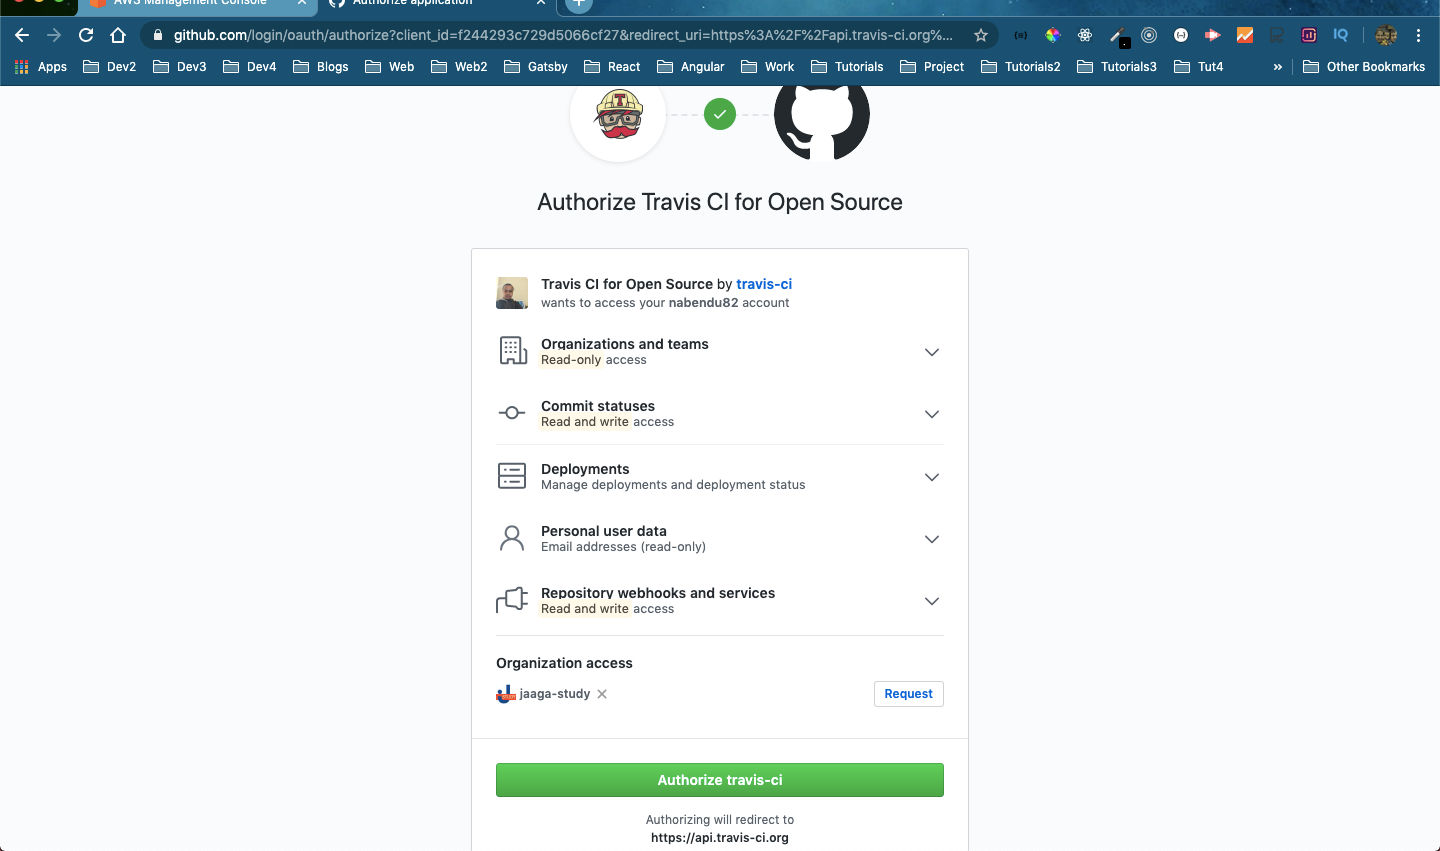 Authorize
After that click on Activate All Repositories Using Github Apps button.
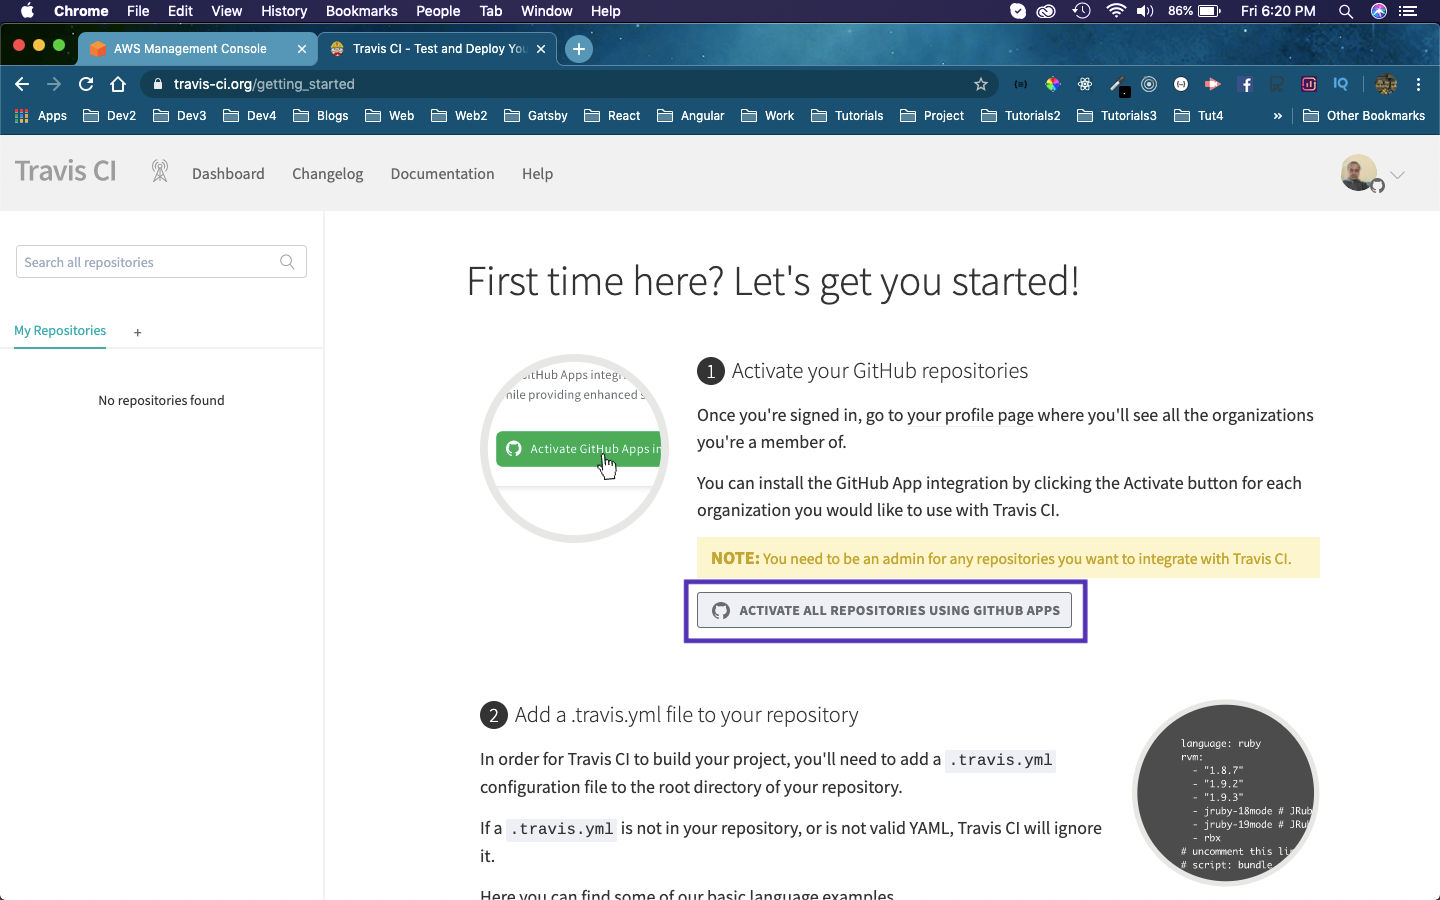 Activate
Then in the pop-up click on Approve & Install button.
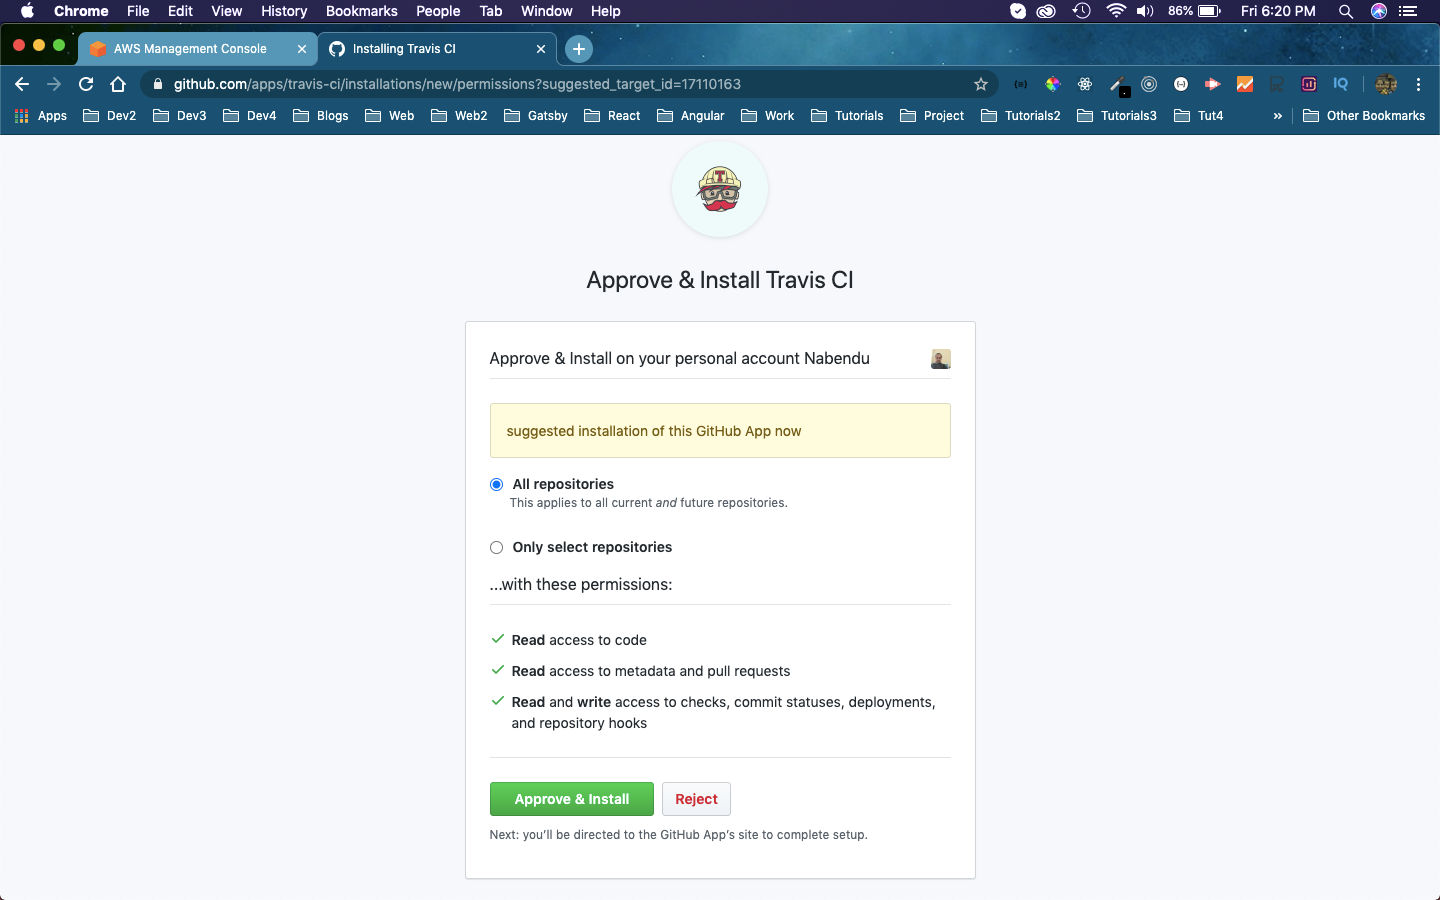 Approve
Then, you need to Authorize again.
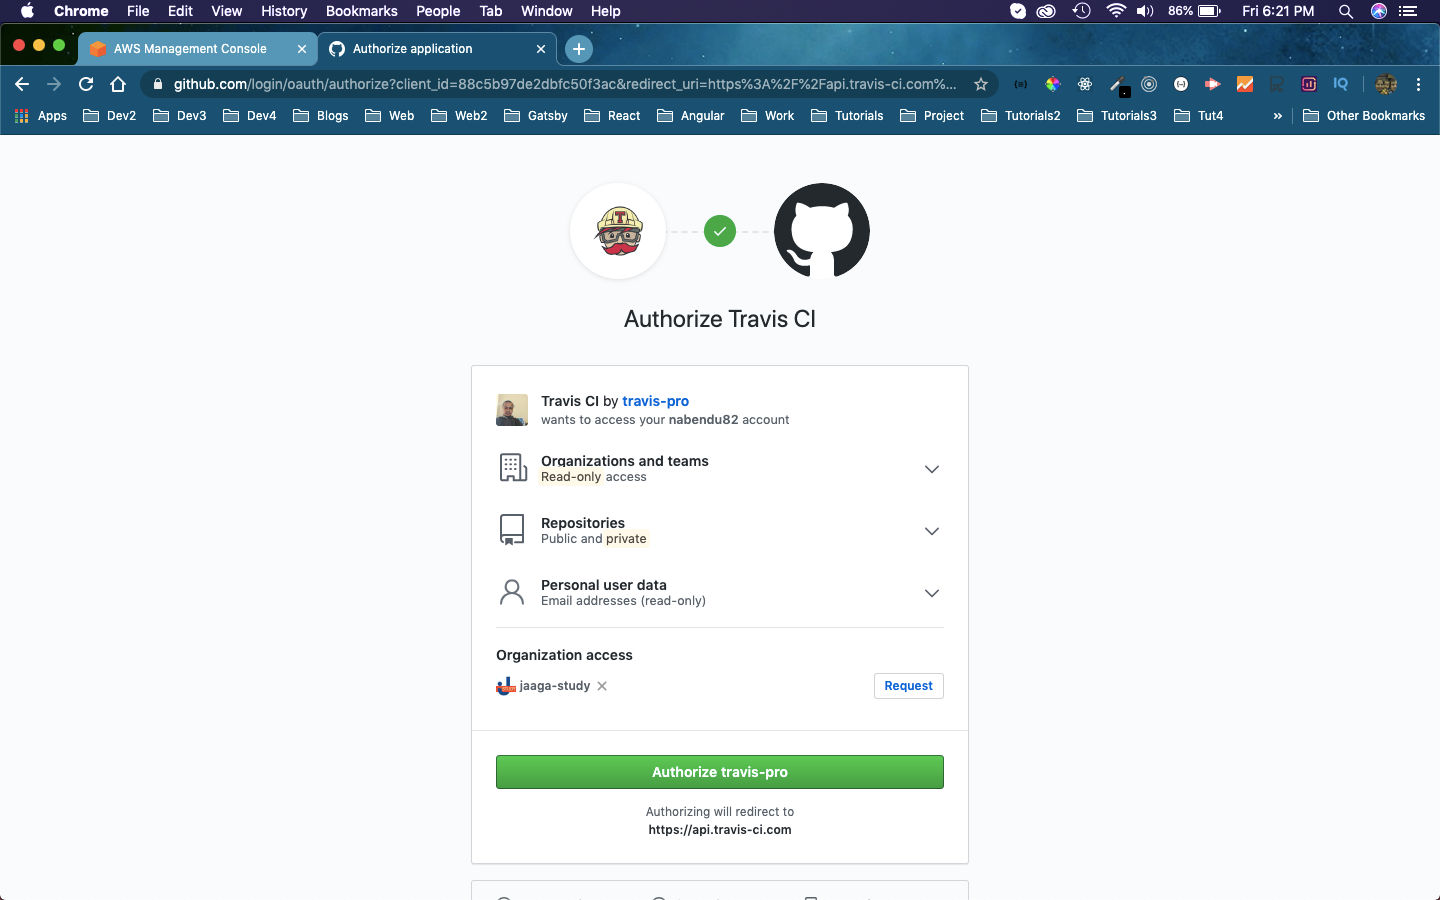 Authorize again
After that you will have access to all your repositories. Click on the required repo.
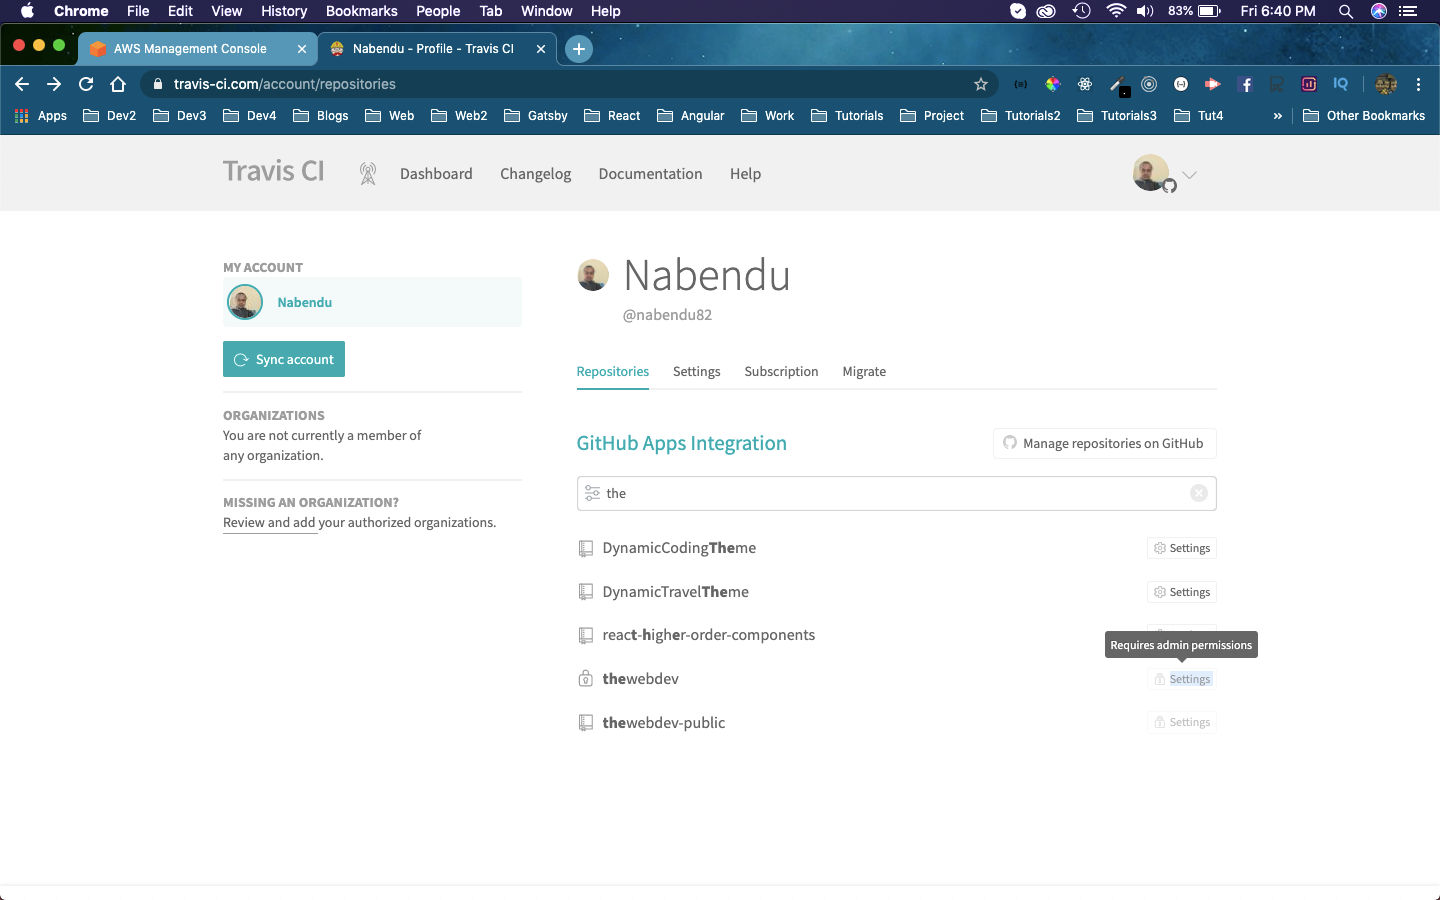 The Repo
Then, you will see the dashboard related to the repo. Click on More options and then Settings.
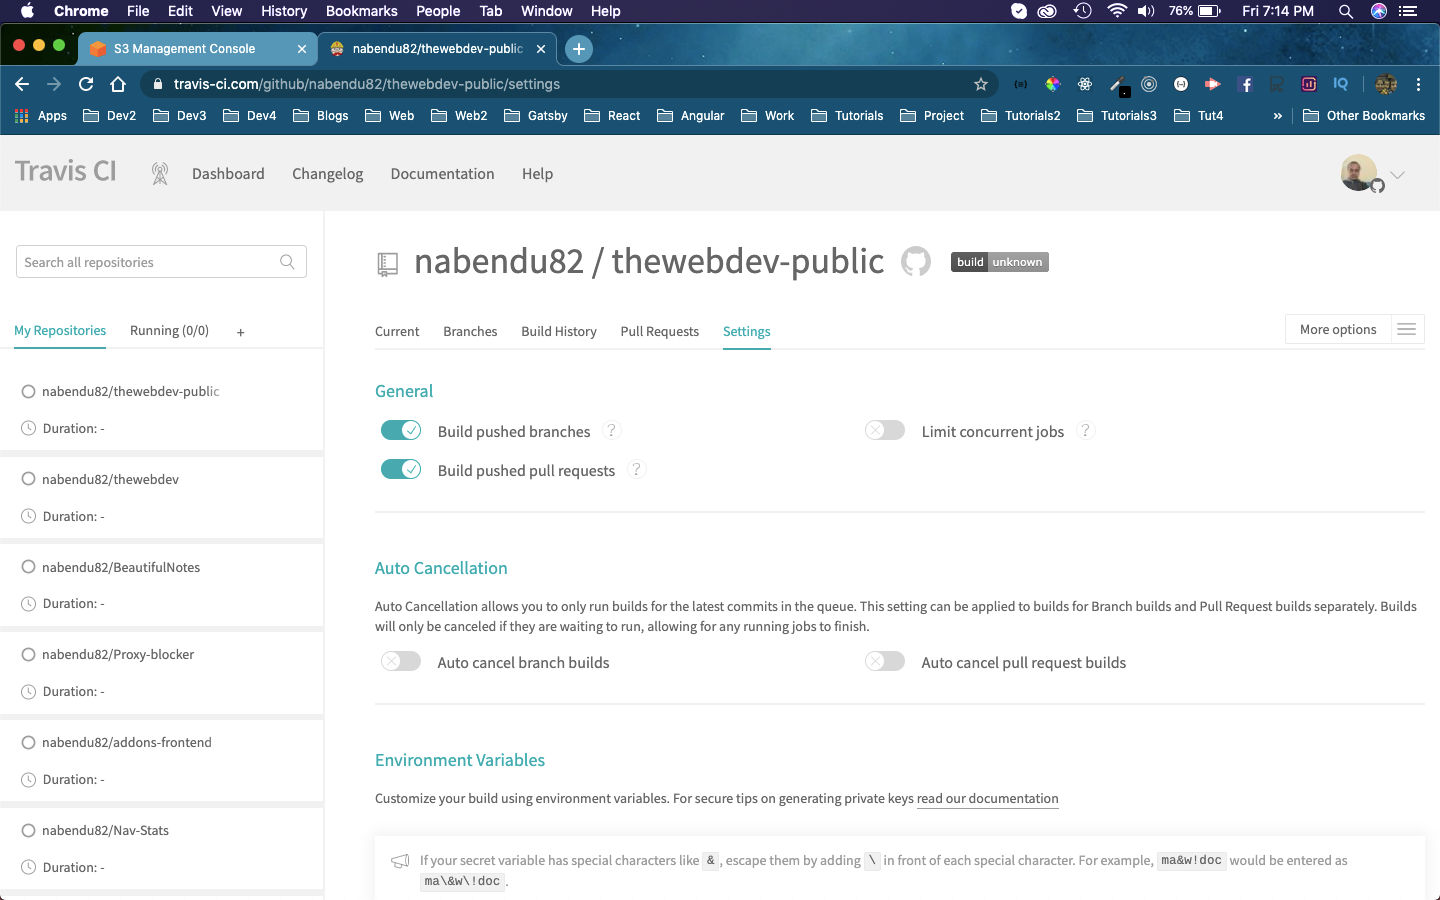 Dashboard
After that we need to add the environment variables. Here, add a variable AWS_KEY and AWS_SECRET and the value should be the one we saved earlier.
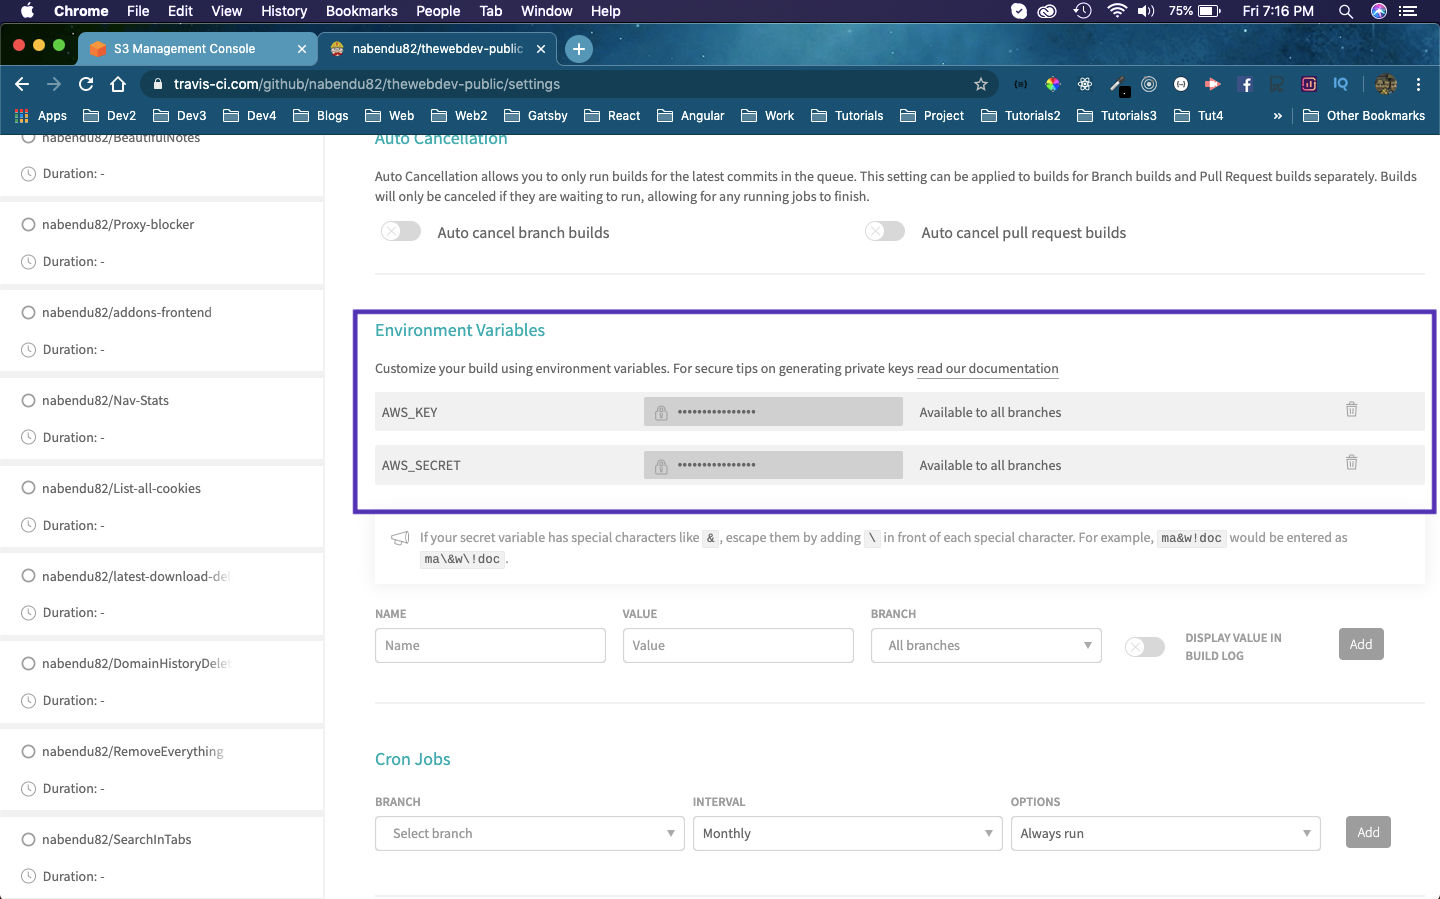 Saved Earlier
The move over to your VSCode and create a file .travis.yml in the root directory. Here, put all the details as below. Change the bucket name to your S3 bucket name.
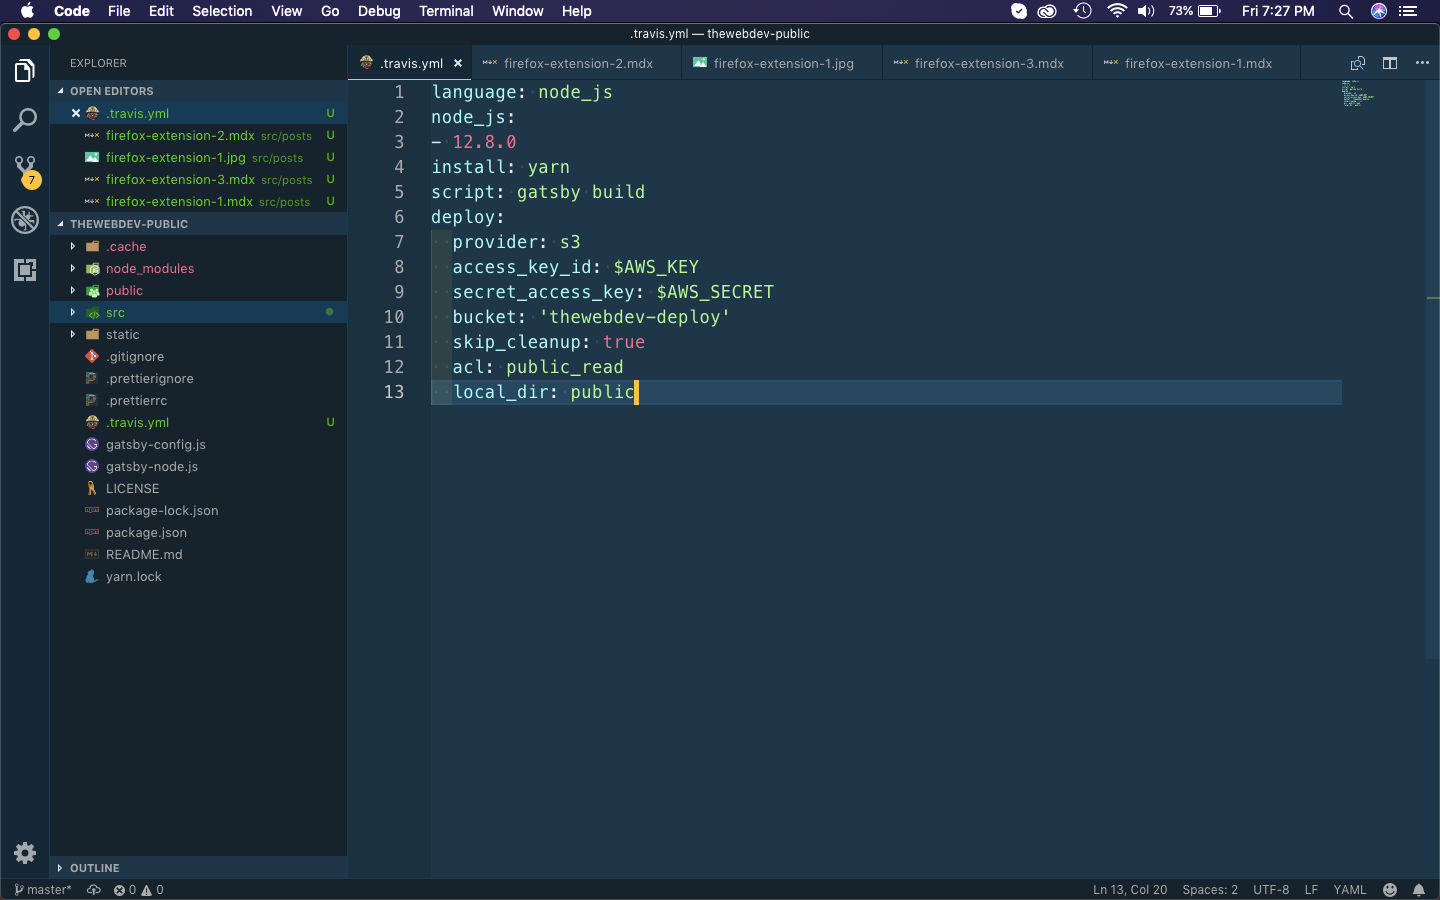 .travis.yml
After that just save it and git push the changes to your github. It will automatically start the built in your Travis CI.
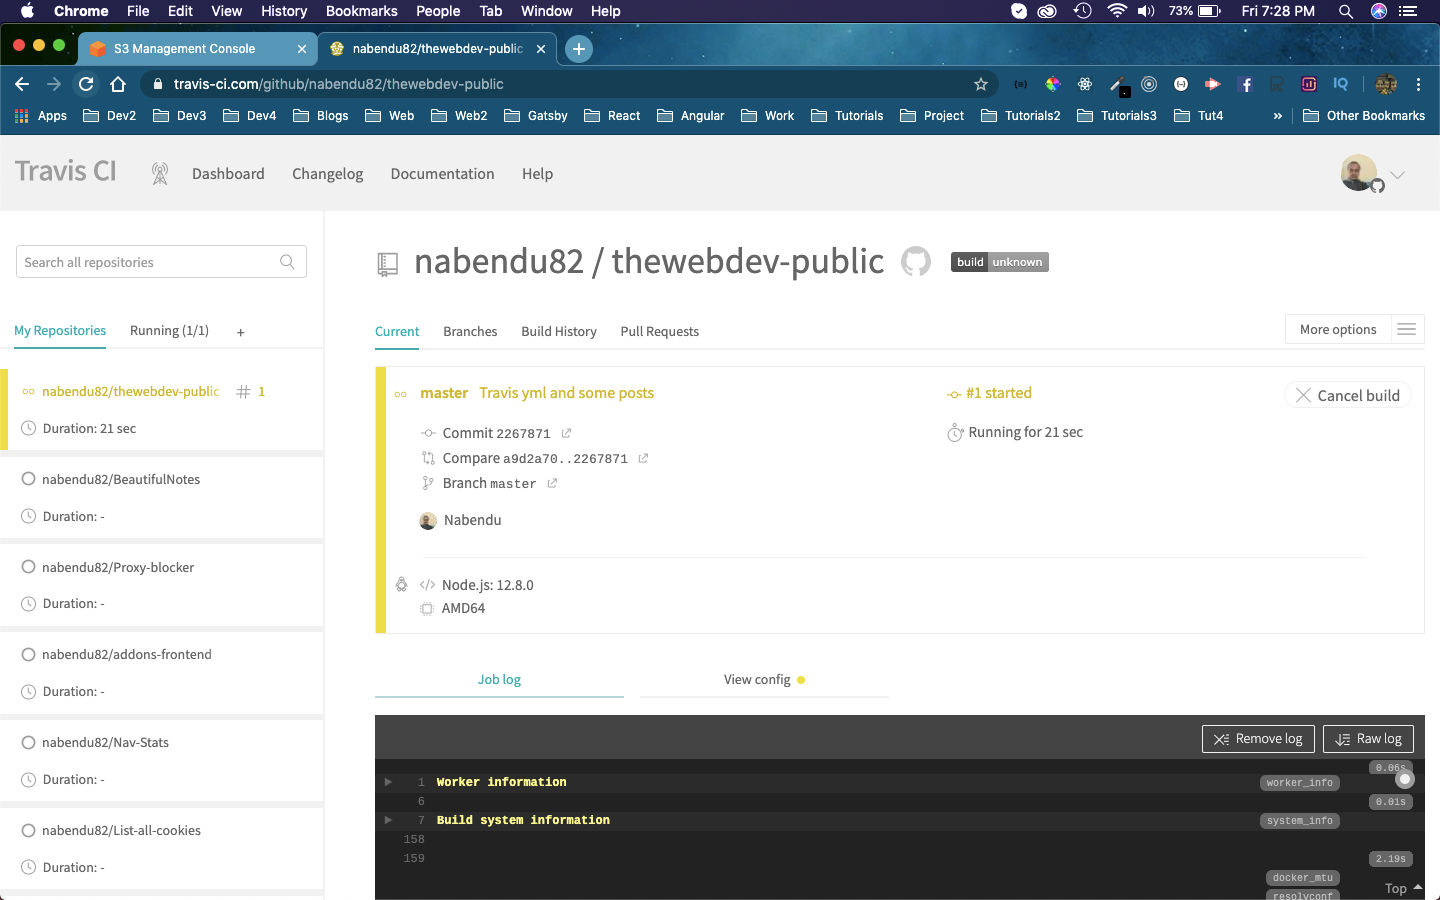 Built
Built
After sometime it will complete and turn green if no error.
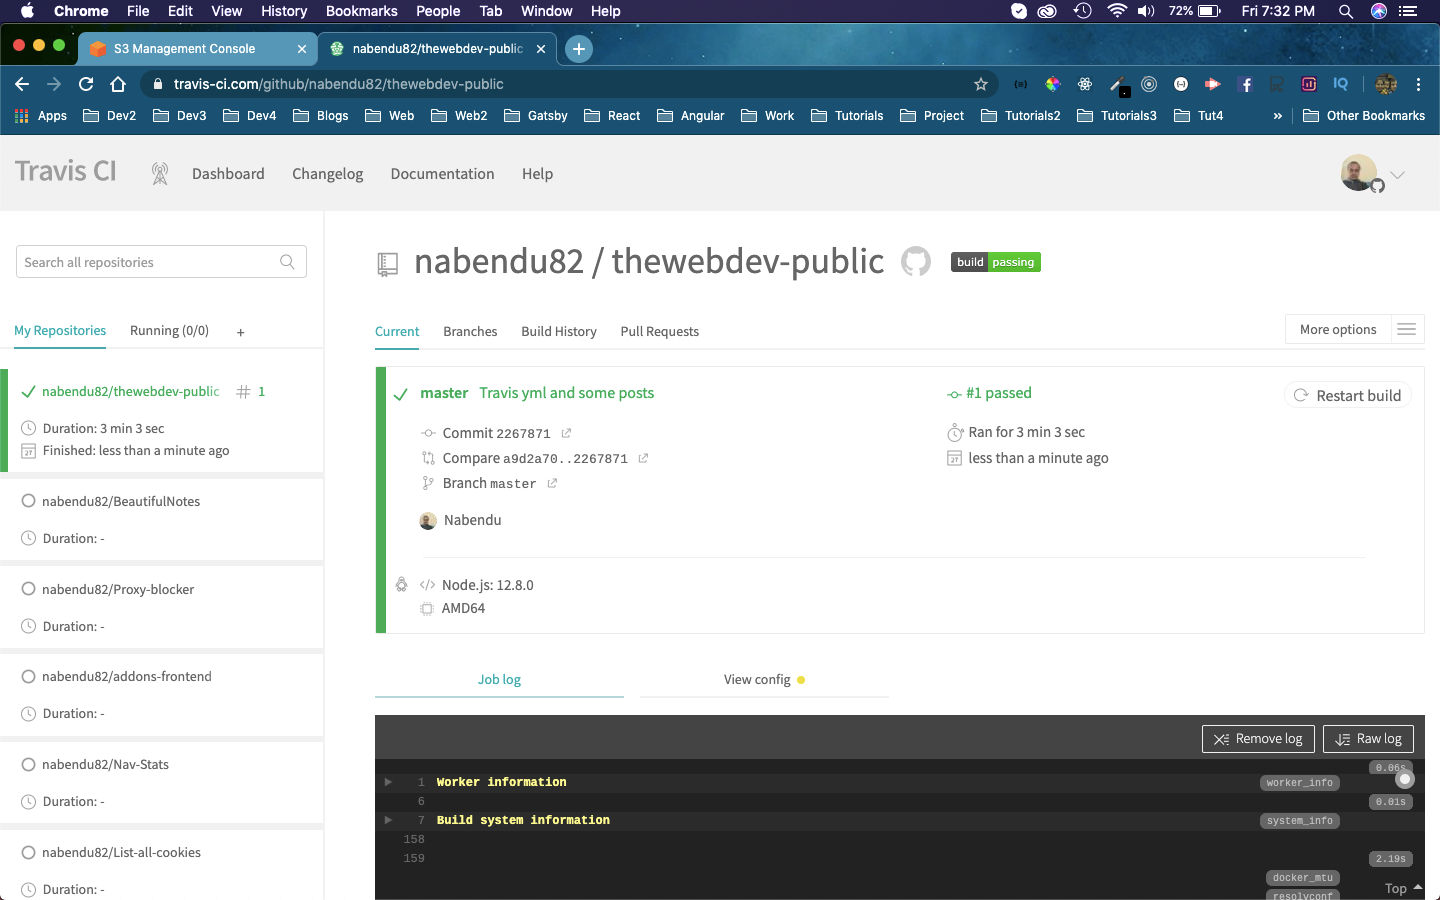 Successful
Now, head over to your Amazon S3 console and click on Properties and then Static website hosting. Here, you will find your Endpoint, which is basically the place where your website is deployed.
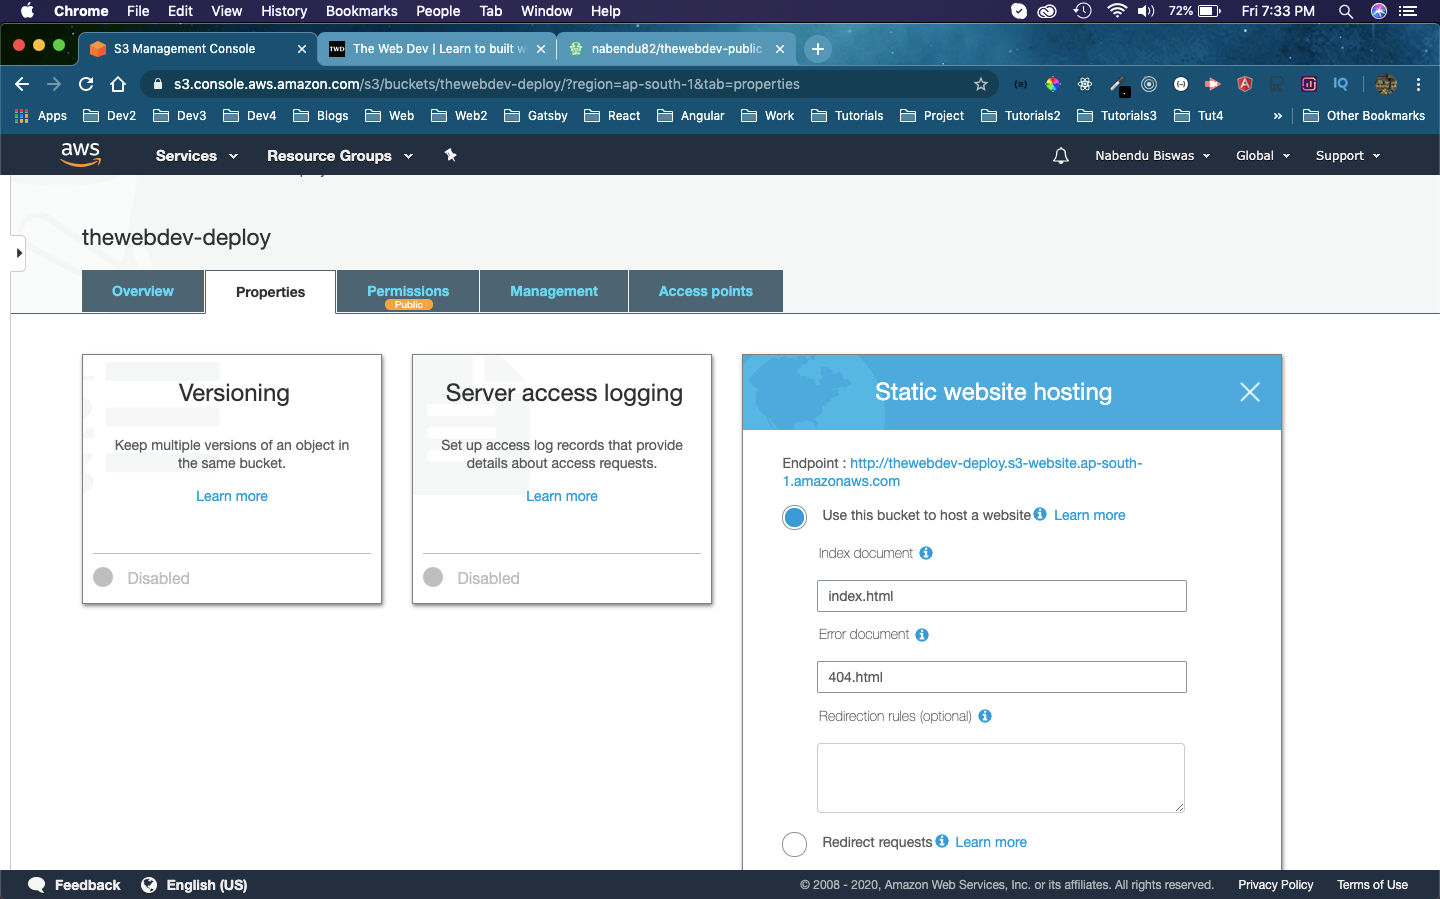 Endpoint
Once you have clicked on the endpoint, you can see the website is live.
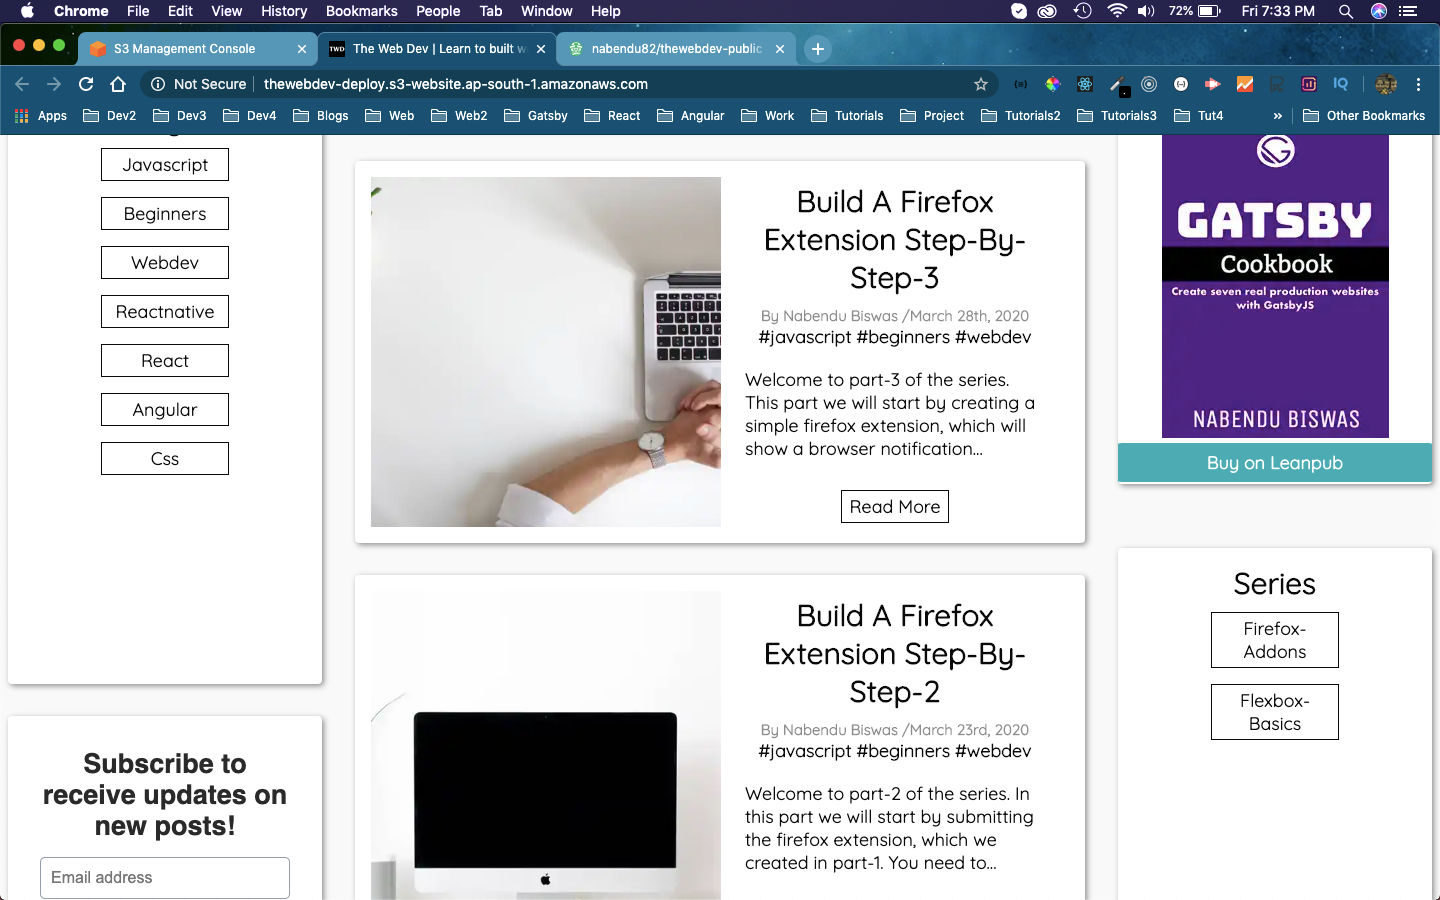 Live Website
Actually, i didn’t transferred my site to AWS S3 and also experimented with my public site, which doesn’t have all my blogs. But the code is exactly the same.
I still have a lot more to learn with devops before transferring my site from Netlify to AWS. I also need to learn how to add domain from my namecheap account to this site, given by AWS.
But the main reason not to transfer is Travis CI, which is way out of my budget ($63 per month). Although then give 300 builts free, but that much i exhaust in 3 months.
So, will try some other CI/CD tool before moving forward to transfer my site https://thewebdev.tech/ to Amazon S3.